Heavenly Mango Mousse: A Deliciously Creamy Delight
Growing up in my grandmother’s kitchen, summer always meant mango season. The sweet scent wafting through the air, the lush orange fruit glistening in the sunlight—it felt like magic. One recipe that stands out, bringing back a flood of happy memories, is her indulgent Mango Mousse. It wasn’t just a dessert; it was a celebration of family gatherings, laughter, and the warm embrace of love in every spoonful.
But let me tell you, my take on Mango Mousse isn’t just a mere replication of what my grandmother made. It’s lighter, creamier, and loaded with the flavors of perfectly ripe mangoes. I’ve experimented for years to craft this recipe, and I promise that it’s easier, quicker, and more delicious than any store-bought version you’ll find. If you’ve got ripe mangoes waiting at home and are craving something that feels like a hug in dessert form, you’re in for a treat!
In this post, I’ll share with you everything you need to know to whip up this delightful Mango Mousse at home. From the sourcing of your ingredients to step-by-step instructions, I’ll guide you through creating a dessert that guarantees smiles and fond memories around the table.
What Are Mango Mousse?
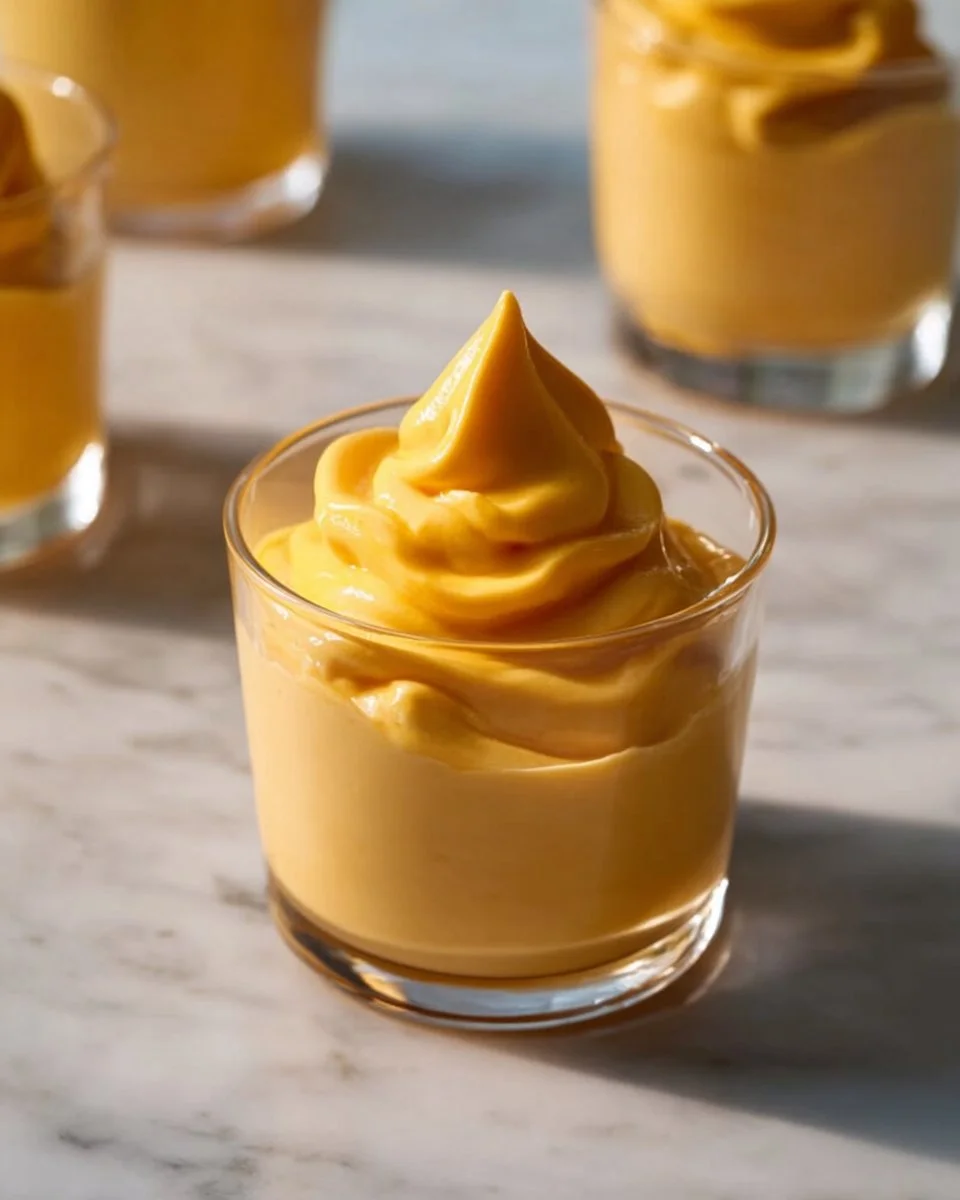
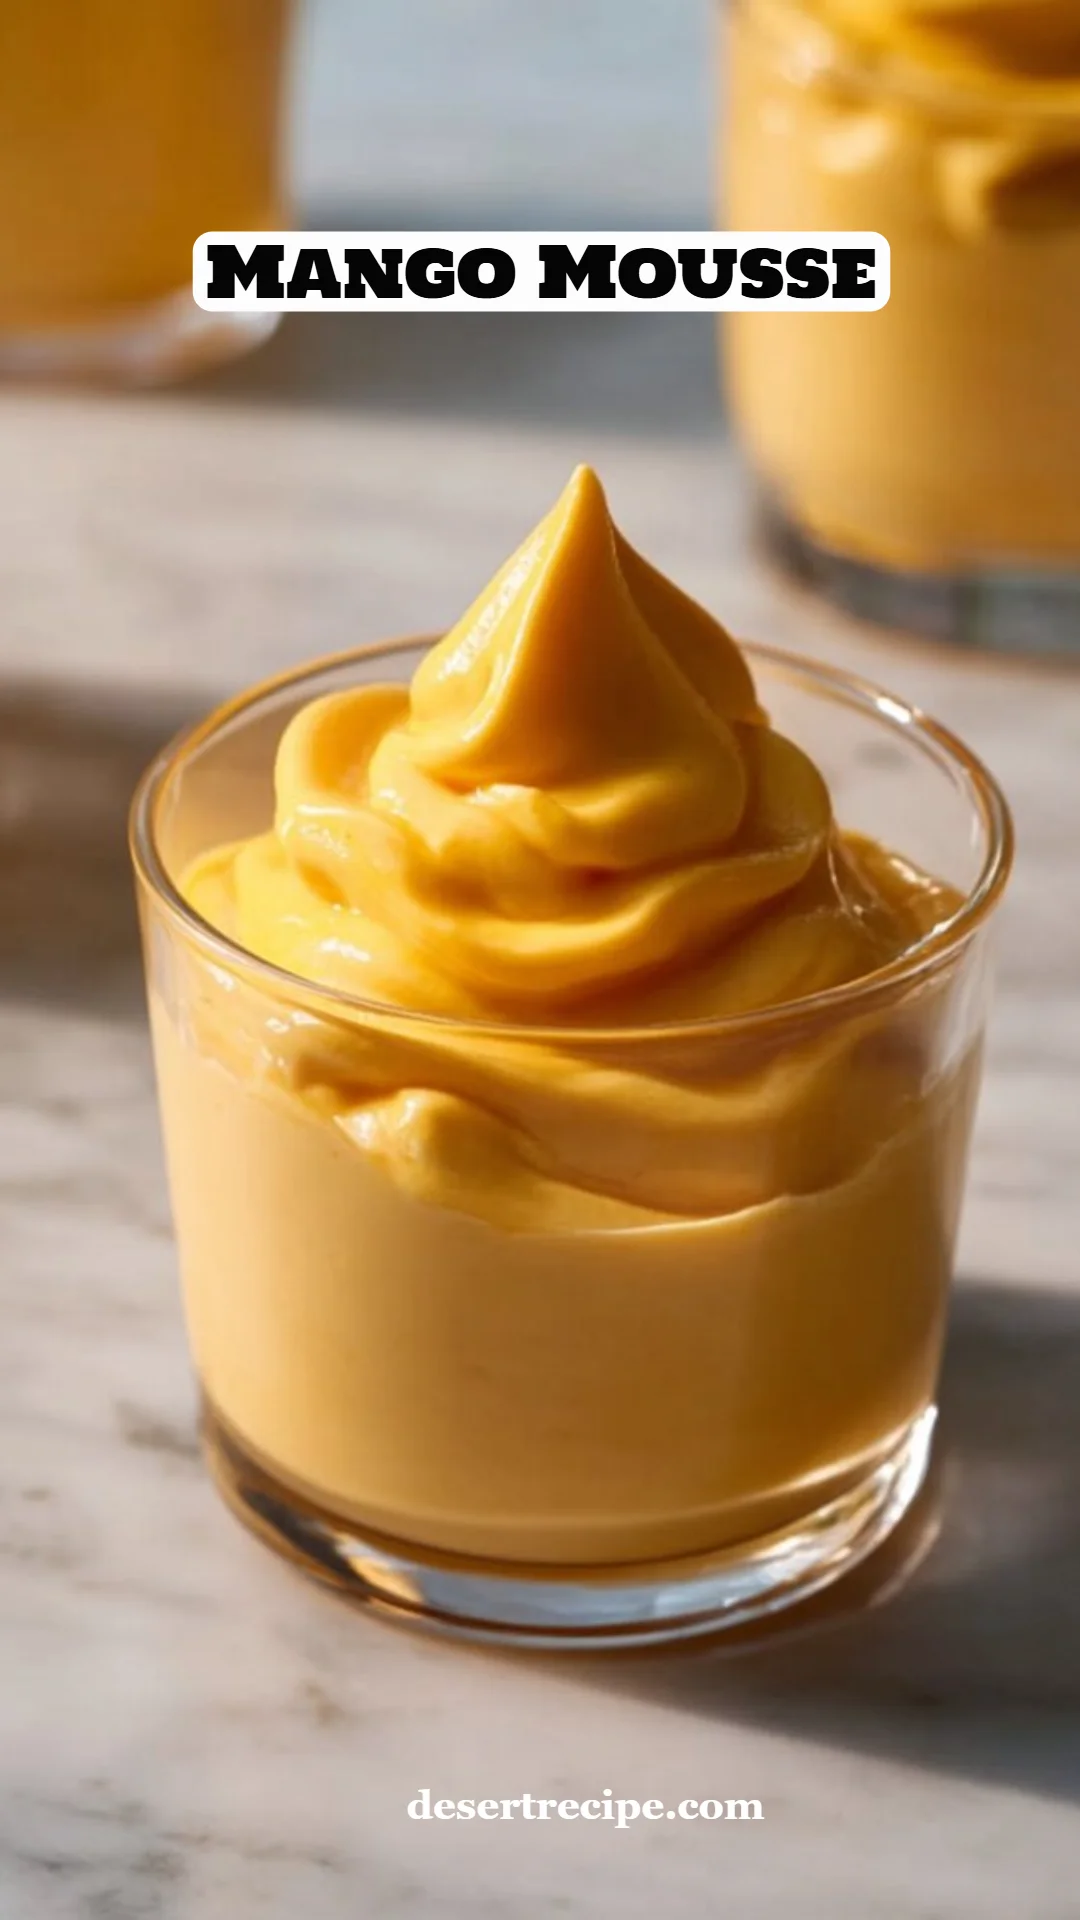
Mango Mousse is a luscious, airy dessert that beautifully captures the essence of fresh, ripe mangoes. Originating from France, mousse translates to "foam," which perfectly describes the light, fluffy texture achieved by whipping cream and incorporating it with the rich mango puree. It’s velvety, sweet, and just a tad tangy—each bite is a delightful experience that transports you straight to a tropical paradise.
One of the unique aspects of Mango Mousse is its ability to be customized. You can enjoy it straight up or jazz it up with various garnishes. Whether for a dinner party, birthday, or just a midweek treat after a long day, Mango Mousse is the perfect dessert to impress. Make it when you want to cool off on a hot summer evening or celebrate every delicious moment life offers.
Why You’ll Love This Recipe
- Effortless Elegance: You don’t have to be a pastry chef to impress. This recipe is straightforward yet yields stunning results!
- Cost-Effective Indulgence: Imagine indulging in something that feels luxurious without breaking the bank! You’ll be amazed at how budget-friendly homemade Mango Mousse is compared to what you’ll find in restaurants.
- Customization Galore: Want to add a hint of coconut? You got it! Prefer a citrus twist? Just throw in some orange zest. This is your dessert canvas!
- All-natural Goodness: Unlike store-bought versions that often contain preservatives, you know exactly what’s going into your Mango Mousse. Fresh, ripe mangoes take center stage here.
- Quick to Prepare: It’s a breeze to whip up. With a total time investment of around 15 minutes (not including chilling), you’ll have a dreamy dessert ready before you know it!
Ingredients
- 2 ripe mangoes (Alphonso or Ataulfo preferred) or 1 cup mango puree
- 1/2 cup heavy whipping cream, chilled
- 2 tablespoons powdered sugar
- 1 teaspoon lemon or lime juice
- 1/2 teaspoon lemon zest (optional)
- 1 teaspoon unflavored gelatin (optional)
- 2 tablespoons cold water (for blooming gelatin)
- Optional Garnishes:
- Whipped cream
- Mint leaves
- Chopped pistachios or toasted coconut
Ingredient Notes:
- For the best flavor, go for ripe Alphonso or Ataulfo mangoes—they’re incredibly sweet and aromatic.
- Chill your heavy cream for at least an hour before whipping; it makes a big difference in achieving fluffy texture.
- If you prefer a vegetarian version, you can skip the gelatin; the mousse will still be delightful (though a bit less stable).
- For tasty presentations, consider adding garnishes that complement the mango flavor!
Step-by-Step Instructions
Prepare the Mango Puree: Peel and dice the mangoes, discarding the pit. Add the diced mango to a blender and blend until smooth. If you prefer an ultra-smooth texture, strain through a fine mesh sieve to remove any fibers.
- Chef’s Tip: Use perfectly ripe mangoes for a naturally sweeter puree!
Bloom the Gelatin (if using): In a small bowl, sprinkle the gelatin over the cold water. Let it sit for about 5-10 minutes until it swells and absorbs the water. Gently heat it until dissolved (do not boil).
- Common Mistake: Ensure the gelatin is completely dissolved before adding it to your mousse to avoid lumps.
Whip the Cream: In a chilled mixing bowl, whip the heavy cream with a hand mixer until soft peaks form. Gradually add in the powdered sugar and continue to whip until stiff peaks form.
- Visual Cue: When you lift the whisk, the cream should hold its shape firmly.
Combine Ingredients: Fold the mango puree gently into the whipped cream. Drizzle in the lemon juice, and if using, the dissolved gelatin, and lemon zest. Use a spatula to combine until no white streaks remain.
- Chef’s Tips: Don’t be too aggressive in folding; you don’t want to deflate the cream.
Chill: Spoon the mousse into serving glasses and refrigerate for 2 to 4 hours until set.
- Time Saving Tip: You can prepare this mousse a day in advance; it keeps beautifully in the fridge!

Expert Tips & Tricks
- Storage: Mango Mousse can be stored in the refrigerator for up to 3 days. Cover the mousse with plastic wrap to maintain freshness.
- Make-Ahead: Since it sets beautifully, it’s perfect for prepping ahead of time for gatherings.
- Troubleshooting: If your mousse isn’t setting, check that the gelatin is fresh. Old gelatin may not set properly.
- Add a Twist: For an exotic flavor, add a splash of coconut milk to the mango puree.
- Dairy-Free Option: Substitute whipped coconut cream for a lactose-free version.
Serving Suggestions
The velvety Mango Mousse can stand alone as a star dessert, but it’s also lovely paired with a light cookie, like a coconut macaron or almond biscotti. For presentation, layer it in clear glasses for a beautiful view of the creamy layers, and top with fresh mint leaves or a sprinkle of chopped pistachios for a pop of color. This dessert is perfect for summer celebrations, barbecue gatherings, or even a cozy family dinner.
Variations & Substitutions
- Flavor Combinations: Want to escape to tropical paradise? Try adding a little coconut or pineapple puree! Love citrus? Squeeze in some orange juice for a cafe-style upgrade!
- Dietary Restrictions: For a vegan alternative, use coconut cream instead of heavy cream and skip the gelatin. You’ll still achieve a creamy result by chilling the coconut milk overnight.
- Seasonal Variations: In fall, why not try making a pumpkin mousse with a hint of ginger and nutmeg?
Nutrition & Storage Info
- Prep Time: 15 mins
- Chill Time: 2-4 hours
- Total Time: 2 hours 15 mins – 4 hours 15 mins
- Yield: 4 servings
- Estimated Calories: Approx. 230 calories per serving
- Storage Instructions: Store in the fridge and consume within 3 days.
- Long-lasting option: This mousse is not suitable for freezing due to its delicate texture.
FAQ Section
Can I use frozen mangoes?
Yes! Just thaw, drain excess water, and blend for the puree. It works wonderfully.What if I’m unable to find fresh mangoes?
You can buy high-quality store-bought mango puree if you can’t find fresh mangoes.How can I make this mousse without gelatin?
Simply omit the gelatin. The mousse will still be delicious, though slightly softer.What can I use instead of heavy cream?
You can use coconut cream or a dairy-free heavy cream for a lighter version.Can I add other fruits?
Absolutely! You can mix in other fruit purees or chunks to create a fruit medley mousse.How long does it take for the mousse to set?
It typically takes 2 to 4 hours in the fridge to properly set.Is this recipe gluten-free?
Yes! All ingredients in this recipe are naturally gluten-free.Can I double this recipe?
Yes! Just make sure to use larger mixing bowls for the increased volume.How do I prevent the mousse from deflating?
When folding the mango puree into the whipped cream, use gentle yet effective motions.What are some good toppings?
Whipped cream, fresh mango slices, or a sprinkle of shredded coconut work wonderfully!
Conclusion
This recipe for Mango Mousse is undeniably special, blending nostalgia and tropical flavors into a dessert that’s light, fluffy, and utterly satisfying. I invite you to try it out for yourself and share your thoughts—I can’t wait to hear your feedback! Don’t forget to check out some of my other tropical-inspired desserts on the blog. Happy cooking!