Zesty Lemon Curd: A Deliciously Tangy Delight
I still remember the first time I tasted lemon curd—my grandmother’s kitchen was warm with the smell of citrus, and I could hear the gentle bubbling of her stovetop concoction. She had a way of whisking up magic with mere ingredients, and every visit to her house was filled with the promise of her beloved lemon curd. Slathered on buttery toast or dolloped over homemade scones, it became one of my family’s favorite treats.
Today, I’m thrilled to share my own twist on this classic recipe. What makes my lemon curd extra special? It’s not just the perfect balance of tartness and sweetness, or the silky smooth texture—it’s the memories tied to it, the nostalgia of family gatherings, and the hugs from loved ones that accompany those little jars of sunshine. Trust me; this recipe beats any store-bought version by leaps and bounds! I promise you will learn how to create a feather-light lemon curd that will brighten your day and warm your heart.
What Are Lemon Curds?
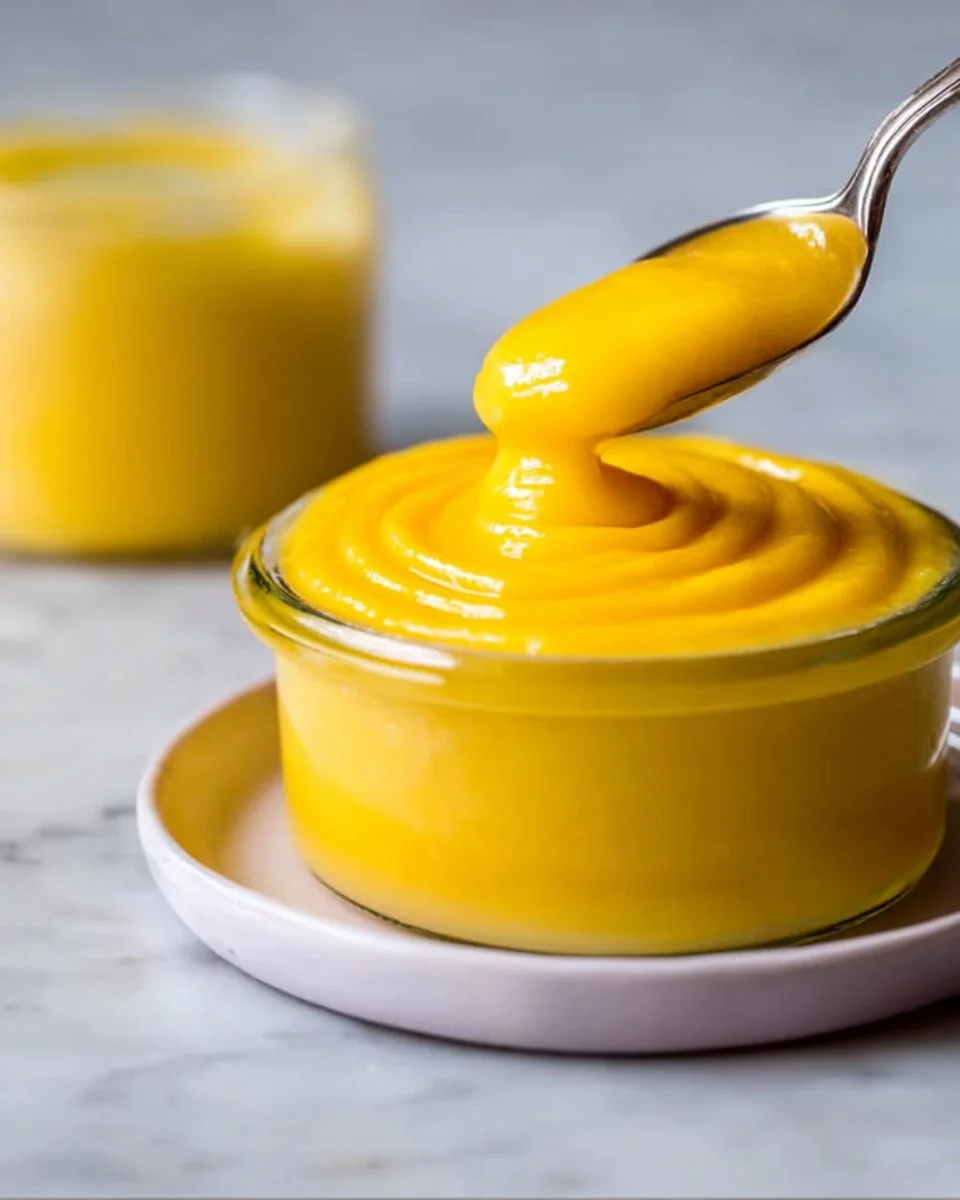
Lemon curd is a luscious dessert topping made from fresh lemon juice, sugar, eggs, and butter. Originating in the 19th century, this sweet-tart spread was initially enjoyed alongside tea in British homes, making it a staple in afternoon tea gatherings. Today, lemon curd can be found in various desserts—from fillings in cakes to toppings on cheesecakes!
The taste is a delightful dance of bright citrus flavors, with a velvety texture that melts in your mouth. Whether you’re using it as a dessert component or simply enjoying it by the spoonful (no shame!), there’s something irresistibly comforting about this zesty treat. Perfect for brightening up any occasion, lemon curd can turn simple dishes into something extraordinary.
Why You’ll Love This Recipe
Homemade Goodness: This lemon curd is crafted with love, using quality ingredients to maximize flavor. Unlike mass-produced jarred versions, you control the sweetness and tartness—so you can adjust it to your taste!
Cost-Effective: Making lemon curd at home is budget-friendly compared to purchasing from gourmet shops. Plus, you can create multiple jars at a fraction of the cost!
Serious Customization: Feeling adventurous? You can infuse this recipe with flavors like ginger or herbs for a unique twist. You can even try different citrus fruits, from limes to blood oranges!
Easy to Make: Don’t worry if you’re not a pro in the kitchen! This recipe requires just five ingredients and some whisking—perfect for bakers of all skill levels.
Versatile Uses: The possibilities are endless! From pastries to desserts, or simply drizzled on pancakes, this lemon curd is sure to impress at any gathering or celebration.
Ingredients

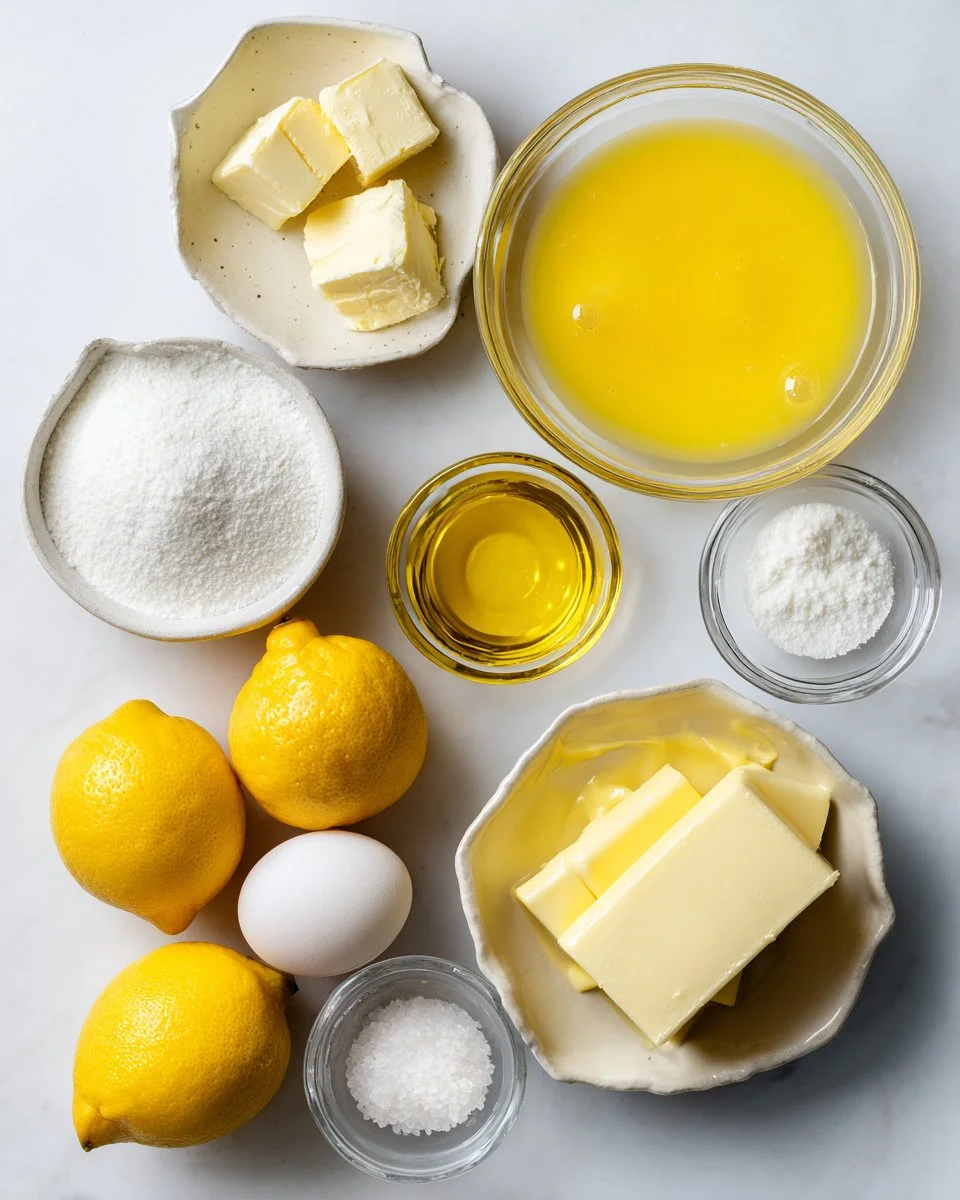
To create this delightful lemon curd, you’ll need:
- 1 cup fresh lemon juice: Always opt for the juiciest, freshest lemons. If you can find Meyer lemons, they add a lovely sweetness.
- 1 cup granulated sugar: Select fine granulated sugar for an even sweetness that dissolves well.
- 1/2 cup unsalted butter: Make sure it’s at room temperature for easy incorporation.
- 4 large eggs: Choose organic or free-range for the best flavor and color.
- 1 tablespoon lemon zest: Use a microplane to capture the fragrant oils from the lemons.
- Pinch of salt: Just a tiny sprinkle will enhance the flavors beautifully.
Notes on Ingredient Quality/Substitutions:
- For an added depth, you can use brown sugar in place of granulated sugar.
- If you need a vegan option, consider substituting eggs with a flaxegg or silken tofu, though texture may vary.
Prep Notes:
- Ensure your butter is at room temperature—this will help it blend seamlessly into the mixture.
Step-By-Step Instructions
Prepare the Lemon Mixture: In a medium saucepan, combine the 1 cup fresh lemon juice, 1 cup granulated sugar, and 1/2 cup unsalted butter over medium heat. Stir gently until the butter melts, and the sugar dissolves—about 3-5 minutes. You want the mixture to be warm and fragrant but not boiling.
Whisk Eggs and Zest: In a separate bowl, whisk together 4 large eggs, 1 tablespoon lemon zest, and a pinch of salt until you achieve a uniform consistency.
Combine Eggs and Lemon Mixture: Slowly pour the egg mixture into the saucepan while whisking constantly. This will prevent the eggs from scrambling. Keep whisking for about 2 minutes until everything is fully incorporated.
Thicken the Curd: Continue to cook the mixture over medium heat, stirring constantly, for about 10-15 minutes. It’s ready when it thickens and coats the back of a spoon. A good test is to run your finger across the spoon; if it holds a line, you’re in business!
Strain and Cool: Remove the saucepan from heat and strain the lemon curd through a fine mesh sieve into a bowl. This step helps catch any pesky bits of cooked egg! Allow it to cool completely before transferring to jars.
Chill and Set: Once cooled, place the lemon curd in the refrigerator to set for at least 2 hours—though I often let it sit overnight for maximum flavor.
Chef’s Tips:
- Be patient while cooking; rushing can lead to scrambled eggs rather than creamy curd.
- Keep an eye on the stovetop temperature; a gentle simmer is best to avoid curdling.
- This lemon curd can last up to two weeks in the refrigerator.
Expert Tips & Tricks
Storage Recommendations: Keep your lemon curd in an airtight container in the fridge. It also freezes well for up to 3 months; just be sure to leave a little headspace in the jar for expansion.
Make-Ahead Instructions: This lemon curd is perfect for preparing ahead of time for parties, as it can be made a week in advance!
Troubleshooting Common Problems:
- If your lemon curd turns out grainy, it may have been overheated. Always cook over low to medium heat and stir gently.
Additions & Flavors: By adding herbs like thyme or basil during cooking, you can create unique flavor variations, but strain the herbs out before cooling.
Gift Idea: Fill tiny jars with lemon curd and tie a ribbon around them for delightful homemade gifts—perfect for any baking enthusiast!
Serving Suggestions
Lemon curd shines when served with homemade scones, pancakes, or even a drizzle atop vanilla yogurt. For an elegant touch, whip up some cream and layer it with lemon curd in dessert cups for a visually stunning and delicious treat. It’s also a great addition to your holiday brunch table or a light summer gathering—just imagine the sun shining and everyone savoring your delightful creation!
Variations & Substitutions
Different Flavors: Why not experiment? Try adding a bit of lime or orange juice for a citrus medley! If you’re feeling adventurous, you can add spices like cardamom or vanilla for warmth.
Dietary Adaptations: Explore gluten-free crusts and bases if you’re using this lemon curd as a filling. And for those with egg allergies, substitutions like aquafaba can add a unique twist.
Seasonal Variations: Incorporate berries or edible flowers when serving during summer. It not only looks gorgeous but elevates the taste!
Nutrition & Storage Info
- Prep Time: 15 minutes
- Cook Time: 15 minutes
- Total Time: 30 minutes
- Yield: About 2 cups (serves approximately 10 people)
- Estimated Calories: Roughly 100 calories per tablespoon
- Storage Instructions: Store in the fridge for up to 2 weeks or freeze for 3 months.
FAQ Section
Can I use bottled lemon juice?
- While fresh is best, you can use bottled juice in a pinch. Just be sure it’s 100% lemon juice without additives.
How can I prevent my lemon curd from curdling?
- Always whisk constantly and keep the heat low to medium. Patience is key!
Can I double this recipe?
- Absolutely! Just make sure your saucepan is large enough to accommodate the volume.
What can I do with leftover lemon curd?
- Use it as a filling for pastries, mix into desserts, or add to cocktails for a zesty twist.
Is this a good recipe for beginners?
- Yes! It’s straightforward and a perfect introduction to making custards.
Can I use natural sweeteners like honey or maple syrup?
- Yes, though this might alter the taste and texture. You may need to adjust quantities.
How do I know when my lemon curd is done cooking?
- It should be thick enough to coat the back of a spoon. A simple test is to draw your finger through it—if it holds a line, it’s ready.
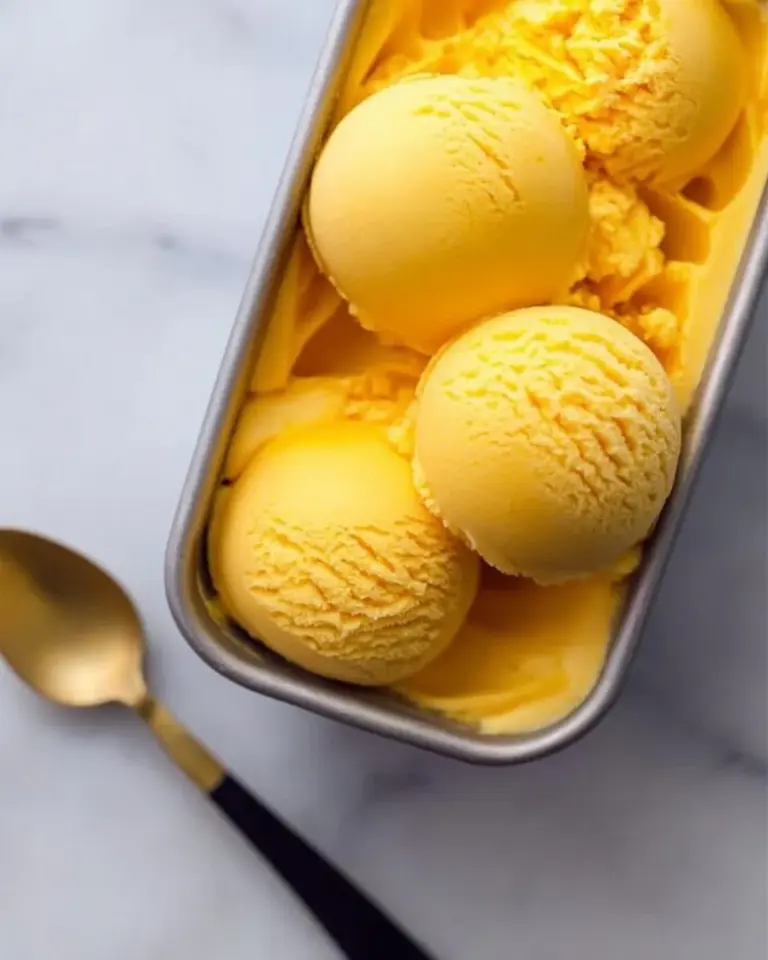
What’s the best way to serve lemon curd?
- It’s delightful on pastries, ice cream, or even as a cake filling.
Why is my lemon curd too runny?
- It may not have thickened properly due to low cooking temperature. Try cooking it a bit longer.
Can I can my lemon curd?
- Yes! Process it in hot water bath canning for longer shelf life, but ensure it’s done correctly.

Conclusion
Lemon curd is more than a simple spread; it’s a treasure trove of flavor that brings comfort and joy with every bite. I hope you give this recipe a try and feel the warmth of nostalgia with each taste. Please share your thoughts and experiences in the comments—I’d love to hear how it turned out for you! For more bright and flavorful recipes, check out my blog’s dessert section and keep that zest for baking alive!