Irresistibly Delicious Brown Butter Pound Cake Recipe: A Slice of Comfort!
There’s something truly magical about the rich, nutty fragrance of brown butter wafting through your kitchen. I still remember the first time I came across Brown Butter Pound Cake. It was during a family gathering, and my aunt had baked it to perfection. As soon as I took a bite, I was hooked—the tender crumb, the buttery flavor, and that subtle nuttiness made it the star of the dessert table. That’s when I realized that this cake wasn’t just another pound cake; it was a warm embrace in dessert form, evoking memories of laughter, love, and comforting moments shared around the dining table.
What makes this Brown Butter Pound Cake truly special is the technique of browning the butter, which elevates this classic treat to a new level of flavor. Unlike store-bought alternatives that can taste artificial, this recipe utilizes only the finest ingredients, ensuring each slice is pure bliss. Plus, it’s incredibly easy to make—perfect for both novice bakers and seasoned pros alike!
Stick around, because I promise that by the end of this post, you’ll learn how to create the ultimate Brown Butter Pound Cake that will become a cherished recipe in your home, creating memories that will last a lifetime.
What Are Brown Butter Pound Cakes?
Brown Butter Pound Cake has a storied history, tracing its roots back to the classic pound cake recipes that have graced our tables for centuries. Traditionally, pound cakes derived their name from the simple ratio of ingredients: one pound each of butter, sugar, eggs, and flour. However, the addition of browned butter takes this recipe to a whole new dimension.
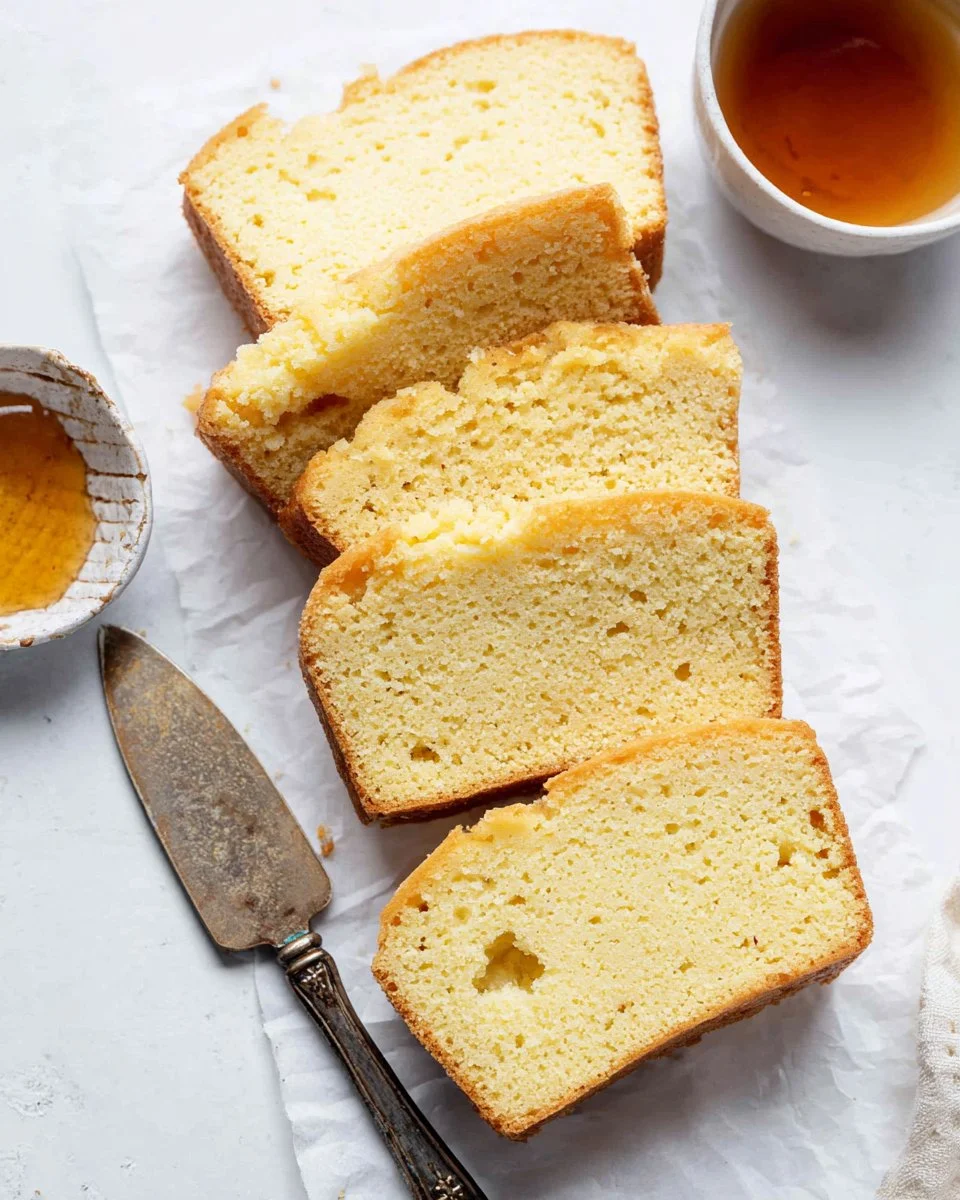
Imagine sinking your teeth into a slice of cake that’s not only buttery but also rich and nutty, with a beautifully dense texture that melts in your mouth. The delicate caramel notes from the browned butter create an irresistible depth of flavor, setting this cake apart from its more basic counterparts. Whether it’s for a holiday gathering, an afternoon tea, or just to enjoy with your morning coffee, this cake makes every occasion feel extra special.
Why You’ll Love This Recipe
Elevated Flavor: Unlike your typical pound cake, the nutty undertones from browned butter add an incredible depth of flavor that you just can’t replicate with regular butter.
Simplicity and Convenience: This recipe is hassle-free and requires only one bowl for mixing, making cleanup a breeze. Plus, it’s ready in just about 70 minutes!
Cost-Effective: With common pantry staples, you can whip up this showstopper for a fraction of the cost of a bakery cake.
Customizable: This cake is a blank canvas! You can modify the flavors by adding chocolate chips, spices, or fruit, making it adaptable to any season or occasion.
Impressive Presentation: Just think about how delightful it is to present a beautifully baked pound cake at your next gathering. It’s sure to be a conversation starter!
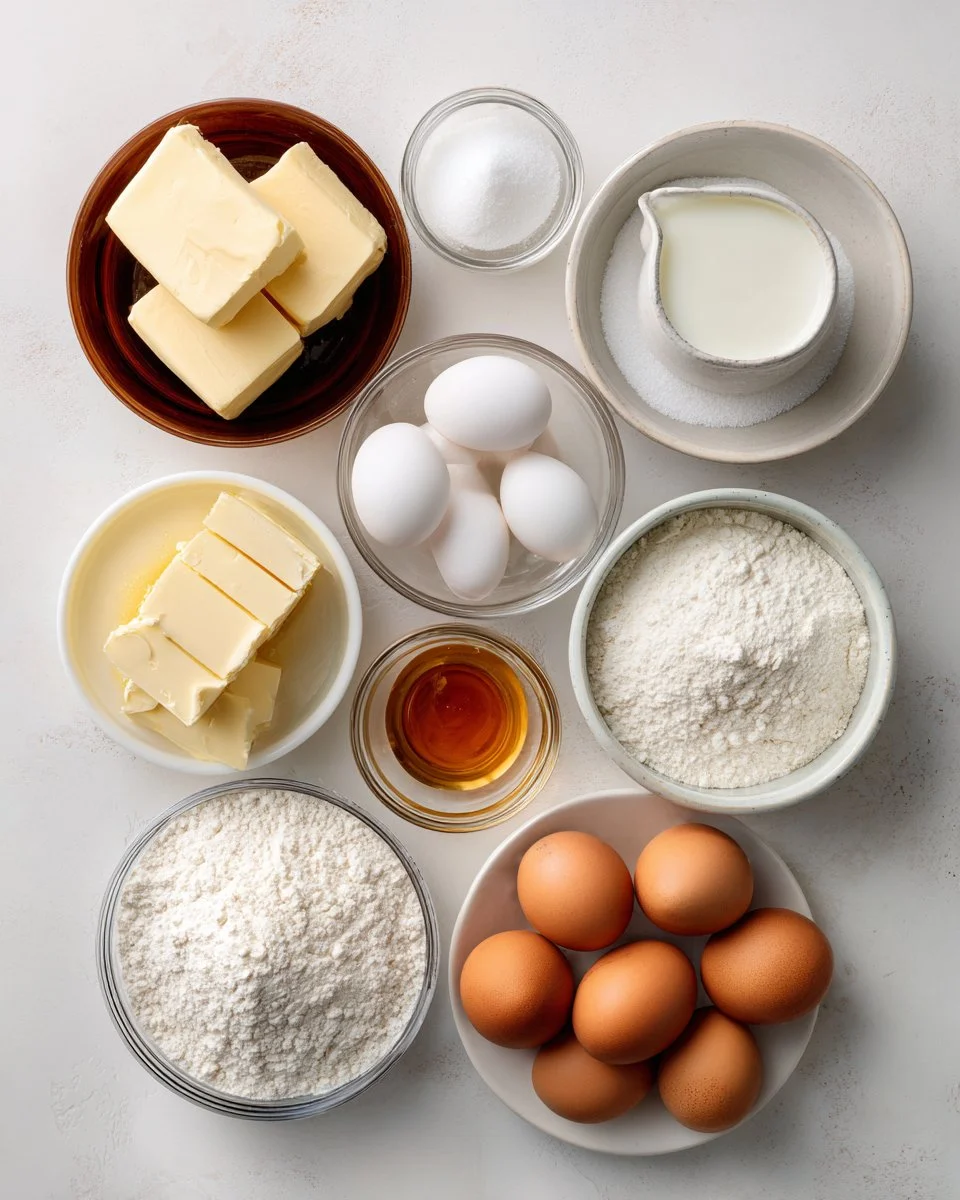
Ingredients

- 2 cups (4 sticks / 454 g) unsalted butter: Use high-quality butter for a richer flavor. I recommend brands like Kerrygold for its creamy texture, which enhances the cake’s taste.
- 3 cups (600 g) granulated sugar: This is what sweetens the cake and helps form its beautiful crust.
- 6 large eggs, room temperature: Eggs should be at room temperature to ensure they incorporate well into the batter.
- 4 cups (500 g) all-purpose flour: A solid base for your cake; consider using King Arthur Flour, which yields excellent results.
- 2/3 cup (163 g) whole milk, room temperature: This moisture is crucial for achieving that tender texture.
- 1 teaspoon vanilla extract: Enhance the flavor with a high-quality pure vanilla extract.
- Browned butter, for drizzling (optional): To take your cake to the next level; it adds a stunningly delicious touch.
Preparation Notes: Start by ensuring your butter and milk are at room temperature to help everything blend seamlessly.
Step-by-Step Instructions
Step 1: Brown the Butter
- In a medium saucepan, melt the 2 cups of unsalted butter over medium-high heat. Watch closely as it bubbles and froths, stirring frequently until it turns a beautiful chestnut brown and emits a nutty aroma—about 5-7 minutes.
Step 2: Chill the Butter
- Pour the browned butter into a heat-safe bowl and chill it in the refrigerator for 2-3 hours until solid but still soft.
Step 3: Preheat the Oven
- Preheat your oven to 350°F (175°C). Prepare three 9×5 inch loaf pans by greasing and flouring them, or using parchment paper for easy removal.
Step 4: Cream the Butter and Sugar
- In a stand mixer, combine the chilled brown butter and 3 cups of sugar. Beat on medium speed until it appears light and fluffy, about 3-5 minutes.
Step 5: Add the Eggs
- Incorporate the 6 large eggs one at a time, beating well after each addition. Then mix in 1 teaspoon of vanilla extract.
Step 6: Combine Dry Ingredients and Milk
- Gradually mix in 4 cups of all-purpose flour alternately with 2/3 cup of whole milk, beginning and ending with the flour. Mix until just combined to avoid overworking the batter.
Step 7: Bake
- Divide the batter evenly among the prepared pans and bake for 65-70 minutes, or until a toothpick inserted into the middle comes out clean.
Step 8: Cool
- Allow the cakes to cool in the pans for 10 minutes before transferring to wire racks to cool completely. Drizzle with additional browned butter if desired.
Chef’s Tips
- If you notice your butter browning too quickly, reduce the heat to medium.
- Remember to scrape down the sides while mixing to ensure even incorporation.
- Avoid overmixing after adding the flour to maintain a tender crumb.

Expert Tips & Tricks
Storage Recommendations: Store your pound cake in an airtight container at room temperature for up to one week. It can also be refrigerated for up to two weeks.
Make-Ahead Instructions: This cake freezes wonderfully! If you want to prep ahead, wrap cooled loaves tightly in plastic wrap and freeze for up to 3 months. Thaw overnight in the fridge before serving.
Troubleshooting Common Problems: If your cake domes too much or sinks, try reducing the oven temperature or avoiding overmixing, which can lead to a denser cake.
Flavor Variations: Feel free to swap out some of the vanilla extract for almond extract for a nutty twist, or add in lemon zest for a refreshing hint.
Perfecting Texture: Ensure your butter is just browned, not burnt, as that will add bitterness instead of the desired nuttiness.
Serving Suggestions
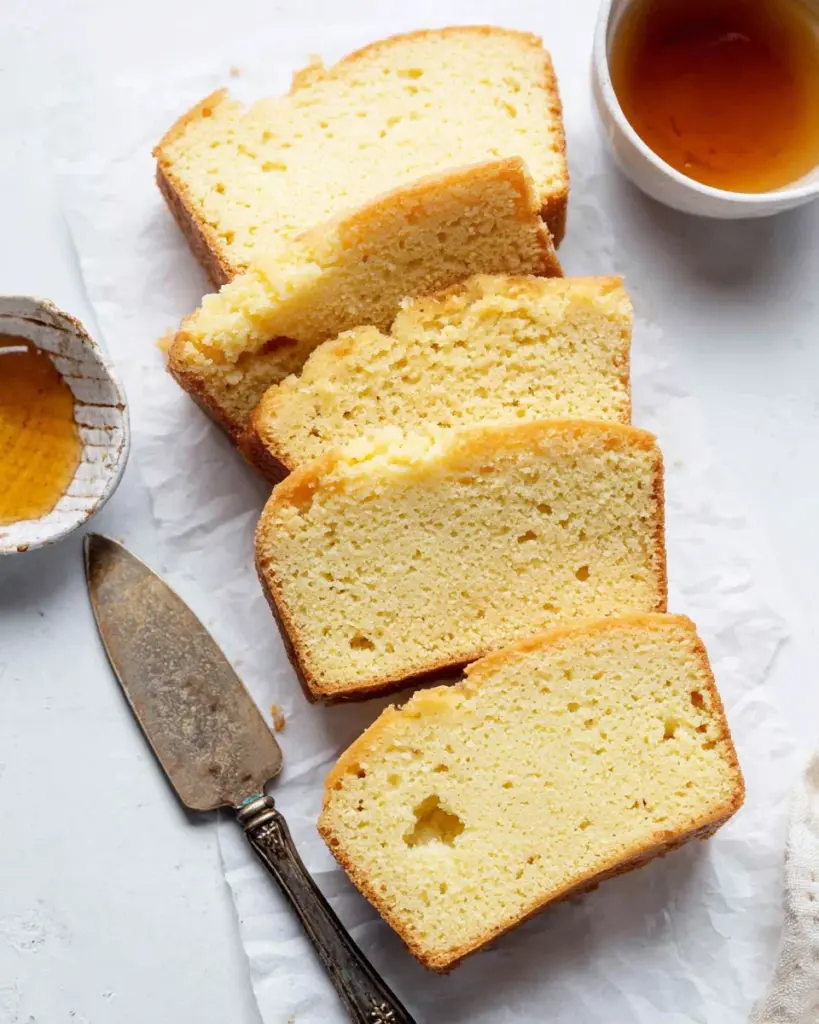
This Brown Butter Pound Cake is delicious served warm with a dusting of powdered sugar or accompanied by fresh berries and whipped cream. For a cozy presentation, slice and serve each piece with a drizzle of warmed cream or caramel sauce. It shines during family gatherings or festive occasions, captivating guests’ hearts and taste buds alike!
Variations & Substitutions
- Flavor Combinations: Experiment with different extracts like almond or lemon for unique flavor profiles.
- Dietary Restrictions: To make it dairy-free, substitute butter with coconut oil or vegan butter, and choose a plant-based milk.
- Seasonal Variations: In the fall, adding spices like cinnamon or nutmeg can create a delightful pumpkin spice version, while summer berries folded into the batter can lend a refreshing twist.
Nutrition & Storage Info
- Prep Time: 15 minutes
- Cook Time: 70 minutes
- Total Time: 85 minutes
- Yield: 24 servings
- Estimated Calories Per Serving: Approximately 350 calories
- Storage Instructions: Keep at room temperature for up to 1 week or refrigerate for up to 2 weeks. Wrap tightly to freeze for up to 3 months.
FAQ Section
- What is brown butter, and how do I make it?
Brown butter is simply butter that has been cooked until the milk solids toast and turn brown, giving it a rich, nutty flavor. Cook over medium heat, stirring constantly until it achieves a golden-brown color and smells fragrant.
- Can I use salted butter instead of unsalted?
Yes, but use slightly less salt in your recipe to balance it out.
- Why is my pound cake dense?
Overmixing the batter can lead to a denser texture. Mix just until the ingredients are combined.
- Can I use a bundt pan instead of loaf pans?
Absolutely! Just adjust the baking time, as a bundt cake may take longer to bake through evenly.
- What if I don’t have three loaf pans?
You can bake the batter in batches, using one pan and leaving the remaining batter in the fridge for the second bake.
- Does it matter if I use cold eggs?
Using room temperature eggs helps create a smoother batter and more evenly baked cake.
- What’s the best way to store leftover cake?
Wrap it tightly in plastic wrap, and store it in an airtight container at room temperature.
- Can I add chocolate to this recipe?
Absolutely! Chocolate chips or chunks folded into the batter add a delightful twist.
- How do I know when the cake is done baking?
Insert a toothpick into the center; if it comes out clean or with a few crumbs, the cake is done.
- Can I omit the brown butter drizzle?
Definitely! The cake is delicious on its own, but the drizzle adds a nice finishing touch.
Conclusion
In crafting this Brown Butter Pound Cake, you’re not just baking a cake; you’re creating a heartfelt tradition that can bring families and friends together. From its rich flavors to its moist texture, this recipe will surely become a beloved staple in your baking repertoire. So, tie on your apron today and delight in the joy of making something truly special!
I’d love to hear about your experiences with this recipe or see your delightful photos! Don’t forget to tag me when you give it a try, and browse my other related recipes for even more delicious inspiration!
Brown Butter Pound Cake
Ingredients
Method
- Start by ensuring your butter and milk are at room temperature.
- In a medium saucepan, melt the 2 cups of unsalted butter over medium-high heat, stirring frequently until it turns a chestnut brown, about 5-7 minutes.
- Pour the browned butter into a heat-safe bowl and chill in the refrigerator for 2-3 hours until solid but still soft.
- Preheat your oven to 350°F (175°C) and prepare three 9x5 inch loaf pans by greasing and flouring them.
- In a stand mixer, combine the chilled brown butter and 3 cups of sugar. Beat until light and fluffy, about 3-5 minutes.
- Incorporate the 6 large eggs one at a time, beating well after each addition, then mix in the vanilla extract.
- Gradually mix in the flour alternately with the milk, beginning and ending with the flour, mixing until just combined.
- Divide the batter among the prepared pans and bake for 65-70 minutes, or until a toothpick inserted comes out clean.
- Allow the cakes to cool in the pans for 10 minutes before transferring to wire racks to cool completely. Drizzle with additional browned butter if desired.