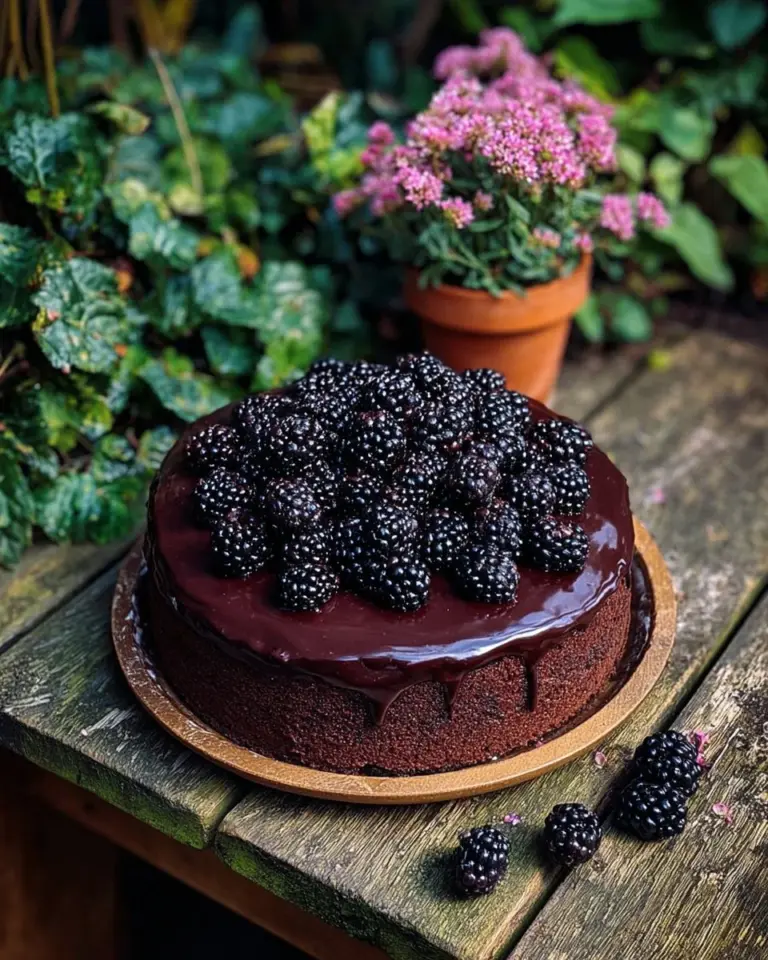
Irresistible Laminated Bread: A Slice of Heaven Perfected!
Ah, the rich and flaky layers of Laminated Bread! The mere thought of it transports me back to my childhood kitchen, where the aroma of freshly baked bread mingled with laughter and warmth. I can still picture my grandmother, measuring flour with precision, her hands dancing as she folded layers of butter into the dough, creating what I now consider a culinary work of art.
What makes Laminated Bread so special? It’s not just about the process; it’s the love, the patience, and the joy that infuses every bite. Sure, you could pick up a loaf from the store, but trust me, nothing beats the fluffy texture and delicate flavor of homemade bread. In comparison to the often dry or overly processed options on the market, this recipe guarantees a heavenly bake that you can customize with your favorite fillings or enjoy plain, just as my grandmother served it.
Join me on this baking journey where nostalgia meets culinary magic! You’ll learn the step-by-step process of creating your very own Laminated Bread, complete with expert tips and variations to make it your own. Let’s get into the warmth and joy of baking together!
What Are Laminated Bread?
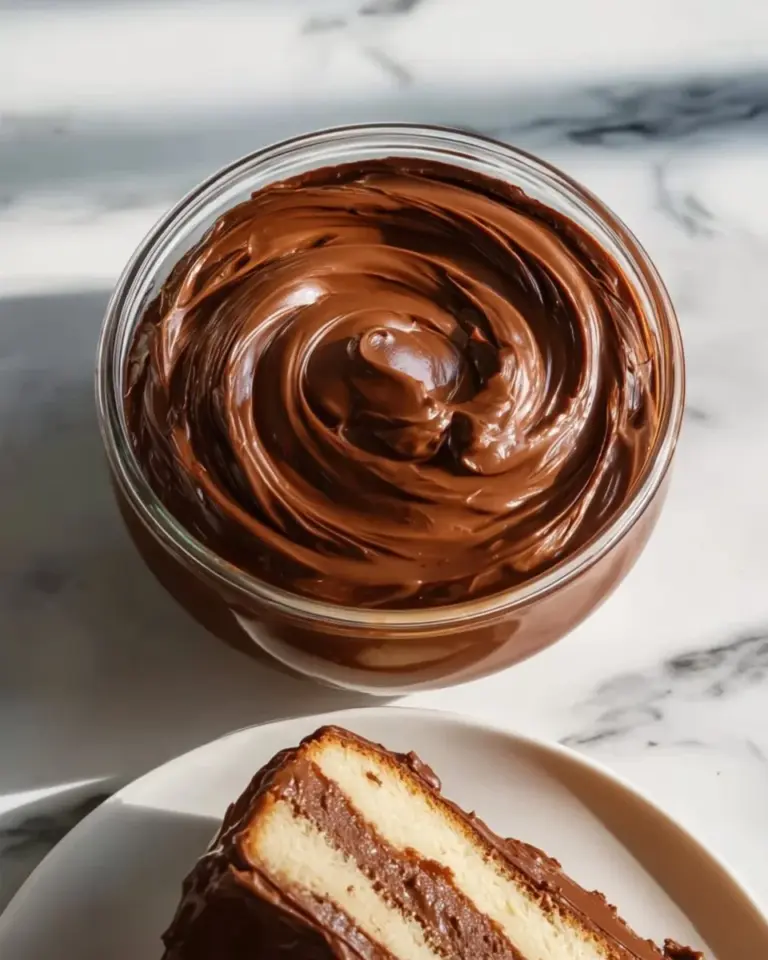
Laminated Bread has its roots in the rich baking traditions of Europe, particularly in France, where it has been perfected over centuries. This delightful bread is crafted by repeatedly folding layers of butter into dough, which creates that signature flaky, airy texture that enthusiasts crave. When you slice through a loaf, you’re greeted with a beautiful contrast of crisp crust and soft, tender crumb, revealing the many delicate layers of butter-infused goodness.
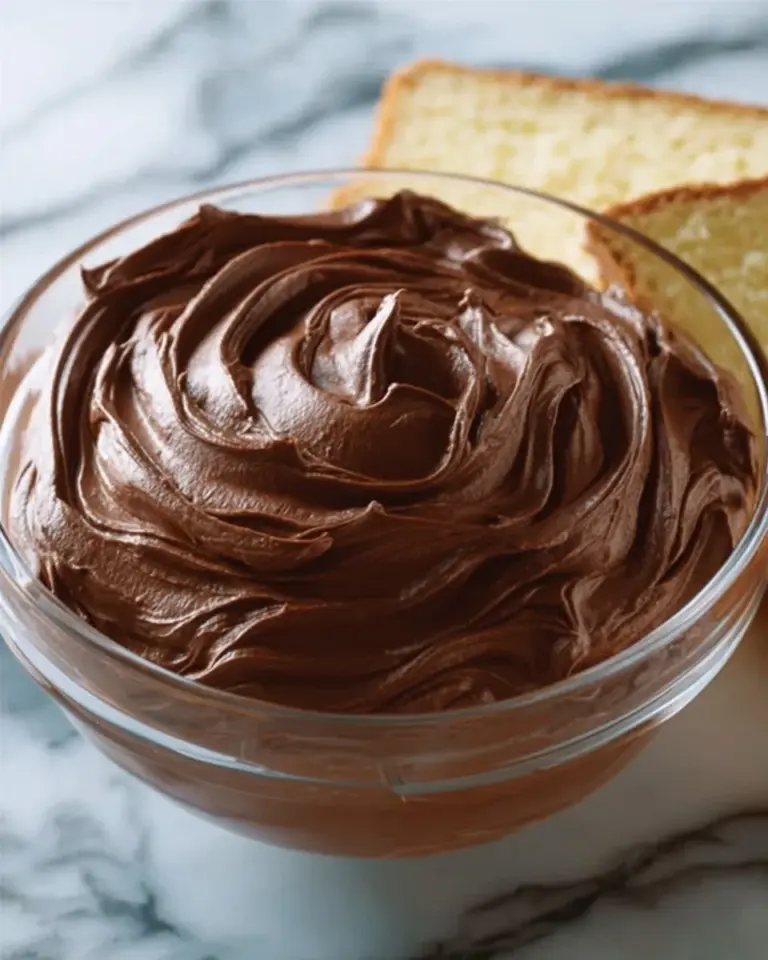
The uniqueness of Laminated Bread lies in its enchanting flavors and textures. You can enjoy it plain, or use it as a base for delightful additions like chocolate, herbs, or cheeses. It’s the perfect treat for special occasions, breakfast, or even just a cozy evening at home. Whether you’re a seasoned baker or just stepping into the world of bread-making, Laminated Bread invites you to experience the delightful alchemy of flour and butter.
Why You’ll Love This Recipe
Baker’s Pride: There’s something utterly satisfying about pulling out a warm, freshly baked loaf from your own oven. The moment you hear that delightful crackle as the crust cools, you’ll be wearing the biggest smile!
Quality Control: By making your own Laminated Bread, you have control over every ingredient: no additives, preservatives, or hidden surprises. You can choose organic flour or artisanal butter, ensuring a wholesome experience right from the first bite.
Cost-Effective: Store-bought artisanal breads can cost a small fortune. This recipe allows you to create multiple loaves for a fraction of the price. Imagine impressing friends and family without breaking the bank!
Customizable: Have fun with flavors! Want to sprinkle some cinnamon sugar between the layers? Or perhaps layer in some cheese or herbs? The only limit is your imagination. You can adjust this recipe to reflect your preferences and seasonal ingredients.
Right Fit for Everyone: While the process may seem daunting, I promise it’s manageable and rewarding. You’ll be surprised at how achievable this recipe is with a little patience. Plus, with my tips, you’ll avoid common pitfalls along the way.
Ready to turn your kitchen into a fragrant bakery? Let’s get started with all the essentials!

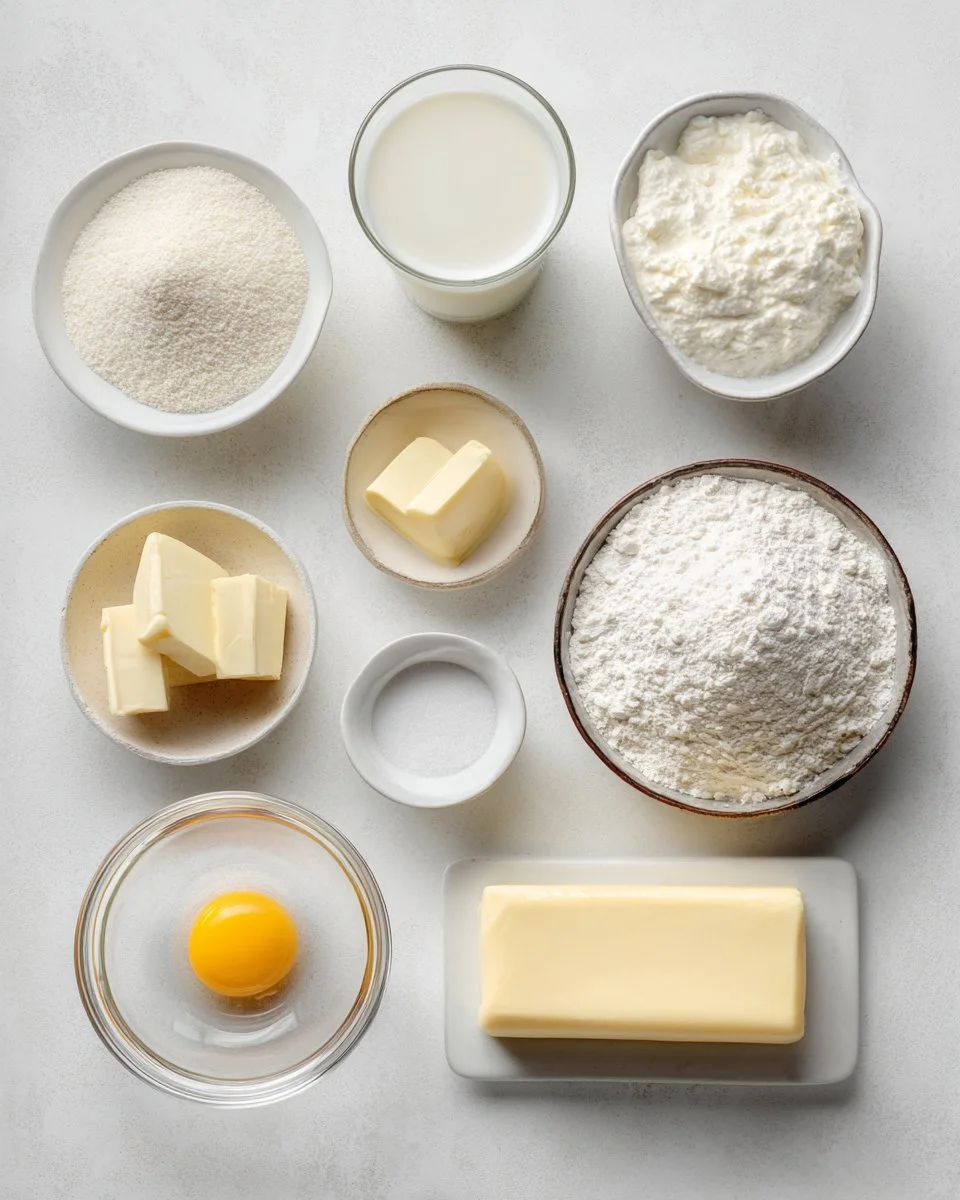
Ingredients
Here’s what you’ll need for your delicious Laminated Bread:
- 1 cup milk (warmed to 105-110 degrees F): Fresh milk is essential for activating the yeast, yielding a fluffy texture.
- 2 1/4 tsp yeast: Instant yeast works best for this recipe, providing that perfect rise.
- 4 tbsp sugar: To balance the flavors and feed the yeast for a lovely rise.
- 1 1/2 tsp salt: Enhances the bread’s flavor.
- 3 tbsp butter (softened to room temperature): Adds richness to the dough.
- 3 1/4 cups all-purpose flour: The backbone of your bread. (Tip: Use King Arthur Flour for consistent results!)
- 1/2 tsp vanilla extract: A touch of sweetness that elevates the flavor.
- 3/4 cup unsalted butter (for lamination): Make sure it’s cold, so it doesn’t blend into the dough too much.
- 1 egg (for egg wash): Gives the bread that beautiful golden color.
- 1 tbsp water (for egg wash): To help the egg spread smoothly.
Note: Be sure your butter is at room temperature before starting. For the best texture, I prefer using European-style butter for its higher fat content!
Step-by-Step Instructions
Activate Yeast: In a large bowl, combine warm milk, yeast, and sugar; let sit for about 5 minutes until foamy. This step is crucial as it ensures your yeast is active.
Mix Dough: Add softened butter, salt, and 2 cups of flour; beat for 2 minutes until gluten develops. You want a thick, sticky but non-pasty mixture.
Incorporate Remaining Flour: Gradually mix in the remaining flour and vanilla until a soft dough forms. The dough will feel slightly tacky but should hold together. Knead for 5 minutes until it is smooth and elastic.
First Rise: Transfer the dough to an oiled bowl, cover it with plastic wrap, and let rise for 1.5 to 2 hours in a warm place until doubled in size.
Chill the Dough: After rising, gently flatten the dough into a rectangle, cover it with plastic wrap, and chill for 20 minutes in the refrigerator. This helps ensure the butter stays solid for lamination.
Begin Lamination: Place sliced cold butter on the chilled dough, fold the sides over to encase the butter, then roll it out into a long rectangle. Fold it into thirds (like a letter), wrap in plastic, and chill for another 20 minutes. Repeat this step two more times.
Final Shape: Roll the dough into a final rectangle, cut into desired sizes, and place them in a greased loaf pan. You can shape them as rolls or braids too!
Second Rise: Cover with a kitchen towel and let rise for another 45-60 minutes until doubled.
Preheat the Oven: Preheat your oven to 350°F (175°C), ensuring it’s fully heated before placing the bread inside.
Egg Wash: Brush the risen dough with the egg wash made by whisking together the egg and water. This gives it that signature shine as it bakes.
Bake: Bake for 25 minutes, then cover with foil and continue baking for an additional 35 minutes until golden and hollow-sounding when tapped.
Cool & Slice: Let cool in the pan for a few minutes before turning out and letting cool completely on a wire rack. Only slice once cool to maintain that lovely texture.
Chef’s Tip: If your dough feels too warm at any stage, pop it back in the fridge for a quick chill. It’s all about maintaining that butter layer!

Expert Tips & Tricks
Ingredient Temperature: Ensure your butter is cold, but not rock hard, for the lamination process. This balance is key!
Dough Consistency: If your dough is too sticky, sprinkle it with a little more flour during kneading. Aim for a soft, elastic finish.
Freeze for Later: If you want to save some dough, freeze it after the first rise. Wrap it tightly, and defrost in the fridge overnight before proceeding.
Serving Suggestions: This bread shines best with a spread of butter, jam, or honey. Or try serving it with a hearty soup or salad.
Storage: Keep your bread at room temperature in a bread box or wrapped in a clean kitchen towel. It lasts about three days.
Serving Suggestions
What better way to enjoy your freshly baked Laminated Bread than by pairing it with some delicious accompaniments? Try serving it alongside a rich, buttery spread, homemade jams, or fresh fruit preserves. If you’re feeling luxurious, offer it with a selection of gourmet cheeses.
For occasions, serve it warm straight from the oven at brunch with mimosas, or delight your guests at a dinner party as a stunning centerpiece on your table!
Variations & Substitutions
Feel free to get creative with this base recipe! Here are some delicious ideas to consider:
- Sweet Variations: Add cinnamon and sugar layers, or fill with almond paste for a delightful twist.
- Savory Options: Incorporate fresh herbs like rosemary or thyme, or add grated cheese inside the layers.
- Dietary Restrictions: For a dairy-free version, substitute the butter with a plant-based option and use almond or oat milk for a nutty flavor.
Nutrition & Storage Info
- Prep Time: 20 minutes + rising time
- Cook Time: Approximately 1 hour
- Total Time: About 3 hours (including rises)
- Yield: 10-12 servings
- Estimated Calories per Serving: Approx. 200
- Storage Instructions: Store at room temperature for up to 3 days; refrigerate for a week or freeze for up to a month.
FAQ Section
Can I use whole wheat flour?
Yes, feel free to substitute a portion or all with whole wheat flour, but your bread will have a denser texture.Is laminating dough really necessary?
Yes! It’s what gives Laminated Bread its characteristic flaky layers and delicious texture.What can I do if my dough doesn’t rise?
Check that your yeast is active. If too cool, place it in a warm spot, like an oven set to low, for a boost.How can I tell when my bread is done baking?
The bread should be golden brown, and when tapped, it should sound hollow. An internal temperature of 190-200°F is ideal.Can I make this dough in advance?
Absolutely! Follow the first rise, then refrigerate or freeze the dough until you’re ready to shape and bake.Can I add fillings like fruit or chocolate?
Yes, layer these during the lamination process, just be cautious not to overstuff.What if my butter melts into the dough while laminating?
Chill the dough and butter again. It’s essential to keep your butter cold for effective lamination.Is this recipe gluten-free?
For a gluten-free version, you would need to use a specific gluten-free flour blend designed for yeast breads.How long will this bread stay fresh?
At room temperature, it stays fresh for about 3 days; you can refrigerate for longer preservation.Can I bake this in a different pan?
Yes, you can use a baking sheet or muffin tins for different shapes. Just adjust the baking time accordingly.
Conclusion
What a journey we’ve taken together, from simple ingredients to a magnificent loaf of Laminated Bread, complete with its layers of history and flavor! I encourage you to take this recipe into your own hands and savor the heartwarming experience of baking.
I’d love to hear your thoughts and any personal twists you add to this recipe. Feel free to comment below and let me know how your Laminated Bread turns out! And if you’re looking for more ways to indulge, don’t miss my other baking recipes on the blog. Happy baking!

Laminated Bread
Ingredients
Method
- In a large bowl, combine warm milk, yeast, and sugar; let sit for about 5 minutes until foamy.
- Add softened butter, salt, and 2 cups of flour; beat for 2 minutes until gluten develops.
- Gradually mix in the remaining flour and vanilla until a soft dough forms.
- Knead for 5 minutes until it is smooth and elastic.
- Transfer the dough to an oiled bowl, cover it with plastic wrap, and let rise for 1.5 to 2 hours in a warm place until doubled in size.
- After rising, gently flatten the dough into a rectangle, cover it, and chill for 20 minutes in the refrigerator.
- Place sliced cold butter on the chilled dough, fold the sides over to encase the butter, then roll it out into a long rectangle.
- Fold it into thirds (like a letter), wrap in plastic, and chill for another 20 minutes. Repeat this step two more times.
- Roll the dough into a final rectangle, cut into desired sizes, and place them in a greased loaf pan.
- Cover with a kitchen towel and let rise for another 45-60 minutes until doubled.
- Preheat your oven to 350°F (175°C).
- Brush the risen dough with the egg wash.
- Bake for 25 minutes, then cover with foil and continue baking for an additional 35 minutes until golden.
- Let cool in the pan for a few minutes before turning out and letting cool completely on a wire rack.