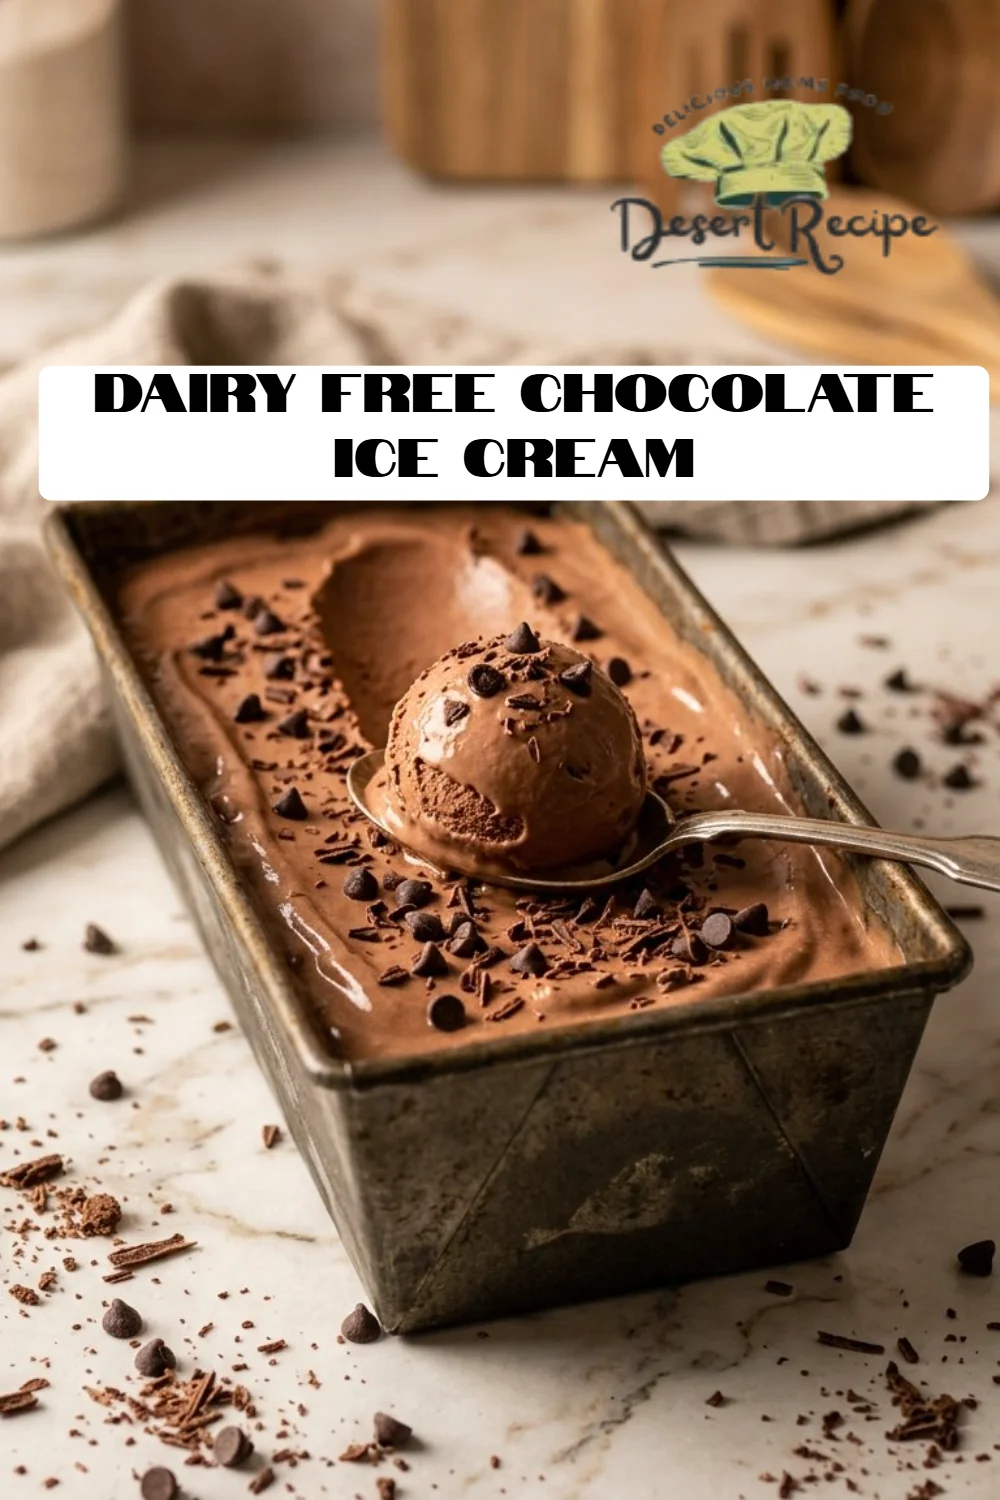
Decadent Dairy Free Chocolate Ice Cream: A Vegan Delight You Won’t Forget
Ah, ice cream—the ultimate comfort food! Growing up, I remember warm summer afternoons spent in my grandmother’s kitchen, where she would whip up her famous chocolate ice cream. The rich and creamy indulgence paired with memories of laughter and family made every spoonful feel like a warm hug. Fast forward a few years and my culinary journey led me to embrace a dairy-free lifestyle. Trust me; I thought I would have to sacrifice my favorite frozen treat until I stumbled upon a glorious recipe for Dairy Free Chocolate Ice Cream.
This isn’t just any dairy-free ice cream; it’s a velvety concoction made from wholesome ingredients that pack a punch of flavor while offering a delightful texture. With every scoop, you’ll experience a creamy chocolate bliss that comes from using cashew cream and luscious coconut milk. That’s what makes this recipe stand out; it combines incredible taste with a healthy twist. Plus, it’s a crowd-pleaser, whether you’ll be serving it at family gatherings or just wanting a treat for yourself after a long day.
In this blog post, I’ll guide you through the process of creating this creamy sensation from scratch. I promise you’ll be left with a bowl full of happiness, perfect for sunny days or cozy nights in. Let’s dive in!
What Are Dairy Free Chocolate Ice Cream?
Dairy Free Chocolate Ice Cream is an innovative twist on the classic dessert made without any dairy ingredients, making it perfect for those with lactose intolerance or anyone following a vegan diet. Originating from the combination of dairy alternatives like cashews and coconut milk, this ice cream allows you to indulge without the guilt.
The taste? Imagine a smooth, rich chocolate profile with a slightly nutty undertone from the cashew base. The texture is pure magic: creamy, luscious, and satisfying—much like traditional ice cream but with a dairy-free flair. This recipe is unique because it beautifully balances healthy ingredients while delivering that old-school comfort food feel, perfect for family gatherings, barbecues, or a simple after-dinner treat.
So why make your own? Not only can you control the quality and ingredients but also create a flavor that speaks to your soul. Whether it’s warm outside or a chilly winter night, Dairy Free Chocolate Ice Cream is a treat for every occasion.
Why You’ll Love This Recipe
Superior Taste and Creaminess: Unlike store-bought alternatives that can be loaded with fillers and artificial ingredients, this homemade Dairy Free Chocolate Ice Cream is made with wholesome, plant-based ingredients that deliver richer flavor and creaminess. Your tastebuds will thank you!
Budget-Friendly: Have you checked the prices of vegan ice creams lately? Making your own ice cream at home can save you so much money! I can whip up a batch for less than half the price of one pint of premium store-bought brand.
Customization Galore: Want to jazz things up? You have the freedom to get creative with flavors. Add a sprinkle of sea salt, mix in some almond extract, or fold in your favorite nuts for extra crunch. The possibilities are endless!
Effortless Process: Don’t stress out thinking this is a complicated recipe. I promise you can whip this up in under an hour (not including freezing time). It’s surprisingly simple!
Make-Ahead Delight: Ideal for parties or gatherings, you can prepare this Dairy Free Chocolate Ice Cream days in advance. Just pull it out of the freezer, and you’re ready to serve!
Are you convinced yet? Let’s get this ice cream party started!
Ingredients
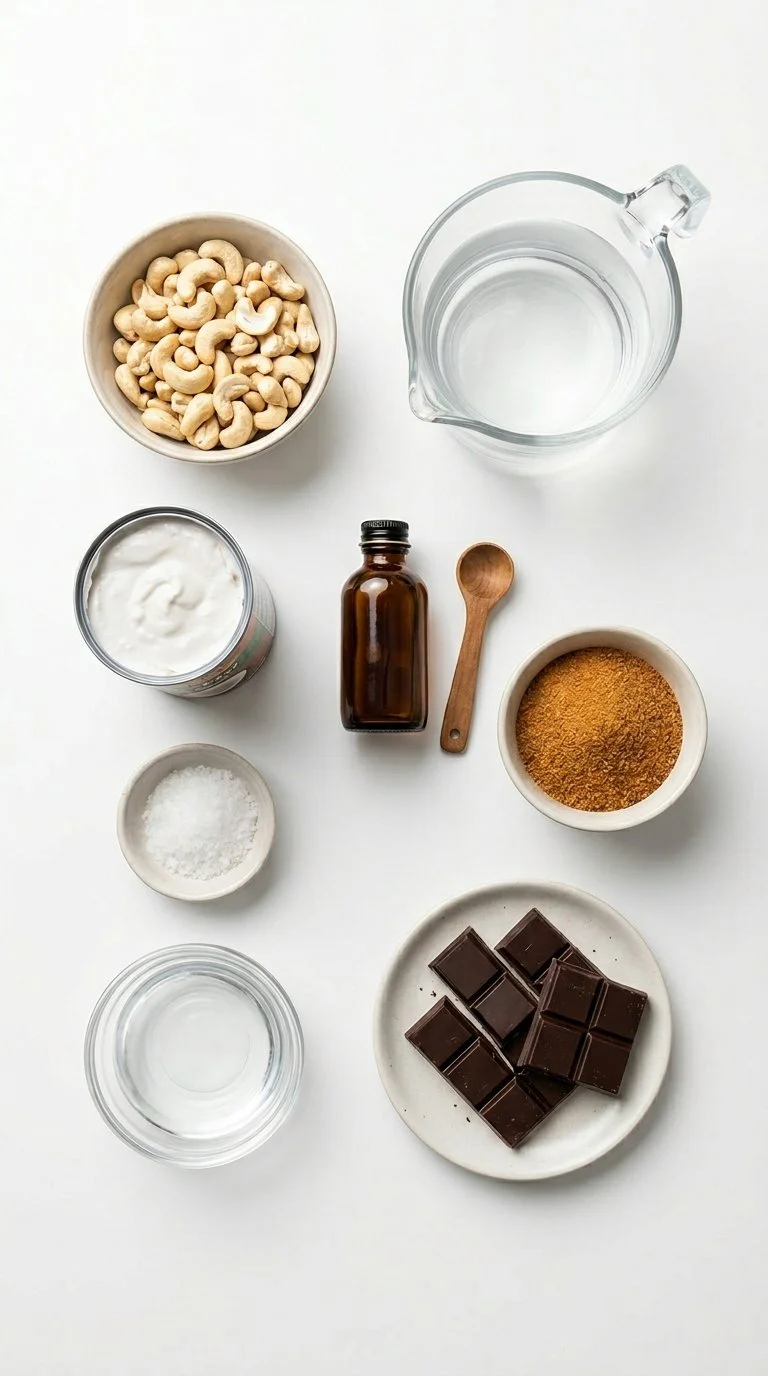
Here’s what you need to make your own rich, creamy Dairy Free Chocolate Ice Cream:
- 1 cup cashew pieces (soaked for optimal creaminess; I recommend using raw, unsalted)
- 2 cups hot water (to soak the cashews)
- 1 can coconut cream (full-fat works best for a luscious consistency)
- 1/2 Tbsp vanilla extract (use pure extract for the best flavor!)
- 1/4 tsp salt (this balances the sweetness)
- 1/2 cup coconut sugar (a great natural sweetener; feel free to substitute with maple syrup)
- 1/4 cup water (for melting the chocolate)
- 4 oz dark chocolate (go for at least 70% cocoa for rich flavor; I love using Ghirardelli)
Prep Notes:
- Soaking Cashews: Soaking the cashews in hot water helps to soften them, which is key in achieving a silky consistency. You can do this step in advance and store soaked cashews in the fridge!
- Coconut Cream: Let the can sit unopened at room temperature for a few hours before using, then scoop out the thick cream on top.
Step-by-Step Instructions
Soak the Cashews: Soak the cashews in 2 cups of hot water for at least one hour to soften. This step is crucial for a creamy texture when blended!
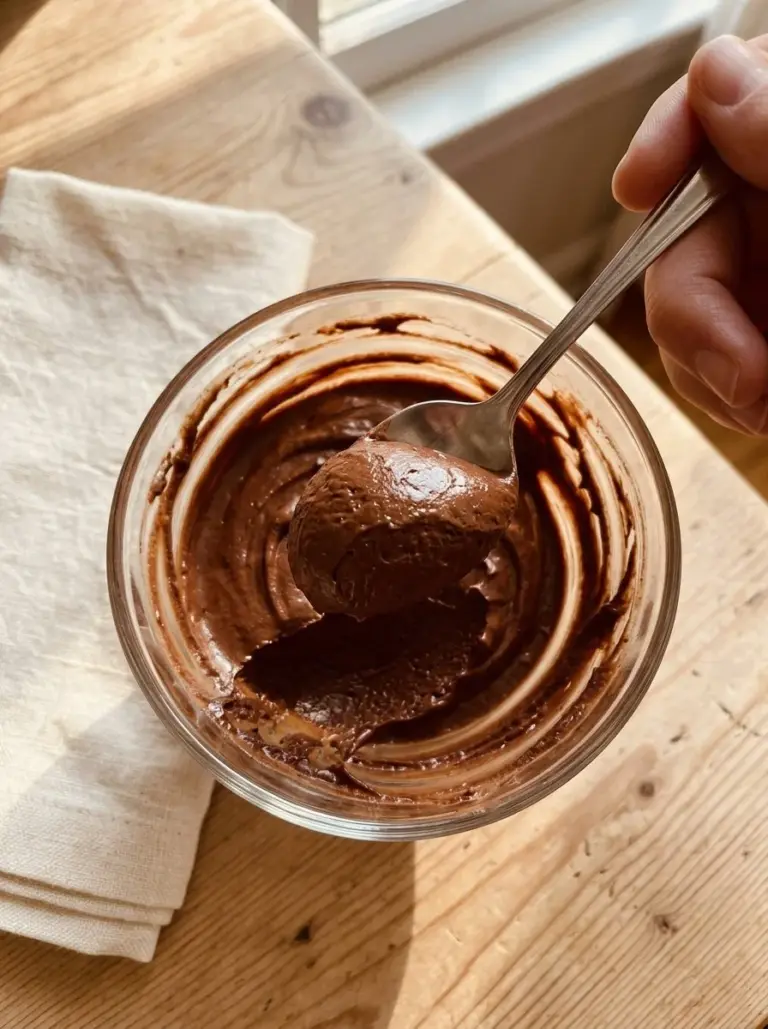
Blend the Cashews: Drain the soaked cashews and blend them with the soaking water until smooth and creamy. You’ll know it’s ready when it looks like a dreamy cashew cream.
Add Coconut Cream: Add the coconut cream, vanilla extract, and salt to the blender and blend again until fully combined. The mixture will be silky and rich.
Melt the Chocolate: In a saucepan over medium heat, dissolve the coconut sugar in 1/4 cup of water. Once dissolved, add the dark chocolate, stirring continuously until melted and smooth. This is where the chocolate magic happens!
Combine: Pour the melted chocolate mixture into the blender with the cashew cream and blend until fully integrated. Taste and adjust sweetness if needed!
Churn the Ice Cream: Pour the mixture into an ice cream maker and churn according to the manufacturer’s instructions for about 20-25 minutes.
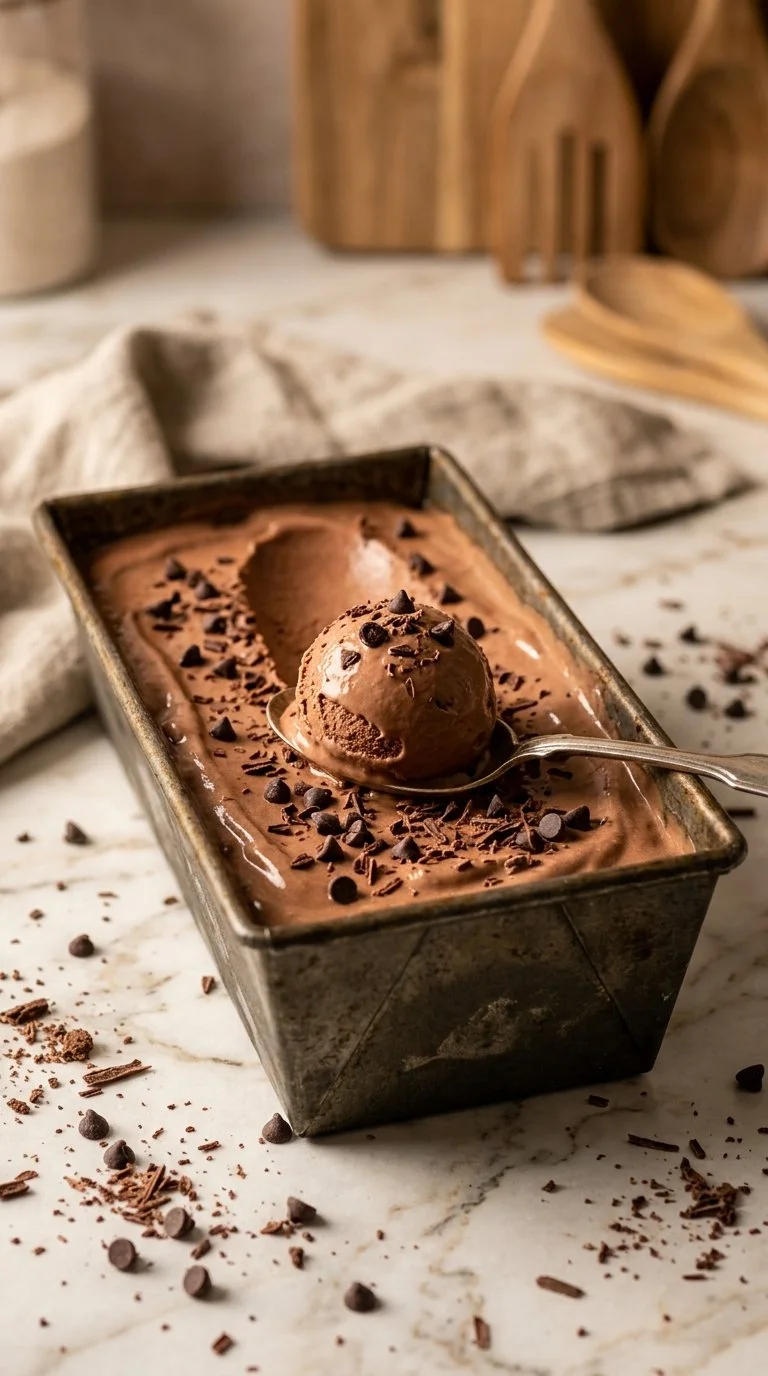
Freeze Until Firm: For firmer ice cream, transfer the mixture to a loaf pan and freeze for at least 2-4 hours. Allow to soften for 20 minutes before serving for the best scoopability.
Chef’s Tips:
- Don’t rush the blending process; a few extra minutes can make all the difference in achieving a perfectly smooth texture.
- If you don’t have an ice cream maker, you can pour the mixture into a shallow dish and stir every 30 minutes until frozen to incorporate air.
Expert Tips & Troubleshooting
Storage Recommendations: Store your Dairy Free Chocolate Ice Cream in an airtight container to prevent freezer burn. It can last up to two weeks, but trust me; it will likely be devoured long before that!
Make-Ahead Instructions: You can make this ice cream a few days in advance. Just remember to let it thaw a bit before you serve. You want to avoid the brick-like texture that can happen when ice cream is too icy.
Troubleshooting Texture Issues: If your ice cream turns out too hard, it means it wasn’t allowed to soften before serving. Leave it on the counter for 10-15 minutes to soften up for easier scooping.
Sweetness Adjustments: Taste the mixture before churning. If it’s not sweet enough, add a bit more coconut sugar or a drizzle of maple syrup for enhanced flavor.
Add-Ins and Variations: Feel free to fold in your favorite mix-ins like crushed cookies, chunks of fruit, or nuts during the last few minutes of churning or just before freezing.
Serving Suggestions
Dairy Free Chocolate Ice Cream is delicious on its own, but let’s elevate that experience! Consider serving it with a drizzle of warm vegan chocolate sauce, a sprinkle of toasted coconut, or a scoop of almond butter on top. For an extra special touch, you can pair it with homemade brownies or serve it in waffle cones for a classic treat.
This dessert is perfect for summer barbecues, cozy winter nights, birthday parties, or simply as a wonderful treat when you need a bit of self-care.
Variations & Substitutions
- Mint Chocolate Chip: Add a few drops of peppermint extract and fold in dairy-free chocolate chips for a minty fresh treat.
- Coffee Lovers: Swap out some coconut cream for brewed coffee for a delightful mocha flavor.
- Seasonal Flavors: Experiment with adding seasonal ingredients like pumpkin puree for fall or fresh berries in the summer!
Feel free to mix and match depending on what fruit or flavors you have on hand!
Nutrition & Storage Info
- Prep Time: 1 hour (including soaking)
- Cook Time: 15 minutes
- Total Time: 4 hours (including freezing)
- Yield: About 4-6 servings
- Estimated Calories per Serving: Approximately 250-300 calories, depending on specific ingredients.
Storage Instructions:
- Store at room temperature for up to 2 hours while serving.
- In the fridge, it will last for up to 1 week.
- In the freezer, it can last up to 2 weeks, though it’s best enjoyed fresh!
FAQ Section
Can I use other nuts instead of cashews?
Yes! Almonds or macadamia nuts can also create a creamy base, but cashews give the best texture.Can I make this without an ice cream maker?
Absolutely! Simply place the mixed blend into a shallow dish and freeze, stirring every 30 minutes until smooth.What can I substitute for coconut sugar?
You can use agave nectar, maple syrup, or regular sugar, but adjust the liquid in the recipe accordingly.How do I make it sweeter?
Just add a bit more sweetener during blending until you reach your desired taste.Is this recipe gluten-free?
Yes! All the ingredients listed are naturally gluten-free.What type of dark chocolate should I use?
Go for dark chocolate with at least 70% cocoa for the best flavor and health benefits.Do I need an ice cream maker to achieve the right texture?
An ice cream maker helps create a creamier, softer texture. However, stirring in a shallow dish can also work, albeit with a different texture.Can I add fruits?
Yes! Swirl in pureed fruits or add fresh fruit chunks during the last few minutes of churning.Can I make a larger batch?
Yes! Just double (or triple) the recipe, but ensure your blender can handle the volume.How can I serve this ice cream?
It’s delightful on its own, or serve it with toppings like fresh fruit, nuts, or a splash of coconut cream for added richness.
Conclusion
This Dairy Free Chocolate Ice Cream recipe has completely changed the game for me and my family. It combines nostalgia and innovation, delivering a creamy, delicious dessert that everyone can enjoy guilt-free. I encourage you to try making this at home, and I promise you’ll fall in love with every silky bite! If you do, please let me know how it turns out in the comments below.
And don’t forget to check out my other related recipes on the blog for more delightful vegan treats. Happy freezing!

Dairy Free Chocolate Ice Cream
Ingredients
Method
- Soak the cashews in 2 cups of hot water for at least one hour to soften.
- Drain the soaked cashews and blend them with the soaking water until smooth and creamy.
- Add the coconut cream, vanilla extract, and salt to the blender and blend again until fully combined.
- In a saucepan over medium heat, dissolve the coconut sugar in 1/4 cup of water. Once dissolved, add the dark chocolate and stir until melted and smooth.
- Pour the melted chocolate mixture into the blender with the cashew cream and blend until fully integrated.
- Pour the mixture into an ice cream maker and churn according to the manufacturer's instructions for about 20-25 minutes.
- Transfer the mixture to a loaf pan and freeze for at least 2-4 hours for a firmer ice cream.
- Allow to soften for 20 minutes before serving.