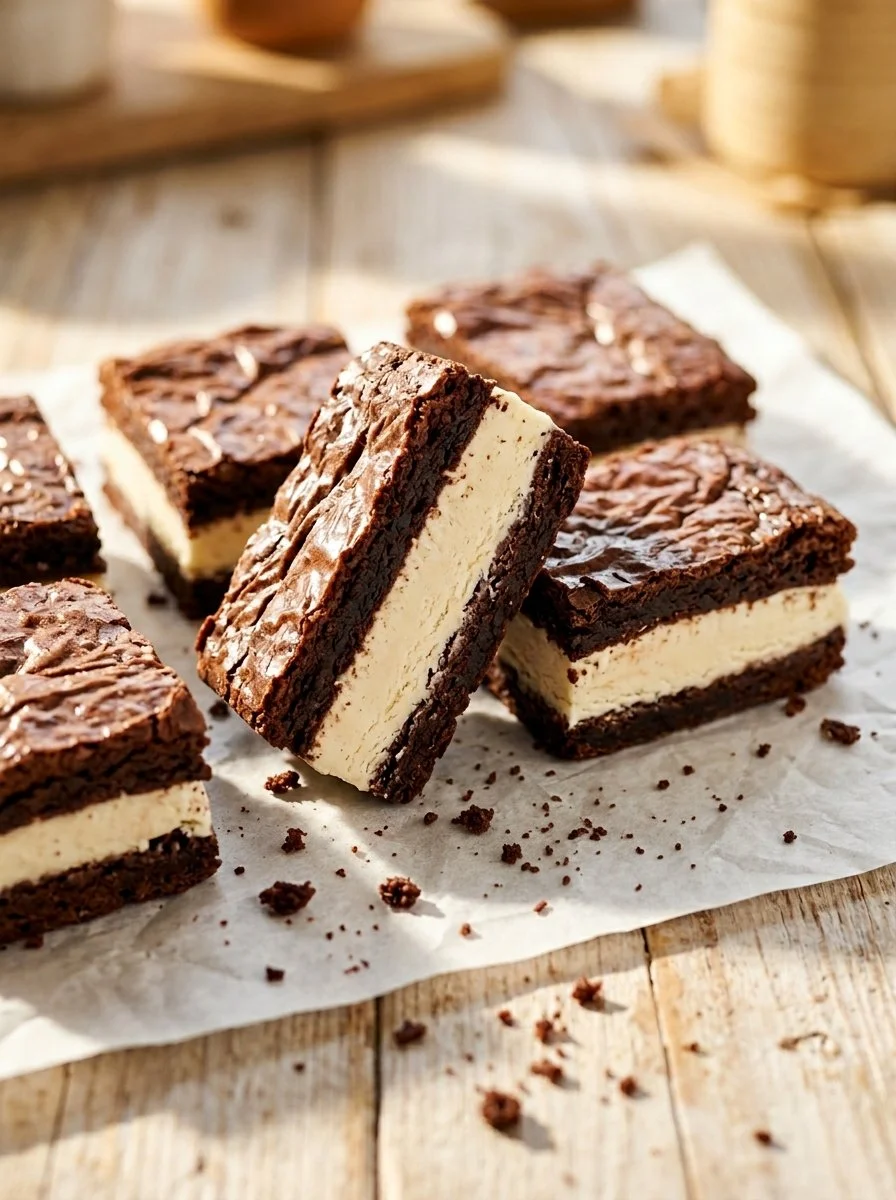
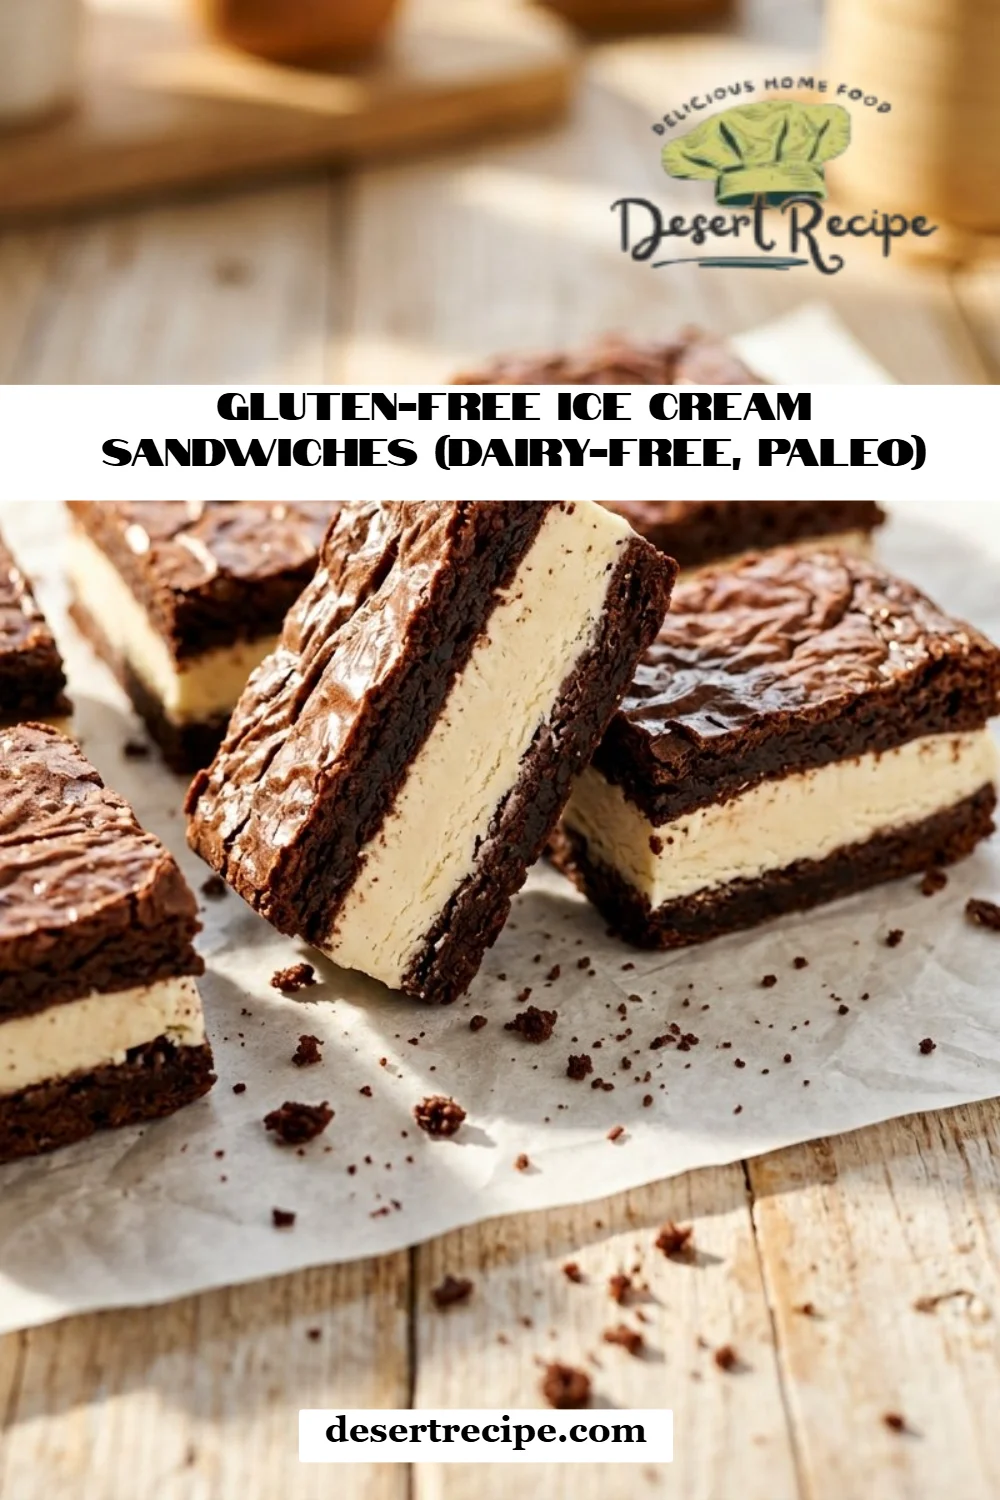
Irresistible Gluten-Free Ice Cream Sandwiches (Dairy-Free, Paleo)
Ah, the summertime classics: sun-soaked days, laughter echoing in the air, and the enticing chill of ice cream sandwiches melting blissfully between your fingers. For me, nothing takes me back quite like the aroma of cookies baking in the oven, mixed with the sweetness of my favorite dairy-free ice cream, providing a nourishing treat for my wellness-driven soul. That’s why I’m thrilled to share my recipe for Gluten-Free Ice Cream Sandwiches (Dairy-Free, Paleo), a treat that’s not only satisfying but also lifts the spirits and warms the heart.
What sets these sandwiches apart from the rest? They are made from wholesome ingredients, giving you the taste of nostalgia without the gluten and dairy. These treats have a chewy yet tender texture, just the way I remember from those summer days spent at the park with my family. They’re also easily customizable, so whether you’re craving a decadent chocolate or a nutty vanilla, you’ll find a version that delights your taste buds. You’ll learn how to combine simple ingredients to create something truly extraordinary, bringing family and friends around the kitchen, sharing stories and laughter, just like in my childhood memories. So, roll up your sleeves and get ready for a delightful cooking adventure!
What Are Gluten-Free Ice Cream Sandwiches (Dairy-Free, Paleo)?
Gluten-Free Ice Cream Sandwiches (Dairy-Free, Paleo) are a modern take on the classic dessert we all know and love. Born from the need for healthier, allergy-friendly alternatives, these sandwiches embrace the delightful simplicity of a cookie filled with creamy, dreamy ice cream—all while being entirely gluten-free and dairy-free.
The taste? A blissful combination of rich chocolatey flavor from the cookies, paired with the silky smoothness of dairy-free ice cream—it’s like a little slice of heaven in every bite. The texture is just as important; imagine a firm yet chewy cookie that perfectly hugs the luscious, cold ice cream filling, bringing the perfect balance of creamy and crunchy.
When should you make these refreshing delights? Anytime you want to impress your friends at a summer barbecue, celebrate a birthday, or simply treat yourself after a long day. They’re your winning ticket for a yummy dessert that everyone can enjoy, and trust me, once you start making them, there’s no turning back!
Why You’ll Love This Recipe
Allergy-Friendly: This recipe caters to various dietary restrictions, making it suitable for friends and family with gluten intolerances or dairy allergies while still satisfying sweet tooth cravings.
Cost-Effective: Rather than purchasing pricey gluten-free, dairy-free desserts that often skimp on quality, you can whip up a whole batch at a fraction of the cost. Plus, you’ll know exactly what’s in them!
Fully Customizable: Whether you want to experiment with different flavors of ice cream or mix in fun add-ins like nuts or sprinkles into the cookie dough, this recipe is a playground for your creativity.
Easy to Make: The steps are straightforward, and after a little time spent in the kitchen, you’ll be rewarded with delicious ice cream sandwiches, all without the need for fancy kitchen gadgets.
Nostalgia Factor: Not only are they scrumptious, but they also stir up those sweet childhood memories. Each bite transports you back to those carefree summer days, making them perfect for sharing with family and friends.
By the end of this journey, I promise you won’t just have a tasty treat—you’ll have created a moment that lingers in the heart.
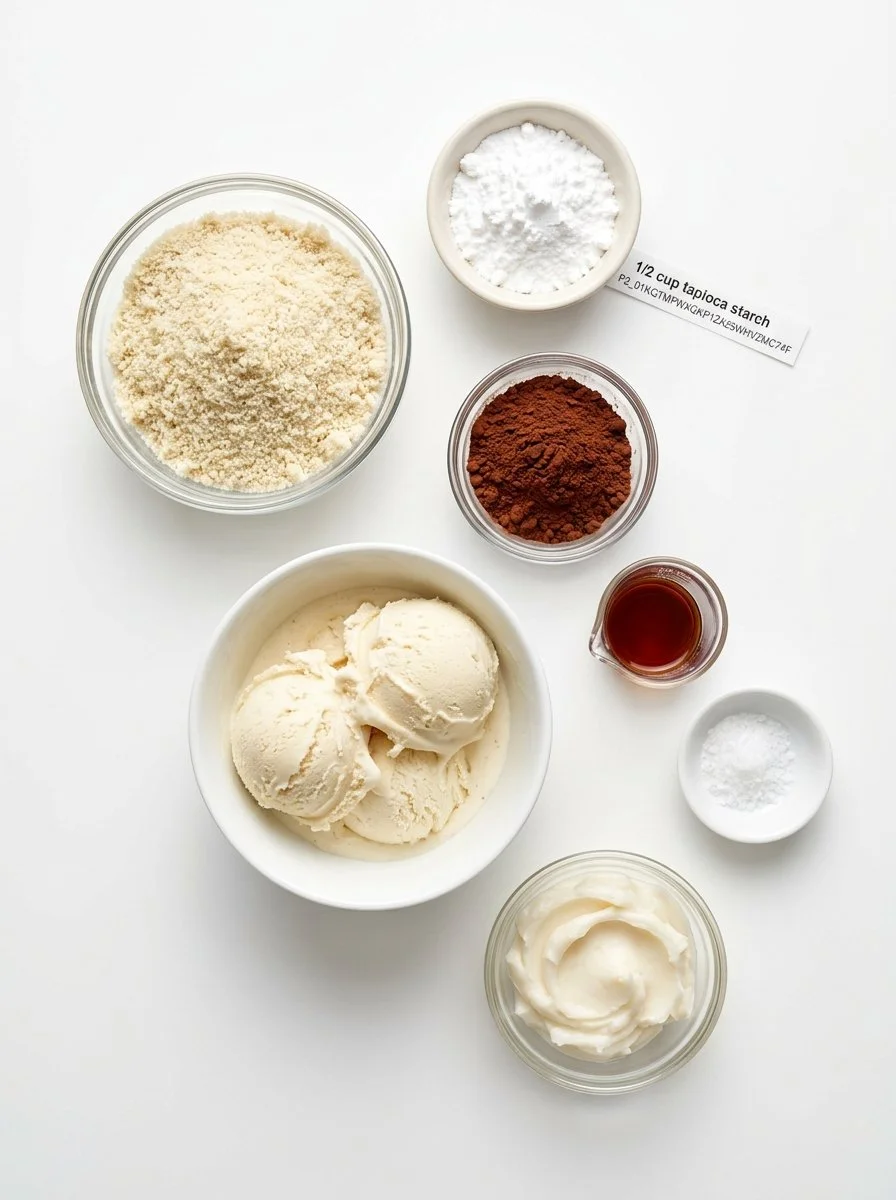
Ingredients
- 2 cups almond flour (I prefer Bob’s Red Mill for its fine texture)
- 1/2 cup tapioca starch
- 1/2 cup cocoa powder (look for a fair-trade option)
- 1/2 tsp salt
- 1/2 cup palm shortening or dairy-free butter (Nutiva or Earth Balance are my go-to brands)
- 2 tsp pure vanilla extract
- 2 cups paleo vanilla ice cream or any favorite dairy-free ice cream
Notes on Ingredients:
- Almond Flour: A gluten-free powerhouse, almond flour brings a lovely texture to the cookies.
- Tapioca Starch: This helps bind the ingredients and creates a chewy texture—don’t skip it!
- Cocoa Powder: Make sure it’s unsweetened and of good quality to get the richest chocolate flavor.
- Palm Shortening vs. Dairy-Free Butter: I often use palm shortening for its melting point characteristics, but butter adds a creaminess.
- Room Temperature: Make sure your palm shortening or butter is at room temperature for easy mixing.
Step-by-Step Instructions
Prep the Dough: In a large mixing bowl, combine 2 cups almond flour, 1/2 cup tapioca starch, 1/2 cup cocoa powder, and 1/2 tsp salt. Mix well until no lumps remain. Using an electric mixer or a spatula, add in 1/2 cup palm shortening (or butter) and 2 tsp vanilla extract. Mix until smooth, kneading the dough until it becomes soft and slightly sticky. (Make sure to take a quick taste of the dough—so irresistible!)
Form the Cookies: Divide the dough into two equal halves. Line an 8" x 8" baking dish with parchment paper, pressing one half evenly into the bottom. Use your fingers or a spatula to create a level surface.
Freeze the First Layer: Cover with plastic wrap and freeze for at least 30 minutes. This will allow the cookies to firm up nicely, making them easier to handle when assembling.
Prepare the Second Layer: While the first layer is freezing, repeat the same process with the second half of the dough. When finished, freeze again for 30 minutes.
Assemble the Sandwiches: Once both layers are the right firmness, take the first cookie layer out and scoop in about 2 cups of your favorite dairy-free ice cream. Spread it evenly over the cookie. (The ice cream is best when it’s slightly softened for easier spreading.)
Top It Off: Remove the second cookie layer from the freezer and gently place it on top of the ice cream. Press down just a bit so it sticks, then cover the whole dish with plastic wrap before placing it back into the freezer overnight, or at least for 6 hours.
Slice and Serve: Using a sharp knife, carefully cut the assembled sandwiches into your desired sizes. Store them in an airtight container in the freezer for up to 2 weeks. Just try not to eat them all in one sitting!
Chef’s Tips: A good way to make perfect cuts is by running your knife under hot water, drying it off, and then slicing. This ensures clean edges!
Expert Tips & Troubleshooting
Storage Recommendations: These gluten-free ice cream sandwiches can last in the freezer for about 2 weeks if stored in an airtight container. Just make sure to lay parchment paper between layers to prevent sticking.
Make-Ahead Instructions: Prepare the cookie layers in advance and freeze them separately until you’re ready to assemble the sandwiches. They can be made up to a week ahead of time.
Troubleshooting Common Problems: If your cookie dough seems too crumbly, add a splash of almond milk to moisten it up. If it’s too sticky, add a sprinkle of almond flour until the right consistency is achieved.
Texture Tips: For best results, let your sandwiches sit at room temperature for 5-10 minutes before digging in. This allows the ice cream to soften just enough without losing its shape.
Flavor Variation: For a fun twist, add about 1/2 cup of mini chocolate chips or chopped nuts to your cookie dough before freezing for added texture and taste.
Serving Suggestions
Pair these delicious Gluten-Free Ice Cream Sandwiches with a light fruit salad, fresh berries, or a glass of almond milk for a delightful contrast. For a special touch, you could sprinkle some cocoa powder or shredded coconut on the serving plate for a festive feel! These treats are perfect for birthday parties, picnics, or just a cozy family movie night. I love to serve them alongside an outdoor summer gathering with friends—the ultimate way to connect and share sweetness.
Variations & Substitutions
Looking to spice things up? Here are a few variations to consider:
- Different Flavors: Why not try swapping out the cocoa powder for matcha powder or cinnamon for a unique twist? The possibilities are endless!
- Dietary Adaptations: For those looking for a nut-free alternative, you can replace almond flour with sunflower seed flour. Just ensure to adjust any light colors to avoid greening.
- Seasonal Treats: In fall, why not add pumpkin spice to the cookie dough and layer with some pumpkin pie-flavored ice cream? Winter? Peppermint mocha will be your best friend!
Nutrition & Storage Info
- Prep Time: 20 minutes
- Cook Time: 10 minutes
- Total Time: 60 minutes (plus freeze time)
- Yield: Approximately 12 sandwiches
- Estimated Calories: Around 180 calories per sandwich (depending on ice cream choice)
- Storage Instructions: Keep in the freezer for up to 2 weeks for the best taste and texture.
FAQ Section
Can I use other flours instead of almond flour?
- Yes! Coconut flour can work, but you will need to adjust the ratios as it absorbs more moisture. Typically, use 1/4 cup coconut flour.
Does it have to be frozen overnight?
- While overnight is ideal for the best texture, you can freeze for at least 6 hours if you’re in a hurry.
Can I make these without ice cream?
- Absolutely! You can use a thick yogurt or whipped coconut cream instead for a lighter option.
What if my cookie dough is too crumbly?
- Try adding a small splash of almond milk to moisten it, and have fun experimenting with how much to add!
How do I best store them?
- Place them in a sealed container with parchment paper between layers to keep them from sticking.
Can I add mix-ins?
- Definitely! Chocolate chips, nuts, or dried fruit can elevate your sandwiches even more.
Is it necessary to use cocoa powder?
- You can omit it for a vanilla-flavored cookie or introduce other flavors like matcha, as mentioned before!
Are these sandwiches too sweet?
- The sweetness can depend on the choice of ice cream. Opt for a less sweet ice cream to balance the cookies.
Can I use homemade ice cream?
- Yes! Just make sure it’s Dairy-Free and has a creamy consistency for best results.
How long does it take for the ice cream to soften?
- Usually about 5-10 minutes at room temperature should suffice before assembly.

Conclusion
These Gluten-Free Ice Cream Sandwiches (Dairy-Free, Paleo) are a labor of love, sure to bring joy not only to the kitchen but also to your dining table as family and friends gather around for a delicious treat. They remind us that we can indulge freely while staying true to our diet choices. I invite you to recreate this recipe and share your experiences! Did your loved ones enjoy them as much as mine did? I love hearing feedback and encouragement to inspire future recipes.
For more delectable recipes guaranteed to evoke smiles, don’t forget to explore the related recipes on my blog. Happy baking!

Gluten-Free Ice Cream Sandwiches (Dairy-Free, Paleo)
Ingredients
Method
- In a large mixing bowl, combine almond flour, tapioca starch, cocoa powder, and salt. Mix well until no lumps remain.
- Add in palm shortening (or butter) and vanilla extract. Mix until smooth, kneading the dough until it becomes soft and slightly sticky.
- Divide the dough into two equal halves. Line an 8" x 8" baking dish with parchment paper, pressing one half evenly into the bottom.
- Cover with plastic wrap and freeze for at least 30 minutes.
- Remove the first cookie layer from the freezer, scoop in the dairy-free ice cream, and spread it evenly.
- Place the second cookie layer on top of the ice cream, pressing down slightly, then cover with plastic wrap and freeze overnight or at least for 6 hours.
- Using a sharp knife, cut the sandwiches into your desired sizes and store in an airtight container in the freezer for up to 2 weeks.