Irresistibly Healthy Strawberry Frozen Yogurt Bars: A Delightful Treat You Can’t Resist!
Introduction
Every summer, our family gets together for a grand picnic, and without fail, the star of the dessert table is my Irresistibly Healthy Strawberry Frozen Yogurt Bars. The joy on my kids’ faces as they bite into these creamy, fruity treats triggers a flood of cherished memories from my childhood. I recall running through the yard, sticky fingers reaching for more while the sun warmed our faces.
What sets these strawberry yogurt bars apart is not just their delicious taste but also their wholesome ingredients. Unlike the sugary, store-bought alternatives that leave you feeling sluggish, these bars are a guilt-free indulgence, bursting with the natural sweetness of strawberries. Made with just a handful of ingredients, you can whip these up in no time and customize them to your heart’s content.
As I share this recipe with you, I promise you’ll not only get to savor healthy homemade bliss but also discover how easy it is to create a treat that brings family and friends together—just as it has for us.
What Are Irresistibly Healthy Strawberry Frozen Yogurt Bars?
The origin of these delightful strawberry yogurt bars comes from my insatiable need to create treats that are both delicious and nutritious. Using frozen strawberries, these bars marry the creamy richness of yogurt with the refreshing zing of fruit, making them a perfect treat for hot summer days or a healthy snack any time of year.
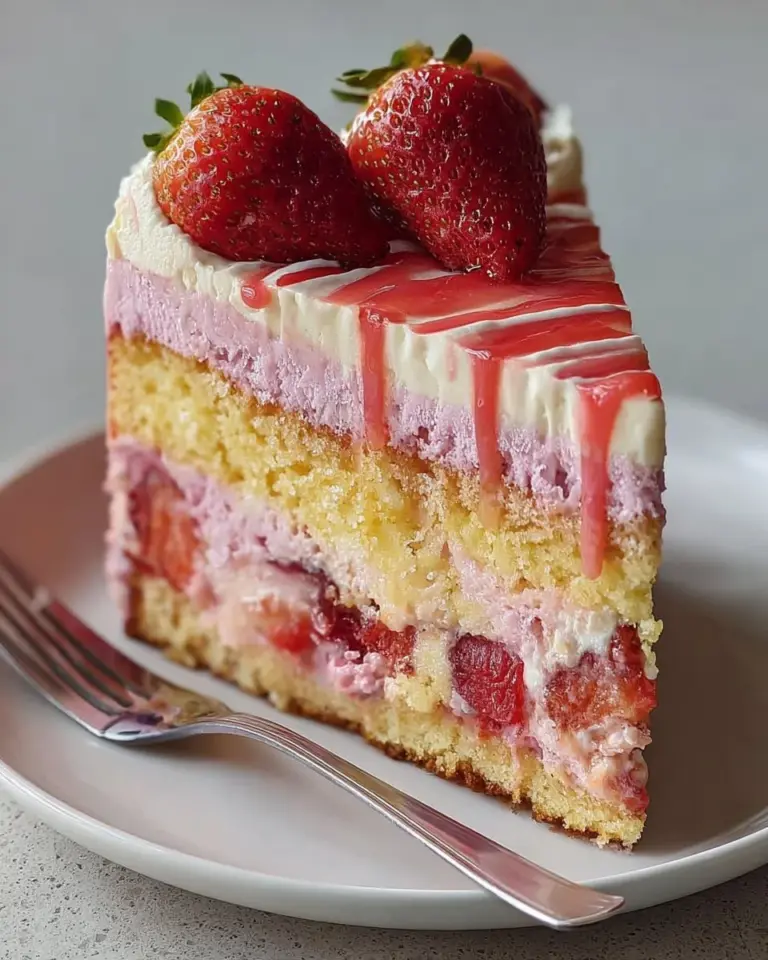
These bars are fresh, vibrant, and smooth with a chewy texture that dances perfectly on your palate. Whether enjoyed straight out of the freezer or as a colorful addition to any summer gathering, their taste and texture leave you longing for more.
So why should you make these? They’re easy, healthy, and customizable—perfect for any occasion, whether it’s a birthday party, family picnic, or just a treat for yourself after a long day.
Why You’ll Love This Recipe
Here are a few compelling reasons why you’ll absolutely adore making your own Irresistibly Healthy Strawberry Frozen Yogurt Bars:
Healthier Alternative: These homemade bars are bursting with the goodness of real fruit and contain no added preservatives or artificial flavors like many store-bought options. Every bite is pure strawberry bliss!
Cost-Effective: Making these treats at home allows you to save money in comparison to pricey grocery store frozen desserts. Plus, they’re easy to prepare in bulk for parties or hot days when you need a quick snack!
Customization Galore: Feel inspired to switch things up? You can easily substitute different fruits or yogurts, such as coconut yogurt for a dairy-free version, or add a swirl of nut butter for a nutty twist.
Quick and Simple: With just a few steps, you’ll have these bars ready to freeze in about 15 minutes of prep time. Plus, they can be made ahead of time, allowing you to always have a sweet treat on hand.
Fun for Kids: Kids love helping in the kitchen, and this recipe is perfect for getting them involved. They’ll have a blast blending ingredients and pouring them into molds.
You’ll soon find that this is a recipe you’ll return to again and again, especially on those sweltering days when you want to feel refreshed without compromising on taste!

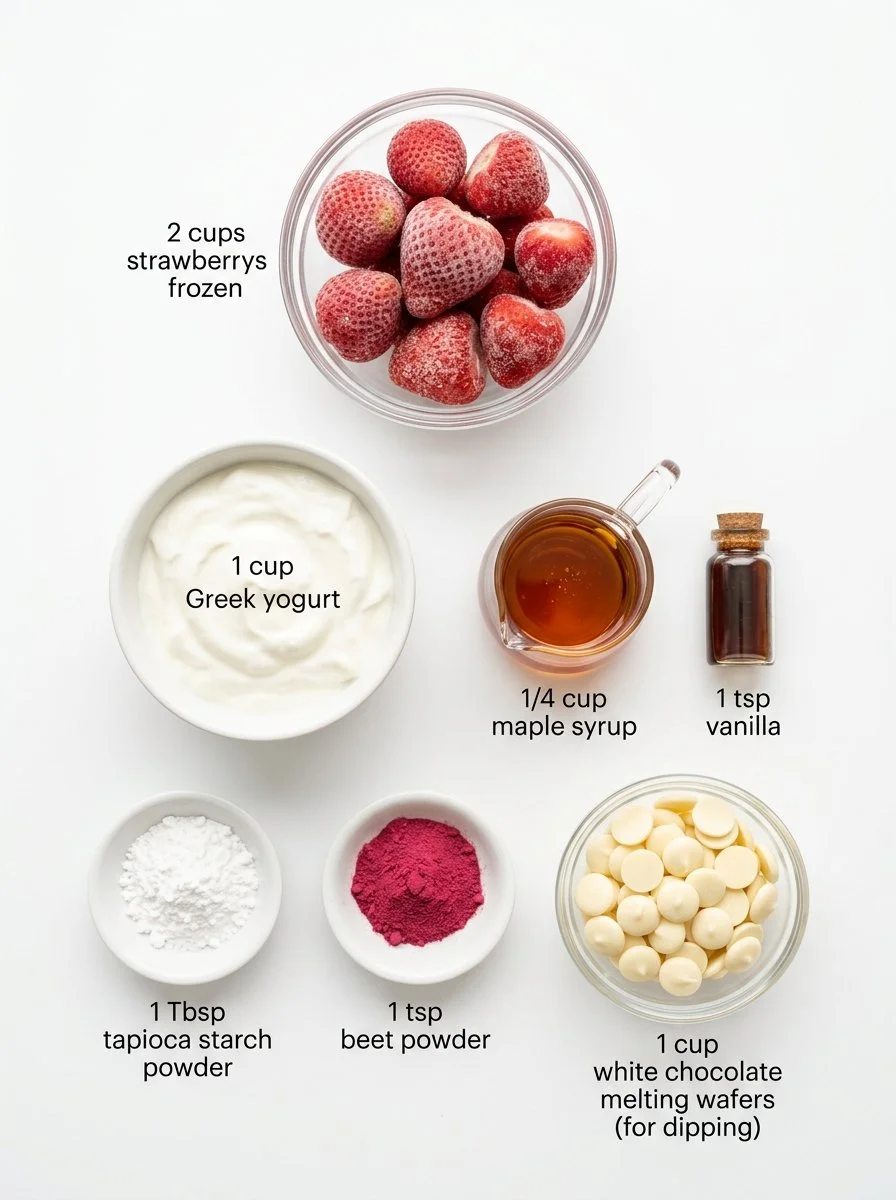
Ingredients
2 cups frozen strawberries (or fresh): For the sweetest results, opt for ripe, in-season strawberries. If using fresh, consider freezing them for a few hours before blending for better texture.
1 cup unsweetened yogurt (coconut or regular): Choose your favorite yogurt; I personally love using creamy coconut yogurt for added tropical vibes!
1/4 cup maple syrup (or favorite liquid sweetener): Adjust the sweetness level to your taste; honey or agave syrup can also be used as alternatives.
1 tsp vanilla extract (optional): This adds a warm, comforting undertone to the flavor but can be omitted if you’re keeping it simple.
1 Tbsp tapioca starch (optional): This helps to create a creamier texture. If you don’t have any, don’t worry—your bars will still be delicious!
1 tsp beet powder (optional): For a natural, vibrant color boost.
1 cup white chocolate (optional for dipping): A drizzle of melted white chocolate elevates these bars to pure decadence.
Prep Notes: If you’re using fresh strawberries, wash and hulled them first. For yogurt, placing it at room temperature for a few minutes makes blending easier.
Brand Recommendations: I love using Chobani for yogurt and Enjoy Life for allergen-friendly chocolate.
Step-by-Step Instructions
Prep the Strawberries: Start by chopping your strawberries into smaller pieces to assist in blending.
Blend the Ingredients: Add the strawberries, yogurt, maple syrup, vanilla extract, tapioca starch, and beet powder to a blender. Blend until smooth, which should take about 1-2 minutes. You can taste and adjust sweetness as needed.
- Chef’s Tip: If the mixture is too thick, add a splash of water to help it along!
Pour Into Molds: Carefully pour the creamy mixture into popsicle molds, filling each cavity almost to the top.
Insert Sticks and Freeze: Insert your popsicle sticks now, ensuring they’re centered. Freeze for at least 4 hours, preferably overnight for the best texture.
Prepare for Dipping: If you’re dipping your bars in chocolate, melt the chocolate in a microwave-safe bowl in short bursts, stirring often until completely melted.
Dip the Bars: Once fully frozen, remove the bars from the molds. Dip them halfway into the melted chocolate. This optional step adds a delightful contrast in flavor and texture.
Set the Bars: Place the dipped bars on a parchment-lined baking sheet, allowing the chocolate to set. You can place them in the fridge for about 30 minutes to speed this up.
Enjoy or Store: Consume immediately or store leftovers in a sealed bag in the freezer for up to two months—if they last that long!
Common Mistake to Avoid: Don’t rush the freezing process; allowing the flavors to meld overnight makes all the difference!
Expert Tips & Troubleshooting
Storage Recommendations: To avoid ice crystals forming, make sure the bars are completely sealed in an airtight bag before freezing.
Make-Ahead Instructions: You can prep the mixture several days in advance; just blend and pour into molds when you’re ready to freeze.
Dealing With Sticking: If the bars stick to the molds, place them under warm water for a few seconds to help release them.
Too Sweet?: If you find the bars overly sweet after blending, simply add a bit more yogurt to balance it out.
Flavor Adaptation: Swap in blueberries or mango for different variations, or mix in some granola for added crunch!
Texture Adjustment: If the bars are too icy, try blending a bit longer to achieve a creamier texture before freezing.
Serving Suggestions
These Irresistibly Healthy Strawberry Frozen Yogurt Bars shine as a standalone treat, but they can also be paired with creamy whipped coconut cream or a sprinkling of crushed nuts for an added crunch. They make for an attractive centerpiece at summer parties, birthday gatherings, or as a delightful afternoon snack.
Present them on a rustic wooden platter adorned with fresh berries for an Instagram-worthy treat that’s sure to impress your guests!
Variations & Substitutions
Different Flavor Combinations: Get creative by using different fruits like raspberries, peaches, or even tropical pineapple! Replace strawberries with mixed berries for a berry blend delight.
Dietary Restriction Adaptations: For vegan versions, ensure that you’re using plant-based yogurt and consider agave syrup instead of honey.
Seasonal Variations: In fall, add pumpkin puree and spices for a festive twist, and in winter, consider incorporating peppermint extract for a refreshing minty flavor.
Nutrition & Storage Info
- Prep Time: 15 minutes
- Cook Time: 0 minutes
- Total Time: 4+ hours (includes freezing)
- Yield: 6-8 bars, depending on mold size
- Estimated Calories: Approximately 150 calories per bar
- Storage Instructions: Store in the freezer for up to two months in an airtight container.
Frequently Asked Questions
Can I use fresh strawberries instead of frozen?
Yes, but freezing them before blending helps achieve a creamier texture.What if I don’t have popsicle molds?
You can use small cups and insert sticks once they start to freeze slightly.Can these be made without sugar?
Yes! You can omit the maple syrup or substitute it with ripe bananas for sweetness.How do I know when they’re done freezing?
They should be solid throughout, which usually takes at least 4 hours; overnight is best.Can I use different sweeteners?
Absolutely! Feel free to experiment with honey, agave syrup, or even stevia.What if the mixture is too thin?
You can add more yogurt or a little bit of more tapioca starch to thicken it.How can I make them more decadent?
Consider adding a swirl of nut butter into the mixture before freezing.What can I do with leftovers?
The bars can be kept in an airtight bag in the freezer for up to two months.Can I make these without yogurt?
You could substitute with coconut cream for a dairy-free version, although the consistency may differ.Are there any allergens in these bars?
This recipe is naturally gluten-free and can be dairy-free if you choose the right yogurt!

Conclusion
These Irresistibly Healthy Strawberry Frozen Yogurt Bars are truly special for their exquisite flavor, nutritional benefits, and nostalgic family memories. Each bite reminds me of summer picnics and joyful laughter, making them a cherished part of our family’s dessert traditions.
So why not whip up a batch this week? I would love to hear how you enjoyed your homemade creations, so please leave a comment below! And if you’re searching for more delightful summertime treats, be sure to check out my other easy recipes on the blog for more inspiration!

Strawberry Frozen Yogurt Bars
Ingredients
Method
- Prep the strawberries by chopping them into smaller pieces.
- Blend the strawberries, yogurt, maple syrup, vanilla extract, tapioca starch, and beet powder in a blender until smooth (1-2 minutes). Adjust sweetness as needed.
- Pour the creamy mixture into popsicle molds, filling each cavity almost to the top.
- Insert popsicle sticks centered in the molds and freeze for at least 4 hours or preferably overnight.
- If dipping in chocolate, melt the chocolate in a microwave-safe bowl in short bursts, stirring until smooth.
- Once fully frozen, remove bars from the molds and dip them halfway in melted chocolate.
- Set the dipped bars on a parchment-lined baking sheet and allow the chocolate to set, either at room temperature or in the fridge for about 30 minutes.
- Enjoy immediately or store leftovers in a sealed bag in the freezer for up to two months.