Table of Contents
Table of Contents
As I stood in my warm kitchen, the scent of cherries and freshly baked bread swirling through the air, I couldn’t help but reminisce about my grandmother’s kitchen. Each summer, she would gather us around the baking table, turning our ripe, sweet cherries into what we affectionately dubbed her “magic cherry bread.” Homemade Cherry Bread became our family’s go-to treat—an irresistible delight fresh out of the oven, its sweet aroma drawing everyone in like moths to a flame.
What makes my version of Homemade Cherry Bread so special? For starters, it’s not just about the taste. It’s about infusing each loaf with memories of laughter, love, and togetherness. Unlike many store-bought versions packed with preservatives, this recipe uses fresh ingredients, ensuring that each slice is a wholesome indulgence. Plus, it’s truly customizable! Want to throw in a handful of chocolate chips or a sprinkle of almonds? Go for it!
In this post, you’ll learn how to recreate that same sense of joy and comfort in your own kitchen. I’ll walk you through every step, sharing tips and tricks that I’ve honed over countless baking sessions. Let’s turn those beautiful cherries into a loaf of happiness that you’ll want to share with your loved ones!
What are Homemade Cherry Bread?
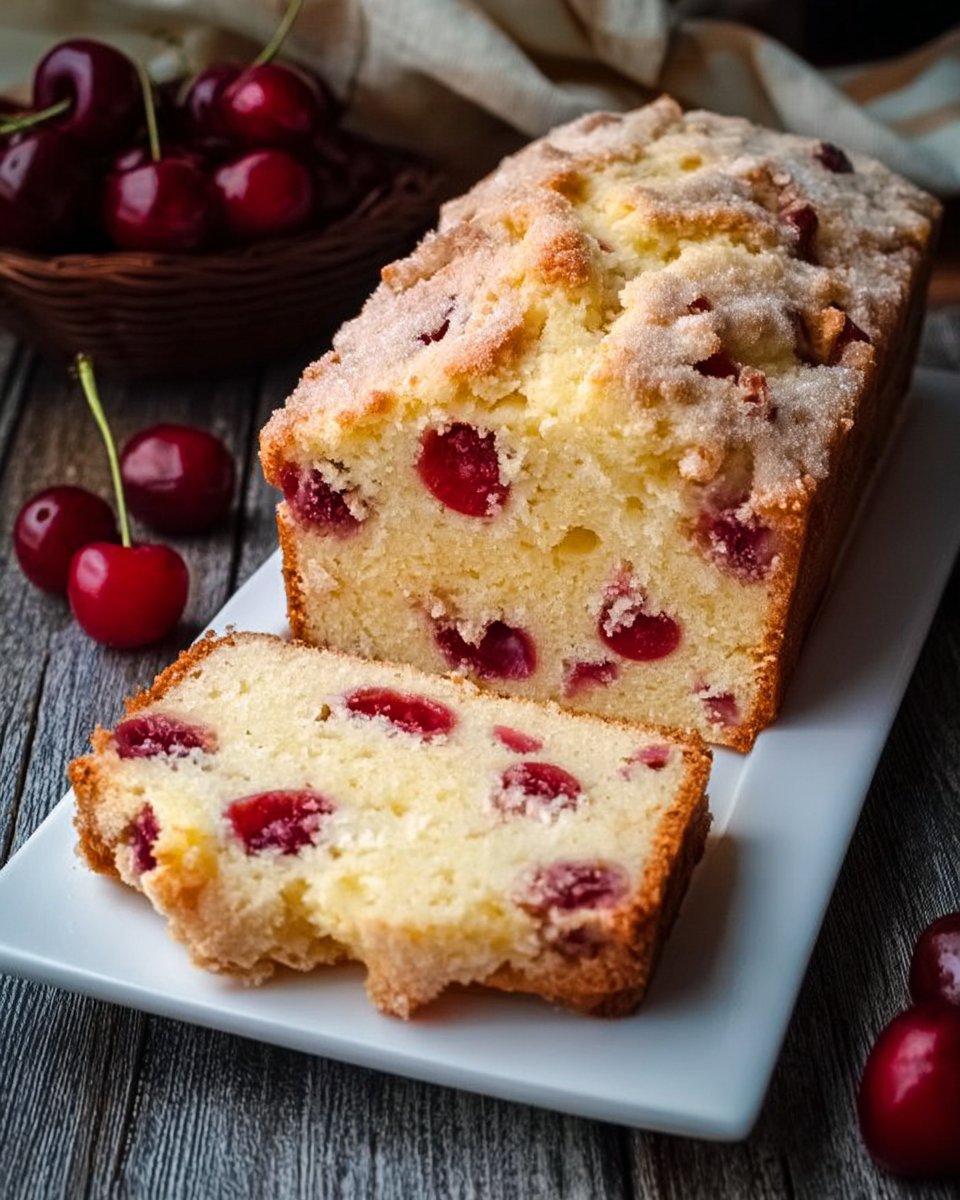
Homemade Cherry Bread is a delightful quick bread that perfectly balances the sweet-tart flavor of cherries with a soft, tender crumb. Originating from rustic kitchens like my grandmother’s, this bread is as delicious as it is versatile. It embraces the spirit of summer as cherries reach their peak ripeness, and it invites the cozy, comforting feelings of home-cooked meals shared with family.
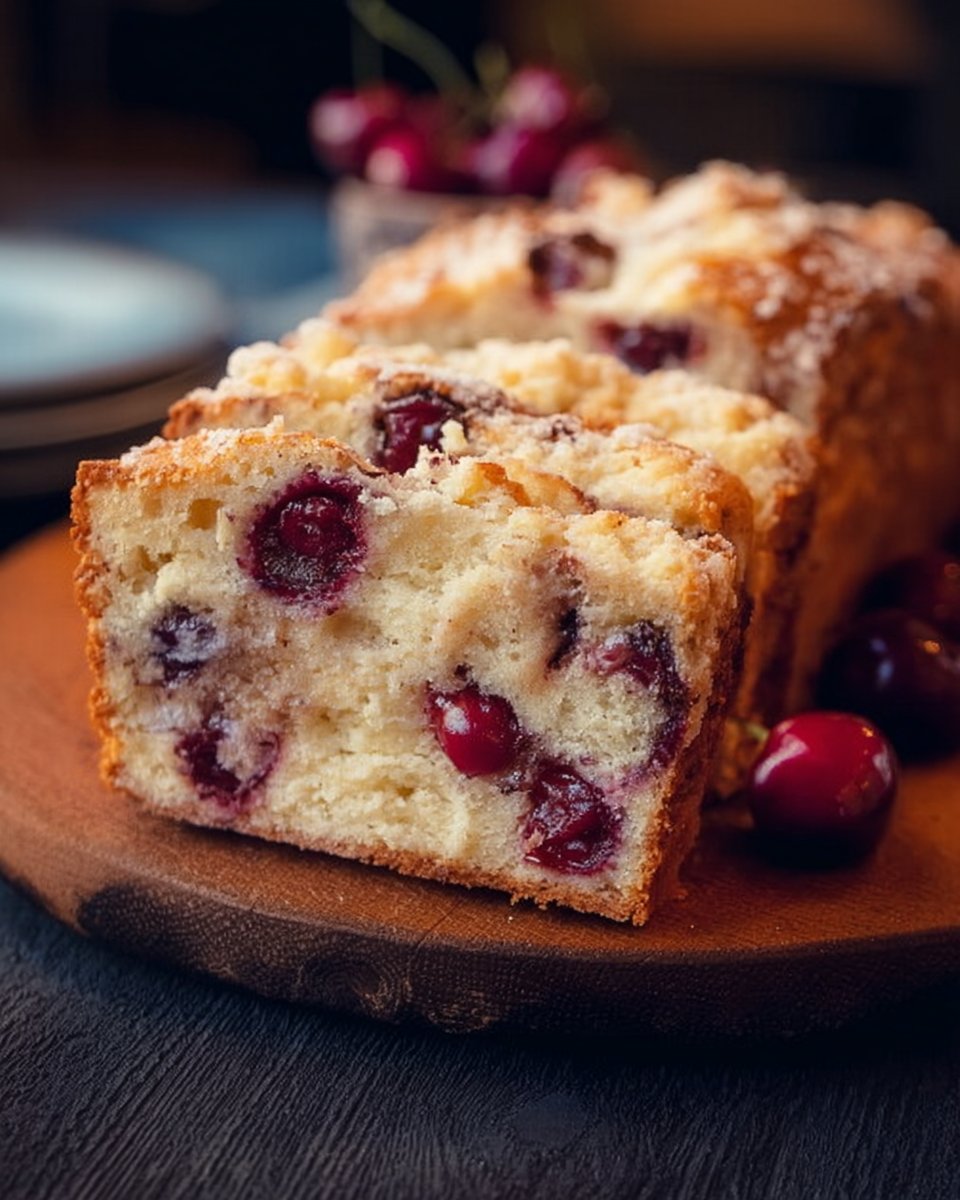
The taste is an explosion of nostalgia—sweet cherries burst with flavor against a backlight of buttery, vanilla-infused dough. When you take a bite, it’s a symphony of textures: a slightly crispy crust giving way to a moist, fluffy interior, punctuated by the juicy pops of fruit.
Consider whipping up Homemade Cherry Bread for brunch, a cozy gathering, or even as a thoughtful gift for a friend. No matter when you make it, you’ll create warmth and joy—a treat that nourishes both the body and the soul.
Why You’ll Love This Recipe
Unparalleled Freshness: Unlike store-bought options that often sacrifice flavor for shelf life, this Homemade Cherry Bread bursts with real fruit flavor. Fresh cherries—whether you choose to use seasonal ones or thawed frozen cherries—will have your taste buds dancing!
Cost-Effective Delight: You’d be surprised at how economical it is to make this bread from scratch. With just a handful of ingredients, you’ll be treating yourself and your loved ones without breaking the bank. Plus, you can buy cherries in bulk and freeze them for future baking adventures!
Endless Customization: Want to cater to different taste preferences? This bread is a blank canvas! Add nuts for crunch, chocolate for richness, or even citrus zest for brightness. Each loaf can be a new experience.
Beginner-Friendly: This recipe is perfect for novice bakers. With simple instructions and no necessity for complicated techniques, you’ll impress yourself and others—all while enjoying the therapeutic process of baking.
Time Efficient: You can whip up this delectable treat in under an hour of active time! Just prepare your ingredients, mix, bake, and enjoy warm slices slathered with butter or cream cheese.
With these reasons, I promise once you make this Homemade Cherry Bread, it will become a cherished recipe in your collection.
Ingredients Section
Gather these high-quality ingredients to ensure the best results:
- 2 cups all-purpose flour: Opt for a good-quality brand like King Arthur Flour for consistent results.
- 1 cup sugar: Granulated sugar works best, but if you’re looking for a hint of caramel flavor, you can use brown sugar.
- 1/2 teaspoon salt: Enhances all the flavors.
- 1 tablespoon baking powder: Make sure it’s fresh for optimal rise.
- 1/2 cup unsalted butter, melted: Use butter at room temperature for easier mixing; brands like Plugra or KerryGold work wonders for flavor and texture.
- 1 cup milk: Whole milk is ideal for moisture, but any milk or milk substitute will do.
- 2 large eggs: Use them at room temperature for better incorporation into the batter.
- 1 teaspoon vanilla extract: Pure vanilla extract elevates the flavor—skip synthetic varieties for the best taste.
- 1 1/2 cups fresh or frozen cherries, pitted and halved: If using frozen, let them thaw and drain excess liquid.

Prep Notes:
- Ensure your butter is melted but not hot, which could cook the eggs.
- If using fresh cherries, you can substitute with blueberries, raspberries, or even diced peaches for variations.
Step-By-Step Instructions
Preheat your oven to 350°F (175°C) and grease a standard loaf pan with butter or cooking spray.
In a large bowl, combine the flour, sugar, salt, and baking powder. Whisk until well blended and there are no lumps.
In another bowl, whisk together the melted butter, milk, eggs, and vanilla extract until smooth. Take a moment to appreciate that wonderful aroma of vanilla!
Gradually add the wet ingredients to the dry ingredients, mixing until just combined. Avoid over-mixing, or your bread may become tough.
Gently fold in the cherries with a spatula, ensuring they’re evenly distributed throughout the batter. This is where the magic happens—the beautiful bursts of cherry will make your bread irresistible!
Pour the batter into the prepared loaf pan and smooth the top with your spatula. Be sure to leave some room at the top as the bread will rise.
Bake for 50-60 minutes or until a toothpick inserted into the center comes out clean. Keep an eye on it after 45 minutes; ovens can vary in temperature!
Allow the bread to cool in the pan for 10 minutes before transferring to a wire rack to cool completely. This cooling step helps maintain that perfect texture.
Enjoy your fresh, homemade cherry bread with a touch of butter or simply on its own—deliciousness awaits!
Expert Tips & Tricks
Storing Your Bread: For best results, store your Homemade Cherry Bread wrapped in plastic wrap at room temperature for up to 2 days. For longer storage, place it in the fridge for up to a week, or freeze slices for up to 3 months.
Make-Ahead Instructions: You can prepare the dry ingredients ahead of time and store them in an airtight container. When you’re ready to bake, simply combine them with the wet ingredients.
Troubleshooting: If your bread isn’t rising properly, check that your baking powder is fresh. If you find it too dense, consider reducing the mixing time.
Flavor Boost: Looking for a flavor enhancement? Add a tablespoon of almond extract for a delicious layer of flavor.
Common Mistakes: Avoid letting the batter sit too long before baking, as this could result in a dense loaf.
Serving Suggestions
Homemade Cherry Bread is delightful on its own, but it’s even better when paired with:
Creamy Spreads: Enjoy slices with a smear of cream cheese or labneh for a wonderful contrast of flavors.
Fruits and Sides: Fresh fruit salad or a scoop of ice cream can elevate it to a dessert-level treat.
Occasions: Serve it warm at brunch, as part of a cozy afternoon tea, or as a sweet gift for friends and family.
For a beautiful presentation, slice the bread into thick pieces, stack them artfully on a serving platter, and garnish with mint leaves.
Variations & Substitutions
Nutty Twist: Add 1/2 cup of almonds or walnuts for added crunch and flavor.
Berry Fusion: Replace some cherries with blueberries or raspberries for a mixed berry version.
Gluten-Free Option: Swap the all-purpose flour for a gluten-free flour blend designed for baking.
Vegan-Friendly: Substitute eggs with flaxseed meal (1 tablespoon flaxseed mixed with 3 tablespoons water) and use a plant-based milk.
Nutrition & Storage Info
- Prep Time: 15 minutes
- Cook Time: 50-60 minutes
- Total Time: 1 hour 10 minutes
- Yield: 10 servings
- Estimated Calories per Serving: 190 calories
Storage: Room temperature for 2 days, in the fridge for up to a week, or freeze for 3 months.
FAQ Section
Can I use frozen cherries?
Yes! Just thaw and drain excess liquid before adding to the batter.How do I know when the bread is done?
A toothpick inserted into the center should come out clean or with a few moist crumbs.What can I substitute for eggs?
You can use flaxseed meal or applesauce as an egg substitute.Can I add spices?
Absolutely! Cinnamon or nutmeg add warm notes to this recipe.How do I store leftover bread?
Wrap it tightly in plastic and store at room temperature or refrigerate.What makes the bread rise?
Baking powder provides the necessary lift.Can I make mini loaves?
Yes! Adjust baking time to about 25-30 minutes for mini loaves.Why did my bread turn out dense?
Overmixing or old baking powder may lead to a dense texture.Can I add chocolate chips?
Definitely! They pair beautifully with cherries.Is this recipe adaptable for other fruits?
Yes! Feel free to swap cherries with your favorite fruits.
Conclusion
This Homemade Cherry Bread recipe isn’t just about baking; it’s about creating memories and experiences in your kitchen. The blend of sweet cherries and fluffy texture offers a sense of home and comfort that’s hard to resist. I encourage you to give it a try and let it fill your home with delicious aromas; you won’t be disappointed!
Don’t forget to share your thoughts and feedback in the comments. If you enjoyed this recipe, check out my other posts on baking goodies that’d be perfect for your next gathering!
Cranberry Pecan Cream Cheese Stuffed Dates
Happy baking!
Homemade Cherry Bread
Ingredients
Method
- Preheat your oven to 350°F (175°C) and grease a standard loaf pan with butter or cooking spray.
- In a large bowl, combine the flour, sugar, salt, and baking powder. Whisk until well blended and there are no lumps.
- In another bowl, whisk together the melted butter, milk, eggs, and vanilla extract until smooth.
- Gradually add the wet ingredients to the dry ingredients, mixing until just combined. Avoid over-mixing.
- Gently fold in the cherries, ensuring they’re evenly distributed throughout the batter.
- Pour the batter into the prepared loaf pan and smooth the top with your spatula.
- Bake for 50-60 minutes or until a toothpick inserted into the center comes out clean.
- Allow the bread to cool in the pan for 10 minutes before transferring to a wire rack to cool completely.