Table of Contents
Table of Contents
Ah, Christmas—a time of twinkling lights, warm fireside chats, and, of course, indulgent desserts. As I sit here reminiscing about cozy family gatherings, one dessert stands out: the Christmas Red Velvet Cheesecake. It’s not just a treat; it’s a piece of my family’s holiday tradition. Every year, my grandmother would whip up this creamy delight, its vibrant red hue sparking joy in both kids and adults alike. What makes this cheesecake special is the blend of velvety red cake and rich cheesecake that just melts in your mouth, leaving you with a sense of nostalgia and comfort.
While many might settle for a store-bought cheesecake or a simple red velvet cake, this recipe stands out with its layers of flavor and texture, making it a showstopper at any holiday table. It’s indulgent yet approachable, a perfect labor of love that speaks to your heart and palate.
In this post, I promise to guide you through each step of creating this breathtaking dessert, sharing tips and tricks that I’ve learned over the years. Get ready to impress your loved ones with a Christmas Red Velvet Cheesecake that not only tastes heavenly but also brings everyone together in joyous celebration!
What Are Christmas Red Velvet Cheesecake?
The origins of red velvet cake can be traced back to the early 20th century in the United States, but it skyrocketed in popularity when it morphed into what we now know as the Christmas Red Velvet Cheesecake. Combining a classic red velvet cake with a creamy cheesecake layer, this dessert crafts a symphony of flavor that’s both rich and satisfying.
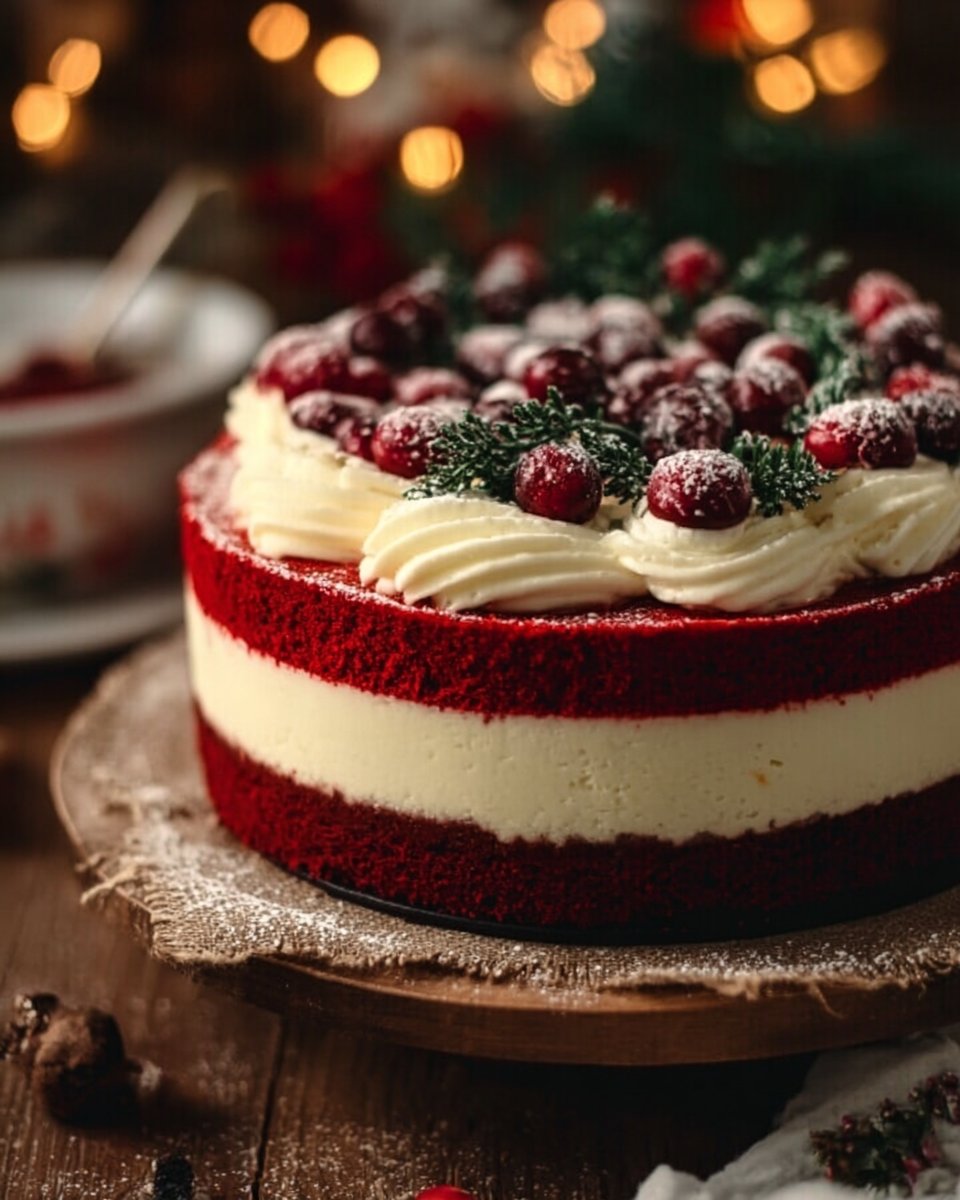
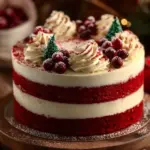
The taste is a glorious combination of tangy cream cheese and subtle cocoa, complemented by the warmth of vanilla. The texture is a delightful mix—soft and sponge-like from the red velvet layers, and smooth and creamy from the cheesecake. Its dazzling red appearance makes it a festive addition to your holiday spread, perfect for celebrations or just a cozy night in.
So, whether it’s a holiday gathering, a dinner party or simply the joy of baking, this cheesecake is a delicious way to spread cheer.
Why You’ll Love This Recipe
Here are a few compelling reasons you’ll fall head over heels for this Christmas Red Velvet Cheesecake Recipe:
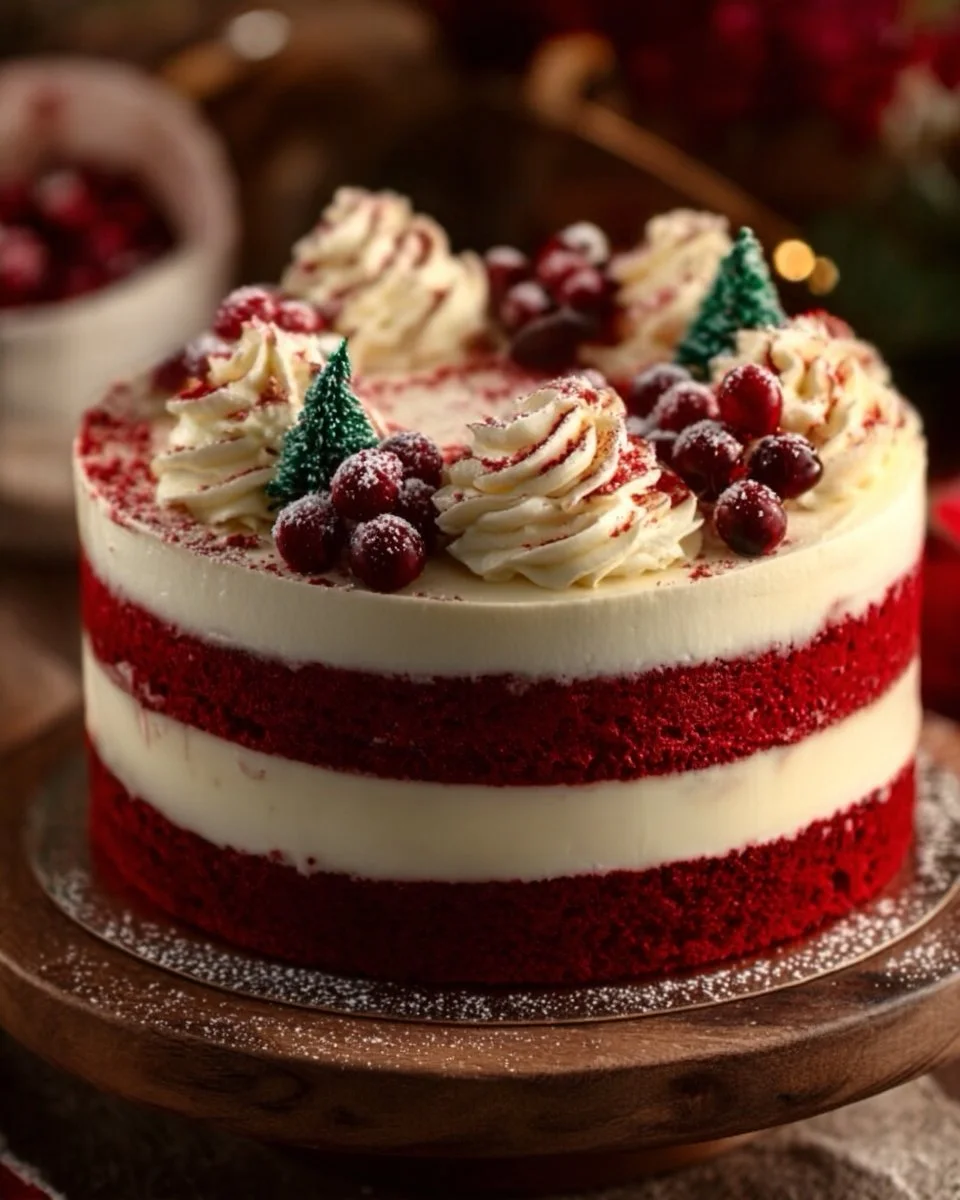
Show-stopping Visual Appeal: With its striking red layers and creamy frosting, this cake is sure to be the centerpiece of your holiday table that leaves everyone in awe.
Taste Beyond Compare: Unlike the bland, overly-sweet versions you might find in stores, my recipe strikes a perfect balance of creamy, tangy, and slightly chocolatey flavors. You can really taste the love and quality you put in!
Cost-Effective Indulgence: Why splurge on an expensive bakery cake when you can make a richer, fresher version at home for a fraction of the price? With common pantry ingredients, you create something extraordinary that will impress even the pickiest eaters.
Customizable Options: Feel free to tweak the recipe! You can switch up the frosting, add festive sprinkles, or even incorporate seasonal flavors, like peppermint—there’s room for creativity!
Perfect for Beginners: Although it looks sophisticated, this cheesecake isn’t as complex as it seems. With clear steps and chef’s tips throughout, even novice bakers will find success.
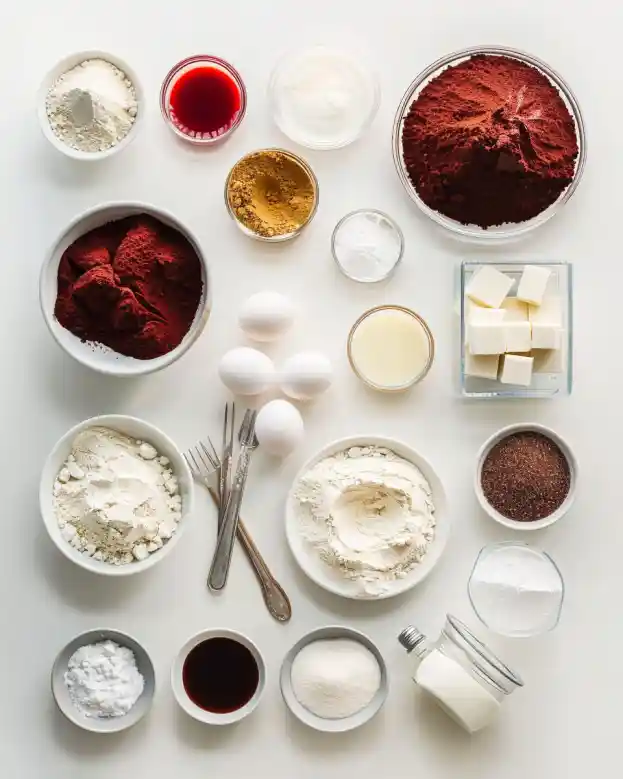
Ingredients
For the Red Velvet Cake Layers:
- 2 1/2 cups all-purpose flour: Use a high-quality brand like King Arthur for best results.
- 2 tbsp unsweetened cocoa powder: Dutch processed works wonders for depth of flavor.
- 1 tsp baking powder
- 1 tsp baking soda
- 1/2 tsp salt
- 1 3/4 cups granulated sugar: Adds sweetness and helps retain moisture.
- 3/4 cup vegetable oil: A neutral-flavored oil works best.
- 1 cup buttermilk: Room temperature for better mixing (homemade substitute: milk + vinegar).
- 2 large eggs: Use room temperature eggs for easy blending.
- 1–2 tbsp red food coloring: Gel coloring is recommended for vibrant results.
- 1 tsp vanilla extract
- 1 tsp white vinegar
For the Cheesecake Layer:
- 16 oz cream cheese: Soften it to room temperature to achieve a smooth texture.
- 1/2 cup granulated sugar
- 1/2 cup sour cream: Optional, but it adds creaminess and tang.
- 2 large eggs: Room temperature for better incorporation.
- 1 tsp vanilla extract
For the Frosting:
- 8 oz cream cheese: Again, allow it to soften for a luscious frosting.
- 1/2 cup unsalted butter: Softened to room temperature.
- 3 cups powdered sugar: Sifted for a smoother frosting.
- 1 tsp vanilla extract
Prep Notes:
- Ensure all dairy ingredients (buttermilk, cream cheese, butter) are at room temperature for optimal results.
- Use gel food coloring for a more vibrant red without changing the cake’s texture.
Step-by-Step Instructions
Start with the Cheesecake Layer:
- Preheat your oven to 325°F (163°C). Grease a springform pan and line the bottom with parchment paper.
- In a large mixing bowl, beat the 16 oz cream cheese with 1/2 cup granulated sugar until smooth and creamy.
- Add 1/2 cup sour cream, 2 eggs, and 1 tsp vanilla extract. Mix until well combined.
- Pour the cheesecake batter into the prepared springform pan.
- Bake for 40-45 minutes until the edges are set but the center is still a bit jiggly. Turn off the oven and let it cool inside with the door slightly ajar for 1 hour. Chill in the refrigerator for at least 4 hours or overnight.
Prepare the Red Velvet Cake Layers:
- Preheat the oven to 350°F (175°C). Grease and flour two 9-inch round cake pans.
- In a medium bowl, whisk together flour, cocoa powder, baking powder, baking soda, and salt.
- In a large mixing bowl, beat together 1 3/4 cups granulated sugar with 3/4 cup vegetable oil until well combined. Add 1 cup buttermilk, 2 eggs, 1-2 tbsp red food coloring, 1 tsp vanilla extract, and 1 tsp vinegar; mix until smooth.
- Gradually add the dry ingredients, mixing until just combined.
- Bake for 25-30 minutes, until a toothpick comes out clean. Allow to cool completely in the pans for 10 minutes, then invert onto wire racks to cool completely.
Make the Cream Cheese Frosting:
- In a bowl, beat together 8 oz cream cheese and 1/2 cup unsalted butter until smooth.
- Gradually add in 3 cups powdered sugar and 1 tsp vanilla extract, mixing until fluffy.
Assemble Your Masterpiece:
- Place one red velvet layer on a serving plate. Spread a layer of frosting on top, followed by the chilled cheesecake layer. Top with the second red velvet layer.
- Frost the whole cake with the remaining cream cheese frosting and decorate as desired.
Chill and Serve:
- Chill for an hour before slicing. Enjoy!
Chef’s Tips:
- Make sure your cream cheese is at room temperature for a lump-free frosting.
- Avoid overmixing the batter to keep the cake light and fluffy.
- To avoid cracks in the cheesecake, let it cool gradually in the oven.
Expert Tips & Tricks
- Storage Recommendations: The Christmas Red Velvet Cheesecake will stay fresh in the refrigerator for up to 5 days.
- Make-ahead Instructions: You can prepare the cheesecake layer a day in advance to save on time.
- Troubleshooting Common Problems: If your cheesecake cracks while baking, don’t fret! It happens. Frosting will cover it, and those cracks won’t affect the taste.
- Room Temperature Ingredients: Make sure you allow dairy ingredients to reach room temperature for the best mixing results.
- Slicing the Cake: Use a hot, dry knife to cut clean slices without pulling up crumbs.
Serving Suggestions
This rich Christmas Red Velvet Cheesecake is delightful on its own, but why not enhance it further? Pair it with a dollop of freshly whipped cream or a sprinkle of cocoa powder for a touch of elegance. For a festive twist, add crushed peppermint candies on top, or serve with a side of warm vanilla custard. It’s perfect for holiday parties, cozy family nights, or special occasions!
Variations & Substitutions
- Seasonal Flavors: Consider adding spices like nutmeg or cinnamon for a holiday twist.
- Dietary Adaptations: To make it gluten-free, swap out all-purpose flour for almond or gluten-free flour. For dairy-free options, look for plant-based cream cheese and buttermilk.
- Changing Up the Frosting: Try chocolate cream cheese frosting for an extra decadent variation or a flavored buttercream for a different taste profile.
Nutrition & Storage Info
- Prep Time: 30 minutes
- Cook Time: 1 hour (Includes baking and chilling)
- Total Time: 5-6 hours (including chilling)
- Yield: 12 servings
- Estimated Calories per Serving: Approx. 450 calories
- Storage Instructions: Store in the refrigerator for up to 5 days. Can be frozen for up to 2 months—just thaw overnight in the fridge that day before serving.
FAQ Section
Can I use a different type of food coloring?
- Yes, gel food coloring is preferred as it provides a rich color without affecting the batter’s consistency.
What do I do if my cheesecake cracks?
- If cracks occur, it’s not the end of the world! They can easily be covered with frosting.
Can I make this recipe ahead of time?
- Absolutely! The cheesecake layer can be made a day in advance.
Is it possible to use a different frosting?
- Yes! Feel free to use any favorite frosting recipe—chocolate or vanilla buttercream are great choices.
How can I store leftovers?
- Store in an airtight container in the refrigerator for up to 5 days. It can also be frozen for later enjoyment.
What size springform pan should I use?
- A 9-inch springform pan is ideal for this recipe.
Can I make mini versions of this cheesecake?
- Yes! You can use muffin tins with liners for individual servings.
Do I have to use vinegar in the recipe?
- The vinegar reacts with the baking soda to create a light texture, but you can omit it if necessary.
What’s the best way to frost the cake?
- Using a spatula, spread a thin coat of frosting first (crumb coat) and chill it before applying a final layer for a smooth finish.
Can I decorate this cheesecake?
- Definitely! Use crushed candy canes, chocolate shavings, or festive sprinkles!

Conclusion
The Christmas Red Velvet Cheesecake is more than a dessert; it’s a slice of tradition and warmth that brings loved ones together during the festive season. I hope you try making this beautiful treat, and I can’t wait to hear how it turns out for you! Don’t forget to share your experiences in the comments below. And if you love this recipe, check out other festive delights on my blog—there’s always room for more sweetness in our lives!
Best 10 Cheesecake Recipes That Will Delight Every Sweet Tooth
Cheesecake Factory Copycat Pumpkin Cheesecake
Christmas Red Velvet Cheesecake
Ingredients
Method
- Preheat your oven to 325°F (163°C). Grease a springform pan and line the bottom with parchment paper.
- In a large mixing bowl, beat the cream cheese with granulated sugar until smooth and creamy.
- Add sour cream, eggs, and vanilla extract. Mix until well combined.
- Pour the cheesecake batter into the prepared springform pan.
- Bake for 40-45 minutes until the edges are set but the center is still a bit jiggly. Turn off the oven and let it cool inside with the door slightly ajar for 1 hour. Chill in the refrigerator for at least 4 hours or overnight.
- Preheat the oven to 350°F (175°C). Grease and flour two 9-inch round cake pans.
- In a medium bowl, whisk together flour, cocoa powder, baking powder, baking soda, and salt.
- In a large mixing bowl, beat together granulated sugar with vegetable oil until well combined. Add buttermilk, eggs, red food coloring, vanilla extract, and vinegar; mix until smooth.
- Gradually add the dry ingredients, mixing until just combined.
- Bake for 25-30 minutes, until a toothpick comes out clean. Allow to cool completely in the pans for 10 minutes, then invert onto wire racks to cool completely.
- In a bowl, beat together cream cheese and unsalted butter until smooth.
- Gradually add in powdered sugar and vanilla extract, mixing until fluffy.
- Place one red velvet layer on a serving plate. Spread a layer of frosting on top, followed by the chilled cheesecake layer. Top with the second red velvet layer.
- Frost the whole cake with the remaining cream cheese frosting and decorate as desired.
- Chill for an hour before slicing. Enjoy!