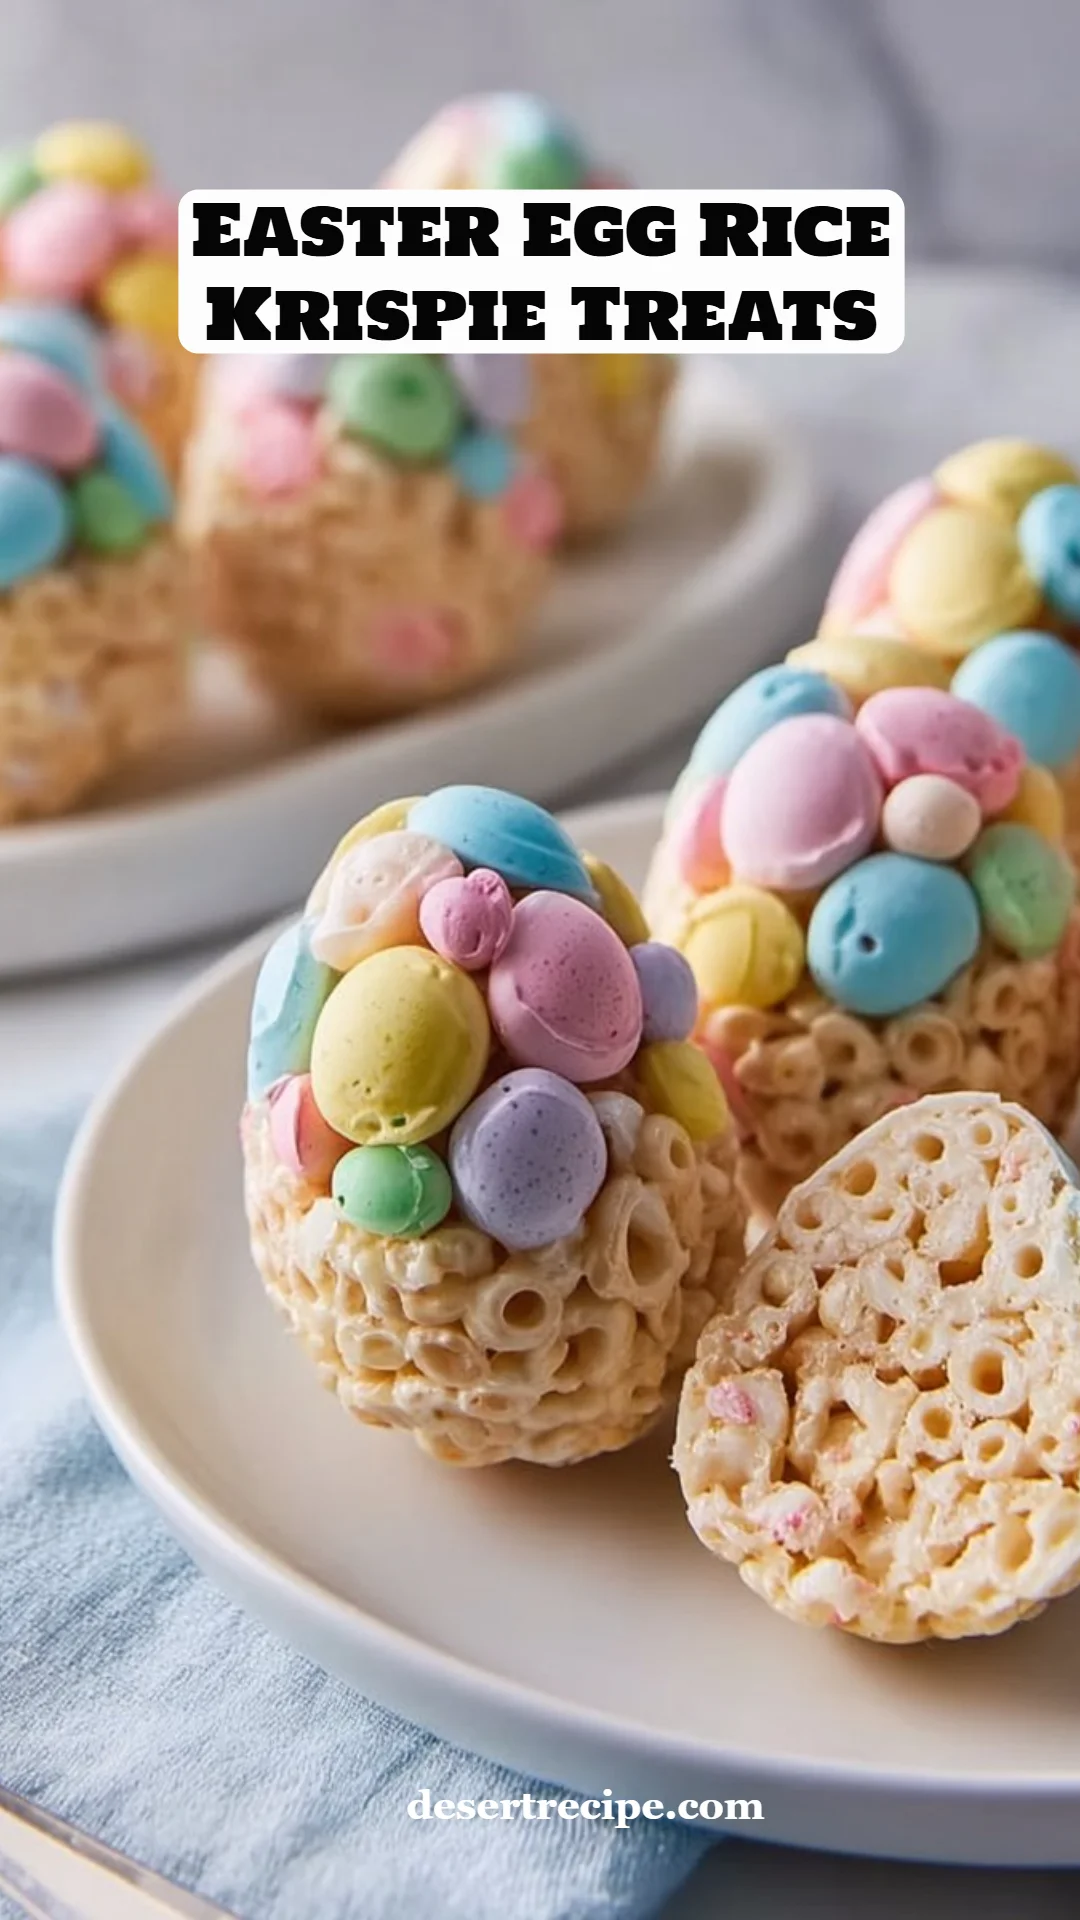
Delightful Easter Egg Rice Krispie Treats: The Irresistible Festive Treats You Need!
As a child, Easter was always wrapped in magic, filled with egg hunts, blooming flowers, and most importantly, the unmistakable aroma of sweet treats wafting through the air. Among my favorite delights were the gooey, crunchy Rice Krispie Treats formed into colorful Easter eggs. Fast forward to today, and I still embrace this annual tradition. These Easter Egg Rice Krispie Treats not only evoke fond memories but also bring forth a wave of joy and nostalgia as I make them with my own kids now.
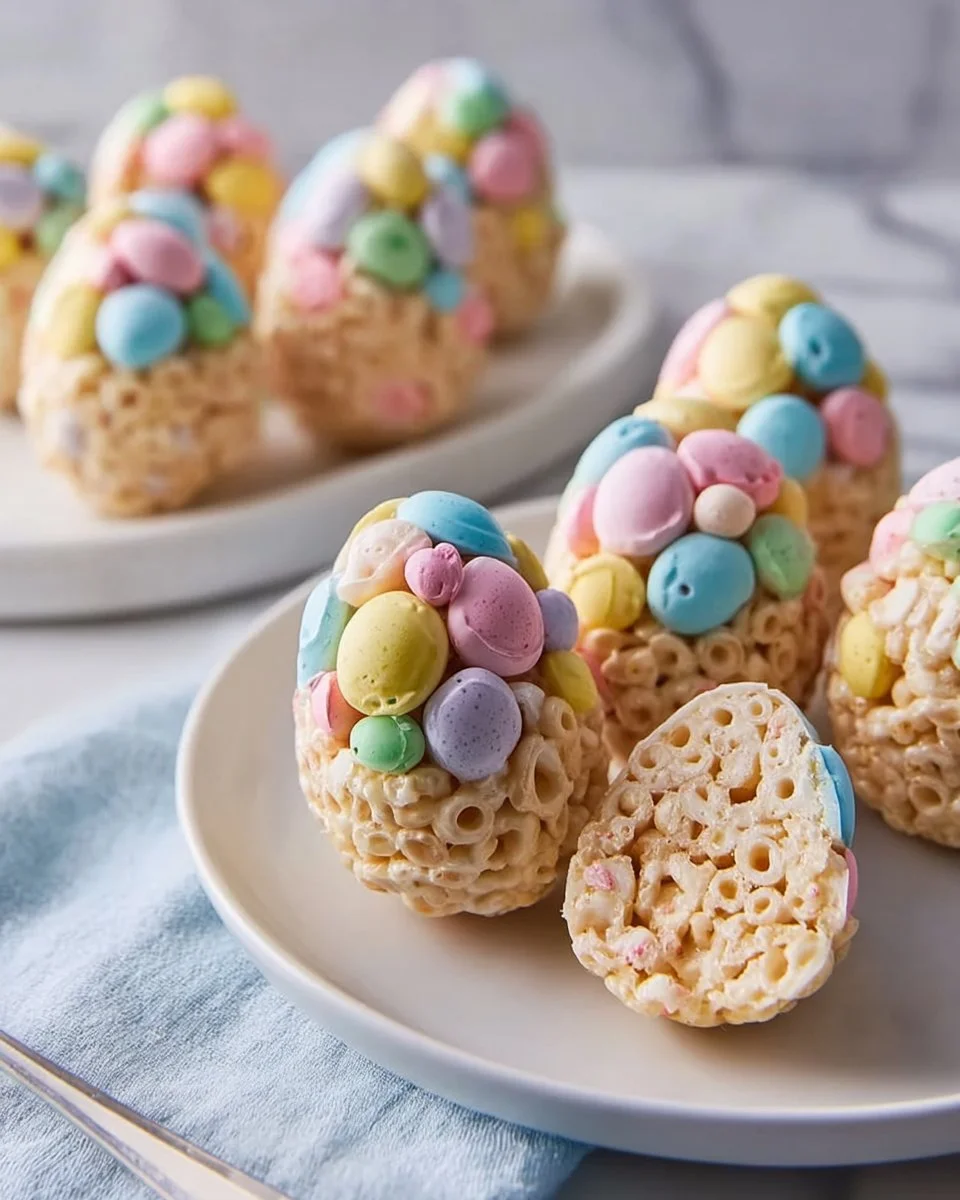
What makes these little beauties stand out is their delightful balance of textures—the crispy crunch of Rice Krispies, the gooey richness of marshmallows, and those bursts of sweetness from pastel chocolate candies. Compared to traditional Rice Krispie Treats, the added twist of molding them into festive Easter eggs and filling them with treats makes them extra special (and just a bit magical).
In this recipe, I’ll share not just the method for creating these Easter delights but also the tips and tricks I’ve gathered from years of baking. You’ll learn to create and customize your own perfect Easter Egg Rice Krispie Treats that are sure to impress your family and friends. So roll up your sleeves and let’s get started on making these delightful treats!
What Are Easter Egg Rice Krispie Treats?
The origins of Rice Krispie Treats date back to the 1930s, introduced as a unique way to combine cereal and marshmallows, leading to a quick and delightful snack. However, Easter Egg Rice Krispie Treats elevate this classic dessert into a whimsical celebration of the holiday. Imagine biting into a colorful egg-shaped treat, the outer layer giving way to a soft, gooey center filled with chocolatey surprises—it’s a sensory delight!
These treats have a light, crispy texture from the Rice Krispies, balanced by the slightly chewy marshmallow mixture. The pastel candy-coated chocolates add a delightful crunch and fun pop of color, making them perfect for an Easter gathering or just to brighten someone’s day. They are wonderful for any spring celebration, not just Easter—think baby showers or a sunny picnic day!
Why You’ll Love This Recipe
Easy and Quick to Make: You don’t need to be a baking expert to whip up these delicious Easter Egg Rice Krispie Treats. With minimal ingredients and steps, they come together in a flash—perfect for a last-minute treat!
Family Fun Activity: Whether you’re making them solo, with kids, or for a gathering, they present a wonderful opportunity to bond and create. Shaping the eggs is fun and allows everyone to get creative with fillings.
Cost-Effective: Making these treats at home is not only budget-friendly, but it also saves you from overpriced store-bought goodies. Plus, you get the satisfaction of being the pastry magician behind them!
Customization Galore: The recipe is a canvas; you can add your favorite ingredients, swap out the pastel candies for seasonal treats, or even change the base to something like chocolate cereal for a fun twist.
Perfect for Sharing: These treats have a way of bringing smiles to faces. Wrap them up in pretty cellophane or place them in Easter baskets, and you’ll have a sweet surprise that friends and family will love.
Ingredients
Here’s what you need to create these delightful treats:
- 6 cups Rice Krispies cereal (or puffed rice cereal): Look for fresh, crispy cereal for the best texture.
- 1 bag (10 oz) mini marshmallows: The classic choice! You could use larger marshmallows, but the mini ones melt more quickly and evenly.
- 3 tablespoons unsalted butter: Room temperature butter helps create the perfect gooey mixture—don’t substitute with margarine!
- 1 teaspoon vanilla extract: The addition of vanilla elevates the flavor, providing a beautiful aromatic touch.
- Pinch of salt: Just a pinch enhances sweetness and balances the flavors.
- 2 to 2½ cups pastel candy-coated chocolates: I love using Cadbury Mini Eggs or pastel M&M’s, but feel free to explore seasonal options!
Prep notes: Make sure your butter is at room temperature for easy melting, and consider using high-quality chocolate-coated candies for a richer taste.
Step-by-Step Instructions
Lightly grease the inside of plastic Easter egg molds with nonstick spray or a small amount of butter. If you don’t have molds, you can shape the mixture by hand—just grease your hands!
In a large pot over low heat, melt the butter completely, stirring gently to avoid browning. Once melted, add the mini marshmallows and continue stirring until completely smooth—this should take about 3-5 minutes.
Remove the pot from the heat and stir in the vanilla extract and a pinch of salt. This is the moment to smell that sweet aroma filling your kitchen!
Quickly add the Rice Krispies cereal to the marshmallow mixture, tossing gently until all the cereal is coated. Let it cool for about 2 minutes—just enough to handle without burning your fingers!
Spoon a small amount of the mixture into one half of each egg mold and press it down gently. This creates the base layer.
While still warm, press pastel candy-coated chocolates into the Rice Krispie layer. Fill the other half of the mold with more of the mixture, pressing it to seal both halves together.
Arrange the molds on a tray and allow them to set at room temperature for about 30 to 45 minutes. You can tell they are ready when they feel firm to the touch.
Once firm, carefully open the molds and remove the treats. Arrange them on a platter or wrap them for Easter baskets.
Store the finished treats in an airtight container for up to 3 days—if they last that long!

Expert Tips & Tricks
Don’t Rush the Melting: Keep the heat low and stir consistently to get a smooth mixture. High heat can cause the marshmallows to burn.
Cool Down: Allow the mixture to cool slightly before adding Rice Krispies to prevent them from becoming soggy.
Packing it In: When molding, ensure you’re pressing the mixture in firmly to create beautiful, sturdy shapes.
Add More Flavor: Want a flavor boost? A sprinkle of cinnamon or using flavored extract (like butter or coconut) can add an exciting twist to your treats.
Storage Matters: For longer freshness, store them in the fridge, especially if you’re in a warm climate. They can last up to a week if refrigerated!
Make Ahead: You can prepare the mixture a day ahead, just shape them right before serving to avoid them getting soft.
Serving Suggestions
These Easter Egg Rice Krispie Treats are delightful on their own, but pairing them with some fresh fruit or a scoop of ice cream can elevate the experience. For a festive touch, consider serving them on a spring-themed platter surrounded by colorful Easter grass or edible flowers. They are perfect for Easter brunch, family gatherings, or any cheerful spring occasions!
Variations & Substitutions
- Textural Additions: Want a bit of crunch? Add chopped nuts or crispy toffee bits!
- Dietary Adaptations: You can find gluten-free Rice Krispies and vegan marshmallows for a crowd-friendly treat.
- Seasonal Swaps: Use red or green candies for Christmas, or try pumpkin spice marshmallows during the fall—endless possibilities!
Nutrition & Storage Info
- Prep Time: 15 minutes
- Cook Time: 10 minutes
- Total Time: 25 minutes
- Yield: Approximately 12 egg-shaped treats
- Estimated Calories: About 150 calories per treat (based on specific ingredient choices)
- Storage: Keep at room temperature in an airtight container for up to 3 days, or refrigerate for up to a week.
FAQ Section
Can I make this gluten-free?
Yes! Just use gluten-free Rice Krispies and check the marshmallow ingredients.What can I use instead of egg molds?
You can shape them by hand! Just grease your hands and form them into oval shapes.Can I make these in advance?
Absolutely! You can prepare them a day or two in advance for best results.How can I transport these treats?
Place them in a container lined with parchment paper to avoid sticking, and transport them carefully.What if my marshmallow mixture is too sticky?
If it’s too gooey, it may need a bit more cereal. Adjust until you achieve a workable consistency.Can I add more fillings?
Yes! Get creative with your favorite candies or add mini chocolate chips inside the treats.How do I know when they’re set?
They should feel a little firm to the touch and not stick to your fingers!What if I want to make them smaller?
You can definitely scale down the size—just adjust the mold or your hands accordingly!How do I get smooth edges?
Ensure you firmly press the mixture into the molds, and should come out nice and clean.Can I use other cereals?
Sure! Any puffed cereal can be used, but Rice Krispies yield the best texture.
Conclusion
These Easter Egg Rice Krispie Treats are a delightful combination of nostalgia, creativity, and pure sweetness. They bring families together and create cherished memories with every colorful egg you mold. I hope you’ll give this recipe a try and relish in the joy of sharing it with those you love! I’d love to hear your thoughts, any twists you added, or any memories these treats sparked. And don’t forget to check out my other festive recipes on the blog for more delicious inspirations!