Baked Crescent Roll Carrots: The Ultimate Delicious Twist You Didn’t Know You Needed!
As I stood in my kitchen last fall, prepping for a big family gathering, I wanted to serve something whimsical yet comforting—a dish that would spark joy and laughter around the table. That’s when I thought of my beloved Crescent Roll Carrots. My grandmother used to make all sorts of creative snacks for us during the holidays, but these little bites of happiness are a unique creation of my own.
Imagine biting into a warm, flaky pastry, only to discover a creamy, savory filling that sends your taste buds dancing. What’s special about these Crescent Roll Carrots is not just their adorable carrot shape, but also their delightful filling, which is infinitely customizable! Unlike typical appetizer recipes, this one is practically foolproof and sure to impress—even the pickiest eaters in your family. Each time I make them, they evoke memories of my grandmother’s kitchen filled with the delightful chatter of loved ones.
In this post, I’ll guide you through creating these irresistible Crescent Roll Carrots that are perfect for gatherings or just a cozy night in. You’ll learn how to whip them up with ease, ensuring you don’t just serve food but create connections and memories, just like I did. Let’s dive in!
What Are Crescent Roll Carrots?
The idea of Crescent Roll Carrots combines the delightful familiarity of crescent roll dough with a playful twist that brings smiles to faces young and old alike. Originating from various savory stuffed pastry recipes, these pastries take on the shape of carrots—not only adding a fun visual element to your meal but also catering to the kids (who are usually my toughest critics!).
The taste is a beautiful meld of flaky and crispy on the outside, while the filling is creamy and savory, generously packed with flavors. The texture contrast captivates your mouth, with a crunchy surprise if you choose to add colorful diced veggies like red bell pepper.
These delightful bites are perfect for occasions such as Easter brunch, baby showers, or even casual Friday nights when you just want to impress your friends. They make effortless appetizers that are both visually appealing and oh-so-delicious, bridging the gap between a simple snack and gourmet fare.
Why You’ll Love This Recipe
Easy and Fun to Make: With minimal ingredients and simple steps, you’ll find that making Crescent Roll Carrots is an enjoyable activity. Kids can get involved too, making memories while they help you wrap the pastry dough around the foil cones!
Versatile Filling Options: This recipe is a blank canvas—whether you prefer a rich cream cheese base or want to spice things up with cheddar and chives, you can mix and match ingredients. Plus, feel free to toss in veggies for extra nutrition and crunch!
Impressive Presentation: Served in the shape of carrots, these fun little snacks not only taste great but look adorable on any platter. They’re bound to steal the spotlight, becoming a conversation starter at any gathering!
Cost-Effective: Using a can of refrigerated crescent roll dough keeps things budget-friendly. The filling is easy to customize based on what you have on hand—there’s no need for pricey ingredients here.
Quick Preparation: From start to finish, you’ll have these baked beauties prepared in no time. In around 30-40 minutes, they’ll be ready to serve, making them ideal for last-minute entertaining.
Ingredients
Let’s dive into the ingredients that make these Crescent Roll Carrots a must-try:

- 1 can refrigerated crescent roll dough (8 count): This is the foundation of our cute carrot shapes. Choose a trusted brand like Pillsbury for best results.
- Nonstick cooking spray: Ensures your pastry doesn’t stick to the foil cones, making for easy removal.
- 1 egg, beaten (for egg wash): This gives our dough that beautiful golden brown finish.
- Fresh parsley or dill sprigs (for carrot tops): These herbs add a lovely finishing touch.
- Orange food coloring (optional): Adds a fun touch if you want your carrots to really pop!
- 8 oz cream cheese, softened: This is the base of our filling; use Philadelphia for creaminess.
- 1/4 cup sour cream or Greek yogurt: Adds tanginess and balances out the rich cream cheese.
- 1/2 cup shredded cheddar cheese (optional): This elevates your filling to a whole new level of indulgence.
- 1 tbsp finely chopped chives: Adds a mild onion flavor.
- 1 tbsp finely chopped parsley: For freshness.
- 1/2 tsp garlic powder: Just a hint will do to bring it all together.
- Salt and pepper to taste: Essential seasonings to enhance the overall flavor.
- Optional additions: Diced red bell pepper or shredded carrots for texture and color.
Ingredient Notes:
- Quality Matters: Fresh or high-quality ingredients will give your Crescent Roll Carrots that extra special touch.
- Room Temperature Cream Cheese: Ensure your cream cheese is softened at room temperature for easy mixing.
- Customization: Swap out cheeses or add different spices based on your preferences!
Step-by-Step Instructions
Now, let’s get this party started! Here’s how to make those adorable Crescent Roll Carrots you’ll rave about:
Preheat the Oven: Set the oven to 375°F (190°C) and prepare a baking sheet with parchment paper or a silicone mat to catch any drips.
Prepare Foil Cones: Roll aluminum foil into tight cones, about 4 to 5 inches tall, and spray the outside lightly with nonstick cooking spray.
Prepare the Dough: Unroll the crescent roll dough, separate the triangles, and cut each triangle lengthwise into two strips. Take one strip and wrap it around the foil cone, overlapping slightly. If you’re feeling fancy, mix a few drops of orange food coloring with a small amount of water and brush it over the wrapped dough. Be sure to brush each cone with the beaten egg for that gorgeous sheen.
Bake: Place the cones seam-side down on the baking sheet and bake for 10 to 12 minutes, until they’re golden brown and puffed. Let them cool for about 5 minutes before gently removing the foil molds.
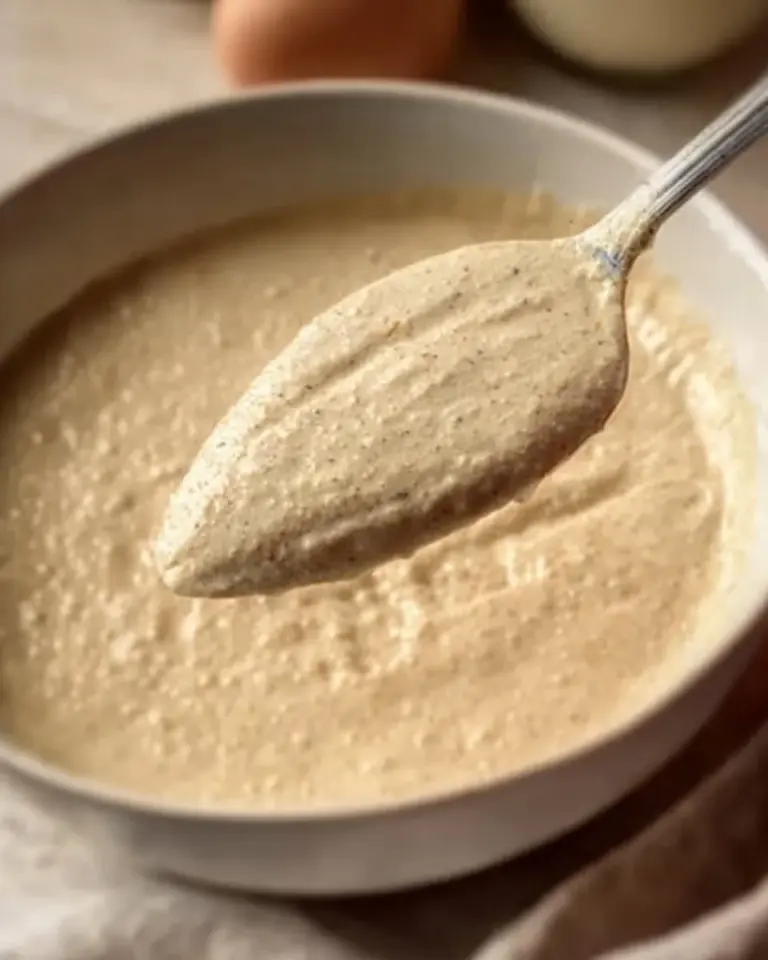
Make the Filling: In a medium bowl, combine the softened cream cheese, sour cream or Greek yogurt, cheddar (if using), chives, parsley, garlic powder, salt, and pepper. Don’t forget to fold in the diced bell pepper or shredded carrots for that crunch!
Pipe the Filling: Transfer the mixture to a piping bag (or a zip-top bag with one corner snipped) and fill each cooled crescent cone. Insert sprigs of parsley or dill into the open ends for that delightful carrot-top finish.
Serve and Enjoy: These treats are best enjoyed fresh but can be refrigerated for later servings. Let the smiles ensue!

Expert Tips & Tricks
Storage Recommendations: Store any leftovers in an airtight container in the fridge for up to 3 days. The pastry may lose its crispness but will still taste great!
Make-Ahead Instructions: You can prepare the cones and filling ahead of time, keeping them separate until you’re ready to serve. Just fill and bake when your guests arrive for the freshest experience.
Perfecting the Baking: Keep an eye on your baking, as oven temperatures can vary. Look for a golden brown color and an odor that makes your mouth water!
Troubleshooting: If the dough doesn’t puff up as expected, ensure you’re using fresh dough and verify your oven is calibrated correctly. A great tip is to let the dough sit at room temperature for about 10 minutes before shaping, giving it time to relax.
Experimentation: Don’t be afraid to swap out cheeses or mix in different spices to customize to your liking. The filling is versatile—add your favorite herbs or spices for a personal touch!
Serving Suggestions
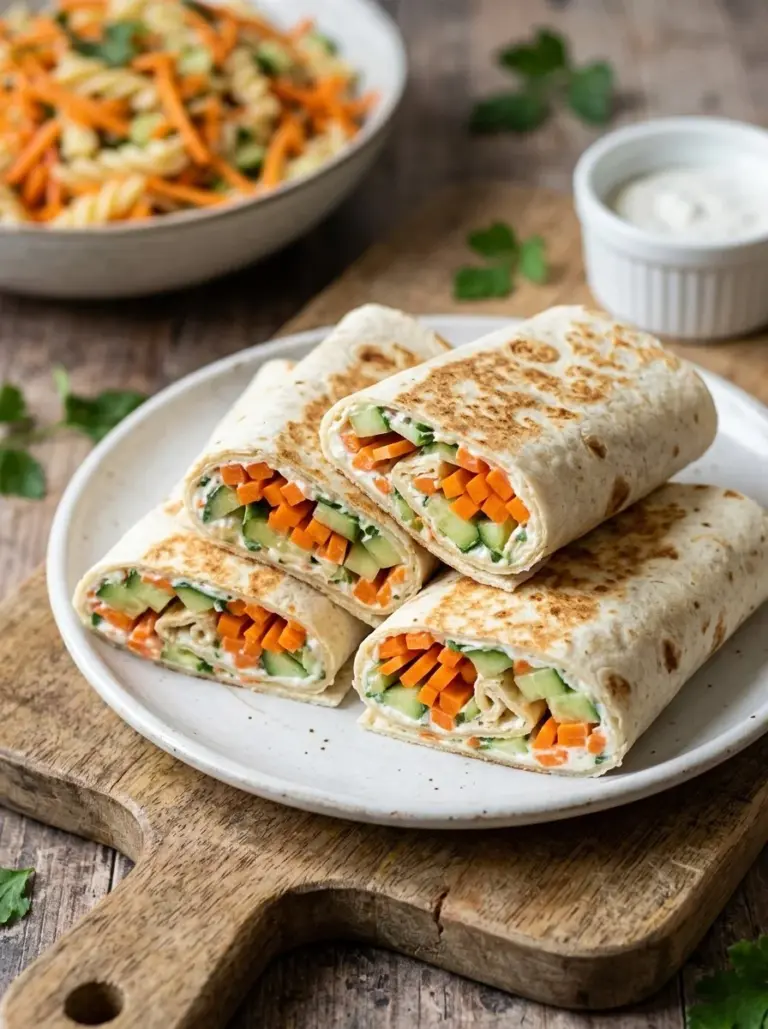
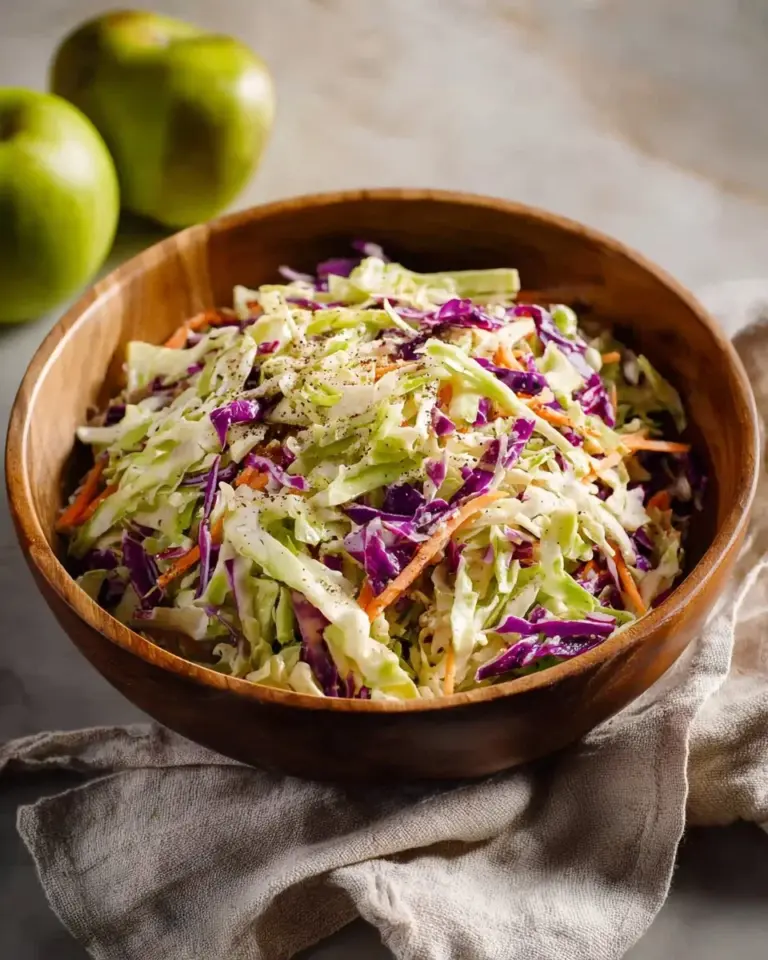
These Crescent Roll Carrots are perfect on their own but pair beautifully with a variety of sides. How about serving them alongside a colorful salad with a zesty vinaigrette, or maybe some seasoned roasted vegetables? They work wonderfully as a bright appetizer during a lively brunch or as part of a picnic spread. Don’t forget to place them on a vibrant serving platter—perhaps garnished with fresh herbs for extra color and flair!
Variations & Substitutions
Feeling adventurous? Here are some fun ideas you can experiment with:
- Different Fillings: Swap in goat cheese, feta, or a spicy pepper jack for a flavor twist. Try adding spinach or sun-dried tomatoes for Mediterranean vibes!
- Dietary Adaptations: Make them gluten-free using a gluten-free crescent dough option. For dairy-free, substitute with dairy-free cream cheese and yogurt.
- Seasonal Flavors: In the fall, why not try a pumpkin-spiced filling? Or, in summertime, fresh herbs mixed with cream cheese for a refreshing twist!
Nutrition & Storage Info
- Prep Time: 20 minutes
- Cook Time: 12 minutes
- Total Time: 32 minutes
- Yield: About 16 servings (2 cones each as a serving)
- Estimated Calories: Approximately 130 calories per serving
- Storage Instructions: Keep in the fridge for up to 3 days or freeze unfilled cones for up to 1 month.
FAQ Section
Can I use homemade crescent dough?
Yes! Homemade dough will work beautifully; just ensure it’s prepared thin enough for wrapping.Can I freeze these?
Absolutely! Bake the cones and then freeze them unfilled. Fill them when you’re ready to serve for maximum crispiness.How do I make them vegan?
Use vegan crescent roll dough and replace the cream cheese and sour cream with plant-based alternatives.How do I make them spicier?
Add chopped jalapeños or a dash of your favorite hot sauce to the filling for an extra kick.Can I make these ahead of time?
Yes! Prepare and refrigerate the filling up to a day in advance. Assemble and bake just before serving.What can I serve this with?
They pair great with cocktail dips, salads, or as part of a cheese platter.Can I prepare the filling the night before?
Sure! Cover and refrigerate until you’re ready to use it.What’s the best way to reheat leftovers?
Place them in a preheated oven at 350°F for about 5 minutes to re-crisp the pastry.Are these gluten-free?
Only if you use a gluten-free crescent dough alternative.Do I need to use the food coloring?
Not at all! It’s purely for aesthetic purposes, so feel free to skip it.
Conclusion
These Crescent Roll Carrots are not just a recipe; they’re an experience that brings families together, just like my grandmother’s smiles at family gatherings. I encourage you to step into your kitchen, try making them, and create your own wonderful moments. Let me know your thoughts and how they turn out in the comments below! If you enjoyed these, don’t miss out on my other fun recipes, like my festive cheese ball or savory puff pastries. Happy cooking!