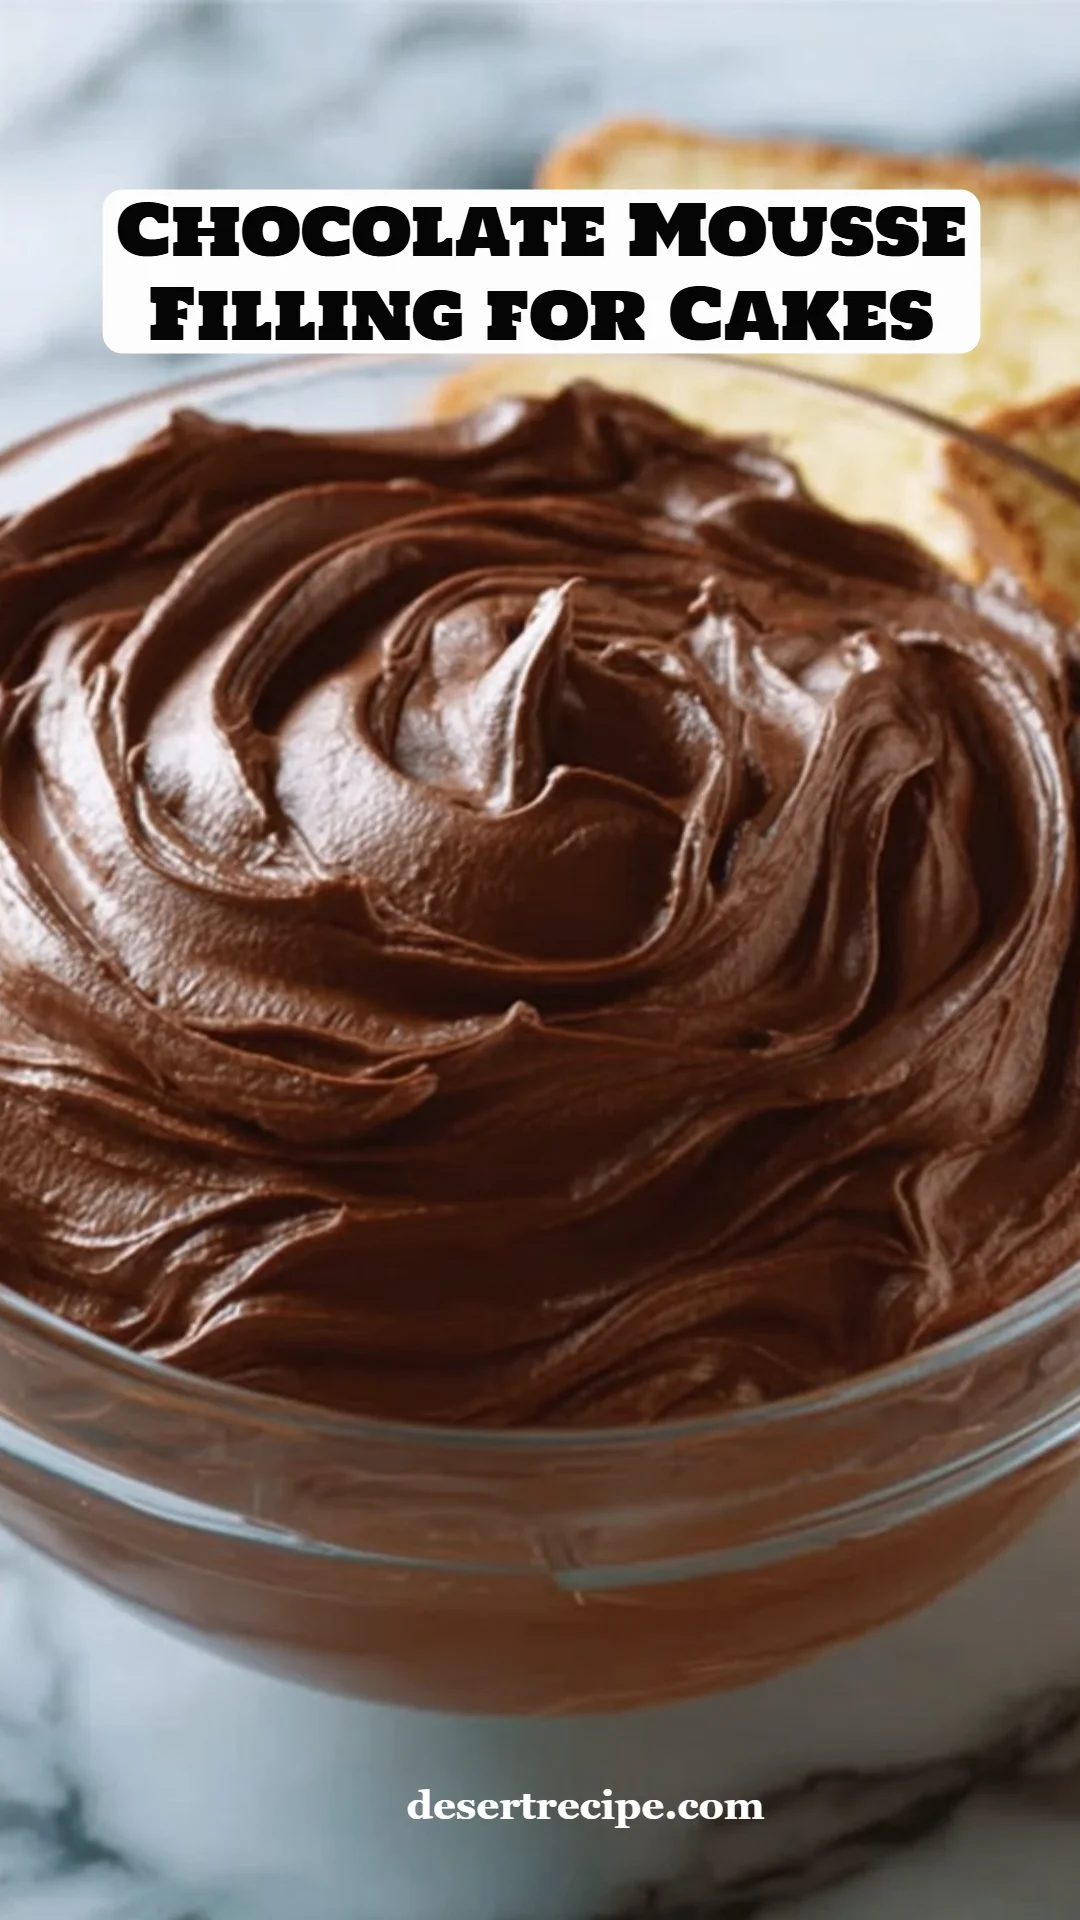
Irresistible Chocolate Mousse Filling for Cakes: The Secret to Decadent Dessert Dreams
I still remember the first time I whipped up a rich, fluffy Chocolate Mousse Filling for Cakes. It was an ordinary Saturday afternoon, and my kitchen was filled with the tantalizing aroma of melting chocolate. As I folded the smooth, buttery mixture into a cloud of whipped cream, I could already picture my family’s delighted expressions as they sunk their forks into layers of chocolate bliss. This decadent filling has become a staple in my baking repertoire—an essential component that can elevate any cake, be it a simple birthday treat or an elaborate wedding masterpiece.
What sets my recipe apart from countless others is the balance of rich semi-sweet chocolate and airy cream, creating a taste that’s both luxurious and comforting. And let me tell you—this isn’t just about creating a delicious dessert. It’s about bringing people together, sharing love through layers of chocolatey goodness, and making memories that last a lifetime. I can promise you that by the end of this post, you’ll be equipped with all the knowledge you need to create your own stunning Chocolate Mousse Filling for Cakes.
What Are Chocolate Mousse Filling for Cakes?
Originating from France, chocolate mousse has been a beloved dessert since the late 18th century. This delightful filling is characterized by its light and airy texture combined with the rich flavor of chocolate, making it the perfect indulgence for any chocolate lover. The luscious experience of diving into a slice of cake layered with chocolate mousse is nothing short of heavenly.
What makes this mousse unique is its incredible versatility; it can be prepared in countless flavors, from decadent dark chocolate to a light and zesty orange chocolate blend. Whether you’re celebrating a birthday or simply treating yourself after a long week, knowing how to make a Chocolate Mousse Filling for Cakes allows you to savor those special moments.
Why You’ll Love This Recipe
Easy to Make: Even if you’re not a professional baker, creating a Chocolate Mousse Filling for Cakes is straightforward and quick. You’ll be amazed at how simple it is to whip up this creamy delight.
Cost-Effective: Avoid the expensive store-bought options! With just a handful of ingredients, you can whip up a batch for a fraction of the price. I find that most often, the ingredients I need are already in my kitchen.
Customization Options: Want to play around with flavors? You can easily swap out semi-sweet chocolate for dark chocolate, milk chocolate, or even white chocolate. Add a splash of espresso or a hint of peppermint for an exciting twist!
Quality Ingredients: By making this mousse at home, you have absolute control over the ingredients. You can opt for high-quality chocolate and organic cream, ensuring every bite is as indulgent as possible.
Delightfully Light Texture: The result is a filling that is not too heavy on the palate. Perfectly airy and melt-in-your-mouth, it adds the right touch of elegance to your cake, making it wonderfully memorable.
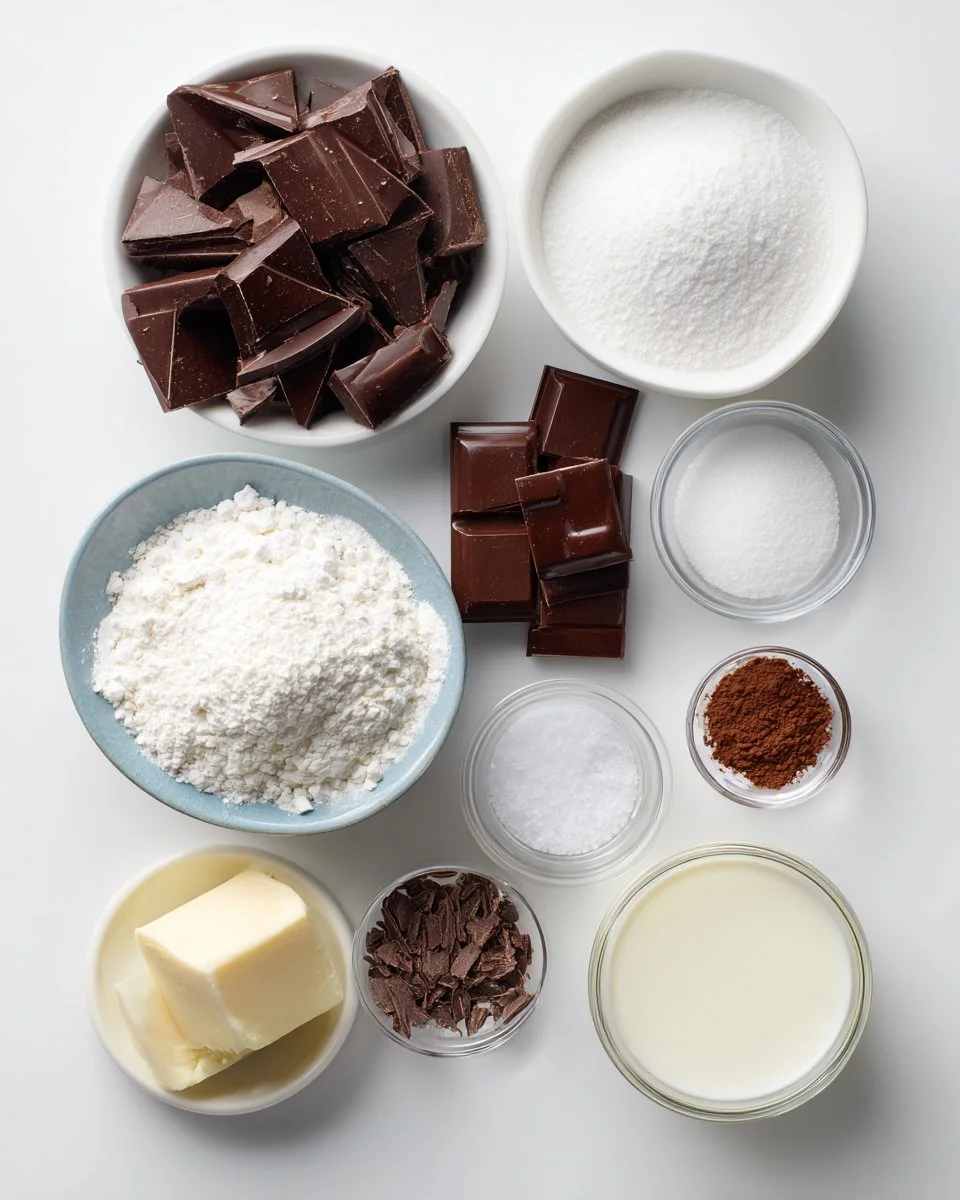
Ingredients
200g (7 oz) semi-sweet chocolate (55–65% cocoa), chopped: Use high-quality chocolate for the best flavor. Brands like Ghirardelli or Callebaut work wonderfully.
1 cup (240ml) heavy whipping cream, cold: Make sure it’s chilled for the best whipping results. Organic brands are often richer in flavor.
2 tablespoons powdered sugar (adjust to taste): Sweeten to your preference; you can even experiment with flavored sugars for added creativity.
1 teaspoon pure vanilla extract: Use pure vanilla for a more aromatic flavor. Madagascar vanilla is a favorite among bakers.
Pinch of salt (optional, only if using unsalted chocolate): This enhances the chocolate flavor without making it salty!
Preparation Notes: Make sure your cream is perfectly cold before whipping; it creates the best volume. You’ll want the chocolate melted and cooled to room temperature before mixing—this ensures a smooth and velvety texture.
Step-by-Step Instructions
Melt the chocolate: Place the chopped chocolate in a heatproof bowl. Create a double boiler by simmering water in a pot, then setting the bowl on top, being careful not to let it touch the water. Stir gently until smooth. If you’re pressed for time, melt the chocolate in the microwave using 20-second intervals, stirring in between. Once melted, set aside to cool to room temperature.
Chef’s Tip: The chocolate should be glossy and have no lumps. If you overheat it, it can seize up. Just take your time!
Whip the cream: In a large bowl chilled in the fridge, whip the cold heavy cream along with powdered sugar and vanilla extract using a hand mixer or a stand mixer fitted with a whisk attachment. Whip until soft peaks form—this should take about 2-5 minutes.
Visual Cue: You’ll know it’s ready when you lift the whisk and the cream holds its shape but is still silky smooth.
Combine chocolate and cream: Once the chocolate has cooled, add one scoop of whipped cream to the chocolate while gently stirring to lighten the mixture. This helps incorporate the cream without deflating it. Carefully fold in the remaining cream in 2 to 3 additions, using a rubber spatula.
Chef’s Tip: Be gentle—over-mixing can ruin that beautiful airy texture! You want it to be fully combined, but still fluffy.
Chill: For a firmer texture, cover the bowl with plastic wrap and chill the mousse for 30 to 60 minutes before using it in cakes or tarts.
Common Mistake: Remember, it will thicken further in the fridge!
Expert Tips & Tricks
Ingredient Quality: Always choose high-quality chocolate. The flavor of your mousse will shine through; a good chocolate makes all the difference.
Storage: If you have any leftovers (which is rare!), store them in an airtight container in the fridge for up to 3 days. Just re-whip before using if it gets too firm.
Make Ahead: You can prepare this mousse a day in advance. Simply keep it covered in the fridge until you’re ready to use it.
Troubleshooting: If your mousse doesn’t seem to be thickening, ensure that your cream is cold enough when you whip it. You can always adjust by folding in more whipped cream until you reach your desired consistency.
Pairing Suggestions: This mousse goes wonderfully with fresh fruits, like berries or bananas, and a sprinkle of sea salt can bring out more depth in flavor.
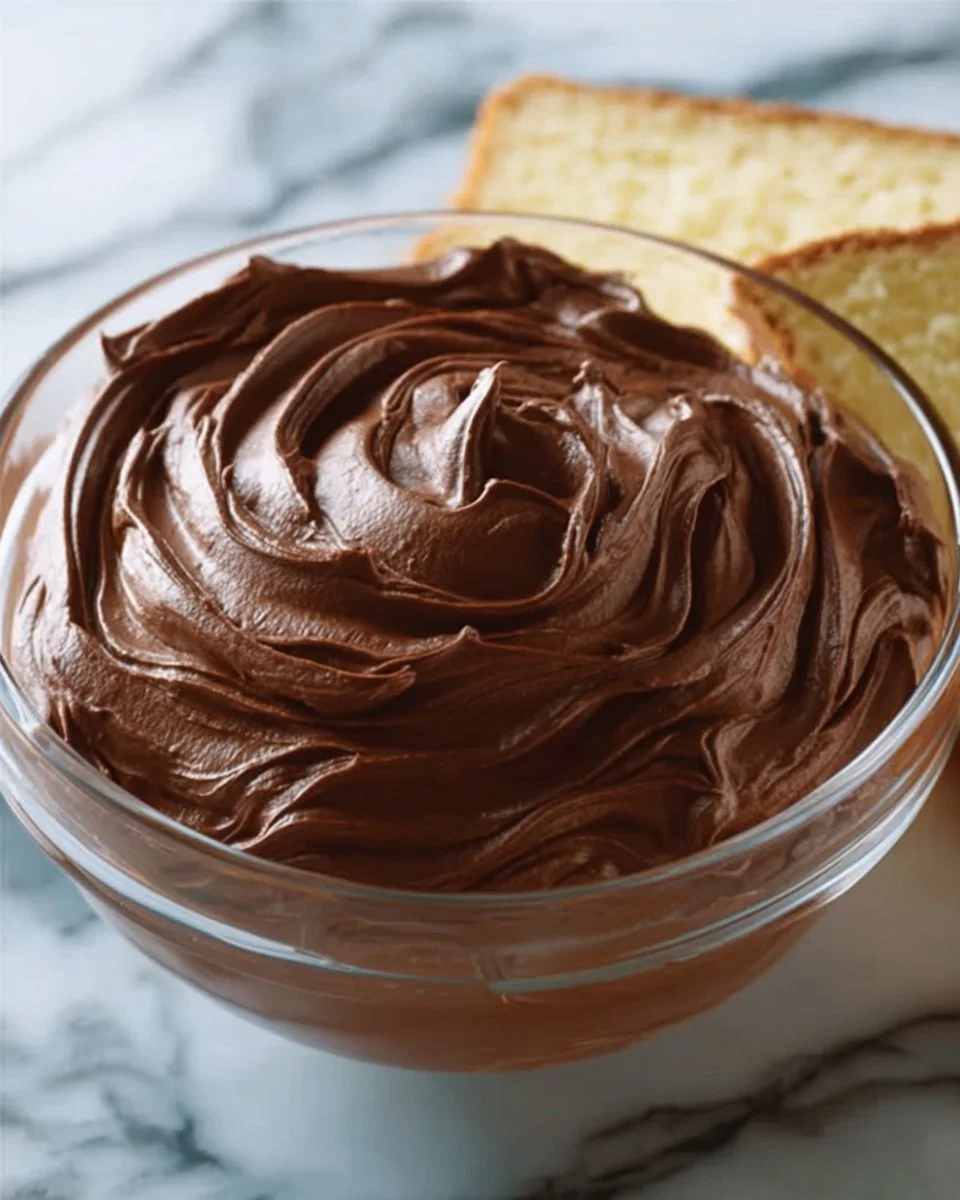
Presentation: For an elegant touch, layer the mousse in a beautiful glass with berries and whipped cream on top for a fantastic dessert vibe.
Serving Suggestions
For a sumptuous dessert, serve slices of cake filled with chocolate mousse alongside a scoop of vanilla ice cream or a dollop of fresh whipped cream. Consider garnishing with crushed nuts or shavings of dark chocolate for texture and flair. Ideal occasions for this luxurious filling include birthdays, anniversaries, or simply when you want to indulge in a little comfort food.
Variations & Substitutions
- Fruit Infusions: For a refreshing change, try adding pureed strawberries or raspberries for a berry chocolate mousse.
- Flavor Variations: Experiment with infused mousses by adding a tablespoon of coffee or rum for an adult version or even try matcha for a unique twist!
- Dairy-Free Option: Use coconut cream instead of heavy cream and dairy-free chocolate for a delicious dairy-free chocolate mousse.
Nutrition & Storage Info
- Prep Time: 20 minutes
- Cooking Time: 10 minutes
- Total Time: 30 minutes (not including chilling time)
- Yield: Approximately 2 cups (enough for 2-3 layered cakes)
- Estimated Calories per Serving: ~200 calories (depending on servings and ingredients)
Storage Instructions
- Room Temperature: Not recommended; keep refrigerated.
- Fridge: Lasts up to 3 days.
- Freezer: Can freeze for up to 2 months. Thaw in the fridge before use.
FAQ Section
Can I make this mousse ahead of time?
Absolutely! Prepare it a day before and store it in the fridge. Just give it a quick whip before serving.What chocolate should I use?
Opt for high-quality semi-sweet chocolate (55-65% cocoa) for the best results. Brands like Ghirardelli or Callebaut are fantastic choices.Can I use milk instead of heavy cream?
Milk won’t provide the same texture or volume. If you’re looking for a lighter option, coconut cream is a great substitute.Is there a way to make this vegan?
Yes! Substitute heavy cream with coconut cream and use dairy-free chocolate.How can I tell when the mousse is ready?
Look for soft peaks in the whipped cream, and the chocolate should be at room temperature for easy mixing.What if my mousse is too runny?
If it’s not setting, consider chilling it longer. You can also fold in more whipped cream to fluff it up.Can I add different flavors?
Definitely! Try lemon zest, orange zest, or espresso for a delightful twist.How long does this mousse last in the fridge?
Store in an airtight container for up to 3 days for the best quality.How do I layer the mousse in a cake?
Ensure your cake layers are cooled, then spread or pipe the mousse evenly between the layers. Chill to set before adding frosting or additional layers.Is this mousse suitable for children?
Yes, as long as you’re using non-alcoholic ingredients and appropriate chocolate varieties.
Conclusion
This Chocolate Mousse Filling for Cakes is truly a game-changer when it comes to dessert. With its rich flavor, airy texture, and endless possibilities, it can transform any cake into an extraordinary experience. I encourage you to give it a try, and I’d love to hear your thoughts—did it become a family favorite, too? Don’t forget to check out my other recipes on the blog for more delicious baking inspiration. Happy baking!