Table of Contents
Table of Contents
Decadent Old Fashioned Chocolate Pie: Create Cherished Memories with Every Bite
There’s something undeniably special about an Old Fashioned Chocolate Pie that tugs at the heartstrings—and my taste buds! I remember the first time I helped my grandmother whip one up in her cozy kitchen. The air was filled with the irresistible aroma of melting chocolate and sweet memories, with my little fingers covered in flour and smiles all around. This beloved dessert isn’t just about the rich, velvety chocolate filling nestled in a crispy pie crust; it’s a delicious portal to treasured family gatherings and the kind of comfort that only homemade treats can provide.
What makes this Old Fashioned Chocolate Pie recipe stand out from others? It’s not just the combination of quality ingredients; it’s the love and care that goes into every step, transforming simple elements into something truly extraordinary. With a creamy filling that dances on your palate and a crust that practically begs to be enjoyed, it’s no wonder this pie has become a family favorite over the years.
In this post, I’ll guide you through crafting your very own Old Fashioned Chocolate Pie—one that will surely become the centerpiece of your dessert table and a source of warmth and joy for your loved ones. Let’s dive in!
What Are Old Fashioned Chocolate Pies?
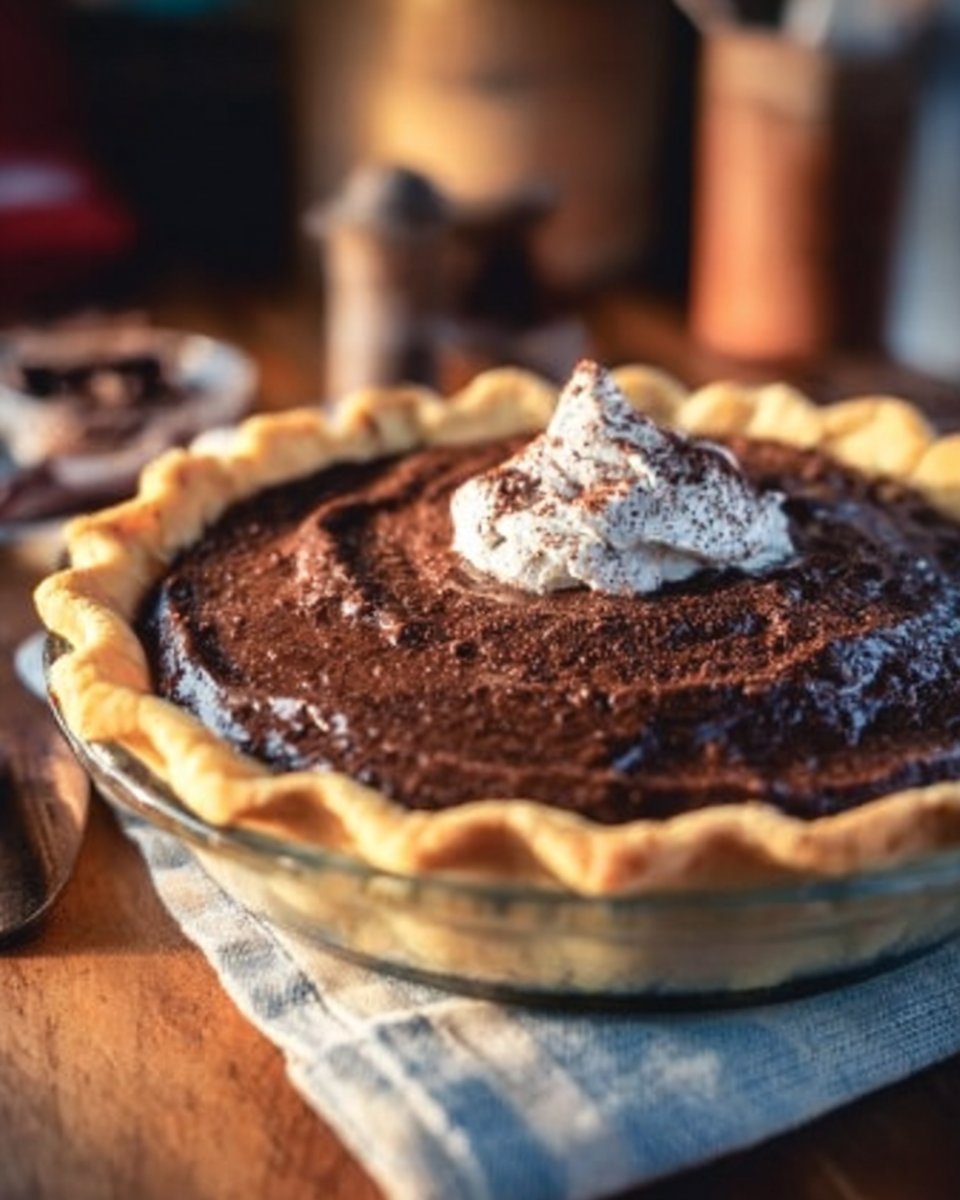
Old Fashioned Chocolate Pies have a rich history that offers a delightful glimpse into the past of American desserts. Originating in the southeastern United States, this classic pie has been a cherished part of family dinners and holiday feasts for generations. Imagine a luscious chocolate filling that’s thick and creamy, encased in a perfectly baked pie crust—it’s a slice of nostalgia that brings warmth to the soul.
The taste of an Old Fashioned Chocolate Pie is a harmonious blend of bittersweet chocolate richness and a subtle sweetness, while the texture strikes a balance between velvety smooth and satisfyingly firm. Unlike modern, overly sweet chocolate desserts, this pie achieves a delightful depth of flavor, making every bite irresistible.
When to enjoy this delectable dessert? Whether it’s a holiday gathering, a summer barbecue, or simply a cozy night in, Old Fashioned Chocolate Pie lifts spirits and creates new family memories, one slice at a time.
Why You’ll Love This Recipe
Trust me, you’re going to fall head over heels for this recipe, and here’s why:
Homemade Goodness: Unlike store-bought versions that can taste artificial, this pie is crafted from scratch using quality ingredients, ensuring a genuine chocolate flavor that’s unmatched.
Cost-Effective: Why spend a small fortune on fussy dessert shop versions when you can whip this delicious pie up at home? The ingredients are simple and budget-friendly, and the result is decidedly more impressive!
Endless Customizations: Feel like getting adventurous? You can easily customize the filling with different chocolates (dark, milk, or even white) or add a hint of espresso for an exciting twist!
Simplicity Meets Elegance: This pie is surprisingly easy to make, even for novice bakers, yet it’s impressive enough to serve at special occasions. It’s the perfect way to showcase your home-cooking prowess!
Time Investment: The total time you’ll need is about 1.5 hours, which includes chilling! With just a little patience and love, you can create a dessert that feels like a warm hug.
So gather your ingredients, and let’s embark on this chocolatey adventure together!
Ingredients Section
To make this irresistible Old Fashioned Chocolate Pie, you’ll need the following ingredients:
- 6 tablespoons all-purpose flour (for thickening the filling; feel free to substitute with gluten-free flour if needed)
- 3 tablespoons cocoa powder (high-quality cocoa will enhance the chocolate flavor; I love using Ghirardelli)
- 1 cup granulated sugar (regular white sugar works best, but coconut sugar can be an exciting twist for a caramel flavor)
- 3 large egg yolks (make sure they’re at room temperature for the best results)
- 2 cups whole milk (for a creamier texture; feel free to sub with almond or oat milk for a dairy-free option)
- 1 teaspoon pure vanilla extract (don’t skimp on quality; it makes a world of difference)
Prep Notes:
- Butter: If using a frozen pie crust, it’s best to let it thaw according to package directions before filling.
- Room Temperature Ingredients: Make sure your eggs and milk are at room temperature for optimal mixing and creaminess.
Let’s move on to making this beautiful pie!
Step-by-Step Instructions
Preheat Your Oven: Preheat your oven to 375°F (190°C) to prepare for baking your pie crust.
Prepare the Pie Crust: Prepare a frozen or refrigerated pie crust according to package directions. Once done, set it aside.
Sift Dry Ingredients: In a medium bowl, sift together the flour, cocoa powder, and sugar. This step is crucial as it blends the dry ingredients evenly and helps reduce clumps.
Mix Egg Yolks: Mix the egg yolks into the dry ingredients until fully combined and resembles wet sand.
Add Milk Slowly: Slowly stir in the milk, pouring it in a little at a time to ensure the mixture stays smooth and well-combined.
Cook Your Filling: Transfer the mixture into a medium saucepan and cook over medium heat, stirring continuously until the mixture becomes thick and starts to bubble—usually about 5-7 minutes.
Finish the Filling: Remove from heat, add the vanilla extract, and stir to combine. This is where the magic happens!
Pour into Pie Crust: Transfer the luscious chocolate filling into your baked pie crust, smoothing the top with a spatula.
Chill: Allow it to chill in the refrigerator for at least 1 hour, or up to 24 hours if you want to prepare it ahead of time.
Store Leftovers: Store any leftovers in the fridge for up to three days.
Chef’s Tips:
- Make sure to stir constantly while cooking the filling to avoid lumps!
- If the filling doesn’t thicken as much as you’d like, just give it a little more time over heat.
Expert Tips & Tricks
Use Quality Chocolate: Invest in good chocolate for an unparalleled taste experience! High-quality cocoa powder also significantly enhances flavor.
Get Creative with Toppings: Consider topping your pie with whipped cream, chocolate shavings, or even fresh berries for that added flair.
Storage Recommendations: Make sure to store any leftovers in an airtight container in the fridge. You can also freeze individual slices for a quick dessert option later!
Make-Ahead: This Old Fashioned Chocolate Pie can be made up to a day in advance, making it perfect for entertaining. Just keep it chilled until you’re ready to serve.
Troubleshooting: If your filling seems too runny, it may need a little more cooking time. The key is patience; let it thicken nicely!
Serving Suggestions
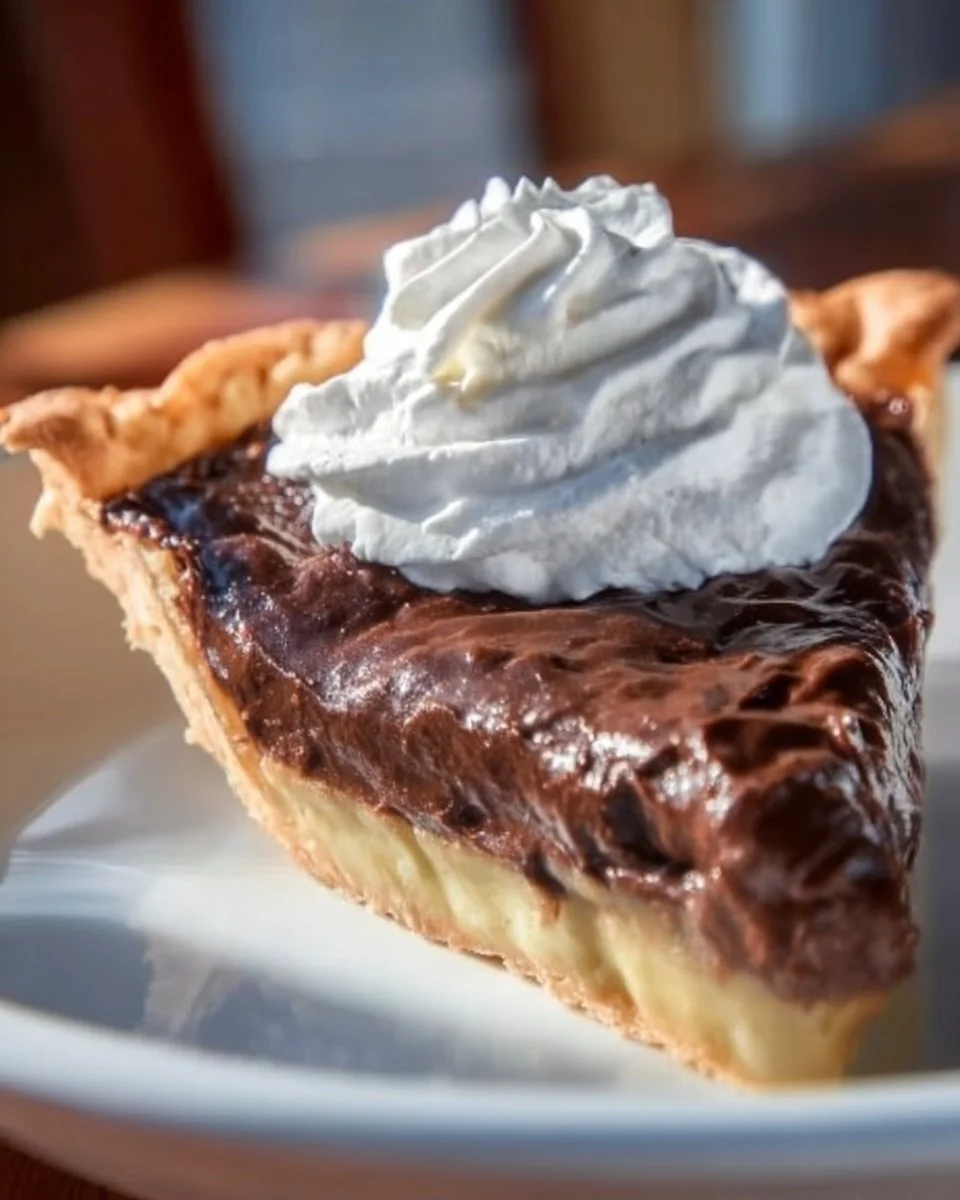
This luscious Old Fashioned Chocolate Pie pairs well with a dollop of freshly whipped cream for a delightful contrast in texture. I also love serving it with a scoop of vanilla ice cream on the side—it’s pure bliss!
Presentation is key; consider serving it on a beautiful cake stand or slicing it into wedges and garnishing each slice with chocolate shavings or berries for a pop of color. Perfect for birthdays, holidays, or even just a sweet comfort food night in!
Variations & Substitutions
Feeling adventurous? Here are some ways to tweak the Old Fashioned Chocolate Pie recipe to suit your taste or dietary needs:
Flavor Combinations: Consider adding a hint of peppermint extract for a delightful holiday twist or a touch of espresso for a rich mocha flavor.
Dietary Adaptations: To make it gluten-free, switch the flour for a gluten-free blend. For a vegan version, replace egg yolks with a cornstarch mixture or silken tofu and use plant-based milk!
Seasonal Variations: During autumn, you might add a sprinkle of pumpkin spice to the filling, creating a delightful hybrid between chocolate and pumpkin pie.
Nutrition & Storage Info
- Prep Time: 15 minutes
- Cook Time: 10 minutes
- Total Time: 1.5 hours (including chilling)
- Yield: Serves 8
- Estimated Calories: Approximately 300 calories per serving
- Storage Instructions: Store leftovers in the fridge for up to three days or freeze for up to two months.
FAQ Section
Can I use a different kind of milk?
Absolutely! Almond, oat, or coconut milk can all serve as fantastic substitutes. Use unsweetened varieties for the best flavor.How do I know when the filling is thick enough?
Your mixture should be thick enough to coat the back of a spoon and hold a line when you run your finger through it.What if my pie crust shrinks?
This can happen when the crust is stretched. Make sure to chill the dough for at least 30 minutes before baking to help prevent this.Can I make this pie ahead of time?
Yes! This pie can be made a day in advance and kept in the refrigerator until serving time.What other toppings work well?
You can get creative! Fresh raspberries, a drizzle of caramel sauce, or even chopped nuts add great texture and flavor.How can I avoid a watery filling?
Ensure you cook the filling long enough over heat and stir continuously to prevent lumps and ensure it thickens properly.Is this the same as chocolate pudding pie?
Not quite! While they may share similarities, Old Fashioned Chocolate Pie has a more robust texture, thanks to the flour, and is often baked.Can I freeze the Old Fashioned Chocolate Pie?
Yes, but the texture may change slightly after freezing. Wrap it tightly in plastic wrap and foil to protect it from freezer burn.How can I enhance the chocolate flavor?
Try using dark chocolate for the filling or adding a tablespoon of instant coffee granules to the dry ingredients.Is this pie gluten-free?
No, but you can easily modify it by using gluten-free flour as mentioned in the ingredients section.
Conclusion
This Old Fashioned Chocolate Pie isn’t just a recipe; it’s a journey back to cherished family moments and the comfort of homemade treats. I encourage you to grab those ingredients, channel your inner baker, and create your own slice of happiness. Don’t forget to share your experiences and any tweaks you make in the comments below—I love hearing your stories!
And if you enjoyed this recipe, check out my other delightful treats on the blog, like my famous Vanilla Cream Pie or my Coconut Cream Pie for more nostalgic flavors. Happy baking!
Old Fashioned Chocolate Pie
Ingredients
Method
- Preheat your oven to 375°F (190°C) to prepare for baking your pie crust.
- Prepare a frozen or refrigerated pie crust according to package directions. Once done, set it aside.
- In a medium bowl, sift together the flour, cocoa powder, and sugar.
- Mix the egg yolks into the dry ingredients until fully combined and resembles wet sand.
- Slowly stir in the milk, pouring it in a little at a time to keep the mixture smooth.
- Transfer the mixture into a medium saucepan and cook over medium heat, stirring continuously until the mixture thickens and starts to bubble—about 5-7 minutes.
- Remove from heat, add the vanilla extract, and stir to combine.
- Pour the chocolate filling into your baked pie crust, smoothing the top with a spatula.
- Allow the pie to chill in the refrigerator for at least 1 hour, or up to 24 hours if preparing ahead.
- Store any leftovers in the fridge for up to three days.