Delicious Blackberry Pie: A Sweet Hug in Dessert Form
There’s something magical about the smell of a freshly baked pie wafting through the house, isn’t there? I recall the first time I attempted to make a blackberry pie; I was just a kid, standing on a stool beside my grandmother. She expertly rolled out the crust, but I was mesmerized by the way the glossy blackberries seemed to shimmer in the sunlight. As we mixed the fruit with sugar, I learned that not only do blackberries taste delicious, but they also hold deep memories of family gatherings and laughter.
This blackberry pie is more than just a dessert. It’s a ticket back to those cozy moments, where each slice offers a burst of sweetness and nostalgia. What makes this recipe stand out from the rest? It’s the combination of fresh, juicy blackberries and a perfectly flaky crust that truly brings the flavors to life. No store-bought pie can ever compare to the warmth and comfort of something made from scratch.
In this post, I’ll share my cherished recipe with you, along with tips to nail that perfectly tender crust and tips for customizing the filling. Get ready to embrace the sweet tang of blackberry pie that will fill your home with joy!
What Are Blackberry Pies?
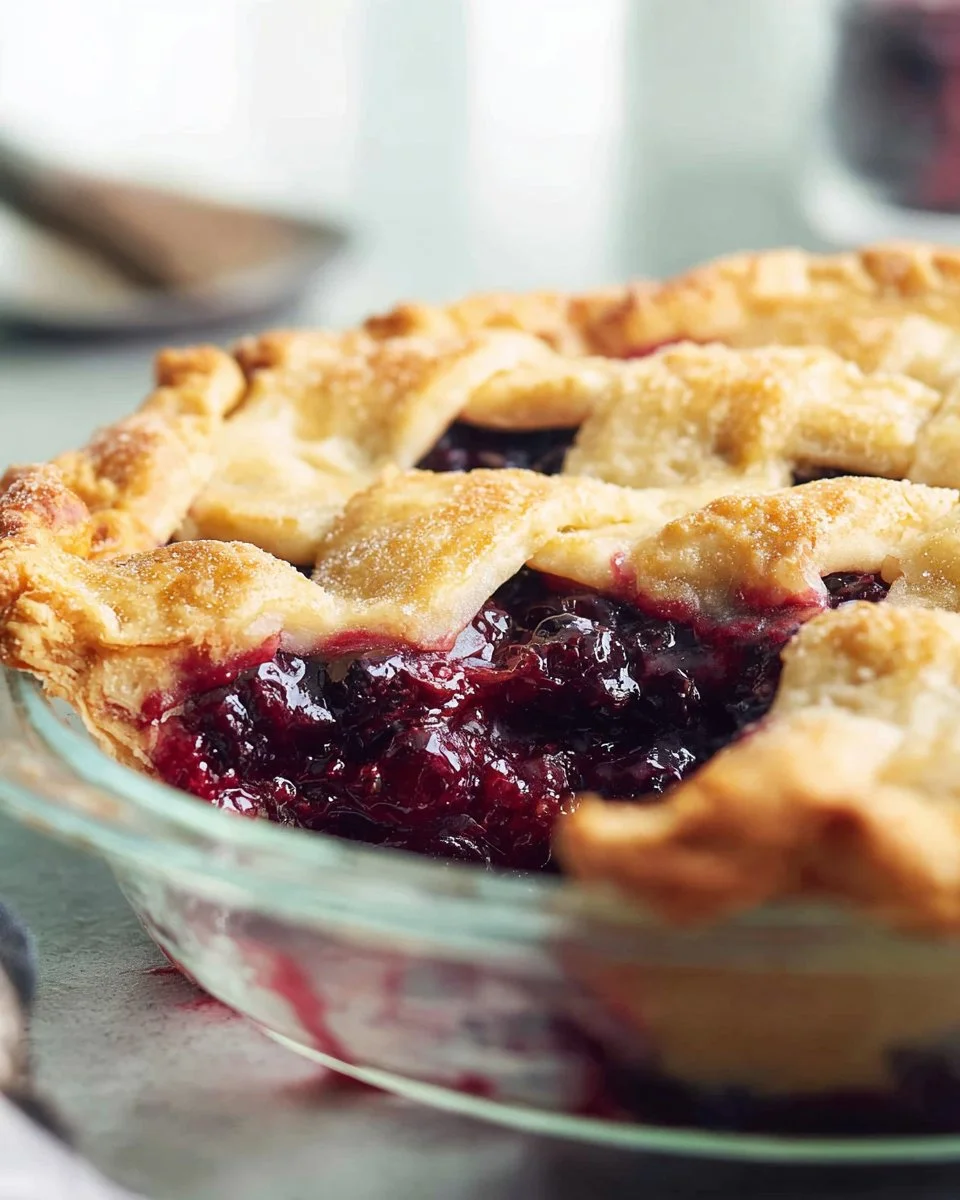
Blackberry pies have a rich history that dates back to when early American settlers sought to make the most of the bountiful blackberries growing in the wild. Known for their sweet yet slightly tart flavor profile, blackberries add a delightful depth to any dessert. The texture is a beautiful contrast; a crispy, golden crust enveloping the juicy, bubbling fruit filling.
The unique aspect of blackberry pie lies in its versatility. You can whip one up for a summer picnic or a cozy holiday dinner, making it the perfect recipe for any occasion. It transforms simple ingredients into a show-stopping dessert that’s both elegant and approachable – a true crowd-pleaser.
Why You’ll Love This Recipe
Flavor Explosion: This blackberry pie is a burst of juicy goodness in every bite. The fresh blackberries are perfectly balanced with just the right amount of sugar and flour, allowing their natural sweetness to shine through.
Homemade vs. Store-bought: Let’s face it; no store-bought version can replicate the homemade goodness of this pie! You’ll have complete control over the ingredients, ensuring a fresher, healthier treat.
Cost-Effective: Making pies at home can be surprisingly economical. When blackberries are in season, they’re often affordable and plentiful. Plus, with this straightforward recipe, you can impress your friends without breaking the bank!
Endless Customization: Want to mix it up? Add a dash of cinnamon or a splash of lemon juice for a delightful twist. You can even mix in other berries like raspberries or blueberries for a mixed berry pie!
Beginner-Friendly: This recipe serves as a great introduction to baking. With a few simple steps and approximately an hour of your time, you’ll have a homemade pie that looks as good as it tastes.
Ingredients
Always add 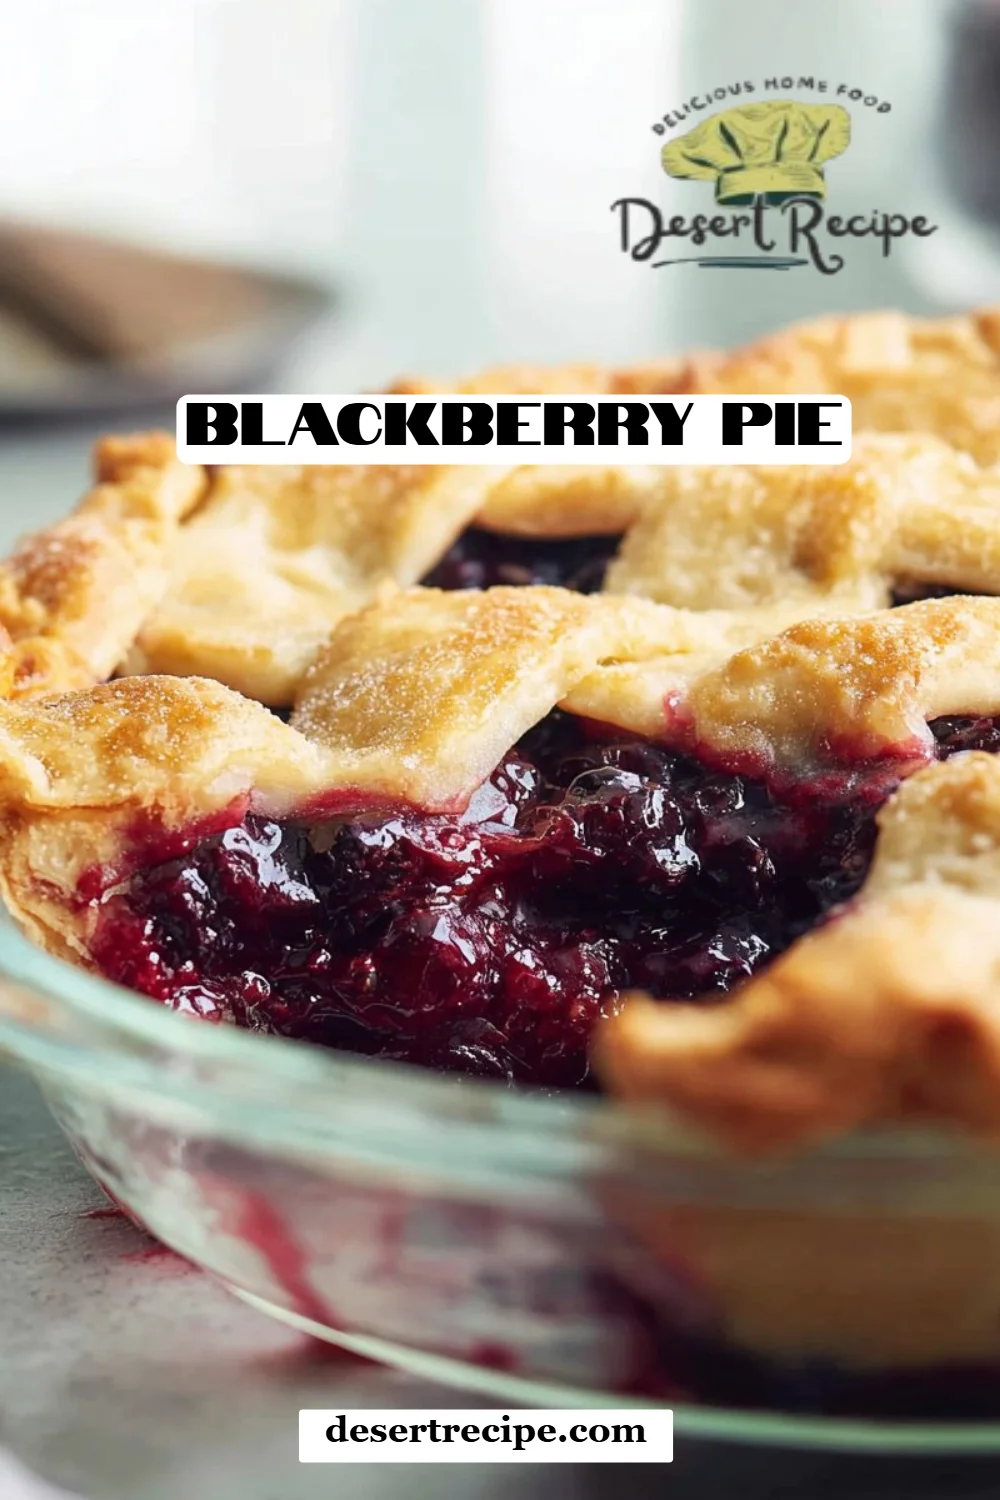
tag before Ingredients.
- 1 homemade pie crust (or 2 unbaked store-bought pie crusts): Store-bought works when I’m short on time, but I’ll always vouch for the deep flavor of a homemade crust.
- 6 cups fresh blackberries: Look for plump, shiny berries – they’re naturally sweet and juicy.
- 1/2 cup granulated sugar: Adjust according to the tartness of your berries.
- 1/4 cup all-purpose flour: This helps thicken the pie filling and gives it body without overwhelming the fruit.
- 1 large egg (room temperature, beaten): This will give your crust that golden shine.
Notes on Ingredient Quality/Substitutions:
- Try using organic berries for a more vibrant flavor.
- Substitute sugar with honey or maple syrup for a natural sweetness.
Step-by-Step Instructions
Preheat Oven: Set your oven to 425°F (220°C). This high initial heat helps the crust start to crisper.
Prepare the Crust: Roll out one of your pie crusts into a 12-inch circle and gently place it into a 9-inch pie pan. Use your fingers to press it down lightly, ensuring there are no air bubbles.
Mix the Filling: In a large mixing bowl, toss your fresh blackberries with sugar and flour until they’re well coated. This not only adds sweetness but also prevents the filling from being too runny.
Pour the Filling: Carefully pour the blackberry mixture into the prepared pie crust, distributing it evenly.
Top with Second Crust: Roll out the second crust and drape it over the pie. Seal the edges by crimping with your fingers or a fork to create a decorative finish. Don’t forget to trim excess dough to avoid burning!
Vent the Pie: Brush the top crust with the beaten egg for that beautiful bronzed finish, and cut several slits on top for steam to escape.
Bake: Place your pie in the preheated oven. Bake for 15 minutes, then lower the temperature to 375°F (190°C) and continue baking for 35-40 minutes. You’ll want the filling to be bubbly and the crust to be a lovely golden brown.
Cool Before Serving: Allow the pie to cool for at least 30 minutes before cutting into it. This will help the filling set up nicely.
Chef’s Tips:
- For a perfectly flaky crust, make sure your butter is cold when making the dough.
- Use a pie shield or cover the edges with foil to prevent them from over-browning.
Expert Tips & Tricks
Storage Recommendations: Your blackberry pie can be stored at room temperature for up to 2 days or in the fridge for about a week.
Make-Ahead Instructions: You can prepare the pie crust up to 2 days in advance and keep it tightly wrapped in the fridge. Alternatively, assemble the pie without baking and refrigerate it overnight.
Troubleshooting Common Problems: If your filling appears too runny, try adding an extra tablespoon of flour to absorb excess juice. For a burnt crust, lower your oven temperature slightly during baking.
Flavor Variations: Don’t hesitate to play with spices! A sprinkle of nutmeg or cardamom can impart a warm, aromatic flavor.
Serving Ideas: Serve with a dollop of whipped cream or a scoop of vanilla ice cream to elevate the dessert experience.
Serving Suggestions
What could be better than a slice of warm blackberry pie served with a scoop of vanilla ice cream melting into it? For added flair, garnish with fresh mint leaves or a dusting of powdered sugar. This pie is perfect for summer picnics, cozy winter gatherings, or even as a special weekday dessert – because you deserve it!
Variations & Substitutions
There’s a world of blackberry pie possibilities waiting for you.
- Mixed Berry Delight: Combine blackberries with strawberries or blueberries for a fabulous medley.
- Vegan Options: Substitute the egg wash with almond milk and use vegan butter for the crust.
- Nutty Crust: Add crushed nuts to your crust for an extra crunchy texture that pairs beautifully with the soft fruit filling.
Nutrition & Storage Info
- Prep Time: 20 minutes
- Cook Time: 55 minutes
- Total Time: 1 hour 15 minutes
- Yield: 8 servings
- Estimated Calories: Approximately 300 calories per slice (based on standard pie crust and filling)
- Storage Instructions: Keep at room temperature for 2 days or in the fridge for up to a week. You can freeze the pie for up to 3 months.
FAQ Section
Can I use frozen blackberries for this recipe?
Yes, you can! Just make sure to thaw them and drain any excess liquid before using.
How can I tell when my pie is done?
Look for a bubbling filling and a golden-brown crust. An internal temperature of around 200°F is ideal!
What if my crust shrinks during baking?
This could be due to overworking the dough or not letting it chill properly. Make sure to rest the dough before rolling it out.
Can I make this pie gluten-free?
Absolutely! Just substitute the all-purpose flour with a gluten-free blend and ensure your pie crust is also gluten-free.
Should I use fresh or frozen blackberries?
While fresh is usually best, frozen works in a pinch! Just adjust sugar based on sweetness.
Why is my filling runny?
A runny filling could be due to excess moisture in the berries. You can remedy this with an extra tablespoon of flour in the mix.
How do I prevent my pie crust from getting soggy?
Blind baking the crust for 10-15 minutes before adding filling can help prevent sogginess!
What’s the best way to serve leftover blackberry pie?
Leftover pie tastes fantastic chilled or lightly reheated in the oven.
Can I use other fruits in this pie?
Yes! Apples, peaches, or raspberries work beautifully.
What’s the best way to store my pie?
If you won’t finish it in a couple of days, wrap it well and freeze it for later.
Always add 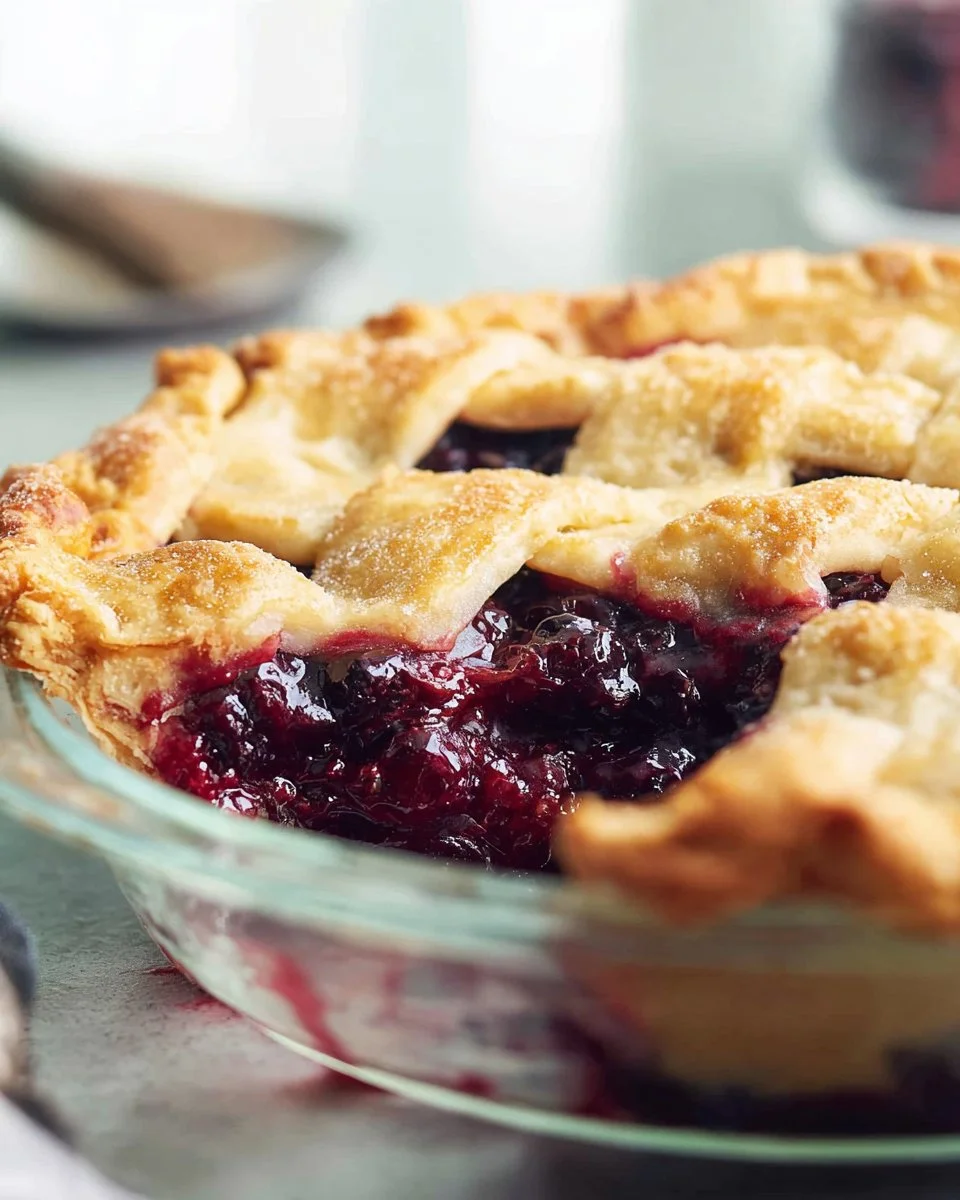
tag after Directions.
Conclusion
This blackberry pie recipe truly captures the essence of what home baking is all about—comfort, nostalgia, and a sprinkle of love. I hope you’ll try this recipe and create your own special memories. Let me know how it turns out in the comments, or share gems from your own kitchen adventures! And don’t forget to check out my other fruit pie recipes on the blog; I promise they’ll become family favorites too!
Always add
tag before Ingredients.
Blackberry Pie
Ingredients
Method
- Preheat your oven to 425°F (220°C).
- Roll out one of your pie crusts into a 12-inch circle and place it into a 9-inch pie pan.
- In a large mixing bowl, toss your fresh blackberries with sugar and flour until well coated.
- Pour the blackberry mixture into the prepared pie crust evenly.
- Roll out the second crust and drape it over the pie. Seal edges by crimping.
- Brush the top crust with the beaten egg and cut slits for venting.
- Bake for 15 minutes, then lower the temperature to 375°F (190°C) and continue baking for 35-40 minutes.
- Allow the pie to cool for at least 30 minutes before cutting.