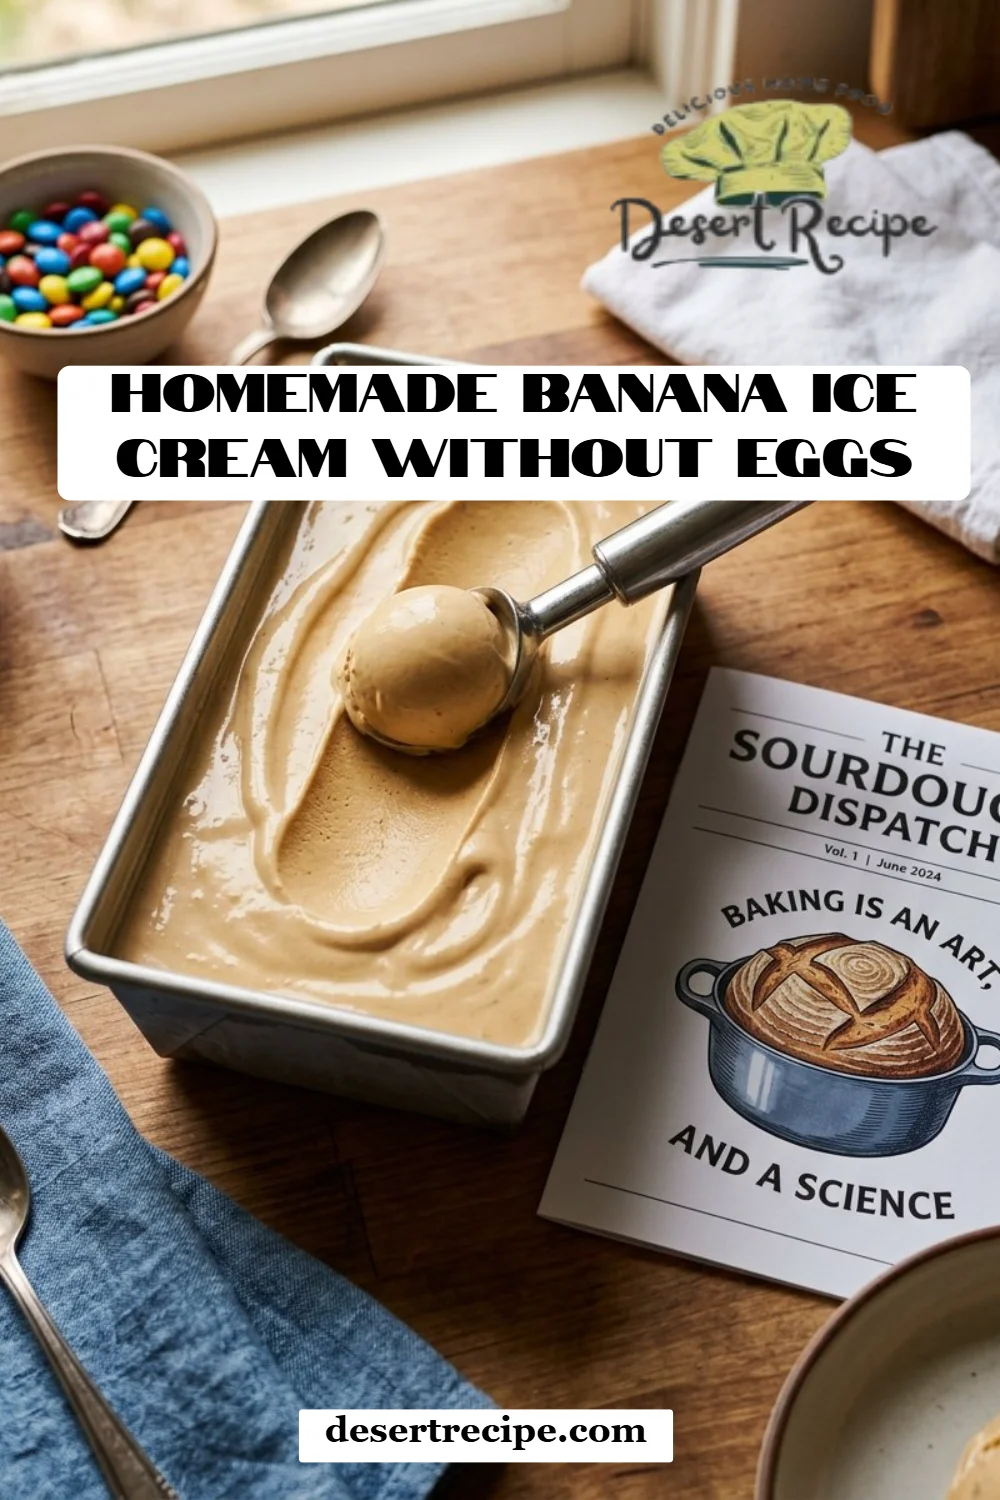
Irresistible Homemade Banana Ice Cream without Eggs: A Guilt-Free Indulgence
Ah, the smell of ripe bananas wafting through the kitchen is one of my fondest childhood memories. Growing up, my family would often whip up delicious treats during warm summer evenings, and banana ice cream was a staple! As the seasons changed and summer rolled in, there was something magical about blending frozen bananas into a creamy delight. Today, I want to share my love for Homemade Banana Ice Cream without Eggs, a recipe that sparks joy and nostalgia.
What makes this banana ice cream so special? Unlike traditional recipes that often include eggs, this one is entirely egg-free, making it a lighter, cleaner option that doesn’t compromise on flavor. You won’t believe how creamy and satisfying it is, and you won’t feel a hint of guilt indulging in it! It’s easier than you think, and today, I’ll guide you through the process.
Together we’ll rediscover the joy of homemade ice cream that brings warmth to family gatherings and the comfort of childhood memories right to your kitchen. By the end of this post, you’ll have all the know-how you need to create a delightful treat that your friends and family will rave about. Let’s dive in!
What Are Homemade Banana Ice Cream without Eggs?
Homemade Banana Ice Cream without Eggs is an incredibly delightful frozen dessert that captures the essence of summer in every creamy scoop. With a base of ripe bananas, this treat is both naturally sweet and rich in flavor, making it a fantastic alternative to more complex recipes or store-bought varieties loaded with preservatives.
The taste is bright and fruity, with a smooth, velvety texture that feels like a scoop of pure happiness on your tongue. It’s unique because it leverages the natural creaminess of bananas when blended, eliminating the need for eggs or heavy cream. This recipe is perfect for summer barbecues, cozy movie nights, or anytime you want to indulge in something sweet without the guilt.
You’ll find it’s versatile enough for all occasions. Whether you have friends over for a gathering or just need a quick treat after a long day, this banana ice cream is the answer. Plus, it’s an easy recipe that you can whip up in no time!
Why You’ll Love This Recipe
Simple and Quick: Making Homemade Banana Ice Cream without Eggs is a breeze! You only need a handful of ingredients and minimal prep time, making it an easy recipe for any skill level.
Healthier Alternative: Unlike store-bought ice creams packed with sugars and artificial ingredients, this banana ice cream is made from wholesome, natural ingredients. You can indulge without the guilt!
Customizable Flavors: Not only is this recipe delicious as is, but you can also experiment! Add cocoa powder for a chocolate version, mix in nut butters for a nutty twist, or even throw in some berries for a fruity punch.
Cost-Effective: Have you noticed how expensive specialty ice creams can be? By making your own, you save money while enjoying a healthier alternative. The ingredients are budget-friendly too!
Perfect for Any Occasion: Whether you’re hosting a party or simply treating yourself after a tough day, this homemade treat is always a hit. Friends and family will rave about how delicious it is!
By the time you’re done reading, you’ll not only be ready to whip up this easy recipe but also impress those around you with your newfound ice cream-making skills.
Ingredients Section
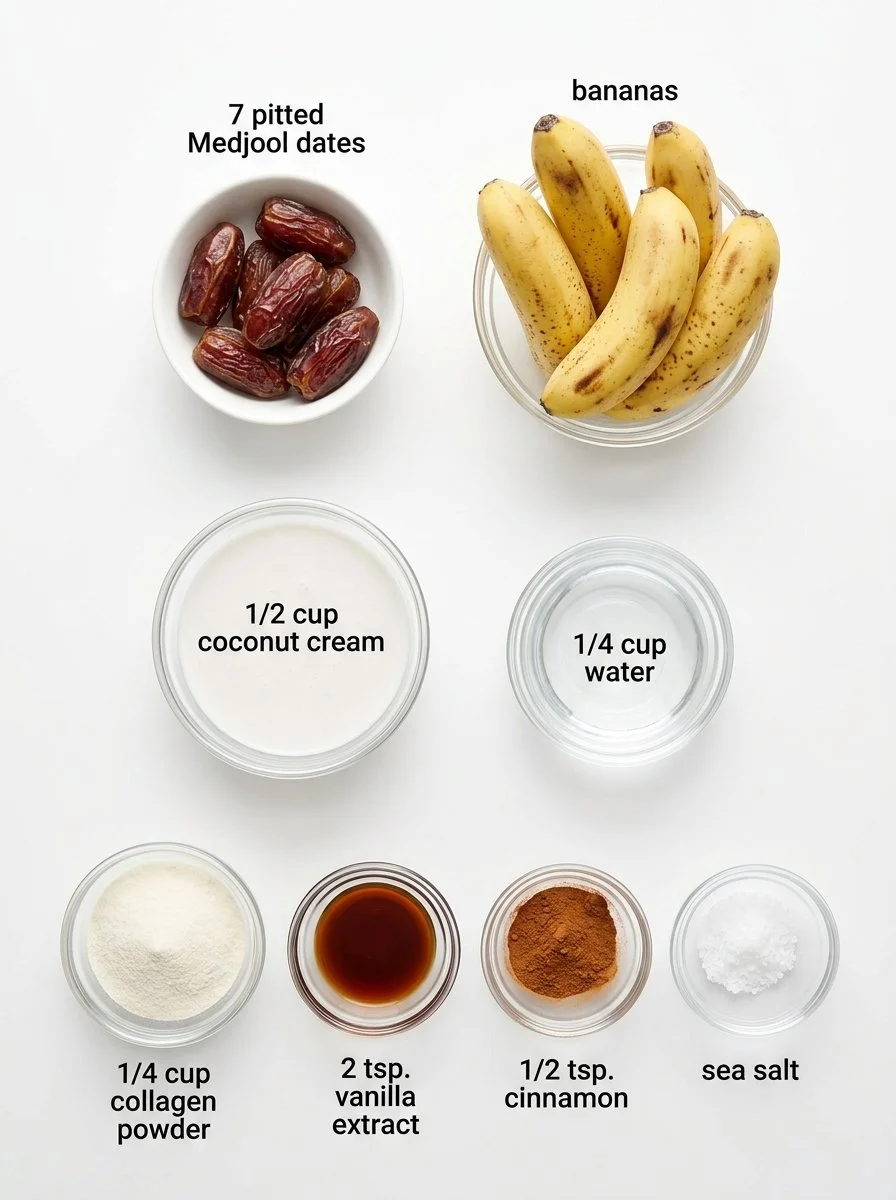
Here’s what you’ll need to make your very own Homemade Banana Ice Cream without Eggs:
- 7 Medjool dates, pitted: Ensure they are soft and fresh for the best sweetness. If necessary, soak them in warm water for 10-15 minutes to soften.
- 5 ripe bananas, peeled: Look for bananas with brown spots; they add the perfect natural sweetness and creaminess!
- 1/2 cup coconut cream, melted: This gives the ice cream its rich, creamy texture. Use full-fat canned coconut cream for best results.
- 1/4 cup water: This will help thin out the mixture for blending.
- 1/4 cup collagen: Optional for added protein. Choose a brand that is flavorless to keep the banana flavor intact.
- 2 tsp vanilla extract: A must for enhancing the overall flavor profile!
- 1/2 tsp cinnamon (optional): This adds a warm, cozy note; feel free to skip it if you prefer a pure banana flavor.
- A pinch of salt: Just a dash to balance the sweetness.
Be sure to prepare your ingredients ahead of time; having everything ready will make the blending process that much smoother. For the coconut cream, ensure it’s at room temperature to blend seamlessly into the ice cream mixture.
Step-by-Step Instructions
Now that we have our ingredients ready, let’s dive into the detailed steps to create this beautiful Homemade Banana Ice Cream without Eggs.
Soak the Dates: Start by soaking the pitted Medjool dates in warm water for 10-15 minutes to soften them. This step is crucial for that smooth, creamy texture.
Blend the Ingredients: Once the dates are softened, drain them and add them to a blender along with the ripe bananas, melted coconut cream, water, collagen, vanilla extract, cinnamon (if using), and a pinch of salt. Blend until smooth and creamy! This should take about 1-2 minutes. You may need to scrape down the sides to ensure everything is well combined.
Churn the Mixture: Pour the mixture into an ice cream maker and churn according to the manufacturer’s instructions for about 20-25 minutes, or until it reaches a soft-serve consistency. You’ll know it’s done when it’s thick and creamy, resembling soft-serve ice cream.
Freeze for Firm Texture: If you prefer a firmer ice cream, transfer the mixture to a container and freeze it for at least an hour before serving. This step will help it set up nicely, so it’s scoopable.
Chef’s Tips:
- If you don’t have an ice cream maker, you can still make this delightful treat! Pour the blended mixture into a lidded container, freeze for 1-2 hours, and stir vigorously every 30 minutes to break up ice crystals until it’s firm and creamy.
Common Mistakes to Avoid: Ensure bananas are ripe for the best natural sweetness. Avoid freezing the mixture without stirring, as it may create an icy texture.
Expert Tips & Troubleshooting
- Best Storage: Keep your homemade banana ice cream stored in an airtight container in the freezer. This helps maintain its creamy texture.
- Make-ahead Instructions: You can prepare the base up to a week in advance. Just make sure it’s stored properly and thaw for a few minutes before churning.
- Troubleshooting Common Issues:
- If your ice cream is too hard when you freeze it, let it sit out for 10-15 minutes before scooping.
- If it separates after sitting, a quick stir will help restore that creamy texture.
Serving Suggestions
Your Homemade Banana Ice Cream without Eggs is now ready to be served! Here are a few fun ideas to elevate your experience:
- Toppings: Drizzle with chocolate or caramel sauce, sprinkle with chopped nuts, or add fresh fruit slices on top.
- Presentation: Serve it in chilled bowls or cones for a delightful treat that looks as good as it tastes!
- Occasions: This ice cream is perfect for sunny afternoons, birthday parties, or cozy movie nights with friends or family.
Variations & Substitutions
Looking to switch things up? Here are a few variations to try:
- Chocolate Banana Ice Cream: Add 1/4 cup of unsweetened cocoa powder when blending!
- Nutty Delight: Incorporate almond or peanut butter for a nutty flavor that pairs wonderfully with bananas.
- Seasonal Flavors: In the fall, add in a dash of pumpkin spice! In the summer, mix in fresh berries or mint leaves for a refreshing twist.
If you need to accommodate specific dietary restrictions:
- Nut-Free: Skip the collagen and use oat milk instead of coconut cream.
- Vegan-Friendly: This recipe is naturally vegan; just ensure your added ingredients align with that.
Nutrition & Storage Info
- Prep Time: 10 minutes
- Cook Time: 20 minutes
- Total Time: 30 minutes plus freezing time
- Yield: About 4-6 servings
- Estimated Calories: Approximately 150 calories per serving.
Storage Instructions:
- Store in an airtight container in the freezer for up to 1 week. Let the ice cream sit out for a few minutes to soften before serving if it hardens too much.
FAQ Section
Can I use frozen bananas instead?
Absolutely! Just blend your frozen banana slices in place of fresh bananas for even creamier ice cream.Is there a way to make this dairy-free?
Yes! The recipe is already dairy-free by using coconut cream.How can I enhance the flavor?
You can try different flavor extracts like coconut or almond instead of vanilla for a unique twist.Can I make this in bulk?
Of course! Simply double or triple the recipe and store extra portions in the freezer.What if my ice cream is too soft?
If it’s too soft after churning, place it in the freezer for about an hour to firm up.Can I add other fruits?
Definitely! Berries, mangoes, or even peaches can add a refreshing twist.How long does it last in the freezer?
For optimal flavor and texture, consume within one week.What can I use instead of collagen?
Feel free to omit it or use a plant-based protein powder instead.Is this recipe suitable for kids?
It’s a perfect treat for kids, packed with nutrients and natural sweetness!What should I serve it with?
Pair this ice cream with fresh fruit, nuts, or even a drizzle of honey for a delicious combination.

Conclusion
Creating Homemade Banana Ice Cream without Eggs is not just about enjoying a delicious treat; it’s about bringing family and friends together, reviving old memories, and making new ones. I hope you try this recipe and share it with your loved ones. Your taste buds will thank you, and I would love to hear your feedback!
For other delightful summer recipes, check out my blog for more tasty treats that will keep you cool all season long! Happy scooping!

Homemade Banana Ice Cream without Eggs
Ingredients
Method
- Soak the dates in warm water for 10-15 minutes until softened.
- Drain the softened dates and add to the blender with the ripe bananas, melted coconut cream, water, collagen, vanilla extract, cinnamon (if using), and salt.
- Blend the mixture until smooth and creamy, approximately 1-2 minutes.
- Pour the blended mixture into an ice cream maker and churn according to the manufacturer’s instructions for 20-25 minutes.
- For firmer ice cream, transfer the mixture to a container and freeze for at least 1 hour before serving.