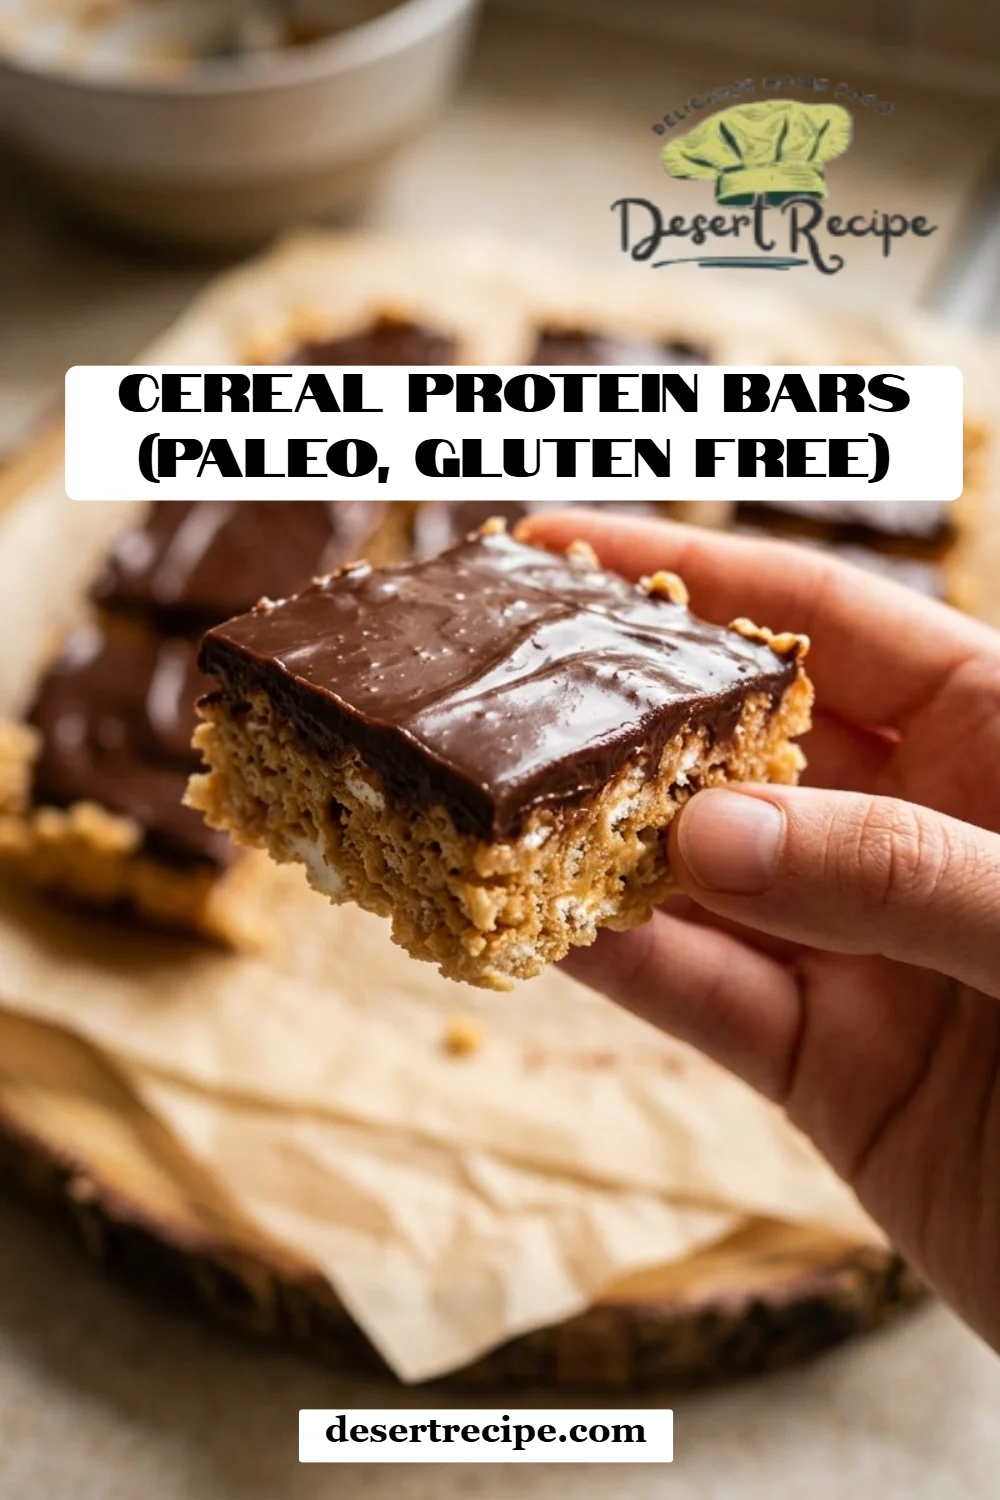
Delicious Cereal Protein Bars: Your Go-To Paleo, Gluten-Free Snack!
As a passionate home baker, there’s nothing quite as satisfying as biting into a chewy, delicious snack that not only tastes amazing but also fuels my day. I still remember the first time I stumbled upon cereal protein bars – it was during a hectic week of juggling work and family activities when my energy levels were at an all-time low. A friend brought a batch over, and I was instantly hooked. We devoured them while reminiscing about our childhood snacks, turning a casual catch-up into a delightful and uplifting experience.
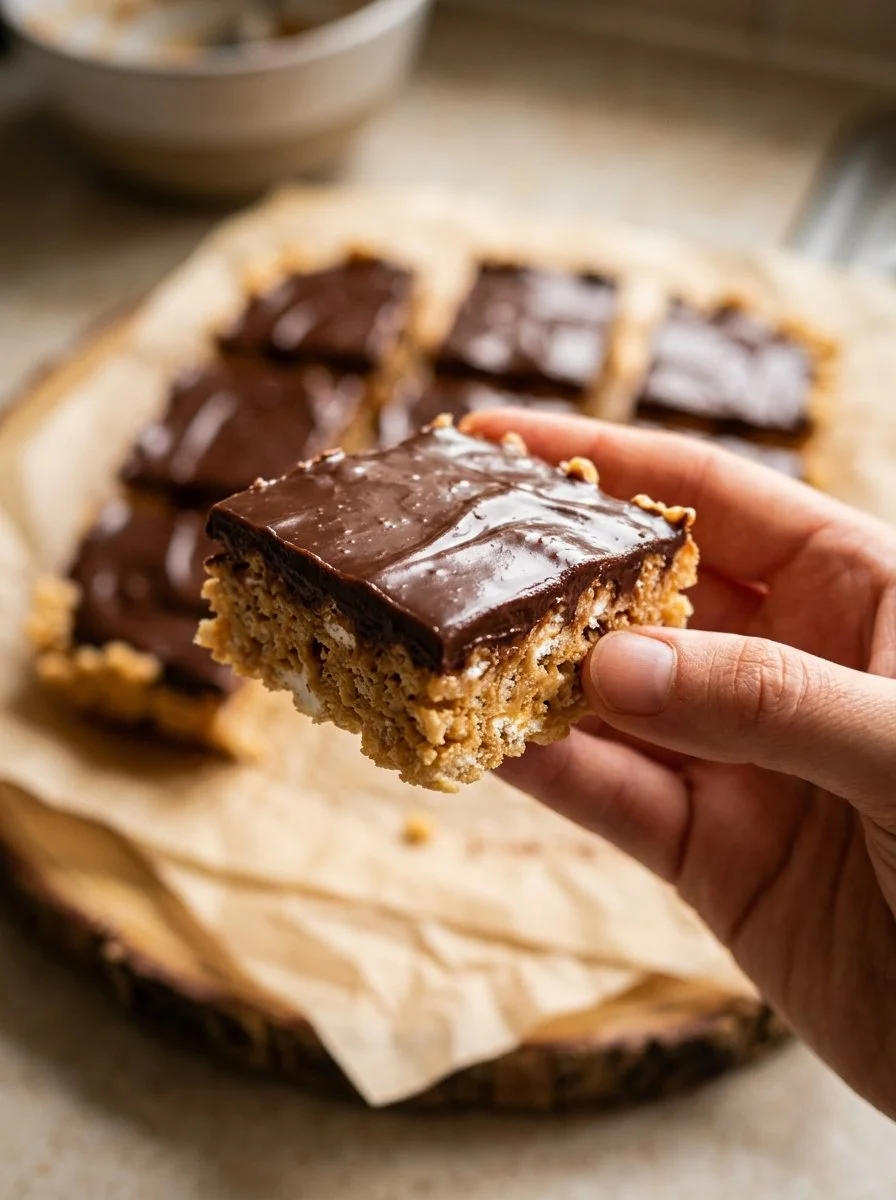
What I love about these Cereal Protein Bars (Paleo, Gluten Free) is how they combine nostalgia with wholesome ingredients. They remind me of the satisfying crunch of my favorite breakfast cereal, but without the gluten and unnecessary sugars. With chewy almond butter, creamy coconut, and rich dark chocolate, these bars are a step above typical store-bought snacks—they’re crafted with care, are incredibly easy to make, and burst with flavor!
And here’s the best part: you can customize them to your heart’s content! Whether you want them packed with extra nuts or a sprinkle of cinnamon, the options are endless. In this post, I’m excited to share my go-to recipe and show you just how easy it is to whip up a batch of these delightful bars that your entire family will devour. Trust me, once you try them, you’ll be hooked too!
What Are Cereal Protein Bars (Paleo, Gluten Free)?
Originating from the need for a quick, nutritious snack that fits into a busy lifestyle, cereal protein bars have evolved to become a beloved choice for health-conscious eaters. These bars capture the comforting crunch of cereal while delivering a powerful protein punch. Imagine biting into a soft yet slightly crunchy bar that mingles toasted coconut, nutty almond butter, and a hint of sweetness from dark chocolate.
What makes these bars incredibly special is their unique blend of textures and flavors; the combination of chewy and crunchy, paired with the satisfying richness of almond and coconut, creates a homemade treat that outshines anything store-bought. They’re perfect for breakfast on-the-go, post-workout fuel, or a delightful afternoon snack when you need a little pick-me-up.
Why You’ll Love This Recipe
Homemade Goodness: There’s something incredibly satisfying about making snacks from scratch. With these Cereal Protein Bars (Paleo, Gluten Free), you control every ingredient, ensuring they’re as wholesome as possible.
Cost-Effective: Buying protein bars can add up quickly. This recipe not only saves you money—it also makes more bars than a single box from the store, meaning you have healthy snacks at hand all week!
Endless Customization: Want to swap out the chocolate chips for dried fruit? Or add some sunflower seeds for crunch? The freedom to customize these bars means they can be adapted for any dietary preferences or cravings.
Quick and Easy: Whipping up these bars takes less than 30 minutes of your time. With minimal prep and cooking involved, you’ll have a delicious and nutritious snack ready for you in no time.
Nutrient-Dense: Packed with healthy fats, protein, and fiber, these cereal protein bars will give you sustained energy without the crash many store-bought snacks can cause.
When you stack these up against store-bought versions, not only do you get superior taste, but you also get the comfort of knowing exactly what goes into these morsels of joy.
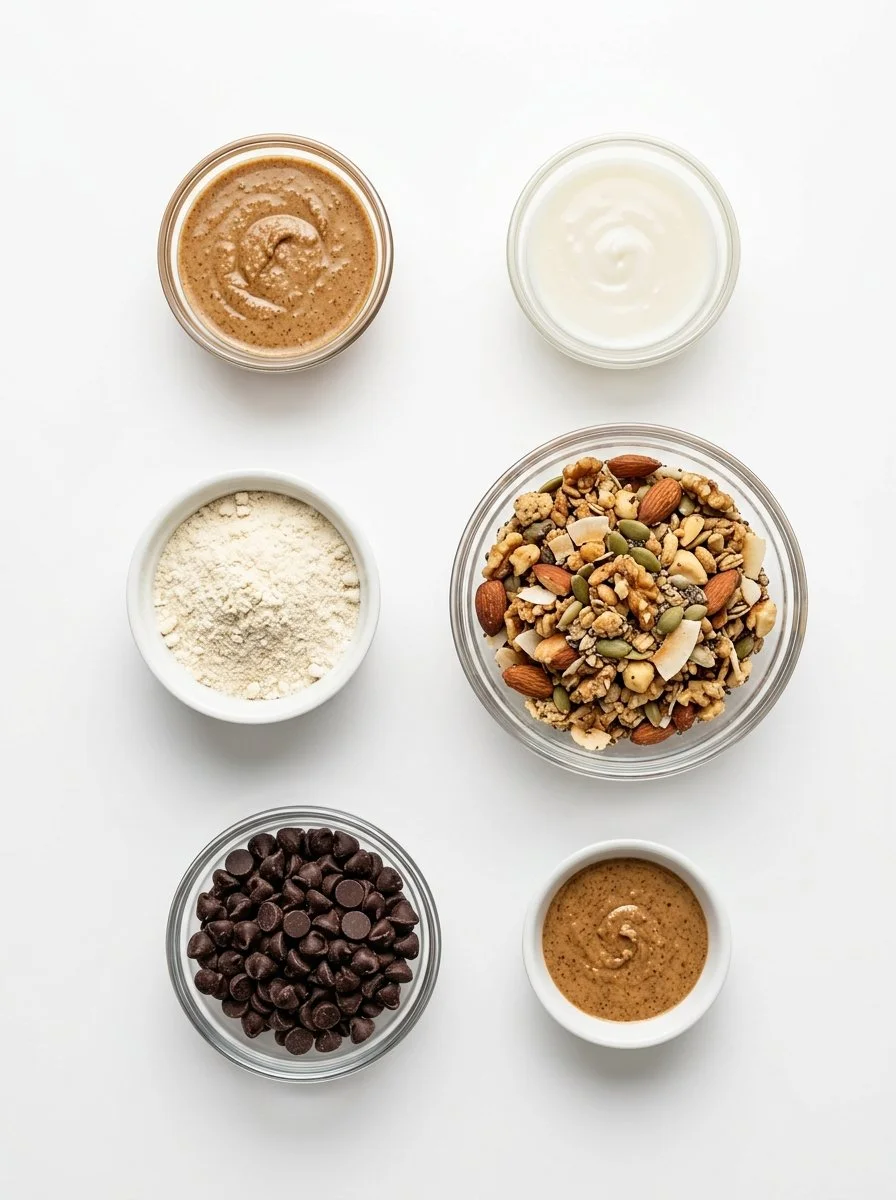
Ingredients
Every recipe is only as good as its ingredients, and these Cereal Protein Bars (Paleo, Gluten Free) are no exception! Here’s what you’ll need, along with a few tips to get the best results:
- 1/2 cup almond butter (no sugar, no salt): Opt for high-quality almond butter; the ultimate creaminess elevates the flavor.
- 1/4 cup coconut butter, melted: Look for organic coconut butter for a rich taste. If you can’t find it, unsweetened coconut flakes blended until smooth can work as a substitute.
- 1/4 cup vanilla protein powder: A plant-based protein powder enhances the flavor while packing in extra nutrition. My go-to? Orgain Organic Protein Powder!
- 3 cups unsweetened paleo cereal: Choose a variety that you love—crunchy clusters work beautifully!
- 1 cup dark chocolate chips: Go for 70% cacao or higher for an indulgent touch without too much sugar.
- 1/4 cup almond butter (reserved for mixing with the chocolate): This will help the chocolate layer set beautifully!
Prep Notes: Ensure your almond butter and coconut butter are at room temperature for easy mixing.
Step-by-Step Instructions
Prepare the Pan: Begin by lining an 11×7 inch or 8×8 inch baking dish with foil or parchment paper. This will help with easy removal and cleanup.
Mix Ingredients: In a large mixing bowl, combine the almond butter, coconut butter, and protein powder until fully blended into a creamy mixture. This step typically takes about 1-2 minutes of vigorous stirring.
Add Cereal: Gradually mix in the unsweetened paleo cereal, stirring until each piece is fully coated. This should take another couple of minutes.
Press the Mixture: Firmly press the mixture into the prepared baking dish, making sure it’s evenly distributed. The mixture should be compact to ensure the bars hold together. A spatula or your hands works great here.
Chill: Freeze the base for about 15 minutes to ensure it sets up properly before adding the chocolate layer.
Melt Chocolate: While the base is freezing, melt the dark chocolate in the microwave or on the stovetop using a double boiler until smooth (roughly 1-2 minutes in the microwave). Stir in the reserved almond butter until well combined.
Pour & Spread: Once the base is set, pour the chocolate mixture over the top and spread it evenly to ensure every bite is chocolatey.
Final Chill: Refrigerate until fully set, about 2 hours. You’ll know it’s ready when the chocolate is firm to the touch.
Cut & Store: Once set, cut into your desired size and shape. Store in an airtight container in the fridge to maintain freshness.
Chef’s Tips:
- Avoid over-mixing after adding the cereal to keep some crunch in the texture.
- If the chocolate is too thick for pouring, add a tiny splash of coconut oil to help it drizzle smoothly.
Expert Tips & Troubleshooting
- Storage: These bars can last for up to a week in the fridge—or up to a month in the freezer! Just be sure to wrap them well to prevent freezer burn.
- Make-Ahead: They’re perfect for meal prep! Make a large batch on Sunday, and you’ll have healthy snacks ready for the week.
- Common Problems: If your bars crumble when you cut them, they may need a bit more almond butter to bind better. Just melt a bit more and mix it in.
Serving Suggestions
These Cereal Protein Bars (Paleo, Gluten Free) are best enjoyed with a hot cup of coffee or tea. They make an excellent on-the-go breakfast or a post-workout refuel. For an extra special treat, drizzle a bit of almond or coconut yogurt on top, along with your favorite fresh fruits!
Variations & Substitutions
- Flavor Combinations: You can easily switch out ingredients to create personalized flavor variations! How about adding some cinnamon and raisins for a cozy fall vibe?
- Dietary Restrictions: They can easily be made nut-free by using sunflower seed butter and gluten-free cereal options, making them suitable for various dietary needs.
- Seasonal Additions: Experiment with seasonal ingredients—dried cranberries for winter or fresh berries during summer can bring a fresh twist to your bars.
Nutrition & Storage Info
- Prep Time: 10 minutes
- Cook Time: 0 minutes (mainly chilling time)
- Total Time: 2 hours 10 minutes (includes chilling time)
- Yield: 12 bars (or more depending on how you cut them)
- Estimated Calories: About 150 calories per bar
- Storage: Keep in an airtight container in the fridge for up to a week, or freeze for up to one month.
FAQ SECTION
Can I use a different nut butter?
Absolutely! Cashew or sunflower seed butter works well, just remember it’ll alter the flavor slightly.Is it necessary to freeze before adding the chocolate layer?
Yes, this helps create a solid base that can hold up to the weight of the chocolate.Can I add protein powder to the chocolate layer?
Yes, feel free to mix in a scoop of protein powder if you like—just ensure it’s well combined to avoid any clumps.What’s the best way to cut these bars?
A sharp knife works best; running it under warm water between cuts can help keep the chocolate from cracking.How can I make these more indulgent?
Try swirling in some peanut butter or adding a sprinkle of sea salt on top after pouring the chocolate.Is it possible to replace dark chocolate?
Sure! Milk chocolate or white chocolate can be used, but they will change the overall vibe of the bar.Can I skip the chocolate layer?
Of course! The bars are delicious on their own without the chocolate, but it adds that extra special touch.How long do these last at room temperature?
They’re best stored in the fridge; however, they can be kept in a cool, dry place for a couple of days if needed.Can I use flavored protein powder?
Yes! Just ensure that the added flavor complements the other ingredients; vanilla or chocolate work particularly well.What do I do if I can’t find paleo cereal?
You can create your own mix from nuts, seeds, and unsweetened coconut flakes to achieve a similar crunch.
Conclusion
These Cereal Protein Bars (Paleo, Gluten Free) are not only a delicious snack but a wholesome choice that brings comfort and joy. I encourage you to whip up a batch and share them with your family and friends—you’ll be amazed at the smiles they bring. After trying the recipe, be sure to leave a comment with your thoughts or any tweaks you made! For more tasty recipes, check out my blog posts on energy balls and healthy muffins—they’re equally guilt-free and delightful! Happy baking!

Cereal Protein Bars (Paleo, Gluten Free)
Ingredients
Method
- Begin by lining an 11×7 inch or 8×8 inch baking dish with foil or parchment paper.
- In a large mixing bowl, combine the almond butter, coconut butter, and protein powder until fully blended into a creamy mixture (1-2 minutes of vigorous stirring).
- Gradually mix in the unsweetened paleo cereal until each piece is fully coated.
- Firmly press the mixture into the prepared baking dish, making sure it's evenly distributed.
- Freeze the base for about 15 minutes to ensure it sets properly before adding the chocolate layer.
- Melt the dark chocolate in the microwave or on the stovetop until smooth (roughly 1-2 minutes in the microwave). Stir in the reserved almond butter until well combined.
- Once the base is set, pour the chocolate mixture over the top and spread it evenly.
- Refrigerate until fully set, about 2 hours.
- Once set, cut into desired size and shape. Store in an airtight container in the fridge.