Table of Contents
Table of Contents
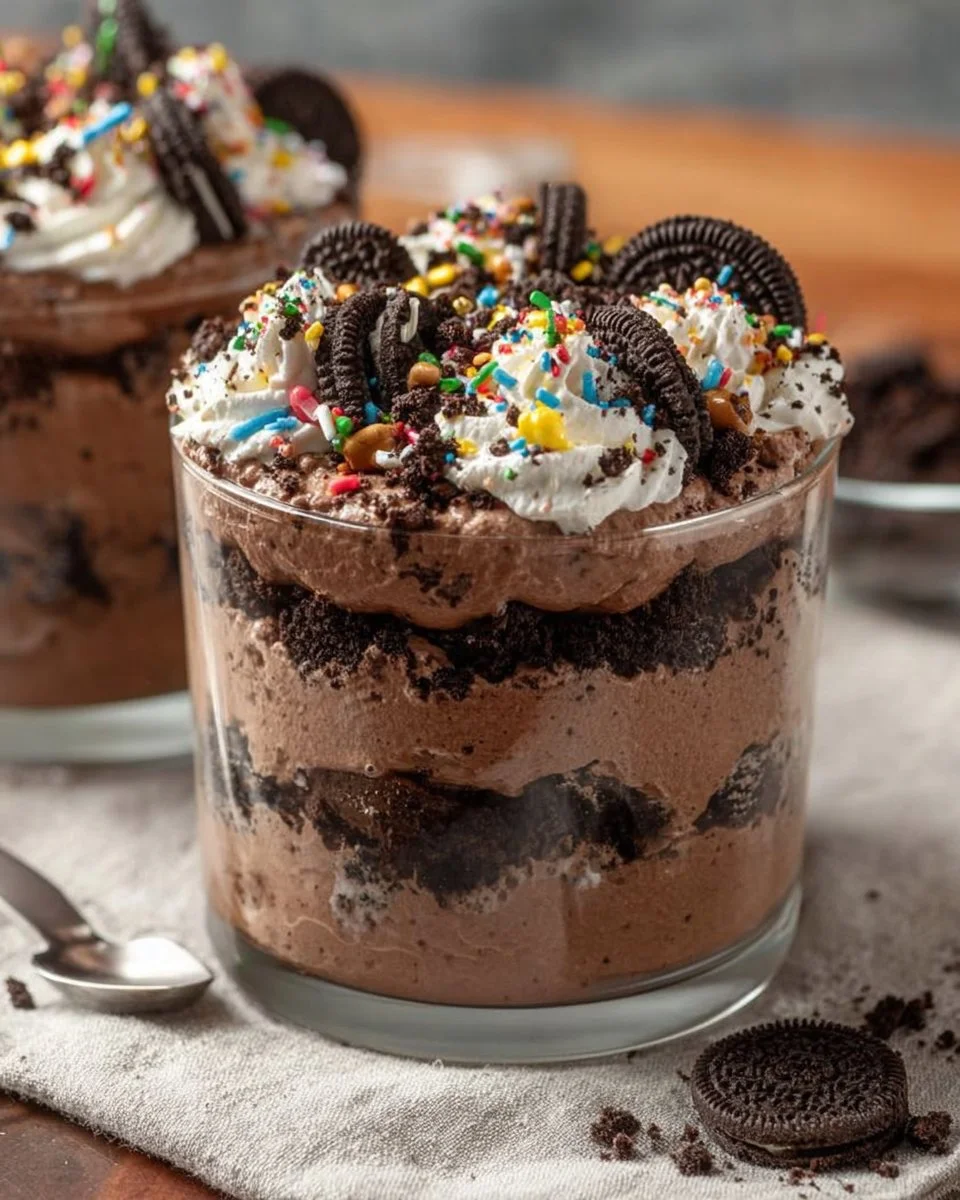
As I stood in my kitchen, the scent of crushed Oreo cookies filled the air, whisking me back to my childhood. I remember gathering around the table with my family during warm summer evenings, laughter ringing out as we indulged in a dessert that felt more like a party than a dish. That magical moment is neatly encapsulated in what many affectionately call Oreo Dirt Cake—a no-bake, layered wonder that has become my go-to dessert for gatherings and celebrations.
What makes this Oreo Dirt Cake special isn’t just the creamy layers or the nostalgic flavors; it’s the joy it brings to those enjoying it. Compared to many other recipes, this version stands out for its simplicity and the dreamy balance between crunch and creaminess. Plus, it’s a breeze to customize! Whipping up this delicious dessert makes not only my taste buds sing but also creates a magical moment that lingers in the hearts of my loved ones.
Today, I’m excited to share my tried-and-true Oreo Dirt Cake recipe with you. You’ll learn how to craft this delightful treat, with all my tips and tricks, plus a few heartwarming stories along the way. Let’s dive into the sweet, gooey, Oreo-filled goodness!
What Are Oreo Dirt Cake?
Oreo Dirt Cake is a whimsical dessert that has captured hearts and taste buds since its inception in the 1980s. Originating from a playful mix of layered pudding and cookies, it presents a visually appealing treat that resembles a freshly dug patch of soil—hence the name! But don’t let the “dirt” deter you; each bite is a decadent experience you’ll want to savor.
This dessert’s taste is a heavenly combination of creamy, rich flavors accented by the crunch of crushed Oreo cookies. The contrast between the smooth cream cheese and whipped topping with the crumbly chocolate cookie base creates a texture that is both satisfying and indulgent. It’s a dessert that’s perfect for potlucks, birthday parties, or just those days when you need a little pick-me-up.
Whether it’s enjoyed outdoors under the sun or as a comforting treat on a cozy evening, Oreo Dirt Cake never fails to deliver smiles. Now, are you ready to recreate this nostalgic masterpiece?
Why You’ll Love This Recipe
Here are five compelling reasons why this Oreo Dirt Cake recipe is an absolute must-try!
Simplicity at Its Best: Recipe doesn’t require any baking, just mixing, layering, and chilling! You could even involve the whole family in the process, making it an enjoyable experience for all.
Cost-Effective Indulgence: Most ingredients are pantry staples, making it budget-friendly. Buying a similar dessert from a bakery can cost a pretty penny, but this recipe is made with simple ingredients that won’t break the bank.
Customization Galore: Use flavored pudding or add mix-ins like nuts or sprinkles to add your personal touch. Want to give it a Halloween twist? Toss in some candy corn!
Difficulty Level: This recipe is beginner-friendly! If you can mix and layer ingredients, you can make this Oreo Dirt Cake. It’s literally that easy!
Make Ahead and Serve: This dessert is perfect for prepping ahead of time. Just make it a day in advance, pop it in the fridge, and you’ll have a show-stopping dessert ready to impress whenever you need it.
Trust me, once you try this recipe, you’ll find yourself yearning for its comforting presence during family dinners and casual get-togethers.

Ingredients
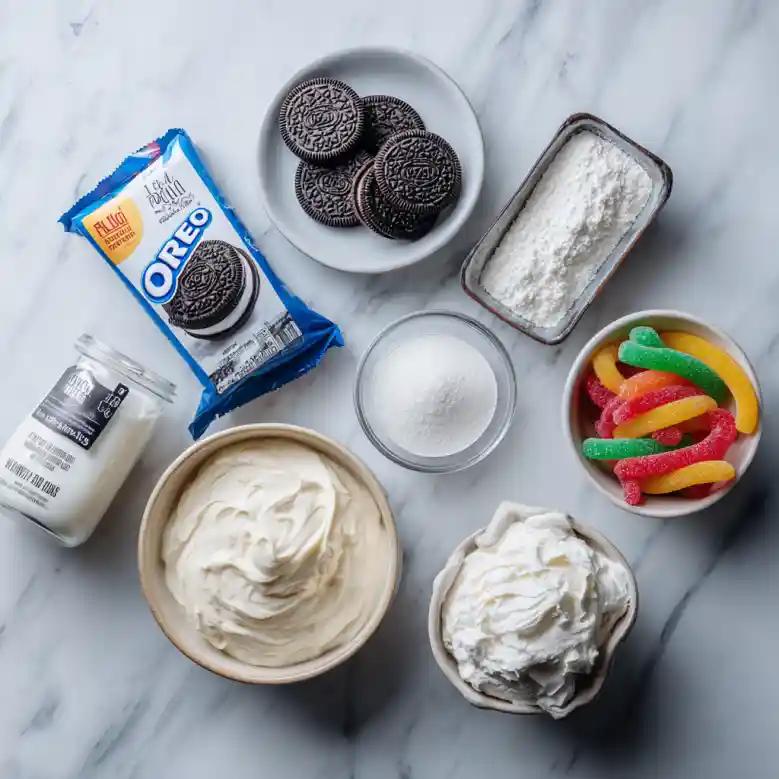
To create this delightful Oreo Dirt Cake, you’ll need the following:
- 1 package Oreo cookies (approx. 14.3 oz) – Choose the classic flavor for authenticity, but feel free to experiment with other flavors for a twist!
- 8 oz cream cheese, softened – Make sure it’s softened for easy mixing. I love Philadelphia brand for its creamy consistency.
- 1 cup powdered sugar – For sweetness and that perfect creamy texture.
- 1 cup milk – Go for whole milk for a richer flavor!
- 1 package instant vanilla pudding mix (3.4 oz) – This adds bulk and that iconic creamy structure.
- 2 cups whipped topping (like Cool Whip) – For that light, airy finish.
- Gummy worms (for decoration) – The playful touch to make it truly “dirt” cake.
- Potted plant or cake pan (for presentation) – If you really want to capture the essence of dirt cake, a flower pot adds a fun twist!
Prep Notes:
- Make sure your cream cheese is at room temperature; this ensures it mixes smoothly with the powdered sugar.
- If you’re using generic brands, be cautious not to compromise on quality—your taste buds will thank you!
Step-by-Step Instructions
Here’s how to bring your Oreo Dirt Cake to life:
Crush the Oreo cookies: Using a food processor or a resealable bag, crush them into fine crumbs. This will add that delightful crunch to our layers. Set aside approximately 1 cup of these crumbs for the top.
Mix the Creamy Filling: In a large mixing bowl, beat together the softened cream cheese and powdered sugar on medium speed until smooth and free of lumps, about 2 minutes. (Tip: Scrape down the sides of the bowl halfway for even mixing!)
Prepare the Pudding: In another bowl, whisk the milk and instant vanilla pudding mix together until thickened—about 2 minutes. You’ll know it’s ready when it’s evenly thick (think custard!).
Combine Mixtures: Gently fold the pudding mixture into your cream cheese mixture until smooth and well combined—this should take a minute or two!
Fold in the Whipped Topping: Using a spatula, gently fold in the whipped topping until the mixture is light and fluffy.
Layer the Oreo Dirt Cake: In your chosen serving dish (a terracotta pot is super cute!), start with half of the crushed Oreos at the bottom as your first layer.
Add the Creamy Layer: Spread half of the cream cheese and pudding mixture evenly over the crushed Oreos.
Repeat: Layer the remaining crushed Oreos and then the remaining cream cheese pudding mixture.
Finish with a Crunch: Top your creation with the reserved crushed Oreos and decorate with gummy worms as if they’re crawling through the “dirt.”
Chill: Refrigerate for at least 2 hours (or overnight!) before serving to allow everything to set up beautifully.
Chef’s Tips:
- Timing: Make sure to keep track of your chilling time—this is essential for texture!
- Common Mistakes: Don’t skip softening the cream cheese; it will lead to lumps!
Expert Tips & Tricks
- Storage Recommendations: Store any leftovers (if there are any!) in an airtight container in the fridge for up to 3 days.
- Make-Ahead Instructions: This cake is perfect for making a day in advance! Just cover it well and let the flavors meld overnight.
- Common Problems: If your pudding isn’t thickening, try letting it sit for a few more minutes after whisking. Sometimes patience pays off!
Whether you’re a novice baker or a seasoned pro, this Oreo Dirt Cake is sure to become a staple in your recipe collection.
Serving Suggestions
Pair your Oreo Dirt Cake with freshly whipped cream, or serve it alongside a scoop of vanilla ice cream for an indulgent treat. For a stunning presentation, sprinkle cocoa powder on the top or place it in a decorative terracotta pot for added fun. This dessert is perfect for birthdays, BBQs, and any casual gathering!
Variations & Substitutions
- Different Flavor Combinations: Consider swapping out the vanilla pudding for chocolate or even butterscotch for a unique taste.
- Dietary Restrictions: For a lighter version, use low-fat cream cheese and sugar-free pudding mix. You can also replace whipped topping with homemade whipped cream.
- Seasonal Variations: Why not add crushed peppermint for a festive holiday version or swap gummy worms for seasonal candies during Halloween?
Nutrition & Storage Info
- Prep Time: 15 minutes
- Chill Time: At least 2 hours
- Total Time: 2 hours 15 minutes
- Yield: Serves 8-10
- Estimated Calories: About 350 calories per serving
- Storage Instructions: Keep in the fridge for up to 3 days. It can also be frozen for up to a month—just thaw in the refrigerator before serving.

FAQ Section
Can I use double stuff Oreos?
Yes! This will give your dessert an even creamier taste.Is it necessary to refrigerate?
Yes, chilling allows the layers to firm up, making it easier to serve.What if I don’t have instant pudding?
Unfortunately, you’ll need it for this recipe. Regular pudding won’t set as well.Can I replace the cream cheese?
Low-fat cream cheese or even mascarpone can work as a substitute.How do I store leftovers?
Keep any leftover cake in an airtight container in the fridge.Can I make this gluten-free?
Absolutely! Just swap Oreos for gluten-free cookies.Is there a dairy-free option?
Use dairy-free cream cheese, non-dairy whipped topping, and plant-based milk for a delicious alternative.What’s the best way to serve it?
A big scoop on a plate, garnished with some extra crushed Oreos, or in individual cups for a fun presentation.Can I freeze Oreos?
You can freeze the Oreo Dirt Cake, but it’s best fresh.What can I pair this with?
It goes wonderfully with fresh fruit, additional cookies, or just a cup of coffee!
Conclusion
Oreo Dirt Cake is more than just a dessert; it’s a vessel for sweet memories, laughter, and family bonds. As you gather your loved ones around the table to indulge in this delightful treat, think of all the moments you’ll create together. I encourage you to give this recipe a try and share your thoughts in the comments below—I love hearing from fellow baking enthusiasts!
And if you’re craving more delectable treats, check out my blog for other sweet recipes like my classic chocolate chip cookies and No-Bake Cheesecake. Happy baking!

Oreo Dirt Cake
Ingredients
Method
- Crush the Oreo cookies using a food processor or resealable bag until you have fine crumbs. Set aside approximately 1 cup for topping.
- In a large mixing bowl, beat together the softened cream cheese and powdered sugar on medium speed until smooth—about 2 minutes.
- In another bowl, whisk the milk and instant vanilla pudding mix until it thickens—about 2 minutes.
- Gently fold the pudding mixture into the cream cheese mixture until smooth.
- Fold in the whipped topping until the mixture is light and fluffy.
- Start layering your dessert by placing half of the crushed Oreos in the bottom of your serving dish.
- Spread half of the cream cheese and pudding mixture over the crushed Oreos.
- Repeat the layers using the remaining crushed Oreos and then the remaining cream cheese pudding mixture.
- Top with reserved crushed Oreos and decorate with gummy worms.
- Refrigerate for at least 2 hours (or overnight) before serving.