Table of Contents
Table of Contents
Let me take you back to a sun-soaked afternoon in my grandma’s kitchen—summer breezes wafting through the open windows and the sweet, buttery aroma of a freshly baked pound cake filling the air. That cake was a family staple, so light and fluffy you’d think it was made of clouds. We lovingly called it “Slap Your Mama Pound Cake,” not because we’d ever lay a finger on my sweet grandma—but because it was simply that good.
What makes this particular pound cake even more special is how it’s steeped in tradition and love, not to mention its perfect, rich flavor and texture. While many recipes might alter the basics, this version sticks to what makes it transcendent: simplicity and quality ingredients. There’s something so comforting about a slice of this cake—whether enjoyed warm with a cup of coffee or served at family gatherings, it creates a connection between the past and the present.
In this post, I’ll share my cherished recipe for Slap Your Mama Pound Cake that will become a beloved part of your family’s history, just like it has in mine. You’ll learn the tricks to achieve the perfect, tender crumb, the secret to an irresistibly moist cake, and even how to make your own glaze that takes it to the next level. So grab your apron, and let’s get baking!
What Are Slap Your Mama Pound Cakes?
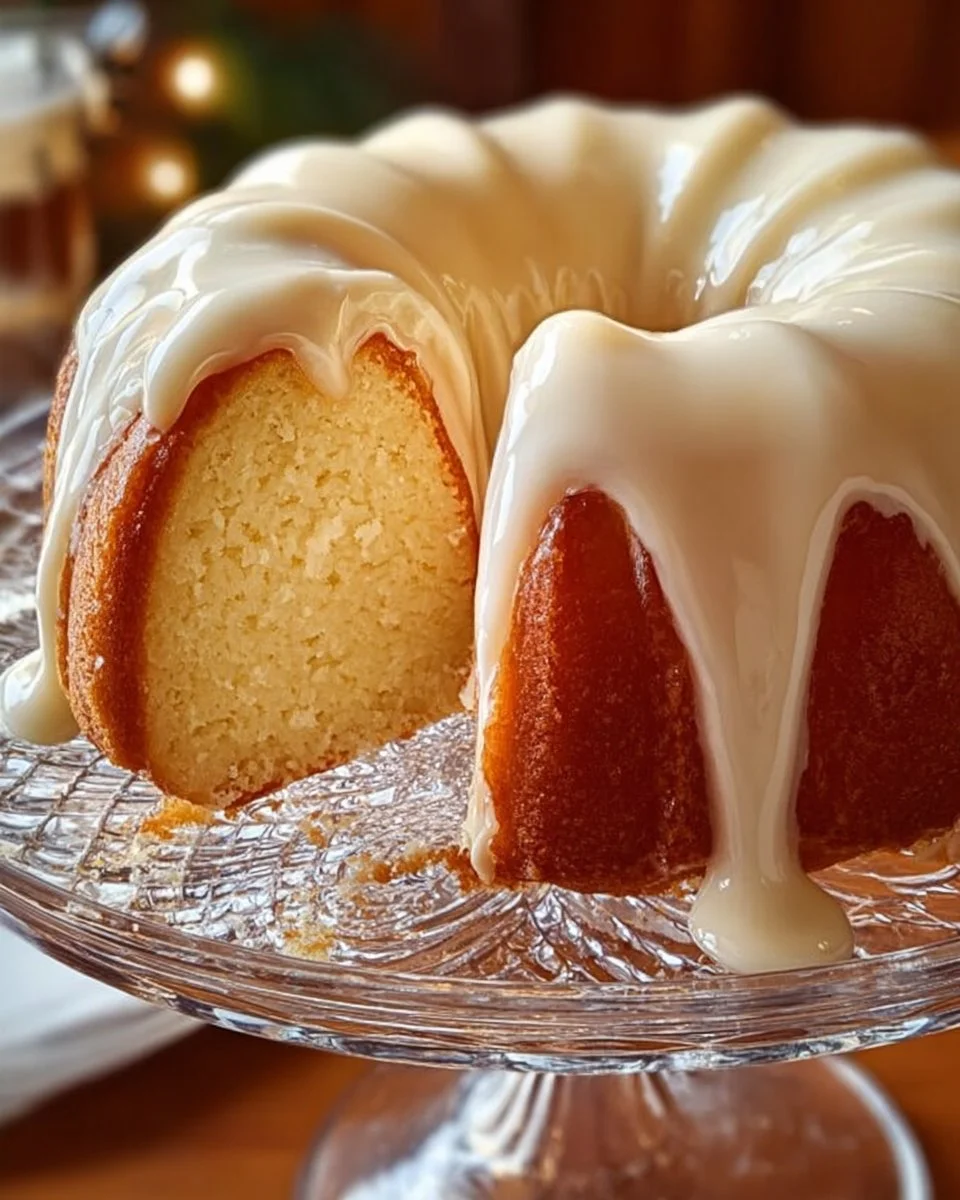
Slap Your Mama Pound Cake is a classic Southern dessert that boasts a rich history, much like the beautiful whispers of nostalgia it brings to our hearts. Originating from the traditional pound cake, which gets its name from the original proportions—one pound each of butter, sugar, eggs, and flour—this cake has evolved into a much-loved and versatile treat found in households across the country.
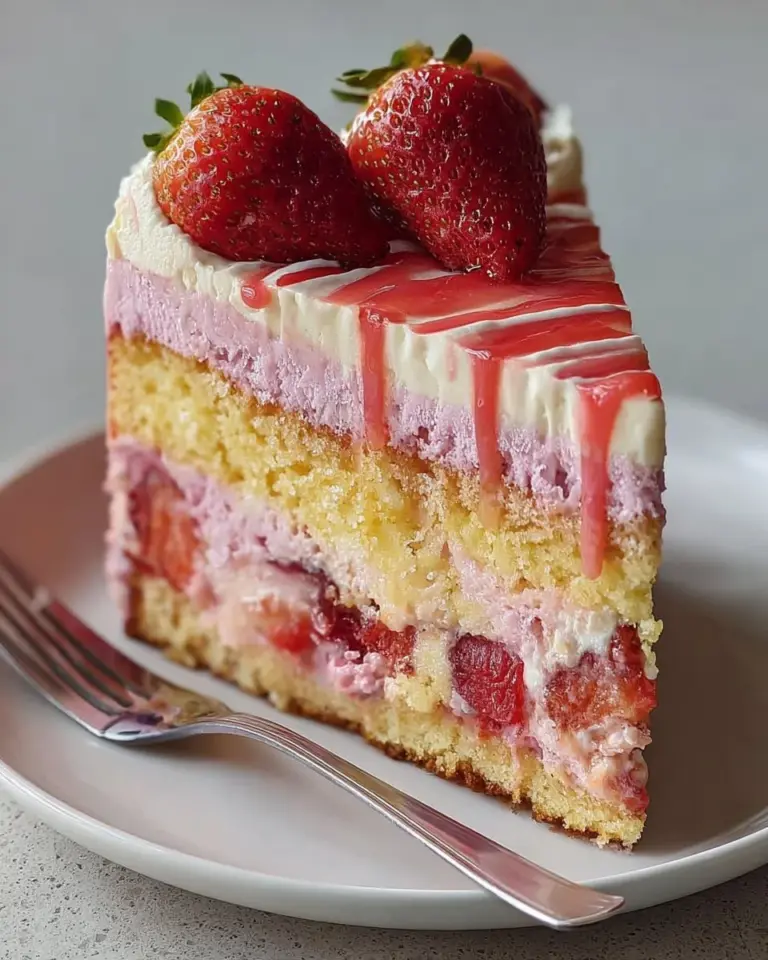
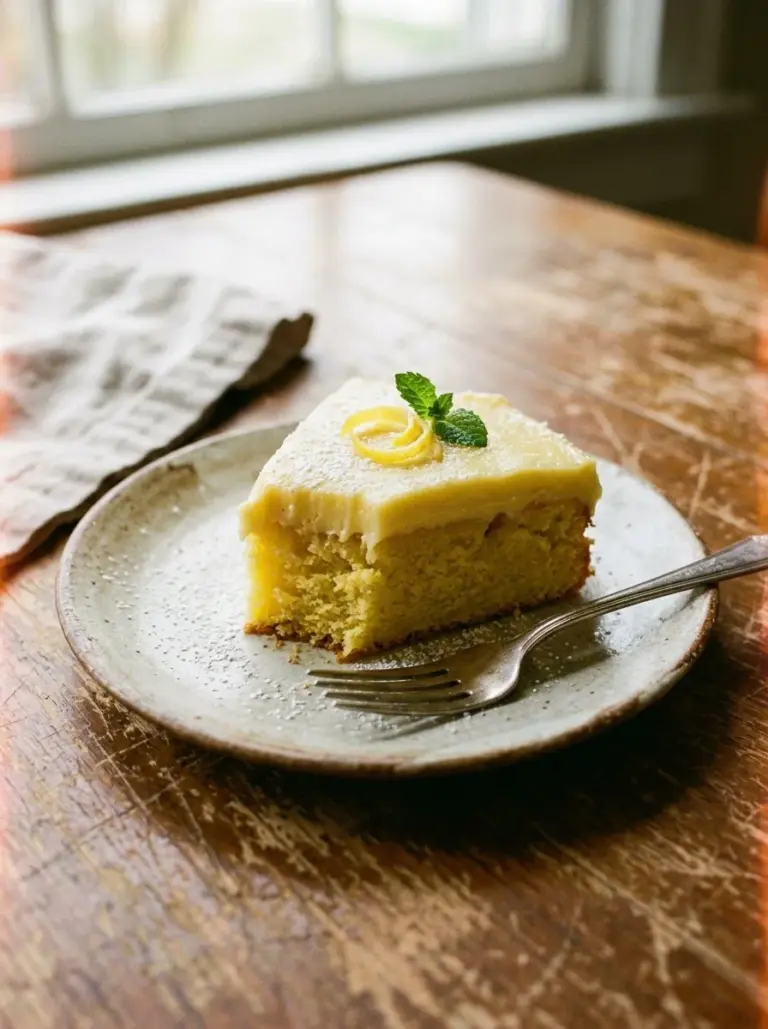
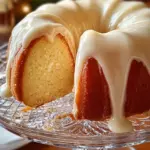
The flavor profile is rich and buttery, with a moist texture that practically melts in your mouth. The outside forms a golden crust while the inside is soft and tender, making it the perfect vehicle for all kinds of toppings—fresh fruits, whipped cream, or just a dusting of powdered sugar.
You might ask, why does it warrant the cheeky name? Well, its sheer deliciousness will leave you delightfully surprised, almost as if you could “slap your mama” out of sheer joy. It’s the ultimate crowd-pleaser, perfect for any celebration or even a cozy night at home with a good book.
Why You’ll Love This Recipe
Here are five compelling reasons to fall in love with my version of the Slap Your Mama Pound Cake:
Irresistibly Delicious: Unlike store-bought options, this cake boasts depth of flavor and an out-of-this-world texture, making each bite an experience rather than just food. The combination of pure vanilla and a hint of almond (if you’d like) elevates simple ingredients into something extraordinary!
Cost-Effective: With just a handful of straightforward ingredients, making this cake is kinder to your wallet. Plus, it’s easy to double the recipe for big family gatherings or potlucks, ensuring you don’t break the bank while impressing your guests.
Customizable: If you’re feeling adventurous, you can personalize this recipe! Add citrus zest for brightness, mix in chocolate chips for a fun twist, or top it with seasonal fruits for a refreshing take. The options are endless!
Foolproof with a Homestyle Touch: Don’t worry if you’re not a pro in the kitchen! This cake is straightforward with a low difficulty level—perfect for beginners and seasoned bakers alike. You’ll turn out a showstopper with minimal effort!
Perfect Make-Ahead Dessert: Planning a gathering? This cake can be made in advance and stored easily. It stays moist for days! Trust me; it’s even better the next day when the flavors have time to meld together.
Ingredients Section
For this Slap Your Mama Pound Cake, you’ll need the following ingredients:
- 1 cup unsalted butter (softened): Make sure it’s at room temperature. I swear by Land O’ Lakes for that extra creaminess!
- 2 3/4 cups granulated sugar: I like to use C&H for its purity.
- 5 large eggs: Fresh eggs for the best color and flavor!
- 3 cups all-purpose flour: King Arthur Flour is my go-to for consistent results.
- 1/2 teaspoon baking powder
- 1/2 teaspoon salt
- 1 cup whole milk: Organic if you can find it.
- 2 teaspoons pure vanilla extract: Use a quality brand; Nielsen-Massey will elevate the flavor dramatically.
- 1/2 teaspoon almond extract (optional): A little goes a long way, but it adds a beautiful depth.
- 2 cups powdered sugar: For the glaze.
- 3 tablespoons whole milk or heavy cream: Heavy cream for richness.
- 1 teaspoon pure vanilla extract (for glaze)
Prep Notes:
- Let your butter sit out for about an hour before starting.
- Eggs should be at room temperature for the best emulsification.

Step-by-Step Instructions
Step 1: Preheat the Oven
First things first, get your oven preheated to 325°F (160°C). While that’s warming up, generously grease and flour your favorite bundt pan or a 10-inch tube pan. This is super important to prevent any sticking!
Step 2: Cream the Butter and Sugar
In a large bowl, beat your softened butter and granulated sugar together. You want to beat them until they’re really light and fluffy, almost like a cloud—about 3-4 minutes. This step is crucial for a tender cake, as it incorporates air into the batter.
Step 3: Add the Eggs
Now, crack in your eggs, one at a time. Make sure you beat each egg in really well before adding the next, about 30 seconds for each egg. This helps the cake batter emulsify beautifully.
Step 4: Mix Dry Ingredients
In a separate, medium-sized bowl, whisk together your all-purpose flour, baking powder, and salt. Give them a good whisk for about 30 seconds to ensure even distribution.
Step 5: Combine Wet and Dry Mixtures
Here’s where we combine the wet and dry! You’re going to gradually add the flour mixture and the milk to your butter and egg mixture. Start with the flour mixture, add some milk, then more flour, and so on—always ending with the flour mixture. Mix everything on low speed, just until it’s combined. A gentle touch here prevents overmixing, which can toughen your cake.
Step 6: Add Extracts
Stir in that lovely pure vanilla extract and—if you’re feeling adventurous, like me—the almond extract. Give it a gentle mix, enough to combine but not too much; we don’t want to lose that fluffy texture.
Step 7: Transfer Batter to Pan
Pour your glorious batter into the prepared pan. Use a spatula to smooth out the top for even baking, which will help with that nice dome shape.
Step 8: Bake
Pop that pan into your preheated oven. Bake for about 75-85 minutes, but start checking around 70 minutes. The best way to tell if it’s done is to insert a toothpick into the center. If it comes out clean, you’re golden!
Step 9: Cool in the Pan
Once it’s baked, let the cake cool in the pan for about 10-15 minutes. This helps it firm up before you try to unmold it. Then, carefully invert it onto a wire rack to cool completely. Patience is a virtue here!
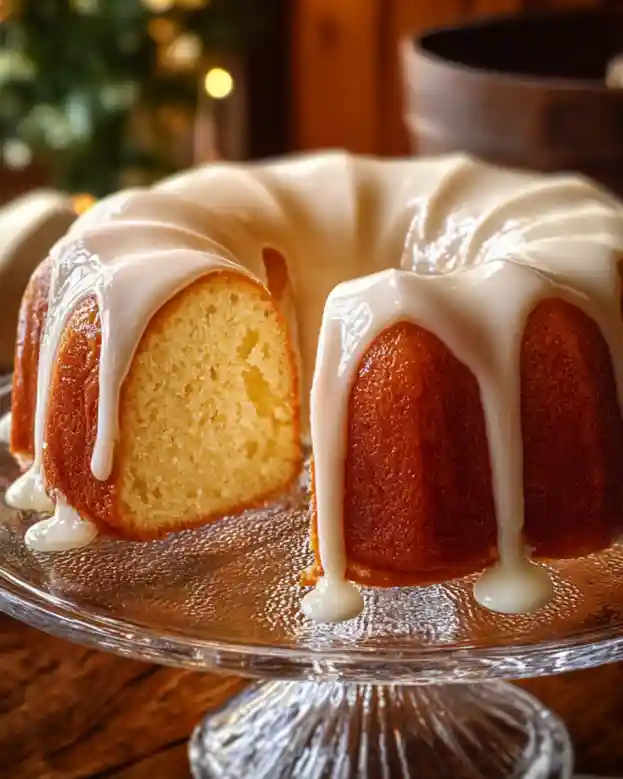
Step 10: Prepare the Glaze
While the cake cools, whip up the glaze. In a small bowl, whisk together the powdered sugar, milk (or cream for extra decadence), and vanilla extract until it’s nice and smooth. You want it pourable but not too thin—about 5 minutes should do it.
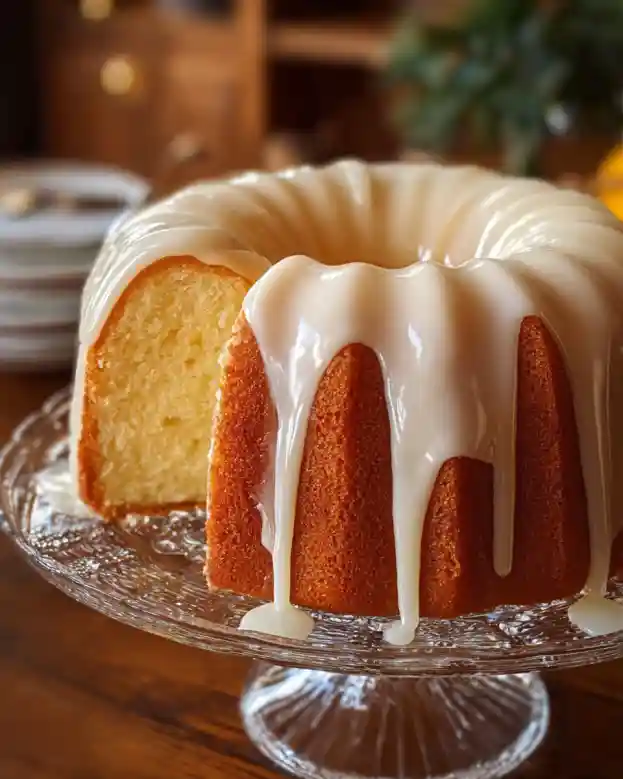
Step 11: Drizzle the Glaze
Once your beautiful pound cake is completely cool, drizzle that glorious glaze all over it. Let the glaze set for a bit before you slice into this amazing creation. Enjoy every single bite!
Expert Tips & Tricks
- Room Temperature Ingredients: Always make sure your butter, eggs, and milk are at room temperature for the best texture.
- Don’t Overmix: Overworking your batter can lead to a tough cake. Just mix until it’s combined—lumps are okay!
- Storage: If you have any leftovers (which I doubt!), store the cake in an airtight container at room temperature for up to 3 days or in the fridge for a week.
- Freezing: You can freeze either whole or sliced cake! Just wrap it tightly in plastic wrap, then in foil, and it’ll keep for up to 3 months.
- Make-ahead: Bake your cake the day before a gathering. It tastes even better once it’s had time to settle!
- Common Issues: If your cake domes too high, try reducing the baking powder slightly next time, or ensure your oven temperature is accurate.
Serving Suggestions
This Slap Your Mama Pound Cake is divine on its own, but here are a few ideas to elevate your serving game:
- Pair it with fresh berries or homemade whipped cream for a refreshing touch.
- Serve warm with a scoop of vanilla ice cream for a delightful dessert.
- Add a light dusting of powdered sugar on top for a classic presentation.
Ideal for family gatherings, birthday parties, or even as a comforting treat after a long day, the cake shines in any setting!
Variations & Substitutions
- Flavor Combinations: Try adding lemon zest for a citrus-infused twist, or a splash of orange juice in place of some of the milk. Chocolate chips or even nuts can add a delightful surprise.
- Dietary Restrictions: For a gluten-free option, substitute the all-purpose flour with a 1:1 gluten-free baking flour. You can also use dairy-free butter and almond milk to accommodate lactose intolerant guests.
- Seasonal Variations: In the fall, swap in pumpkin puree and spices for a fall-inspired treat!
Nutrition & Storage Info
- Prep Time: 20 minutes
- Cook Time: 75-85 minutes
- Total Time: Approximately 1 hour and 45 minutes
- Yield: Serves 12-14 slices
- Estimated Calories per Serving: 350 calories (based on basic recipe)
- Storage: Wrap in plastic and store at room temperature for up to 3 days or refrigerate for up to a week. Freeze for up to 3 months.
FAQ Section
Can I use salted butter?
Absolutely, but reduce the added salt a bit to balance the flavors.Can I make this in a 9×13 pan?
Yes! Just adjust the baking time slightly, around 55-65 minutes, and keep an eye on it.What can I substitute for milk?
You can use almond milk, oat milk, or any non-dairy milk for a dairy-free version.Can I make this cake ahead of time?
Yes! It actually tastes better after resting for a day as the flavors deepen.How do I know if my cake is done?
The toothpick test is your friend! If it comes out clean, you’re good to go!Can I add food coloring to this cake?
Yes, but start with just a few drops to avoid altering the texture.Can I freeze the pound cake?
Yes! Just wrap tightly and store in an airtight container. Thaw in the refrigerator when you’re ready.How can I avoid a dense cake?
Make sure to properly cream the butter and sugar, and avoid overmixing.Why is it called pound cake?
Original recipes used a pound each of butter, sugar, eggs, and flour—to make the best use of available ingredients!What’s the best way to unmold the cake?
Allow it to cool in the pan for 10-15 minutes before gently running a knife around the edges to loosen it before inverting.
Conclusion
This Slap Your Mama Pound Cake is more than just a dessert; it’s a slice of memory and a bridge to family warmth and connection. Whether you’re baking it for a gathering or just a cozy night in, I hope this recipe brings as much joy to your kitchen as it has to mine. I invite you to give it a try and leave your comments below—I’d love to hear how it turns out for you! And if you’re interested, don’t miss my recipe for Easy Chocolate Chip Cookies on my blog, perfect for pairing with your slice of cake!
Graving More Recipes?
Happy baking!
Slap Your Mama Pound Cake
Ingredients
Method
- Preheat your oven to 325°F (160°C) and generously grease and flour a bundt or 10-inch tube pan.
- In a large bowl, beat the softened butter and granulated sugar together until light and fluffy, about 3-4 minutes.
- Add the eggs one at a time, beating well after each addition, about 30 seconds per egg.
- In a separate bowl, whisk together the flour, baking powder, and salt for even distribution.
- Gradually add the dry ingredients and milk to the wet mixture, starting and ending with the flour mixture. Mix on low speed just until combined.
- Stir in vanilla and almond extracts gently to combine.
- Pour the batter into the prepared pan and smooth out the top.
- Bake for 75-85 minutes, checking for doneness with a toothpick at around 70 minutes.
- Let the cake cool in the pan for 10-15 minutes, then invert onto a wire rack.
- In a small bowl, whisk together powdered sugar, milk (or cream), and vanilla extract until smooth.
- Drizzle the glaze over the cooled cake and let it set before slicing.