Table of Contents
Table of Contents
Every family has that one dessert that sparks nostalgia—an enticing aroma that wafts through the kitchen and brings everyone together. For mine, it’s the Tunnel of Fudge Cake. It stirs up memories of snowy afternoons spent baking with my grandmother, flour dusting the countertops, and laughter filling our home. As I mix the ingredients, the anticipation builds, and I can almost hear her words: “The gooey center is where the magic happens!”
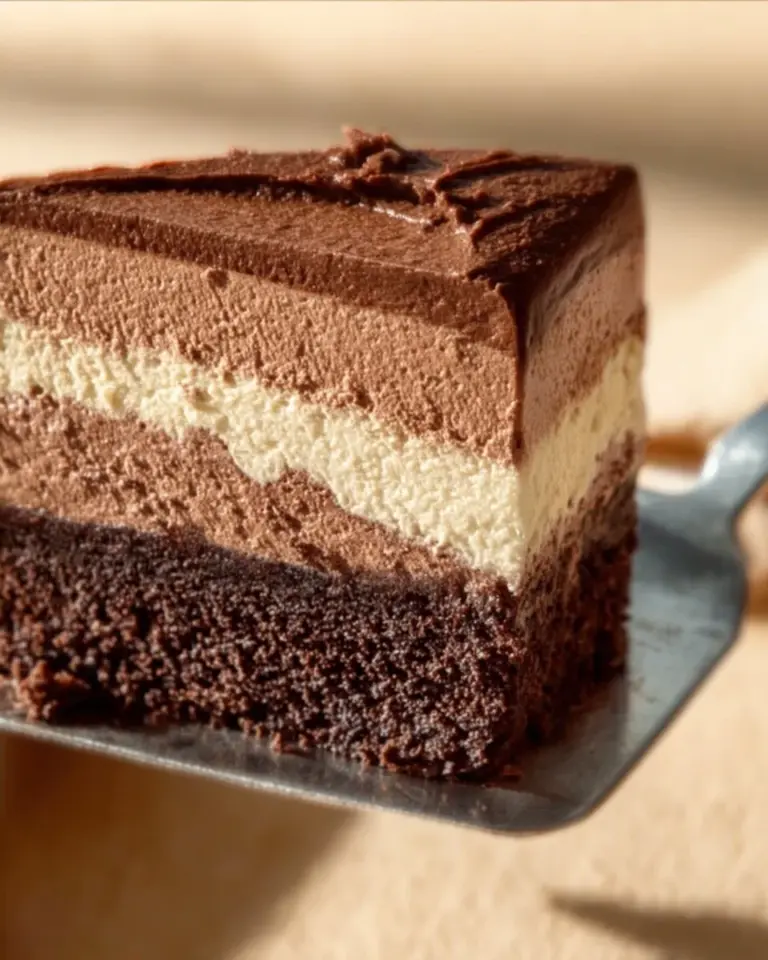
There’s something undeniably special about chocolate desserts, and this cake is no exception. Its dense, fudgy texture, combined with the sweet, rich flavor of semi-sweet chocolate, creates a symphony of tastes and sensations that is simply unmatched. Unlike cakes you might find at a bakery or a store, this recipe is a labor of love, made with quality ingredients and a touch of heartfelt passion.
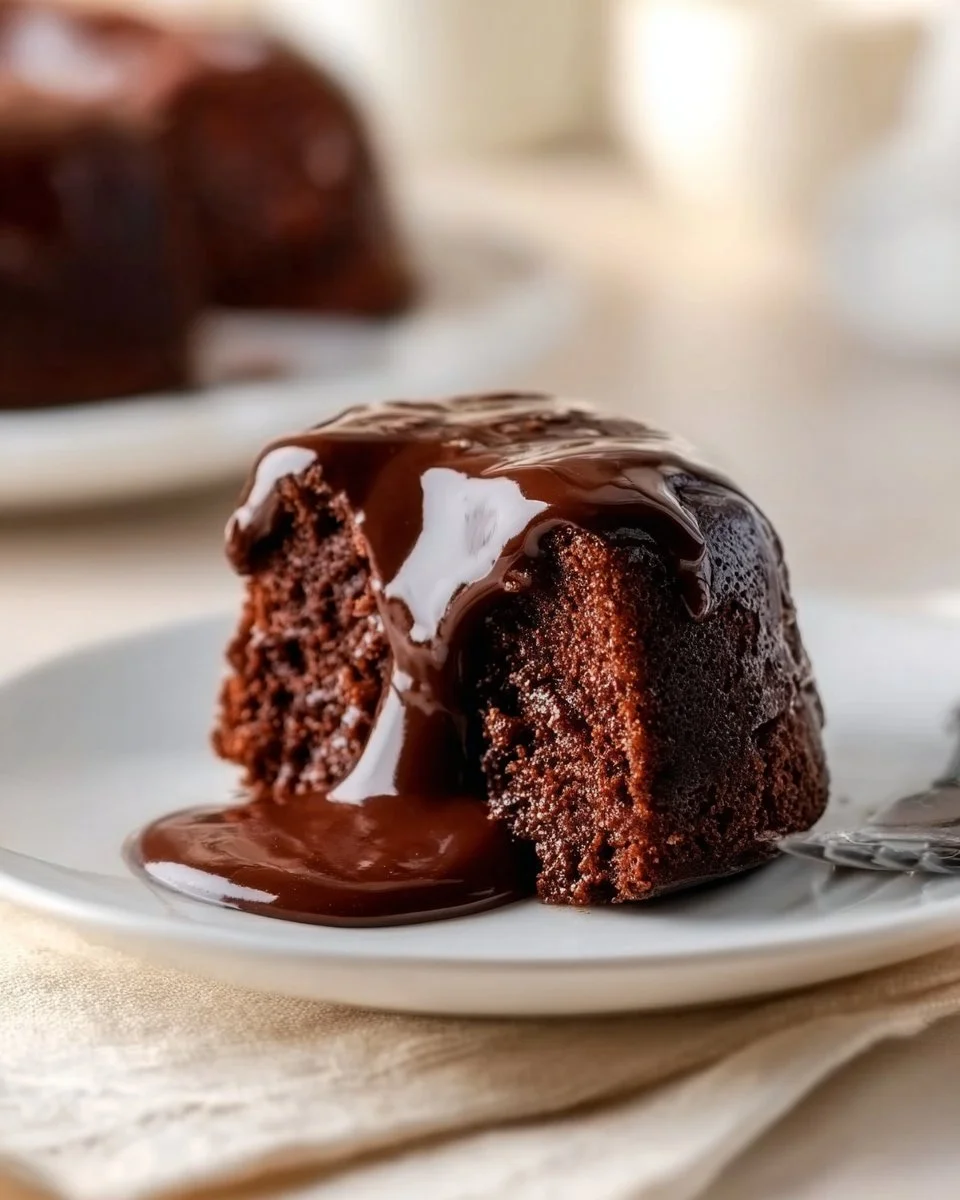
What makes this Tunnel of Fudge Cake better than others is its generous molten middle—a gooey core that spells pure joy in every bite. You’ll find this family favorite not just brings a taste of nostalgia but also transforms an ordinary day into a celebration. Stick around, and I promise to guide you through creating this masterpiece that will make your loved ones swoon!
WHAT ARE Tunnel of Fudge Cake?
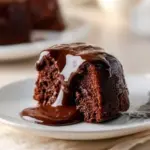
The Tunnel of Fudge Cake has an interesting backstory—born from a recipe that originated in the 1960s, it became a hit when it was featured in a contest for a boxed cake mix. The anecdote goes that as bakers tried to replicate the “tunnel,” a new chocolate phenomenon emerged. The cake itself boasts a velvety, dense texture, and that glorious fudgy center—perfectly rich and soft, contrasting wonderfully with the cake’s slightly crusted exterior.
What truly makes this cake unique is its duality: it’s both a simple recipe to whip up and an impressive showstopper. Ideal for birthdays, family gatherings, or just a rainy afternoon, the Tunnel of Fudge Cake fits any occasion. Celebrate a loved one, bring warmth on a chilly day, or indulge your sweet tooth—all with this delightful chocolate delight.
WHY YOU’LL LOVE THIS RECIPE
Irresistible Fudgy Goodness: This cake is a chocoholic’s dream! While store-bought options often compromise on flavor or texture, this recipe guarantees a rich cocoa taste that lingers on your palate.
Cost-Effective Indulgence: Did you know that baking at home can save you money? With basic pantry staples and some high-quality chocolate, you can whip up this gorgeous cake for a fraction of the cost of a fancy bakery treat.
Customization Galore: Every baker has a personal touch, and with this recipe, you can get creative! Add a sprinkle of sea salt for an unexpected twist or throw in your favorite nuts for added crunch.
Easy-Medium Difficulty: Don’t let the cake’s impressive looks fool you—this recipe is manageable! If you can mix, pour, and bake, you can create this showstopper. And the time investment? Well worth the mouthwatering reward!
Homemade Touch: There’s something heartfelt about a homemade dessert that no store can replicate. This cake carries the essence of family and warmth, waiting for you to make unforgettable memories over a slice.
INGREDIENTS SECTION
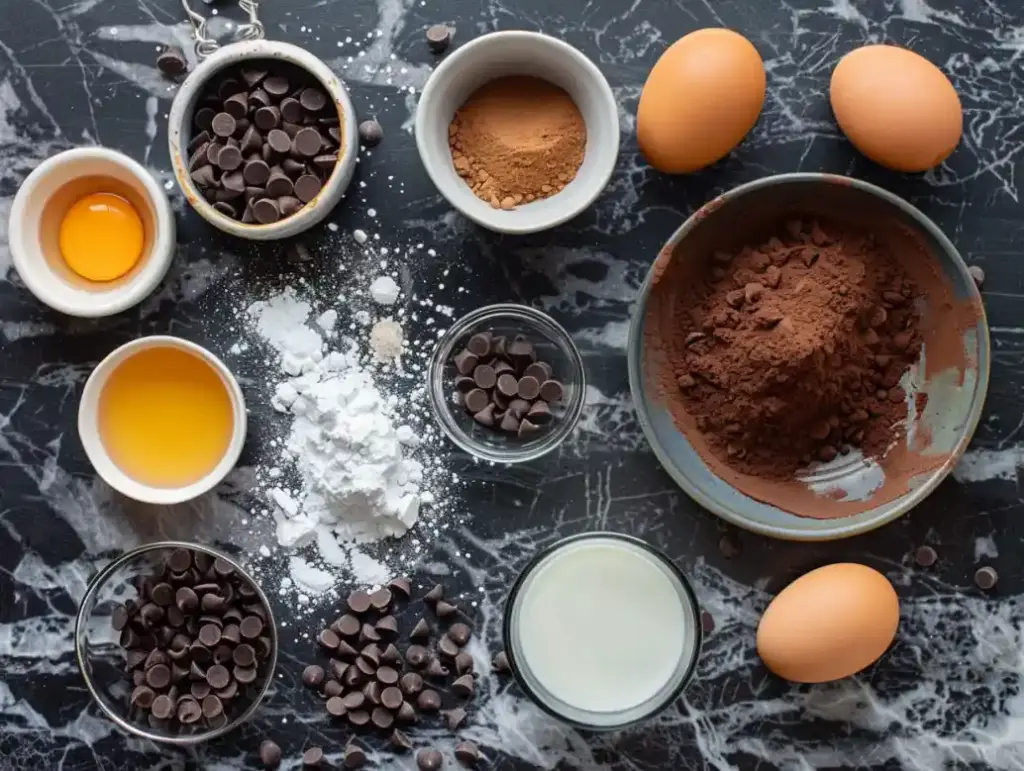
To prepare the Tunnel of Fudge Cake, you’ll need the following ingredients:
- 3/4 cup unsweetened cocoa powder + 1 tablespoon for dusting the pan (I recommend using a high-quality brand such as Hershey’s or Ghirardelli for the best flavor)
- 1 3/4 cups butter, softened (make sure your butter reaches room temperature)
- 1 3/4 cups granulated sugar
- 6 large eggs (room temperature eggs help create a fluffier texture)
- 1/2 teaspoon vanilla extract (opt for pure vanilla extract for richer taste)
- 2 cups powdered sugar
- 2 1/2 cups all-purpose flour (I prefer King Arthur Flour for consistency)
- 1 cup semi-sweet chocolate chips (Ghirardelli or Guittard are my go-to choices)
- 3/4 cup powdered sugar (for the glaze)
- 1/4 cup unsweetened cocoa powder (use the same brand as above for uniform flavor)
- 2 tablespoons milk (for adjusting glaze consistency)
Prep Notes: Make sure your butter is softened to room temperature; it’s key for achieving that perfectly airy batter. Also, set out your eggs in advance to reach room temperature too!
STEP-BY-STEP INSTRUCTIONS
Preheat the oven to 350°F (175°C). Grease a 12-cup fluted tube (Bundt) pan with nonstick cooking spray and dust the pan evenly with 1 tablespoon of cocoa powder, tapping out any excess.
Using a stand mixer with the paddle attachment, cream together the butter and granulated sugar at medium speed until the mixture becomes light, fluffy, and almost doubled in volume (this should take about 4-5 minutes). Stop to scrape down the sides and bottom of the bowl to ensure even mixing.
Add the eggs one at a time, mixing well after each addition. Blend in the vanilla extract with the final egg, then scrape the bowl again to ensure all ingredients are fully incorporated.
Reduce the mixer speed to low. Gradually add 2 cups of powdered sugar. Mix until just combined—no need to overbeat.
In a separate bowl, whisk together the all-purpose flour and 3/4 cup of cocoa powder. Gently stir the dry ingredients into the wet mixture using a spatula. When the flour mixture is almost fully combined, add the chocolate chips and fold them into the batter.
Pour the batter into the prepared pan, spreading it evenly. Bake for 1 hour or until the top is set and the edges begin to pull away from the pan (you’ll love the heavenly aroma wafting through your kitchen!).
Once baked, allow the cake to cool in the pan on a wire rack for 1 1/2 hours. Carefully invert the cake onto the rack and let it cool completely for an additional hour before adding the glaze.
For the glaze, in a small bowl, whisk together 3/4 cup of powdered sugar, 1/4 cup of cocoa powder, and 2 tablespoons of milk. Adjust the consistency by adding more milk, a teaspoon at a time, if needed. The glaze should be smooth and pourable but not too runny.
Drizzle the glaze over the cooled cake, allowing it to cascade down the sides. Let it set slightly before serving.
Slice the cake, and get ready to enjoy that rich, fudgy center!
Chef’s Tips:
- If your batter feels too thick, don’t hesitate to add a splash more milk.
- To avoid a sunken cake, make sure to properly measure your flour and do not overmix the batter.
Common Mistakes to Avoid:
- Forgetting to grease the pan can lead to a tragic sticking situation! Make sure to thoroughly grease it.
- Not letting the cake cool adequately can cause it to fall apart upon removal—patience is key!
EXPERT TIPS & TRICKS
Ingredient Quality Matters: Use the best cocoa and chocolate you can find; it really elevates the flavor profile of your cake.
Storage Recommendations: Keep your Tunnel of Fudge Cake covered at room temperature for up to 3 days. If you want to keep it longer, refrigerate it for up to a week or freeze for up to 3 months (I recommend slicing it prior to freezing for easy serving).
Make-Ahead Instructions: Bake the cake and glaze it the day before your event. Allow it to set overnight, and the flavors will meld beautifully!
Troubleshooting: If the cake seems too dense, you may want to check the oven temperature with an oven thermometer.
Chocolate Chip Variations: Try swapping half of the semi-sweet chips for milk or dark chocolate chips to diversify the flavor intensity.
Cake Cracking: If you notice cracks forming while baking, it may be due to overmixing or too high of an oven temperature. A cooling rack so you can manage things as they cool is necessary!
SERVING SUGGESTIONS
The Tunnel of Fudge Cake is dreamy on its own, but pair it with a scoop of vanilla ice cream or a dollop of freshly whipped cream for an indulgent treat. For added flair, top with some chocolate shavings or berries to brighten the plate. Perfect for birthdays, anniversaries, or even an “I survived the week” celebration, this cake steals the show!
VARIATIONS & SUBSTITUTIONS
- Flavor Combinations: Try adding peppermint extract for a festive twist around the holidays, or throw in crushed Oreos for an extra layer of indulgence.
- Dietary Restrictions: For a gluten-free option, swap the all-purpose flour for a quality gluten-free blend. Vegan? Substitute eggs with flaxseed meal and use dairy-free butter and chocolate.
- Seasonal Vibes: For fall, add a pinch of cinnamon and nutmeg to the batter for a warm, cozy flavor.
NUTRITION & STORAGE INFO
- Prep Time: 25 minutes
- Cook Time: 1 hour
- Total Time: 2 hours 30 minutes (includes cooling time)
- Yield: 12 servings
- Estimated Calories: About 400 calories per slice
- Storage Instructions: Store at room temperature for up to 3 days, in the fridge for up to a week, and freeze slices for up to 3 months.
FAQ SECTION
Can I substitute unsweetened cocoa powder with Dutch-process cocoa?
- Yes! Just note that Dutch-process cocoa can change the flavor slightly and may affect the cake’s baking chemistry.
Why did my cake sink in the middle?
- It may be that the batter was overmixed or not cooked long enough. Be sure to test for doneness with a toothpick.
What’s the best way to serve leftovers?
- Warm leftover slices in the microwave for 10-15 seconds, then serve with ice cream for an extra treat.
Can I double the recipe?
- Absolutely! Just ensure you have a large mixing bowl and adjust your baking time, as a larger portion may take longer to bake through.
Is this cake freezer-friendly?
- Yes, this cake freezes well! Wrap slices tightly in plastic wrap and store in an airtight container.
Should I cover the cake while it’s cooling?
- No, let it cool uncovered to avoid moisture buildup, which might affect the cake’s texture.
Can I make this cake in advance?
- You can bake the cake a day ahead and keep it covered until ready to glaze.
What should I do if my glaze is too thick?
- Simply add a teaspoon of milk at a time until you reach the desired consistency.
Can I use different types of chocolate chips?
- Definitely! Use dark, milk, or even white chocolate if that’s your preference.
What’s the best way to store the cake after cutting?
- Store leftover slices in an airtight container at room temperature for up to 3 days.
CONCLUSION
The Tunnel of Fudge Cake isn’t just another dessert; it’s a sprinkle of nostalgia and love baked right into a deliciously decadent treat. I encourage you to try this recipe and watch how it transforms your gatherings into memorable moments filled with smiles and satisfaction. Don’t forget to share your thoughts in the comments—how did your family react to this delightful dish?
Looking for more baking inspiration? Check out my other mouthwatering chocolate recipes or explore seasonal delights right here on the blog.
Orange Cardamom Pistachio Tea Cake
Happy baking!
Tunnel of Fudge Cake
Ingredients
Method
- Preheat the oven to 350°F (175°C). Grease a 12-cup fluted tube (Bundt) pan with nonstick cooking spray and dust with 1 tablespoon of cocoa powder.
- In a stand mixer, cream together butter and granulated sugar at medium speed until light and fluffy, about 4-5 minutes.
- Add eggs one at a time, mixing well after each addition. Blend in vanilla with the final egg.
- Reduce speed to low, gradually add 2 cups of powdered sugar, mixing until just combined.
- In a separate bowl, whisk together flour and 3/4 cup cocoa powder. Gently stir dry ingredients into the wet mixture.
- When almost fully combined, fold in the chocolate chips.
- Pour the batter into the prepared pan and spread it evenly.
- Bake for 1 hour or until the top is set and the edges begin to pull away from the pan.
- Let the cake cool in the pan on a wire rack for 1 1/2 hours.
- Invert the cake onto the rack and cool completely for another hour.
- For the glaze, whisk together 3/4 cup powdered sugar, 1/4 cup cocoa powder, and 2 tablespoons milk. Adjust consistency with more milk if needed.
- Drizzle the glaze over the cooled cake and let it set before serving.
- Slice the cake and enjoy that rich, fudgy center!