When life’s a little chaotic, there’s nothing quite like the smell of fresh bread wafting through the house to bring a sense of calm and comfort. Recently, I was reminiscing about the countless weekends spent in my grandmother’s warm kitchen, where the family gathered around, laughter rising with the aroma of her famous quick bread. Each loaf told a story, whether it was studded with juicy berries or oozing with chocolate chips, and they always brought us closer together.
Quick bread, unlike traditional yeast breads, comes together in a flash, making it the perfect solution for those emergency cravings or surprise visitors. What makes this recipe special? Not only is it exceptionally easy to whip up, but it’s also incredibly versatile, allowing you to add your favorite flavors and ingredients. It’s comfort food that invites creativity and experimentation.
In this post, you’ll learn how to make the perfect quick bread from scratch, armed with tips and tricks I’ve gathered over the years. Trust me, once you try this recipe, your family will be begging for more!
What Are Quick Breads?
Quick breads are a delightful category of baked goods that rise without yeast, thanks to the use of baking powder or baking soda as leavening agents. Originating in the early 19th century when baking powder became widely available, these breads quickly gained popularity because of their convenience and ease of preparation.
What makes quick bread unique? The texture is typically tender and moist, a delightful combination that makes each bite a joy. Whether you’re enjoying a banana bread with its rich, sweet notes or a zesty lemon loaf, the flavor possibilities are endless. Quick breads are perfect for breakfast, snacks, or even dessert—truly a versatile treat that can brighten any occasion.
So why should you make quick bread? If you’re looking for a stress-free baking adventure that’s sure to impress, quick bread is your go-to. It’s an easy way to fill your home with comforting scents and your heart with warm memories.
Why You’ll Love This Recipe
Quick & Easy: This recipe requires just a handful of everyday ingredients and about an hour of your time. You won’t need a bread machine or a bunch of fancy equipment—just a mixing bowl and a loaf pan will do!
Cost-Effective: You’ll save money compared to buying bread from the store or a cafe. Plus, you probably have most of the ingredients right in your pantry. A homemade loaf costs just a fraction of store-bought versions.
Customization Galore: This is not a one-size-fits-all recipe. You can make it your own! Add nuts, chocolate chips, or your favorite fruits—this bread is a blank canvas for your creativity.
Deliciously Better: Homemade bread not only tastes rich and delightful, but it also allows you to control the ingredients. No preservatives, no mysteries—just pure goodness.
Family-Friendly: Even the kids can get involved! This recipe is simple enough for young bakers to help mix and pour. It’s a great way to create lasting memories in the kitchen, just like my grandmother did with me.
Ingredients
To make this easy quick bread, gather the following ingredients:
- 2 cups all-purpose flour: For a tender crumb. I recommend using organic flour if you can for a more wholesome bread.
- 1 cup sugar: You can substitute with brown sugar for a richer flavor.
- 1 tablespoon baking powder: Ensure it’s fresh! Old baking powder will hinder your bread’s rise.
- 1/2 teaspoon salt: This balances out the sweetness.
- 1 cup milk: Whole or 2% works best; almond milk or oat milk can be good dairy-free options.
- 1/3 cup vegetable oil: This keeps the bread moist. Feel free to use melted butter for additional flavor.
- 1 teaspoon vanilla extract: A splash for that extra warmth and sweetness.
- 2 large eggs: At room temperature for even mixing—this helps them incorporate better.
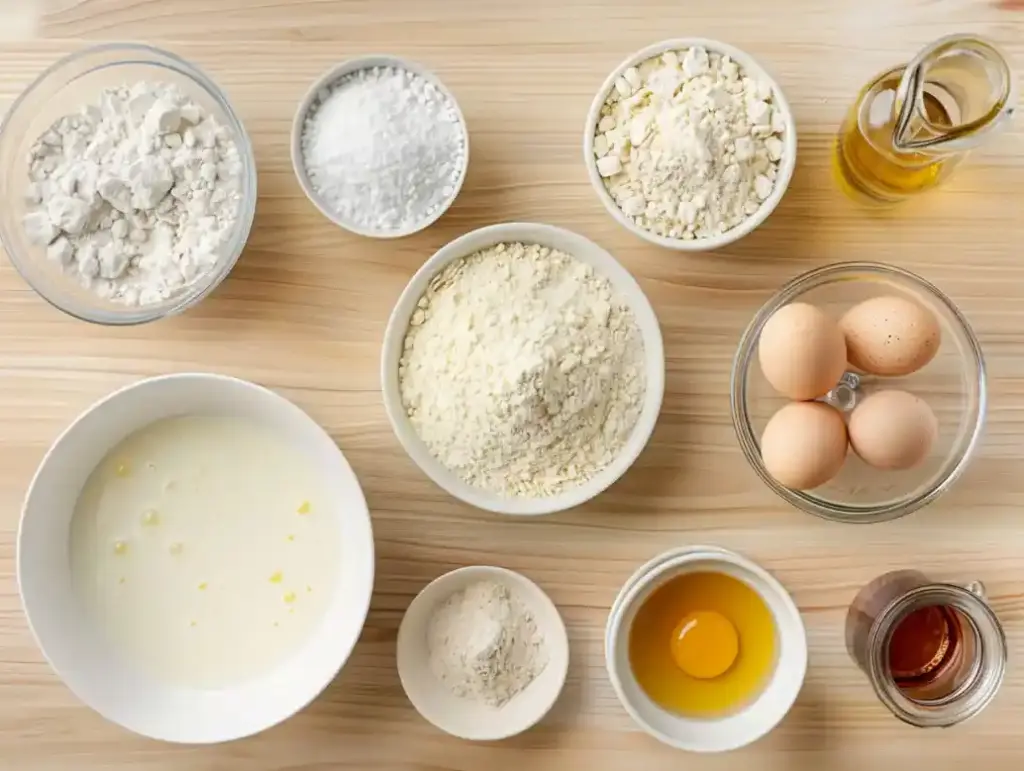
Chef’s Tip: Make sure to pre-measure your ingredients so you can whisk and bake right away—no need for the stress of hunting down items mid-recipe!
Step-by-Step Instructions
Preheat the Oven: Set your oven to 350°F (175°C) and grease a loaf pan with non-stick spray or line it with parchment paper for easy release.
Mix Dry Ingredients: In a large bowl, whisk together 2 cups of all-purpose flour, 1 cup of sugar, 1 tablespoon of baking powder, and 1/2 teaspoon of salt. Give it a good stir to blend the ingredients.
Combine Wet Ingredients: In another bowl, mix 1 cup of milk, 1/3 cup of vegetable oil, 2 large eggs, and 1 teaspoon of vanilla extract until the mixture is smooth and well combined.
Combine Mixtures: Carefully pour the wet ingredients into the dry mixture. Use a spatula to stir until just combined. Remember, it’s okay if there are some lumps—overmixing can lead to a dense loaf!
Pour & Bake: Pour the batter into your prepared loaf pan. Use a spatula to gently smooth the top if necessary. Bake for 50-60 minutes or until a toothpick inserted into the center comes out clean with a few moist crumbs attached.
Cool the Bread: Allow the bread to cool in the pan for 10 minutes. Then transfer it to a wire rack to cool completely—don’t rush this step; this will ensure the bread remains moist!
Chef’s Tips:
- For an added twist, sprinkle some cinnamon or nutmeg in the dry ingredients.
- If you notice your bread browning too quickly, tent it with foil about halfway through baking.
Expert Tips & Tricks
Storage Recommendations: Keep your quick bread wrapped in plastic wrap or aluminum foil to maintain freshness. It’s best enjoyed fresh but can last for up to 4 days at room temperature.
Make-Ahead Instructions: This bread freezes beautifully! Allow it to cool completely, then wrap tightly and store it in the freezer for up to 3 months. Thaw at room temperature when you’re ready to enjoy.
Troubleshooting Common Problems: If your bread sinks while baking, it might be due to overmixing or too much leavening agent. Experimenting with the amounts can yield great results in subsequent attempts!
For Maximum Flavor: Consider letting the batter rest for about 20 minutes before baking—this allows the flavors to meld beautifully.
Don’t Skip the Cooling: Letting your quick bread cool completely ensures that the texture develops as it should—warm bread often falls apart when sliced!
Serving Suggestions
Quick bread is delightful on its own, but there are endless ways to elevate your eating experience! Serve it warm with a slab of butter and a drizzle of honey for a simple yet heavenly treat. Pair it with a hot cup of coffee for breakfast or an afternoon snack, or add a scoop of vanilla ice cream and some fresh berries for a fantastic dessert.
Impress your guests by arranging slices on a beautiful wooden board, garnished with seasonal fruits. This bread is perfect for brunch, cozy family gatherings, or holiday celebrations—the perfect centerpiece for any occasion!
Variations & Substitutions
Don’t be afraid to mix it up! Here are some ideas to get those creative juices flowing:
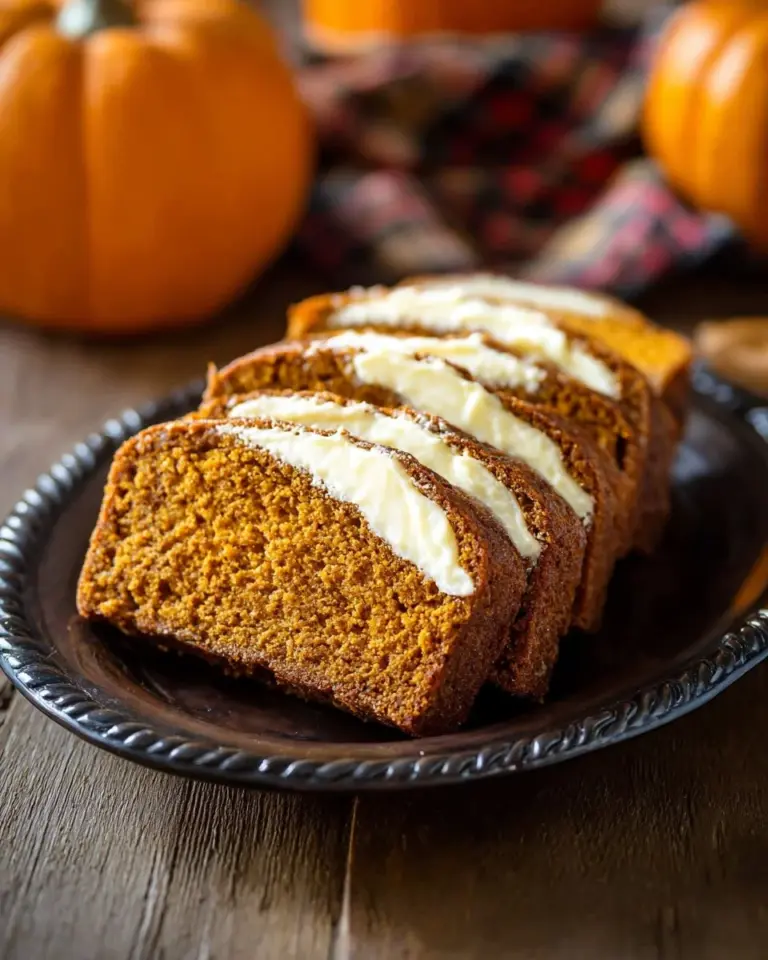
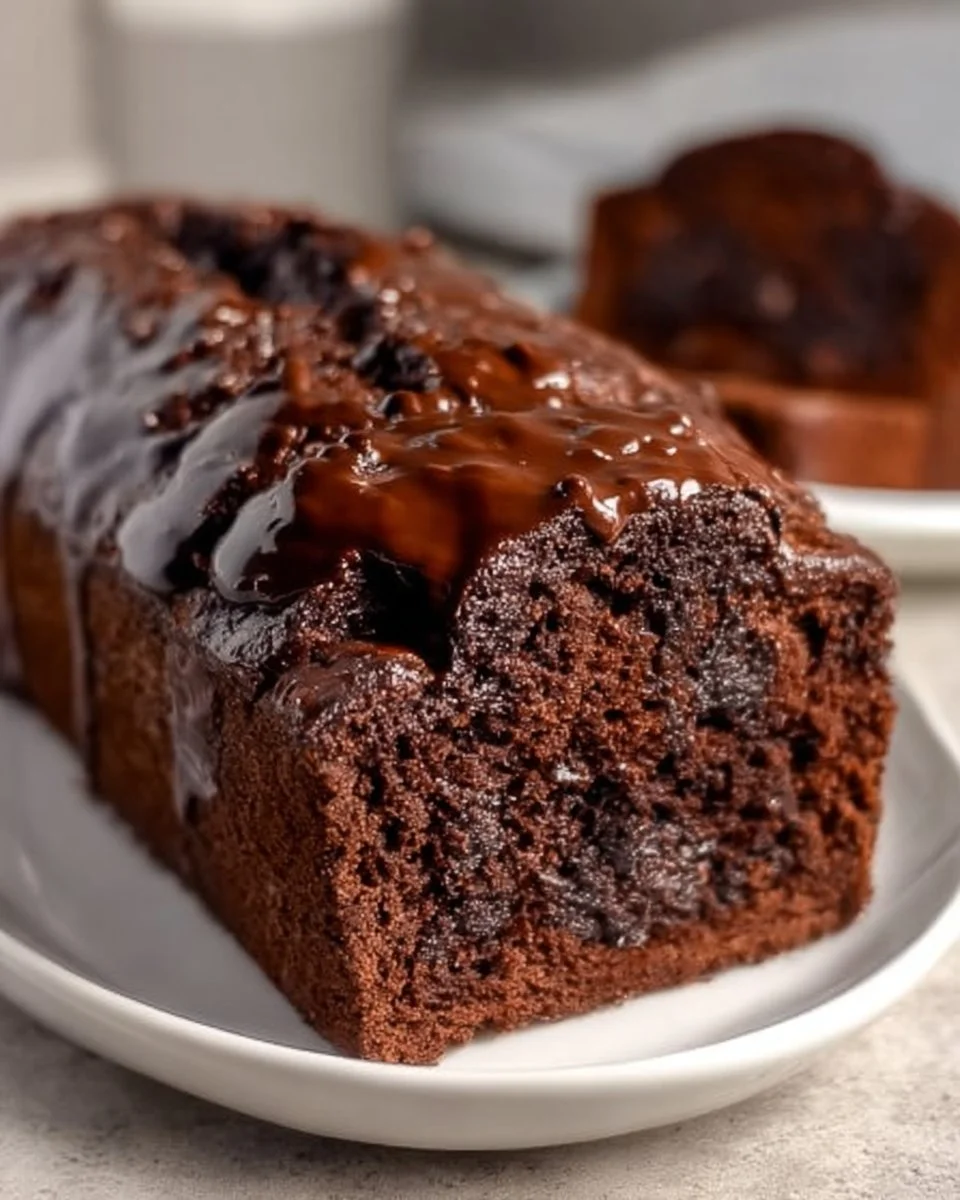
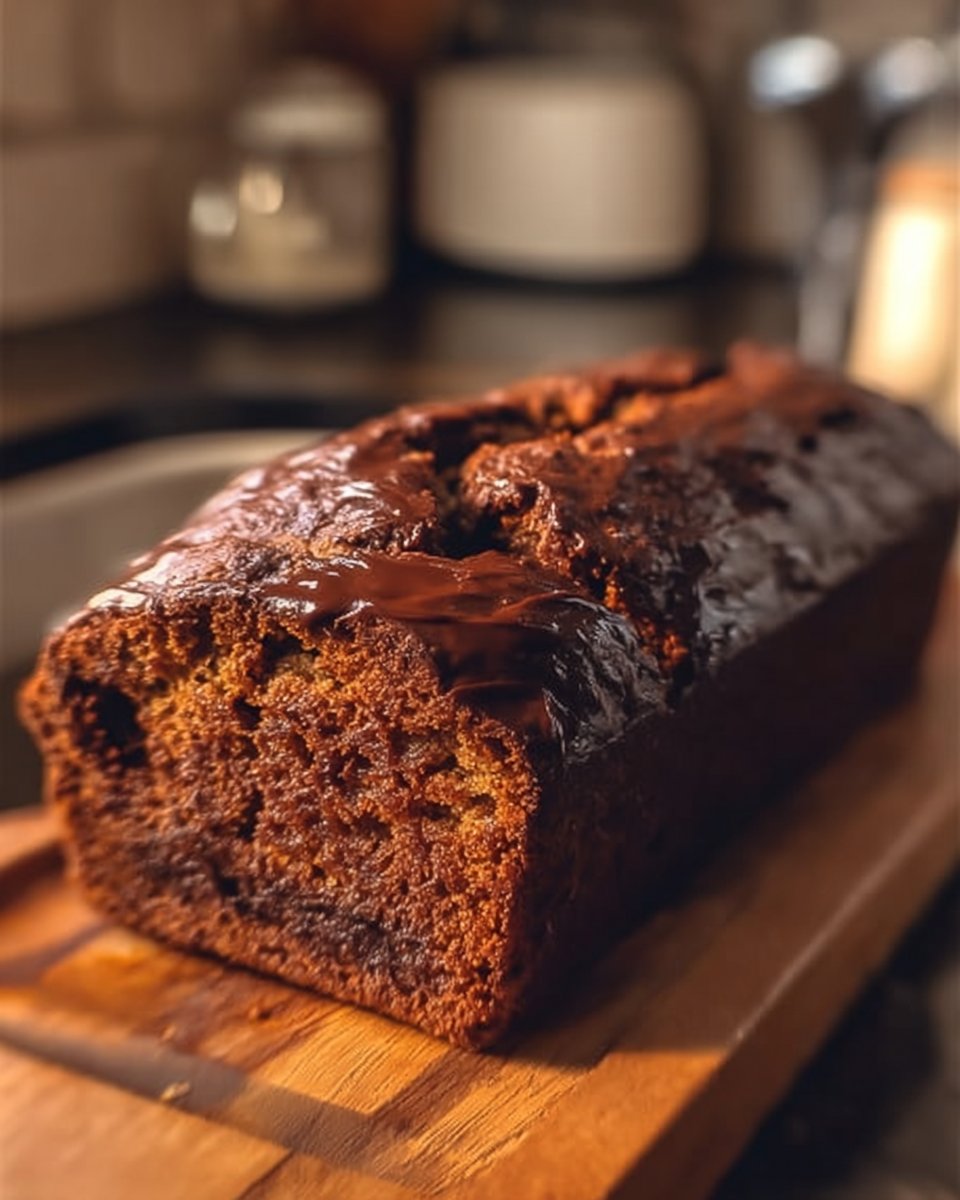
- Flavor Combinations: A banana-chocolate chip blend is a classic favorite. Blueberry lemon and pumpkin spice are also crowd-pleasers.
- Dietary Restrictions: For a gluten-free option, try a gluten-free flour blend in place of all-purpose flour. Use unsweetened applesauce instead of eggs for a vegan twist.
- Seasonal Variations: Embrace seasonal flavors by adding pumpkin puree in the fall or fresh strawberries in the summer.
Nutrition & Storage Info
- Prep Time: 15 minutes
- Cook Time: 60 minutes
- Total Time: 75 minutes
- Yield: Makes about 10 servings
- Estimated Calories: Approximately 180 calories per slice
- Storage Instructions: Store at room temperature in an airtight container for up to 4 days, or freeze for up to 3 months.
FAQ Section
1. Can I use whole wheat flour instead of all-purpose flour?
Yes! Just keep in mind that it may create a denser loaf. You can substitute half for a lighter texture.
2. How can I tell when my quick bread is done?
A toothpick inserted in the center should come out clean or with a few crumbs attached. If it’s wet, it needs more bake time.
3. Can I add fruit to my quick bread?
Absolutely! Chopped apples, strawberries, or blueberries can elevate your loaf, just lightly coat them in flour before folding them in to prevent sinking.
4. What if I don’t have baking powder?
You can make a substitute by combining 1/4 teaspoon baking soda with 1/2 teaspoon vinegar or lemon juice for each teaspoon of baking powder needed.
5. Is it possible to double this recipe?
Certainly! Just make sure to adjust the baking time, as a larger loaf may need a bit more.
6. Can I make this quick bread without eggs?
Yes! You can replace each egg with 1/4 cup applesauce or 1/2 mashed banana for a delicious alternative.
7. Why did my bread turn out too dry?
This could be due to overbaking or too much flour; make sure to measure accurately with the spoon-and-level method for perfect results.
8. What should I do if my bread is too dense?
Overmixing the batter can cause density. Gently fold the ingredients together until just combined for a lighter loaf.
9. Can I add spices to my bread?
Certainly! Adding cinnamon, nutmeg, or allspice can pack a flavorful punch. Just be careful not to overdo it!
10. How do I know if my quick bread is properly mixed?
The batter should be slightly lumpy—overmixing will lead to a chewy texture, which is not ideal for quick breads.
Conclusion
This quick bread recipe is not just a staple; it’s a gateway to creating lasting memories with loved ones. The quick preparation, customizations, and delightful aromas encapsulate the joy of baking at home.
I hope you give this recipe a try and add your personal touch to it. I would love to hear what you think—please share your feedback in the comments! Don’t forget to check out my other related recipes for more delicious treats to bake and share.
White Chocolate Raspberry Poke Cake
Happy baking!
Easy Quick Bread
Ingredients
Method
- Preheat your oven to 350°F (175°C) and grease a loaf pan with non-stick spray or line it with parchment paper.
- In a large bowl, whisk together the dry ingredients: 2 cups of all-purpose flour, 1 cup of sugar, 1 tablespoon of baking powder, and 1/2 teaspoon of salt.
- In another bowl, mix the wet ingredients: 1 cup of milk, 1/3 cup of vegetable oil, 2 large eggs, and 1 teaspoon of vanilla extract until smooth.
- Pour the wet mixture into the dry mixture and stir until just combined. It’s okay if there are lumps; avoid overmixing.
- Pour the batter into the prepared loaf pan and smooth the top gently if needed.
- Bake for 50-60 minutes or until a toothpick inserted in the center comes out clean with a few moist crumbs.
- Allow the bread to cool in the pan for 10 minutes before transferring to a wire rack to cool completely.