The Ultimate Artisan Bread Recipe: Master the Art of Homemade Loaves
There’s something almost magical about the aroma of freshly baked bread wafting through your kitchen. I still remember the first time I pulled a loaf of artisan bread from the oven—golden crust, soft and airy interior, and a flavor that was out of this world. It instantly transported me back to my grandmother’s kitchen, where she would knead dough with love, sharing stories of her childhood, while we all waited impatiently for that first slice.
Artisan bread is special because it’s not just another dish; it’s a labor of love that embodies warmth and tradition. Unlike the mass-produced loaves you find at the store, artisan bread is made using simple ingredients and time-honored techniques. This recipe not only guides you through creating a rustic, breathtaking loaf but also pays homage to the rich history of bread-making.
But why is this recipe better than others? Well, it’s not just easy; it’s adaptable! You’ll learn how to customize your bread with herbs, spices, or even olives—making it perfect for any occasion in your life, whether it’s a cozy family dinner or a festive gathering with friends. You’re about to embrace the joy of baking and create memories in your kitchen that will last a lifetime!
What Are Artisan Breads?
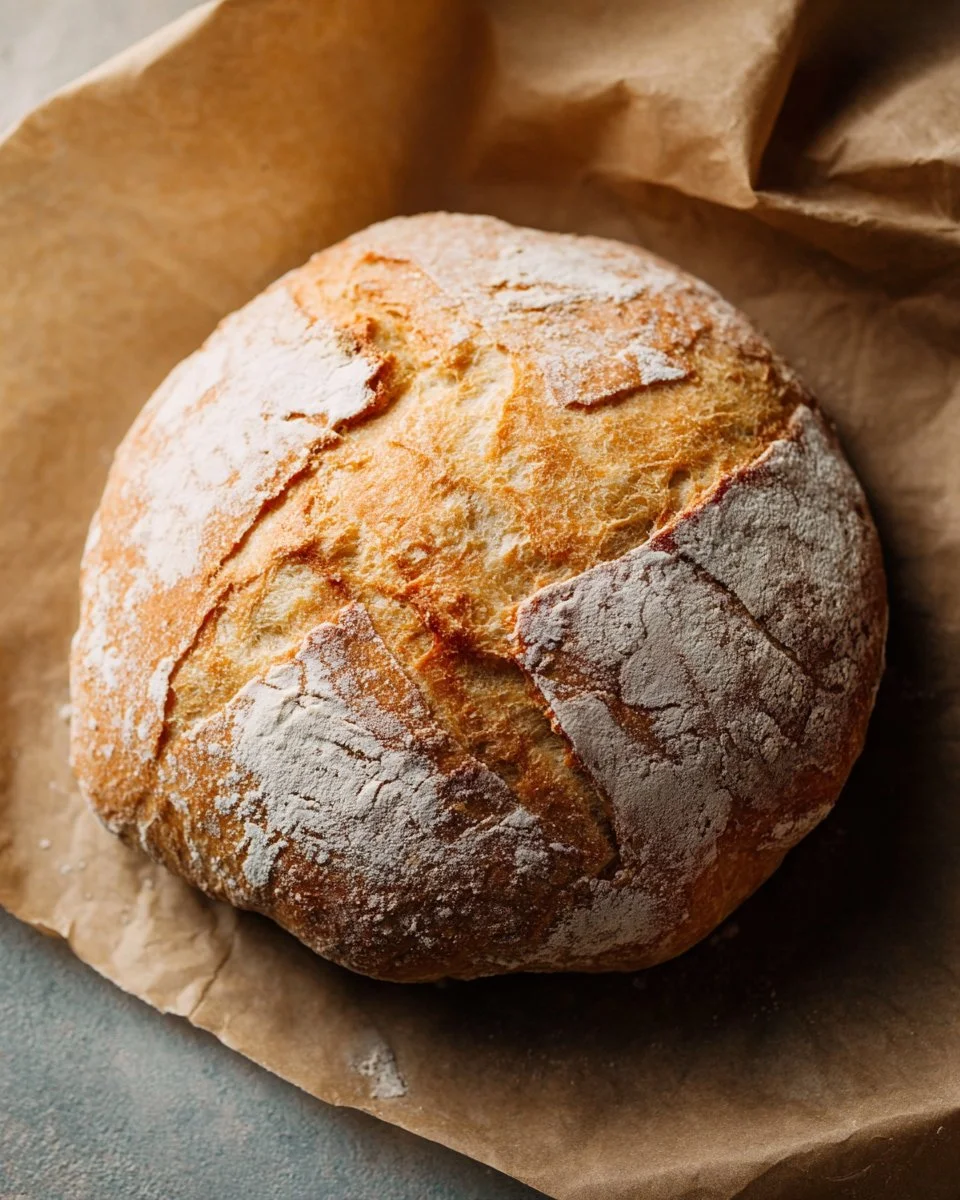
Artisan bread traces its roots back to ancient civilizations, where quality and heritage were paramount. Unlike commercial bread-making, which relies on speed and machinery, artisan methods embrace traditional techniques. This results in loaves that possess a crispy crust, an airy and soft crumb, and a depth of flavor that store-bought versions can’t match.
These breads are often characterized by their unique shapes and rustic appearance. The variability in baking times and methods introduces an array of textures and flavors that excite the palate. Perfect for any meal, artisan breads offer a delightful crunch on the outside, followed by a chewy interior that creates a symphony of taste with each bite.
Whether you’re preparing for a serene Sunday brunch or a festive holiday feast, making artisan bread is the perfect way to elevate any occasion. Not to mention, the process itself is therapeutic and rewarding—perfect for when you need to unwind and get your hands a little messy!
Why You’ll Love This Recipe
Simplicity and Ease: This artisan bread recipe is surprisingly simple to follow! With just a handful of high-quality ingredients, you can create bakery-worthy bread right in your home.
Flavor Profile: The beauty of artisan bread lies in its flexibility. Instead of bland, store-bought versions, your creation can burst with flavor. Imagine adding fresh herbs like rosemary or thyme, or even incorporating roasted garlic for an unforgettable taste.
Cost-Effective: Have you ever looked at the price of gourmet bread? With this recipe, you’ll save a small fortune while impressing friends and family. Plus, it’s tastier than anything you can buy at the store!
Customization: Want to experiment with gluten-free flour? Or perhaps you’ve got a craving for seeds or cheese? This recipe can be easily adapted to suit your dietary needs and flavor preferences without any fuss.
Time Investment: While artisan bread may seem tricky, it requires minimal hands-on time. Most of the process is about allowing the dough to rise, and you can go about your day while it works its magic.
Ingredients
Here’s what you’ll need for the Artisan Bread:
- 3 cups lukewarm water (105°F – 115°F)
- 1 and 1/2 tablespoons instant or active dry yeast
- 1 and 1/2 tablespoons coarse salt (look for kosher or sea salt)
- 6 and 1/2 cups all-purpose flour (preferably unbleached; I love King Arthur’s all-purpose!)
- Optional: Fresh or dried herbs, such as rosemary, thyme, or basil for seasoning
Notes:
- Use room temperature water for optimal yeast activation.
- If halving the recipe, use 1 and 1/2 cups lukewarm water, 1 packet of yeast (about 2 and 1/4 teaspoons), 2 teaspoons Himalayan salt, and 3 and 1/4 cups of flour.
- For a deeper flavor, try substituting a portion of the flour with whole wheat flour.
Step-by-Step Instructions
Mix the Dough: In a very large mixing bowl, combine 3 cups lukewarm water, 1 and 1/2 tablespoons yeast, and 1 and 1/2 tablespoons coarse salt. If you’re including herbs, now’s the time to stir them in. Add 6 and 1/2 cups of all-purpose flour all at once and mix with a wooden spoon or your hands until just combined.
Chef’s Tip: Avoid overmixing! You want it just combined without any dry flour visible.
Let it Rise: Cover the bowl with plastic wrap or a clean kitchen towel and place it in a warm, draft-free area for 2 to 4 hours. The dough should more than double in size and will look bubbly.
Shape the Dough: After the initial rise, dust a clean surface lightly with flour, then pull out 1/4 of the dough for a separate batch and refrigerate the rest. Lightly shape the dough into a ball, ensuring you’re handling it gently. Let it rest for at least 30 minutes while you preheat the oven.
Preheat the Oven: Set your oven to 450°F while placing a baking vessel (like a Dutch oven) inside to heat. For steaming, put a rimmed cookie sheet filled with water on the bottom rack—this step will give your bread that desired crusty finish!
Bake the Bread: Dust the dough lightly with flour, score the top with a sharp knife, and carefully place it in the heated vessel. Bake on the center rack for 30 to 40 minutes, or until golden brown and the crust is crispy.
Visual Cue: Your bread will sound hollow when tapped on the bottom!
Cool and Enjoy: Once baked, carefully remove it from the oven and let it cool on a wire rack. Slice and enjoy the fruits of your labor!

Expert Tips & Tricks
Storage: Store your artisan bread at room temperature in a paper bag to keep the crust crispy! It’ll last 2-3 days. For longer storage, slice it up and freeze it in an airtight container for up to 3 months.
Make-Ahead: If you want to prep in advance, you can make the dough and refrigerate it for up to 1 week. Just take it out a couple of hours before baking to let it come to room temperature.
Troubleshooting: If your bread fails to rise, the yeast might be expired. Always check the date!
Common Mistakes: Don’t rush the rising time—it’s crucial for flavor and texture!
Serving Suggestions
This artisan bread pairs beautifully with anything, really! Try serving it alongside a hearty soup, a fresh salad, or a charcuterie board adorned with your favorite cheeses and meats. For a more festive touch, think about offering it warm with herbed butter or drizzling a bit of olive oil and balsamic vinegar on the side.
Presentation Idea: Serve your bread on a rustic wooden cutting board with a butter dish or a small bowl for dipping oils. It adds a charming aesthetic to any table setting!
Variations & Substitutions
Flavor Infusion: Want a twist? Try incorporating spices like garlic powder, onion powder, or even cheese shavings into the dough.
Gluten-Free Option: Substitute a gluten-free flour blend, but be sure to add a few tablespoons of extra moisture as gluten-free flours can absorb more liquid.
Seasonal Breads: Make a pumpkin spice artisan bread in the fall with added pumpkin puree and a touch of cinnamon! Or, create an herbed bread for summer barbecues using fresh garden herbs.
Nutrition & Storage Info
- Prep Time: 10 minutes
- Cook Time: 40 minutes
- Total Time: Approx. 3 HOURS (including rising)
- Yield: About 2 loaves
- Estimated Calories per Serving: Approximately 150 calories
- Storage: Keep at room temperature in a paper bag for 2-3 days, or in the freezer for up to 3 months.
FAQ Section
Can I use all-purpose flour instead of bread flour?
Yes! All-purpose flour works just fine for artisan bread, though bread flour will yield a slightly chewier texture.How do I know when my bread is done?
The crust should be golden brown, and tapping the bottom of the loaf should produce a hollow sound.Why is my bread dense?
A dense loaf could indicate that the dough didn’t rise long enough. Make sure to allow adequate time for both rises.Can I double this recipe?
Absolutely! Just be sure to have enough space to accommodate the dough’s rise.What can I do with leftover dough?
You can store it in the fridge or make mini loaves or rolls instead of just one big one.Do I need a baking stone?
While it isn’t necessary, a baking stone can help create a crispier crust by holding heat well.Can I add nuts or dried fruits?
Yes! Feel free to fold in chopped nuts or dried fruits for added texture and flavor.What if my yeast doesn’t foam?
If your yeast doesn’t foam after mixing with water, it may be expired. Start again with fresh yeast.Can I bake this in a loaf pan?
Yes, you can! Just use a regular loaf pan and adjust the baking time accordingly, usually around 50-60 minutes.Should I use fresh herbs or dried herbs?
Both work great! Dried herbs generally have a stronger flavor, so adjust according to your taste.
Conclusion
This artisan bread recipe is not just about baking; it’s about creating moments filled with warmth, love, and deliciousness. With its simplistic charm, ease of preparation, and endless customization possibilities, this bread’s allure is undeniable. I encourage you to gather your ingredients and give it a try—you won’t regret it! Don’t forget to share your experience in the comments and let me know what flavors you explored.
For more yummy ideas, check out my other recipes for fresh baguettes and savory focaccia on the blog. Happy baking!

Artisan Bread
Ingredients
Method
- In a very large mixing bowl, combine lukewarm water, yeast, and salt. Stir in herbs if using, then add flour and mix until just combined. Avoid overmixing!
- Cover the bowl and let the dough rise in a warm, draft-free area for 2 to 4 hours until it more than doubles in size.
- Dust a clean surface with flour and pull out 1/4 of the dough for a separate batch. Shape the remaining dough gently into a ball and let it rest for 30 minutes.
- Preheat oven to 450°F and place a baking vessel inside to heat. Add a rimmed cookie sheet filled with water on the bottom rack for steaming.
- Dust the dough lightly with flour, score the top with a knife, and place in the heated vessel. Bake for 30 to 40 minutes until golden brown and crust is crispy.
- Remove from the oven, cool on a wire rack, slice, and enjoy!