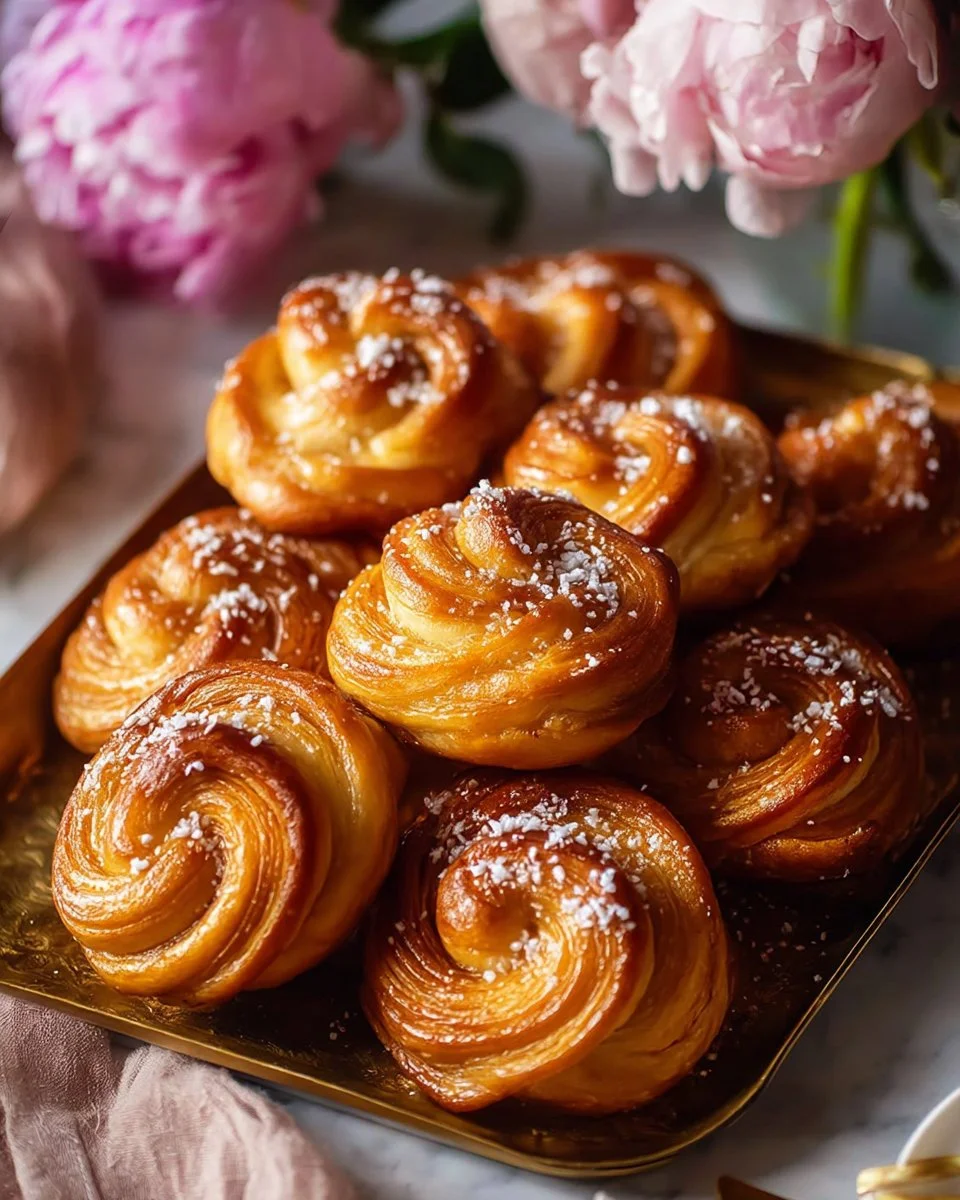
Irresistibly Flaky Classic Croissant Buns Recipe: The Ultimate Comfort Food
INTRODUCTION
Let me take you back to a Sunday morning filled with warm sunshine and the irresistible smell of freshly baked goods wafting through the air. Growing up, my Sundays were never complete without my grandmother’s Classic Croissant Buns. She’d spend hours kneading the dough and layering in the buttery goodness that would turn into soft, flaky masterpieces. Every bite was a delightful dance of textures and flavors, bringing her kitchen alive with love.
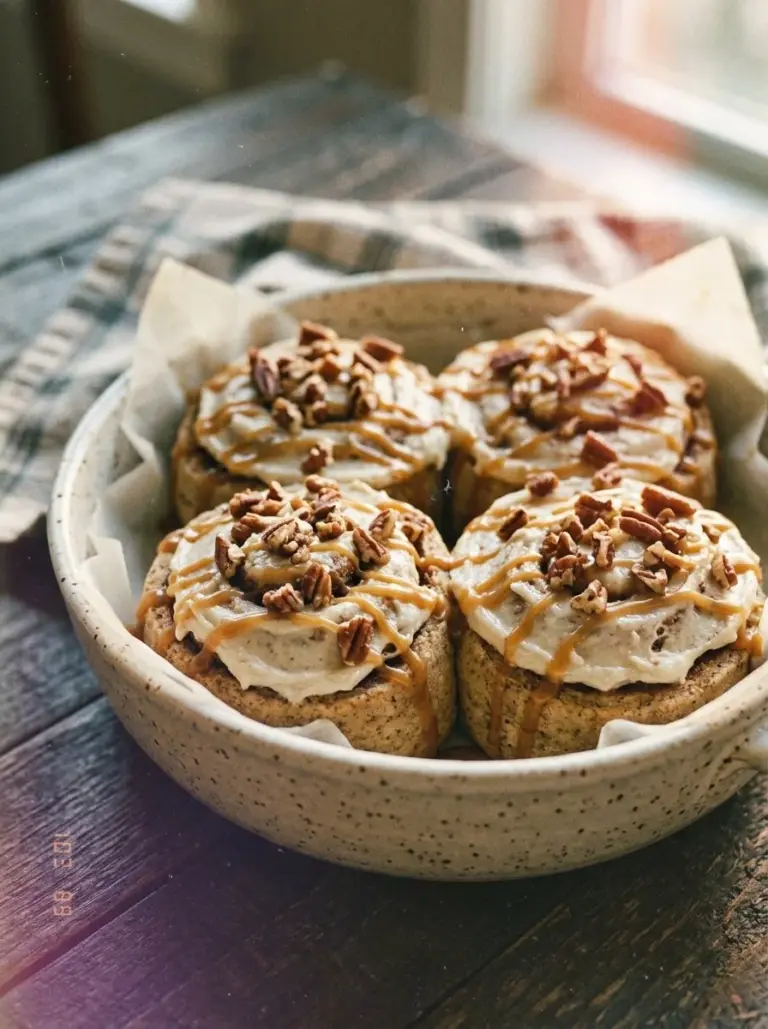
These Classic Croissant Buns are not just pastries; they’re a warm hug, a burst of nostalgia, and the perfect breakfast companion. What sets my recipe apart is the unique twist of adding orange zest and cinnamon to the filling, enhancing the aroma while paying homage to those family moments. You won’t find this combination in bakeries!
In this post, I’ll share the secrets behind making these buns from scratch, including tips I’ve learned through years of baking. By the end, you’ll not only master this recipe but also create your own wonderful memories around the kitchen table. Get ready to roll up your sleeves, because this delicious journey is just beginning!
WHAT ARE Classic Croissant Buns?
Classic Croissant Buns trace their roots back to the French pastry tradition, known for their buttery and flaky layers. They are a beautiful fusion of a croissant and a bun, making them an ideal breakfast delicacy or afternoon treat. The magic lies in the lamination process—the act of folding butter into the dough, which creates those signature flaky layers that give each bite a wonderful texture.
With a rich, buttery flavor that melts in your mouth, these buns are both comforting and indulgent. The soft, crispy crust gives way to a light and airy inside, making them the perfect canvas for any filling or topping you might fancy. Whether it’s a simple dusting of powdered sugar or a drizzle of chocolate, the possibilities are endless! Perfect for brunches, special occasions, or just a cozy day at home, these Classic Croissant Buns will have everyone asking for seconds.
WHY YOU’LL LOVE THIS RECIPE
Homemade Goodness: Unlike store-bought versions that can be overly sweet or packed with preservatives, these Classic Croissant Buns are crafted from scratch—just like Grandma used to! You’ll be amazed at the complexity of flavor achieved with just a few high-quality ingredients, like the recommended King Arthur Bread Flour and Kerrygold Butter.
Cost-Effective: When you break down the price of making these buns at home compared to buying gourmet pastries from fancy bakeries, you’ll be surprised at how much you save while enjoying something more delicious.
Customization: Love chocolate? Add dark chocolate chips to the filling! Prefer fruit? Stuff them with fresh berries or apples. The versatility of this recipe allows you to play around with flavors and fillings as much as your heart desires.
Satisfying yet Accessible: While these buns may seem like a daunting project, they are straightforward with my step-by-step instructions, perfect for both novice bakers and seasoned pros. The satisfaction of pulling these out of the oven is unparalleled.
Baking Therapy: If you find comfort in the rhythmic kneading and rolling, making these Classic Croissant Buns can serve as a therapeutic experience, whisking away the stresses of everyday life while letting you create something beautiful and delicious.
INGREDIENTS

For the Poolish (Flavor Base):
- 6 tbsp lukewarm milk (around 110°F)
- 2 tsp yeast (I recommend Saf-Instant Yeast for consistent results)
- 2/3 cup flour
For the Dough:
- 1 cup milk (also around 110°F)
- 3 cups flour (I use King Arthur Bread Flour for its high protein content)
- 3.5 tbsp sugar
- 2.5 tsp salt
- 0.5 tbsp vanilla extract
- 1/2 tbsp softened butter (allow it to reach room temperature)
For Lamination:
- 22 tbsp unsalted butter (Kerrygold is my go-to for its rich flavor; keep it cold)
For Filling and Coating:
- 1/2 cup granulated sugar
- 1/4 cup brown sugar
- 1 tbsp freshly grated orange zest (adds a delightful citrus note)
- 1.5 tsp ground cinnamon
- 1/4 tsp salt
- 3 tbsp melted butter (for brushing before baking)
Prep Notes: Ensure all butter is at proper temperatures; room temperature for softened butter and cold for laminating.
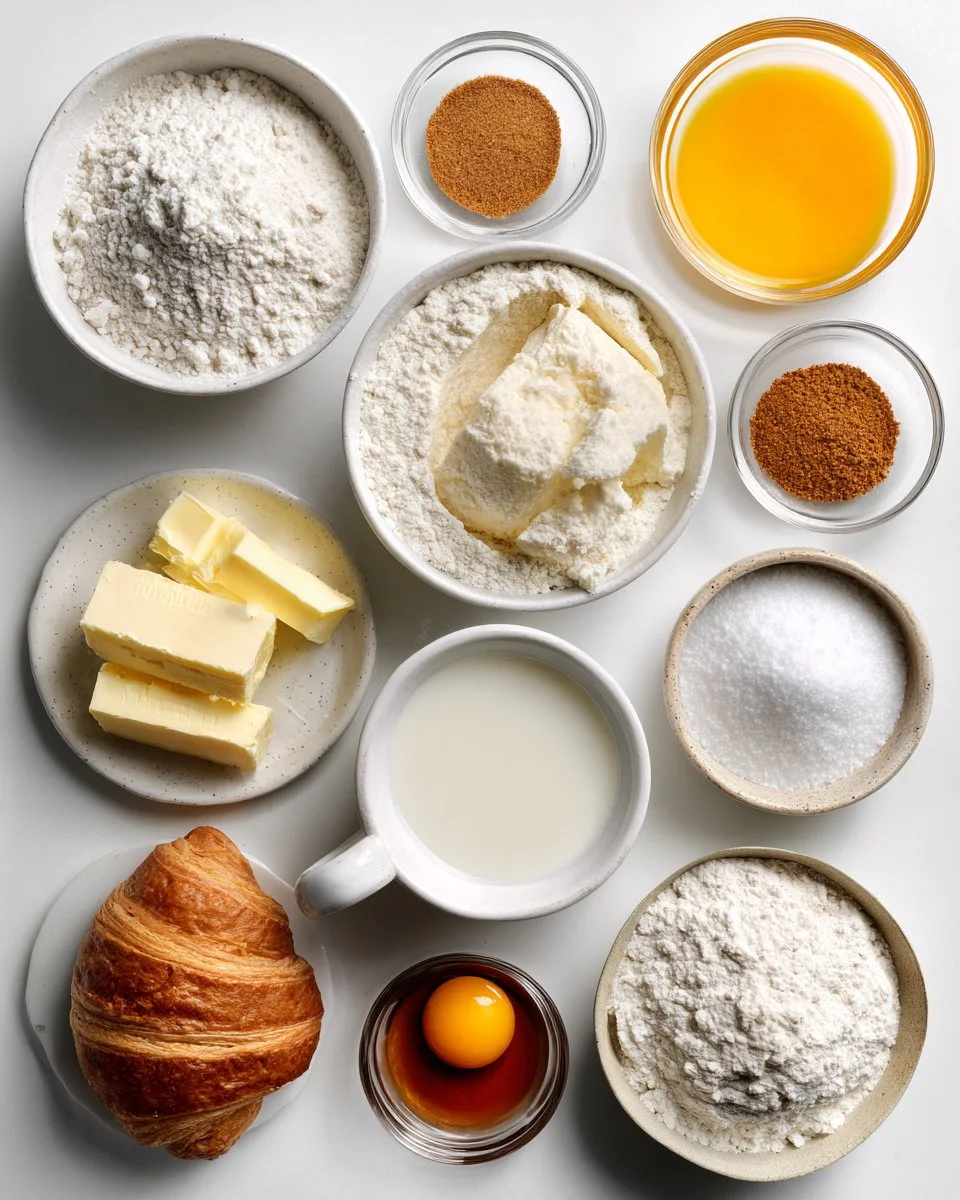
STEP-BY-STEP INSTRUCTIONS
Create the Poolish (Flavor Base): In a bowl, combine 6 tbsp lukewarm milk, 2 tsp yeast, and 2/3 cup flour. Cover with cling film and let it rest for 2-3 hours at room temperature or overnight in the refrigerator. Once risen, the mixture should appear bubbly and increased in volume—this is your flavorful base!
Mix and Develop the Main Dough: To the poolish, add 1 cup milk, 3 cups flour, 3.5 tbsp sugar, 2.5 tsp salt, 0.5 tbsp vanilla extract, and 0.5 tbsp softened butter. Mix on medium speed in a stand mixer with a dough hook for 3 minutes. Let it rest for 20 minutes, then continue mixing until the dough is smooth and elastic, about an additional 5-7 minutes. Let it rise for 1-2 hours until it increases by 50%.
Prepare for Lamination: After your dough has risen, flatten it into a rectangle and pop it in the refrigerator for 4-6 hours; this helps it chill and makes laminating easier. Meanwhile, beat 22 tbsp cold butter until pliable, then shape it into a rectangle. Place in the fridge to firm up.
Laminate the Dough: Roll the dough into a 20×10 inch rectangle on a floured surface. Place the butter block on the left two-thirds of the dough, fold the right side over the butter, and seal the edges. Turn the dough 90 degrees, roll it out again, and fold it into thirds. Place it back in the fridge to chill for 30 minutes. Repeat this process one more time.
Prepare the Cinnamon-Sugar Filling: In a bowl, combine 1/2 cup granulated sugar, 1/4 cup brown sugar, 1 tbsp orange zest, 1.5 tsp cinnamon, and 1/4 tsp salt. Mix well until evenly combined.
Assemble and Shape the Buns: Roll the dough into a 16×12 inch rectangle, brush generously with 3 tbsp melted butter, and sprinkle evenly with the cinnamon-sugar filling. Roll tightly from the long side and cut the roll into 12 equal pieces. Place the cut buns into a greased baking dish and refrigerate while you preheat the oven.
Final Rise and Bake: Allow the buns to rise for 1 hour at room temperature. Preheat the oven to 375°F. Bake for 45-60 minutes or until golden brown. Let them cool for 5 minutes upside down in the pan before transferring to a wire rack.
Chef’s Tips:
- Ensure your dough remains cool; if it gets too warm, the butter will melt into the dough instead of layering.
- To get the best rise and bake, use an oven thermometer and check the temperature.
EXPERT TIPS & TRICKS
Butter Quality: Use high-quality unsalted butter for the best flavor. It makes a difference!
Storing: After cooling, keep your Classic Croissant Buns in an airtight container. They last about 2 days at room temperature and can be refrigerated for up to a week.
Make-Ahead: You can prepare the dough and shape the buns ahead of time; just refrigerate overnight before the final rise.
Common Problems: If your dough isn’t rising, check that your yeast is fresh. Cold ingredients can hinder the process too.
Freeze for Later: Unbaked buns can be frozen after shaping. Just let them rise fully before baking on the day you plan to enjoy them!
SERVING SUGGESTIONS
These Classic Croissant Buns are heavenly served warm, straight from the oven. Pair them with a rich espresso or a chai latte for an indulgent breakfast experience. They’re also perfect at brunch alongside seasonal fruits or a light salad. For special occasions, dust with powdered sugar or drizzle with a sweet glaze for added flair.
VARIATIONS & SUBSTITUTIONS
Flavor Variations: Swap out cinnamon for nutmeg or add chocolate chunks for a decadent treat. Nuts or dried fruits also work wonderfully for added texture and flavor.
Dietary Adaptations: For a dairy-free version, substitute with plant-based butter and milk alternatives. Gluten-free flour blends can also be used, but make sure they are meant for baking similar items.
Seasonal Themes: Add a touch of nutmeg and apple filling for a cozy fall treat or fresh lemon zest and blueberries for a refreshing summer version!
NUTRITION & STORAGE INFO
- Prep Time: 3 hours (includes poolish resting)
- Cook Time: 45-60 minutes
- Total Time: Approximately 4 hours
- Yield: 12 delicious buns
- Estimated Calories per Serving: About 250 calories
- Storage Instructions:
- Room temperature: up to 2 days
- Refrigerated: up to 1 week
- Frozen: up to 3 months
FAQ SECTION
Can I use instant yeast instead of active dry yeast?
Yes, instant yeast works beautifully! Just mix it directly with the flour.What if my dough doesn’t rise?
Ensure your yeast is fresh, and that your liquids aren’t too hot.How can I tell when my buns are done baking?
They should be golden brown and sound hollow when tapped on the bottom.Can I prepare the dough overnight?
Absolutely! Just refrigerate after the first rise and proceed in the morning.How should I store leftover buns?
Keep them in an airtight container at room temperature for up to 2 days.Can I freeze these buns?
Yes, you can freeze the unbaked buns! Just let them rise before baking.What’s the best way to reheat them?
Bake them at 350°F for about 10 minutes or pop them in the microwave for a few seconds.Can I add fillings to these buns?
Definitely! Chocolate chips, fruit preserves, or nuts make great additions.What flour is best for this recipe?
I recommend using King Arthur Bread Flour for its strength and ability to create a good structure.What’s the secret to flaky layers?
Keeping the butter cold and properly laminating the dough is key to achieving those light, flaky layers!
CONCLUSION
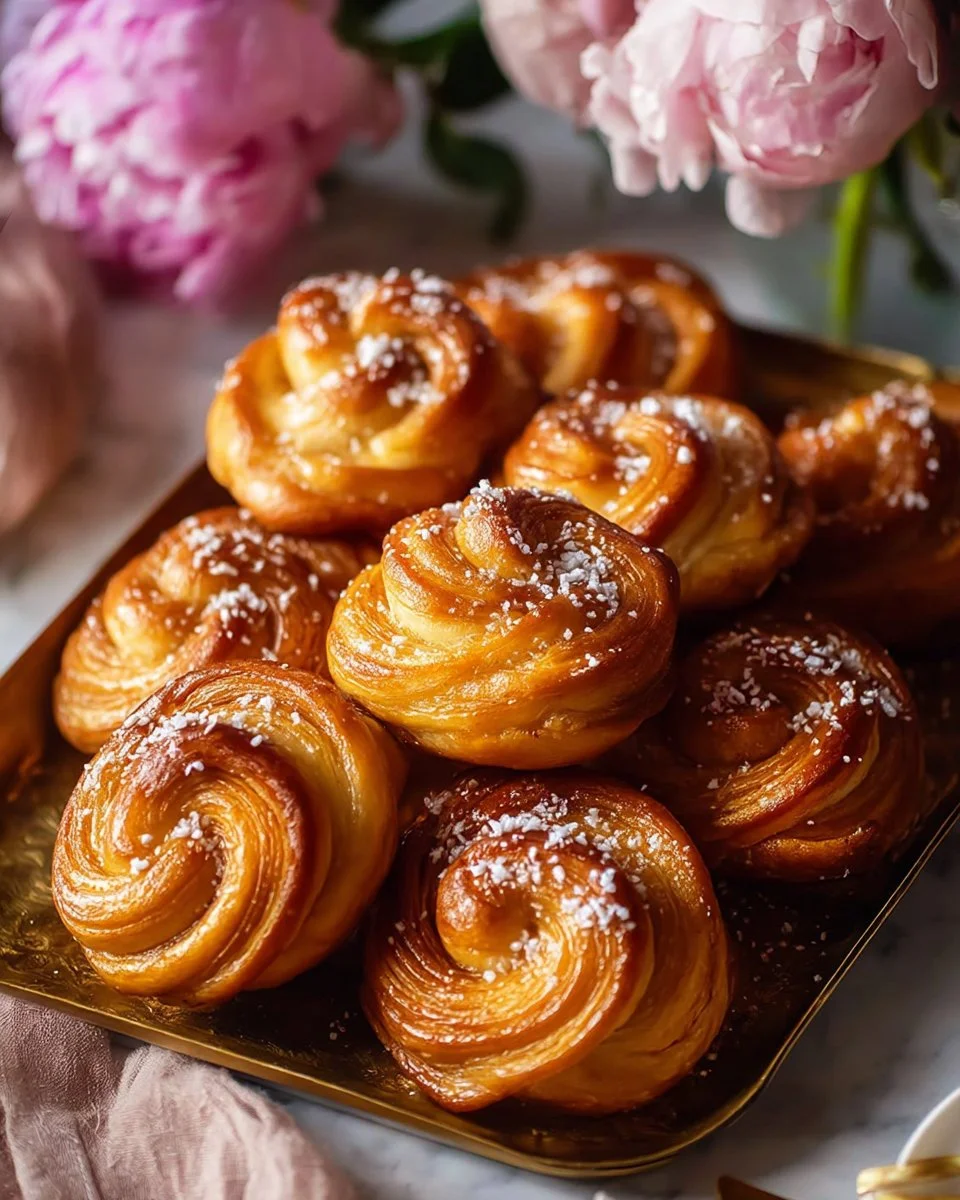
Creating these Classic Croissant Buns from scratch is more than just a recipe; it’s a journey filled with flavor and nostalgia. The joy of baking these buns brings a piece of my family’s history into your kitchen. I encourage you to roll up your sleeves and give this recipe a try—you won’t regret it!
If you love this recipe, I would love to hear your thoughts and any variations you try! And don’t forget to check out related recipes on my blog for more delightful baking adventures. Happy baking!
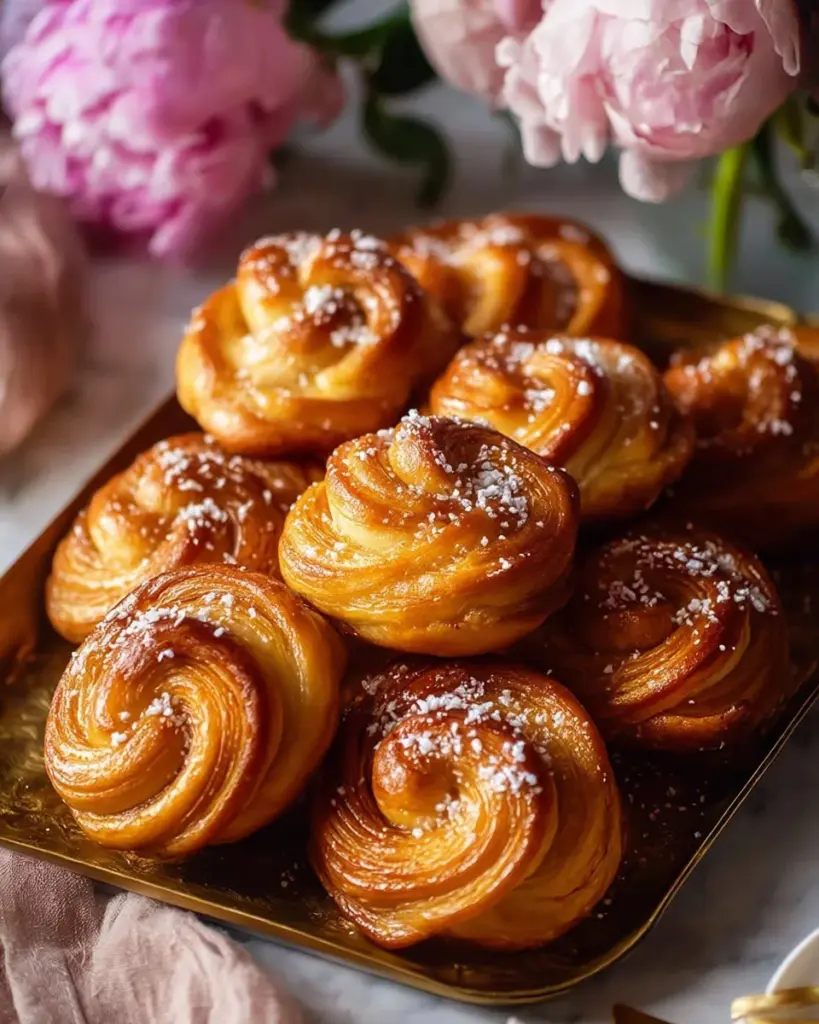
Classic Croissant Buns
Ingredients
Method
- Create the Poolish (Flavor Base): In a bowl, combine 6 tbsp lukewarm milk, 2 tsp yeast, and 2/3 cup flour. Cover with cling film and let it rest for 2-3 hours at room temperature or overnight in the refrigerator. Once risen, the mixture should appear bubbly and increased in volume.
- Mix and Develop the Main Dough: To the poolish, add 1 cup milk, 3 cups flour, 3.5 tbsp sugar, 2.5 tsp salt, 0.5 tbsp vanilla extract, and 0.5 tbsp softened butter. Mix on medium speed in a stand mixer with a dough hook for 3 minutes. Let it rest for 20 minutes, then continue mixing until the dough is smooth and elastic, about 5-7 minutes. Let it rise for 1-2 hours until it increases by 50%.
- Prepare for Lamination: After your dough has risen, flatten it into a rectangle and refrigerate for 4-6 hours to chill.
- Beat 22 tbsp cold butter until pliable, shape it into a rectangle, and refrigerate to firm up.
- Roll the dough into a 20x10 inch rectangle on a floured surface. Place the butter block on the left two-thirds of the dough, fold the right side over the butter, and seal the edges.
- Turn the dough 90 degrees, roll it out again, and fold into thirds. Chill in the fridge for 30 minutes. Repeat this process one more time.
- Prepare the Cinnamon-Sugar Filling: Combine 1/2 cup granulated sugar, 1/4 cup brown sugar, 1 tbsp orange zest, 1.5 tsp cinnamon, and 1/4 tsp salt in a bowl and mix well.
- Roll the dough into a 16x12 inch rectangle, brush with 3 tbsp melted butter, and sprinkle evenly with the cinnamon-sugar filling.
- Roll tightly from the long side and cut into 12 equal pieces. Place the cut buns into a greased baking dish and refrigerate while preheating the oven.
- Allow the buns to rise for 1 hour at room temperature.
- Preheat the oven to 375°F. Bake for 45-60 minutes or until golden brown. Let them cool for 5 minutes upside down in the pan before transferring to a wire rack.