Table of Contents
Table of Contents
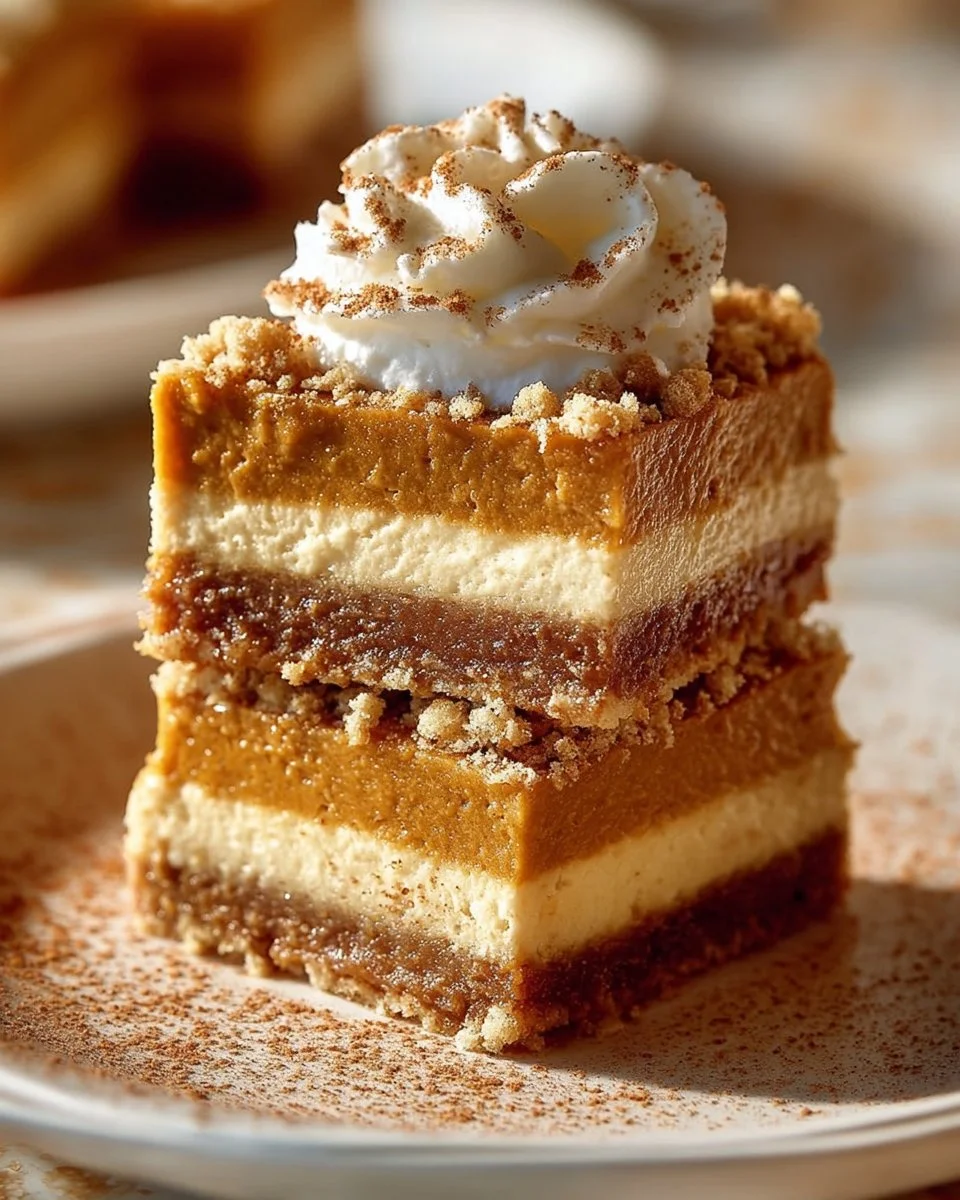
It seems like every fall, my family gathers around the table with the aroma of spices filling the air, and that unmistakable pumpkin scent wafting in from the kitchen. As I was growing up, my mom made these delightful Homemade Pumpkin Cheesecake Bars, and the memories of eagerly waiting for them to chill in the fridge are some of my fondest. You know those recipes that manage to capture the essence of the season? This is one of those!
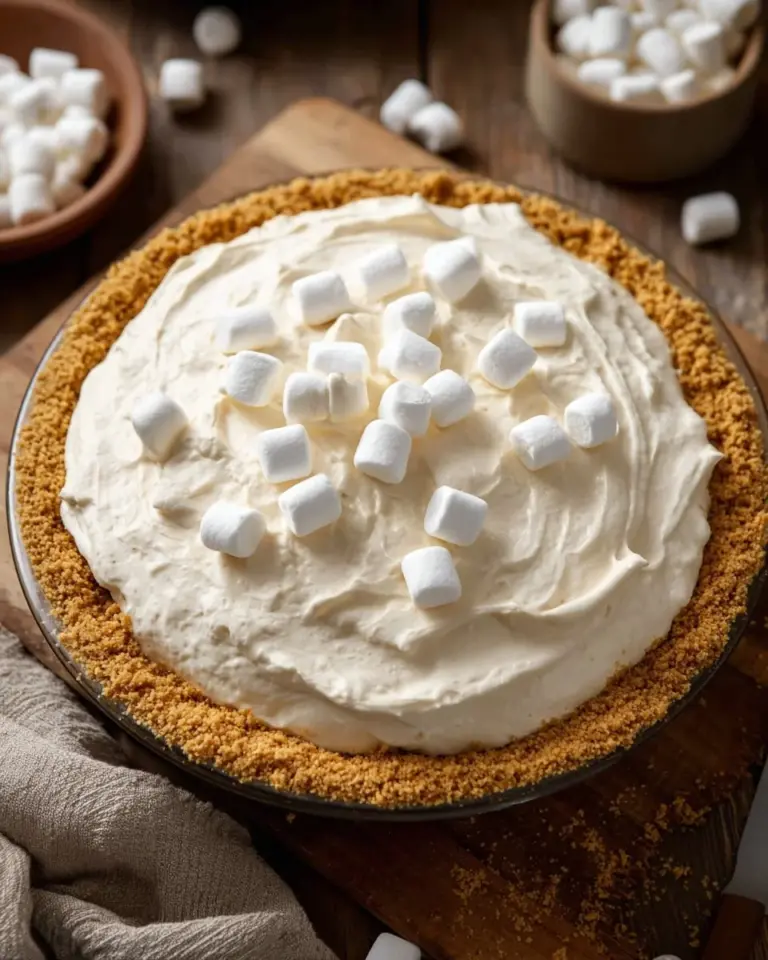
What makes my version of pumpkin cheesecake bars stand out is the balance between creamy and spiced perfectly, making them feel like a warm hug on a cool autumn day. Unlike the store-bought versions, which can often be dense and overwhelming, these bars are light yet rich, with a delightful graham cracker crust that gives them a lovely crunch.
Every bite transports me back to cozy family gatherings, laughter, and the joy of sharing a sweet treat with loved ones. I promise you, once you try these bars, you’ll have a new fall favorite that your family will often request—trust me! Stick around, and I’ll walk you through what makes this recipe unique and how you can create these delicious bars right in your kitchen.
What Are Homemade Pumpkin Cheesecake Bars?
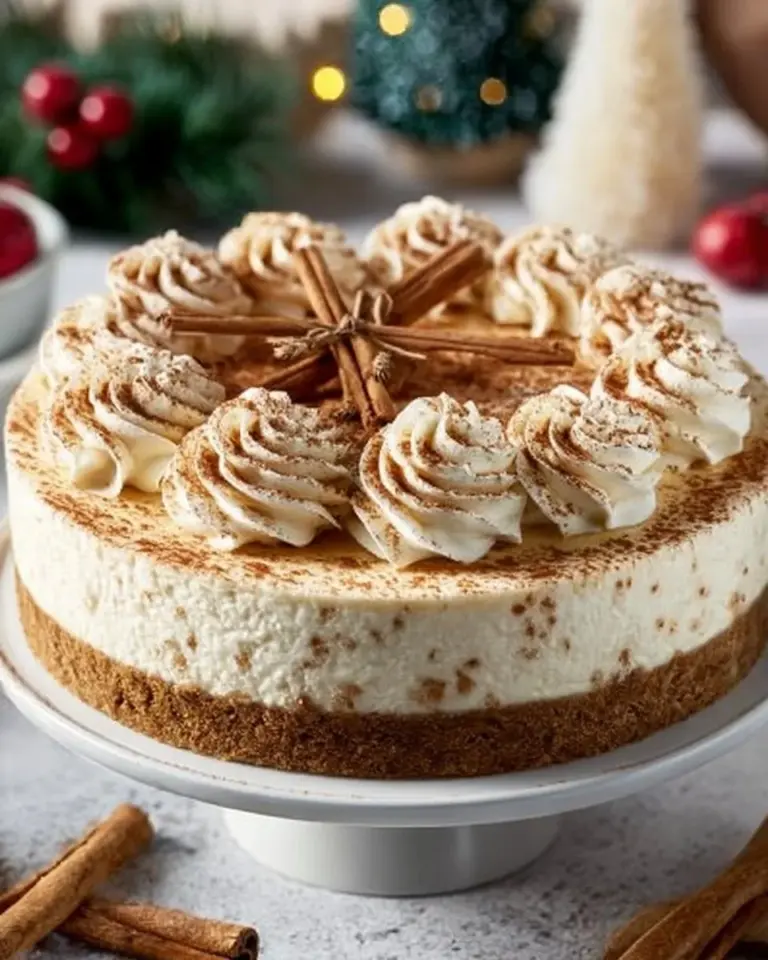
Homemade Pumpkin Cheesecake Bars are a luscious dessert combining the flavors of classic cheesecake with the comforting essence of pumpkin pie. They originated as a creative spin on traditional desserts, gaining popularity during the fall months when pumpkin flavors reign supreme.
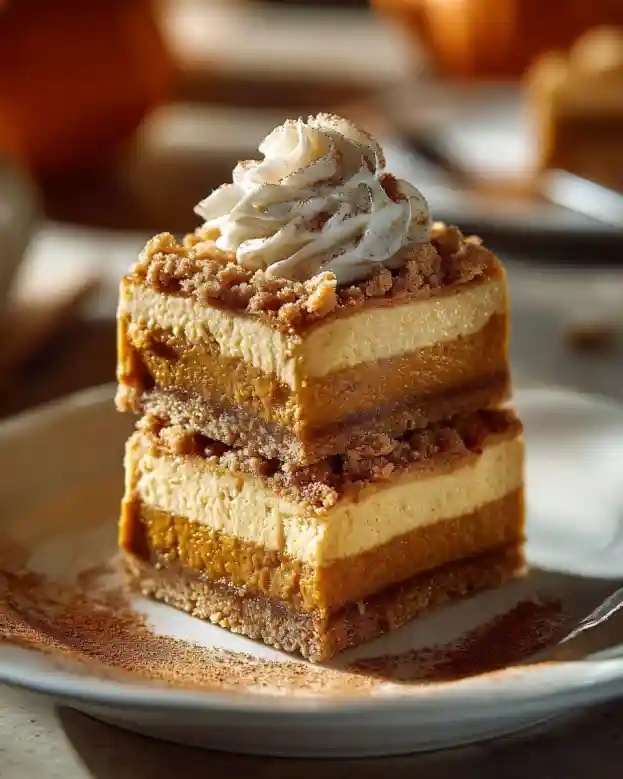
These bars have a unique texture—smooth and creamy on top, sitting atop a crunchy graham cracker base that contrasts beautifully. With hints of cinnamon and nutmeg from the pumpkin pie spice, each bite provides warmth and nostalgia, making them a perfect dessert for gatherings and holiday celebrations.
These bars are versatile, making them the ideal treat for Thanksgiving, Halloween, or any cozy get-together. Whether you’re impressing guests or indulging in a sweet moment at home, they never disappoint.
Why You’ll Love This Recipe
Cost-Effective Delight: Unlike those pricey bakery options, these Homemade Pumpkin Cheesecake Bars are incredibly budget-friendly! Most ingredients are pantry staples, keeping your wallet happy while still delivering on flavor.
Customizable Options: Want to tweak the recipe to fit dietary needs or preferences? No problem! You can swap out regular sugar for coconut sugar or gluten-free graham crackers for a delightful twist. The possibilities are endless.
Family-Friendly Fun: This recipe is simple enough for the kids to help with. From crushing the graham crackers to mixing the filling, it’s a fun family activity that creates lasting memories.
No Baking Required: Perfect for those who shudder at the thought of turning on the oven! Just mix, chill, and serve. This makes it a fantastic last-minute dessert.
Perfect Make-Ahead Treat: You can prepare these bars days in advance, freeing up time for Turkey Day or a weekend party. They can even be stored without losing flavor or texture!
When comparing these to store-bought versions, the freshness and love that goes into creating homemade bars cannot be matched. Plus, you can be sure of the quality of every bite!

Ingredients Section
Before we dive into the delicious details of making these Homemade Pumpkin Cheesecake Bars, let’s go over the ingredients you’ll need:
- 1 1/2 cups graham cracker crumbs: For a buttery base. Feel free to use gluten-free or flavored graham crackers for a twist!
- 1/2 cup unsalted butter, melted: Room temperature butter is best for mixing.
- 1 cup cream cheese, softened: Make sure it’s completely softened to avoid lumps in your batter—no one wants a bumpy cheesecake!
- 1 can (15 oz) pure pumpkin puree: Look for 100% pumpkin, not pumpkin pie filling.
- 1 cup powdered sugar: Sifted for easy mixing.
- 1 teaspoon vanilla extract: Use pure vanilla for a richer flavor.
- 1 teaspoon pumpkin pie spice: A warm, aromatic blend that enhances the pumpkin flavor.
- 1 cup whipped cream: For that essential topping. Homemade is best if you have the time!
Prep Notes:
- Set your cream cheese out at least 30 minutes prior to starting to ensure a smooth consistency.
- If using a gluten-free option, brands like Schar or Kinnikinnick offer great alternatives.

Step-by-Step Instructions
Now, let’s get to the fun part—making your Homemade Pumpkin Cheesecake Bars! Follow these detailed steps for perfect results:
Prepare the Crust: In a medium bowl, combine the graham cracker crumbs and melted butter. Mix until the texture resembles wet sand. Press this mixture firmly into the bottom of a 9×9 inch baking dish, spreading it evenly across the base. Cover with plastic wrap and refrigerate while you make the filling.
- Chef’s Tip: If you find it easiest, use the bottom of a measuring cup to press the crust down evenly.
Mix the Filling: In a large bowl, using an electric mixer, beat the cream cheese on medium speed until smooth, scraping down the sides as needed. Add the pumpkin puree, powdered sugar, vanilla extract, and pumpkin pie spice. Beat until well combined and whipped, with no lumps remaining (about 2-3 minutes).
- Visual Cue: The mixture should be a vibrant orange and light in texture.
Spread It Out: Evenly spread the pumpkin cheesecake mixture over your chilled crust with a spatula. Ensure it’s smooth and even.
Add the Topping: Gently dollop the whipped cream on top of the cheesecake layer. Use a spatula or the back of a spoon to spread it out lightly.
Chill: Cover the dish and refrigerate for at least 4 hours, or overnight is even better. This step is crucial for the bars to set properly.
Serve and Enjoy: Once set, remove the bars from the fridge. Using a sharp knife, cut them into squares or rectangles for easy serving. Serve chilled or at room temperature for the best flavor.
- Common Mistake to Avoid: Be patient—don’t skip the chilling time! It ensures a perfect texture.
Expert Tips & Tricks
Storage Recommendations: These bars can last up to a week in the fridge if stored in an airtight container. For longer storage, they freeze well—just wrap them tightly in plastic wrap and then foil.
Make-Ahead Instructions: They can be made up to three days in advance, making them a fantastic option for busy holidays!
Troubleshooting Common Problems: If your filling is too runny, it may have been overmixed. Ensure to mix it just until everything is combined—no more!
Whipped Cream Variations: For a flavored whipped topping, try adding some maple syrup or cinnamon to your whipped cream for an exciting twist.
Presentation Tips: Make them extra special by garnishing with a sprinkle of cinnamon, caramel drizzle, or even some crushed graham cracker crumbs on top!
Serving Suggestions
Pair your Homemade Pumpkin Cheesecake Bars with a warm cup of spiced apple cider or coffee for a cozy treat. A scoop of vanilla ice cream on the side adds another layer of enjoyment!
Presentation-wise, serve on a beautiful serving platter adorned with fall leaves or cinnamon sticks to highlight the autumn theme. These bars are perfect for Thanksgiving dessert tables, Halloween parties, or even a cozy night in with family.
Variations & Substitutions
Feeling adventurous? Here are a few flavor variations and substitutions to try:
- Cheesecake Swirl: Add a layer of vanilla cheesecake mixture on top for a marbled effect!
- Chocolate Lovers: Mix in some mini chocolate chips for a sweet twist.
- Caramel Drizzle: Drizzle caramel sauce over the whipped cream for an indulgent treat.
- Dairy-Free: Use plant-based cream cheese and whipped topping for a delicious alternative.
During the holiday season, consider topping with cranberries for a festive touch or spice things up further with a dash of cayenne pepper in the filling for a unique kick!
Nutrition & Storage Info
- Prep Time: 30 minutes
- Chill Time: 4-6 hours
- Total Time: 5 hours
- Yield: 12 servings
- Estimated Calories: 250 calories per serving
- Storage Instructions: Properly stored, these bars last 5-7 days in the refrigerator or up to 2 months in the freezer. Best enjoyed chilled.
FAQ Section
Can I use pumpkin pie filling instead of puree?
- It’s best to use pure pumpkin puree for this recipe. Pumpkin pie filling contains added sugars and spices that will alter the final flavor.
How do I fix curdled cream cheese?
- Ensure your cream cheese is softened to room temperature before mixing. If it’s curdled, beat it with a little bit of pumpkin puree first before adding the remaining ingredients.
What’s the best way to cut these bars?
- Use a sharp knife and wipe it clean between cuts for uniform pieces.
Can I make this gluten-free?
- Yes! Use gluten-free graham crackers—most brands offer a delicious option that works perfectly.
How far in advance can I make these bars?
- You can prepare these bars up to three days in advance and store them in the fridge.
What if I don’t have pumpkin pie spice?
- Make your spice blend with equal parts cinnamon, nutmeg, and ginger. It’ll give your bars that warm, cozy flavor!
Is there a way to make these bars vegan?
- Swapping out the cream cheese for a vegan alternative and using coconut whipped cream can yield delicious results.
Can I use fresh pumpkin instead of canned?
- Yes, but it requires extra steps to cook and puree the pumpkin. Ensure it’s well pureed and not watery.
Do these need to be refrigerated?
- Yes, they should be kept refrigerated since they contain cream cheese in the filling.
Can I add nuts to the crust?
- Absolutely! Chopped pecans or walnuts can add a nice crunch to the crust.
Conclusion
These Homemade Pumpkin Cheesecake Bars are not just a seasonal treat; they’re a celebration of flavors and memories that warm your heart. With their creamy texture, crunchy crust, and the timeless appeal of pumpkin, they’ll surely become a staple in your fall recipe repertoire.
I encourage you to give them a try—your taste buds (and your family) will thank you! Please leave a comment with your thoughts or variations; I love hearing from you! And if you’re hungry for more delightful recipes, don’t forget to check out my other autumn-inspired treats right here on the blog!
Graving More Recipes?
- Turtle Pumpkin Cheesecake
- Cheesecake Factory Copycat Pumpkin Cheesecake
- Cheesecake with Pumpkin Swirl
- Pecan Pie Pumpkin Cheesecake
Happy baking!

Homemade Pumpkin Cheesecake Bars
Ingredients
Method
- In a medium bowl, combine the graham cracker crumbs and melted butter. Mix until the texture resembles wet sand.
- Press this mixture firmly into the bottom of a 9×9 inch baking dish. Cover with plastic wrap and refrigerate.
- In a large bowl, beat cream cheese until smooth. Add pumpkin puree, powdered sugar, vanilla extract, and pumpkin pie spice. Mix until well combined and no lumps remain.
- Spread the pumpkin cheesecake mixture over the chilled crust evenly.
- Dollop whipped cream on top and spread lightly.
- Cover and refrigerate for at least 4 hours, or overnight for best results.
- Once set, cut into squares or rectangles and serve chilled or at room temperature.