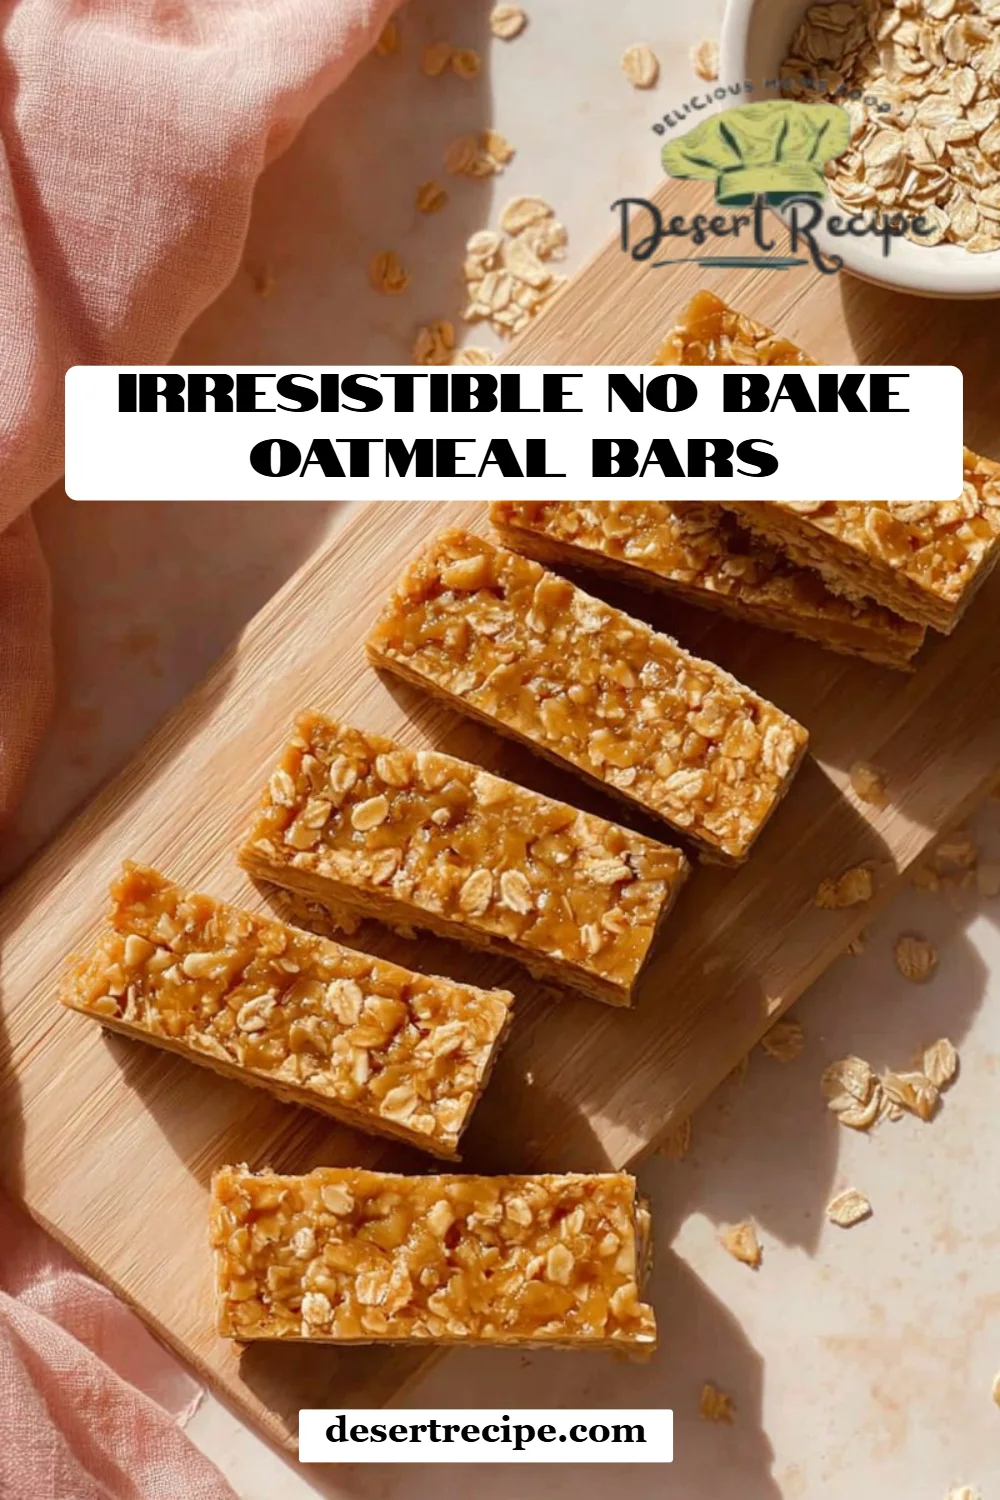
Irresistible No Bake Oatmeal Bars: The Ultimate Guilt-Free Snack!
Picture this: a sunny afternoon, the kids playing in the yard, and the sweet aroma of something delightful wafting through the kitchen. It’s moments like these that remind me of my childhood, where family gatherings revolved around delicious treats and shared laughter. One recipe that truly captures that essence for me is my Irresistible No Bake Oatmeal Bars.
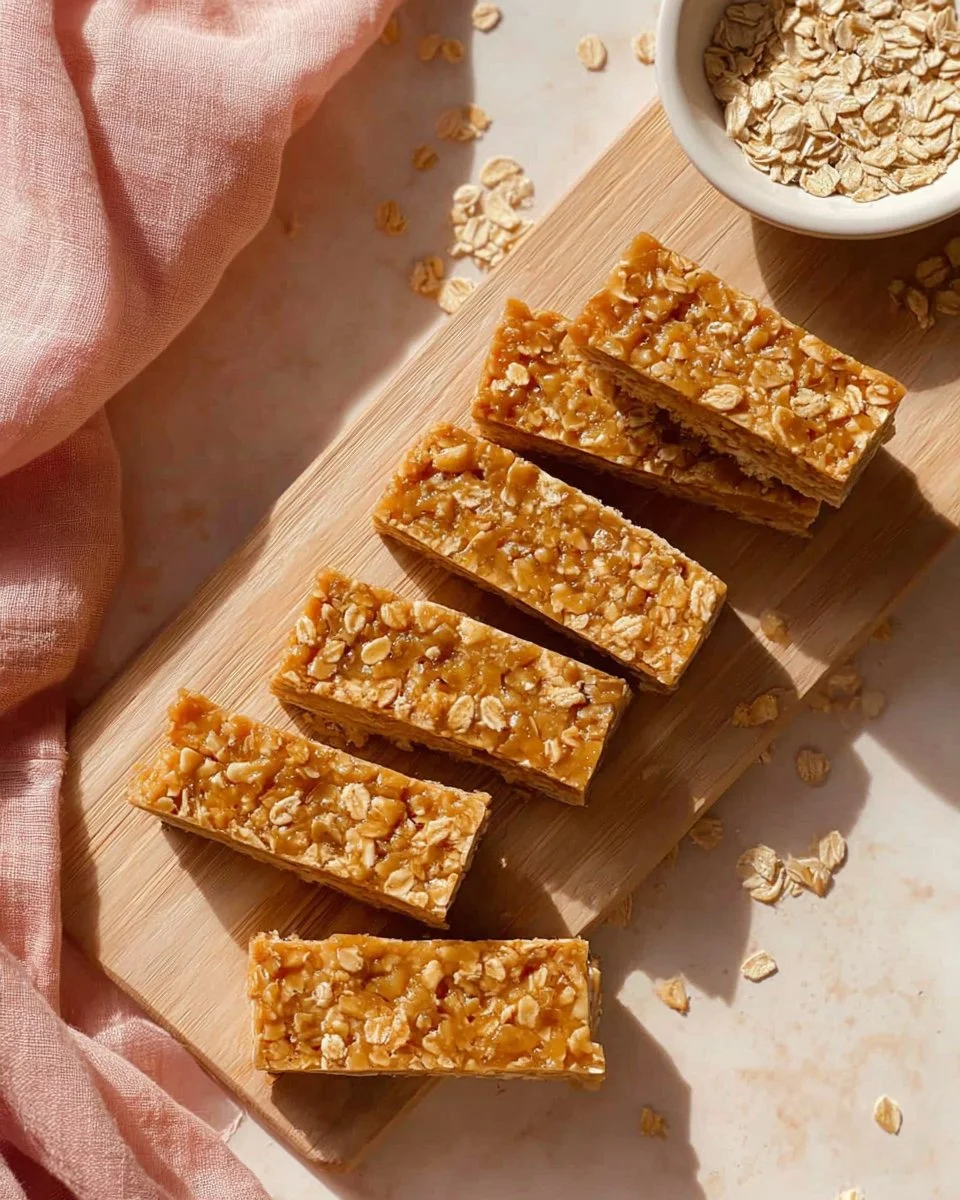
These bars aren’t just a simple snack; they are a treasure trove of memories wrapped in a comforting, chewy experience. Unlike store-bought versions, which can be loaded with preservatives and sugar, my no-bake bars are made with wholesome ingredients that both nourish and satisfy. They bring together the hearty texture of oats, the creaminess of peanut butter, and a touch of natural sweetness from maple syrup. Each bite will have you reminiscing about carefree days filled with family and sunshine.
In this post, I promise to share the secret to making these delicious bars alongside tips and tricks I’ve gathered over years of recipe testing. Get ready for a simple, easy-to-follow, and oh-so-irresistible journey into the world of no-bake oatmeal bars!
What Are Irresistible No Bake Oatmeal Bars?
The origins of no-bake oatmeal bars can be traced back to home kitchens filled with love and laughter. These delightful treats became a staple in many households as they offered a quick and nutritious option for snacks, breakfast, or even desserts.
The appeal lies in their wonderful chewy texture and satisfying flavor—each bite is a perfect blend of nutty, sweet, and wholesome goodness. What makes them unique, though, is their versatility. You can customize them to fit your flavor preferences or dietary needs, ensuring there is a version for everyone!
These bars are perfect for when you need a quick energy boost before hitting the gym, as a school snack, or even a guilt-free dessert on movie night. With no baking required, they come together in mere minutes, making them an ideal choice any time you crave something delicious yet wholesome.
Why You’ll Love This Recipe
Healthy Ingredients: Unlike those expensive store-bought bars packed with sugar and preservatives, my Irresistible No Bake Oatmeal Bars use simple, nourishing ingredients.
Easy to Make: If you’re a busy parent or just new to the kitchen, you’ll adore how straightforward this recipe is. No baking skills needed, just mix, press, and chill!
Cost-Effective: Making these bars at home is far cheaper than buying pre-packaged versions. A bag of oats and a jar of peanut butter yields multiple servings, giving you value for your money!
Customizable: Want to add chocolate chips? Dried fruits? Maybe some nuts? The possibilities are endless! You can tailor them to suit your tastes or even dietary restrictions.
Perfect for Meal Prep: These bars can be prepared ahead of time, making them a lifesaver for busy weeks. Simply store them in the fridge, and you’ll have a quick snack ready at a moment’s notice.
Ingredients
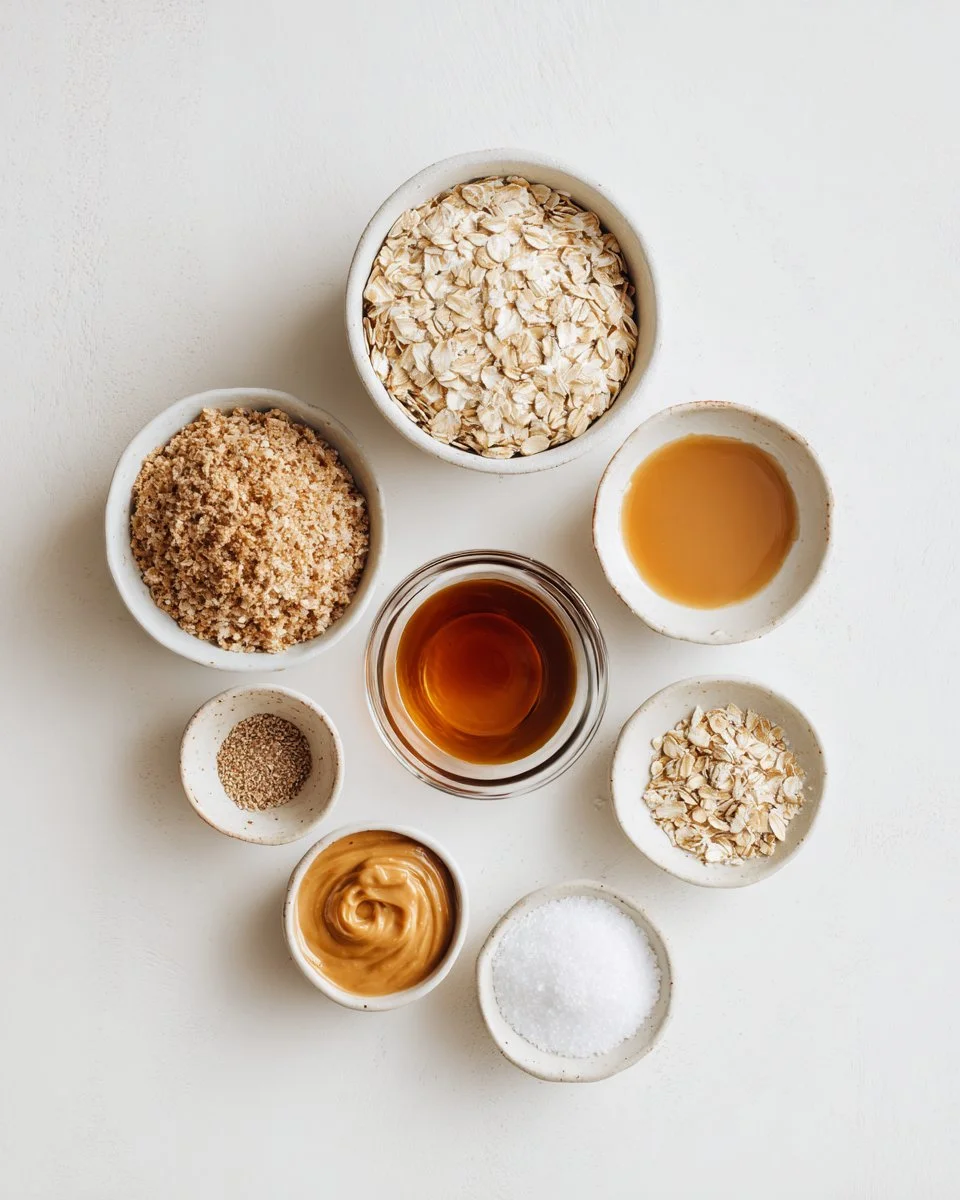
For these Irresistible No Bake Oatmeal Bars, gather the following ingredients:
3 cups oats: Go for rolled oats for texture; quick oats can be used, but they’ll produce a slightly different consistency. Avoid instant oats as they don’t hold up as well when mixed.
1 1/4 cups peanut butter: Use creamy or crunchy based on your flavor preference. I recommend a natural peanut butter, free from added sugars or oils. Brands like Justin’s or Smucker’s Natural work beautifully.
1/2 cup maple syrup: Opt for pure maple syrup to enhance the bar’s flavor without the artificial aftertaste of imitation syrups.
1/2 teaspoon vanilla extract: A splash of pure vanilla elevates the taste; avoid imitation for the best flavor.
1/4 teaspoon sea salt: This helps balance the sweetness and enhances the overall flavor of the bars. A fine sea salt is preferable.
Prep Notes: Make sure your peanut butter is at room temperature for easier mixing.
Step-by-Step Instructions
Prepare the Pan: Line an 8×8 inch baking pan with parchment paper, leaving some overhang for easy removal later.
Mix Oats and Salt: In a large mixing bowl, combine the oats and sea salt. Give it a gentle stir to distribute the salt evenly.
Heat Peanut Butter and Maple Syrup: In a small saucepan, melt the peanut butter and maple syrup over low to medium heat. Stir frequently for about 3-5 minutes until smooth and well combined. It shouldn’t boil, just gently warm up.
Stir in Vanilla: Remove the pan from heat and stir in vanilla extract. The moment the vanilla hits the warm peanut butter mixture, your kitchen will smell heavenly!
Combine Mixtures: Pour the peanut butter mixture into the oat mixture. Stir until all oats are thoroughly coated; this should take just 1-2 minutes.
Press into Pan: Transfer the mixture to the prepared baking pan. Using a spatula or your hands, press the mixture firmly into all corners to ensure even thickness.
Chill: Place in the refrigerator for at least 30 minutes. This helps the bars firm up and makes cutting easier.
Cut and Serve: Once chilled, lift the bars out using the parchment paper overhang. Cut into 12-16 bars, depending on your desired serving size. Serve chilled or at room temperature.
Chef’s Tip: If your mixture seems crumbly, you might need a bit more peanut butter or maple syrup to help it stick together.
Expert Tips & Tricks
Storage: These bars can be stored in an airtight container in the fridge for up to 1 week. You can also freeze them for up to 3 months for a longer shelf life.
Make-Ahead: Perfect for Sunday meal prep! You can double the recipe and slice some to freeze for a quick weekday snack.
Troubleshooting: If the bars are too soft, they may need more chilling time. If they are too crumbly, a bit more peanut butter or syrup can help bind them.
Mix-Ins: Get creative! Add nuts, seeds, dried fruit, or chocolate chips to enhance your bars.
Serving Ideas: Serve alongside fresh fruit or a dollop of yogurt for a wholesome breakfast or snack.
Serving Suggestions
These Irresistible No Bake Oatmeal Bars are fantastic on their own, but you can easily pair them with fresh fruit slices or a scoop of Greek yogurt for a balanced snack. Presentation can be as simple as serving them on a rustic wooden board, garnished with miniature fruit skewers or a sprinkle of nuts atop each bar. They make an impressive addition to picnics or as a healthy option at potlucks!
Variations & Substitutions
Flavor Combinations: Consider adding dark chocolate chips, coconut flakes, or a mix of dried fruits like cranberries and apricots.
Dietary Restrictions: For a nut-free version, substitute sunflower seed butter or tahini. Use agave syrup or brown rice syrup instead of maple syrup if you’re looking for a different sweetener.
Seasonal Variations: In fall, a pinch of cinnamon can give these bars a delightful autumn twist, while shredded zucchini can add moisture and nutrition in summer.
Nutrition & Storage Info
- Prep Time: 10 minutes
- Chill Time: 30 minutes
- Total Time: 40 minutes
- Yield: 12-16 bars
- Estimated Calories: Approximately 200 calories per bar
Storage Instructions: Keep these bars in an airtight container at room temperature for up to 3 days or in the fridge for 1 week. You can also freeze them for up to 3 months.
FAQ Section
Can I use quick oats?
- Yes, you can, but the texture will differ. Rolled oats are preferred for the best chewiness.
Is there a vegan alternative?
- Yes! Just use a plant-based peanut butter and maple syrup for a vegan-friendly treat.
How do I make these gluten-free?
- Be sure to use certified gluten-free oats.
Can I substitute peanut butter?
- Absolutely! Almond butter or sunflower seed butter are great alternatives.
What should I do if the mixture is too sticky?
- If it’s sticky after mixing, add a bit more oats to absorb some of the moisture.
How can I sweeten these bars more?
- Feel free to add some additional maple syrup or a natural sweetener like honey.
What’s the best way to cut the bars?
- Use a sharp knife and make clean cuts for nice, even bars.
Can I add protein powder to this recipe?
- Yes, you can incorporate protein powder for an extra boost—just be mindful of the moisture balance.
Can I make these bars in advance?
- Definitely! These bars are perfect for meal prep, and they store well in the fridge or freezer.
How do I know when they’re ready to serve?
- The bars should be firm to the touch but still a bit soft. If they hold their shape when cut, they’re good to go!

Conclusion
These Irresistible No Bake Oatmeal Bars are more than just a recipe; they’re a celebration of comfort, family moments, and delicious nourishment. No matter how you choose to customize them, they are bound to become a staple in your kitchen. I encourage you to give them a try and perhaps share your own twists in the comments below—I’d love to hear how they turn out for you! And if you’re looking for more delightful recipes to pair with these bars, check out my other easy snacks on the blog! Happy baking!

Irresistible No Bake Oatmeal Bars
Ingredients
Method
- Line an 8×8 inch baking pan with parchment paper, leaving some overhang for easy removal.
- In a large mixing bowl, combine the oats and sea salt. Stir gently.
- In a small saucepan, melt the peanut butter and maple syrup over low to medium heat. Stir frequently for 3-5 minutes until smooth.
- Remove from heat and stir in vanilla extract.
- Pour the peanut butter mixture into the oat mixture and stir until all oats are thoroughly coated.
- Transfer the mixture to the prepared baking pan and press firmly into all corners.
- Chill in the refrigerator for at least 30 minutes.
- Once chilled, lift the bars out using the parchment paper. Cut into 12-16 bars.