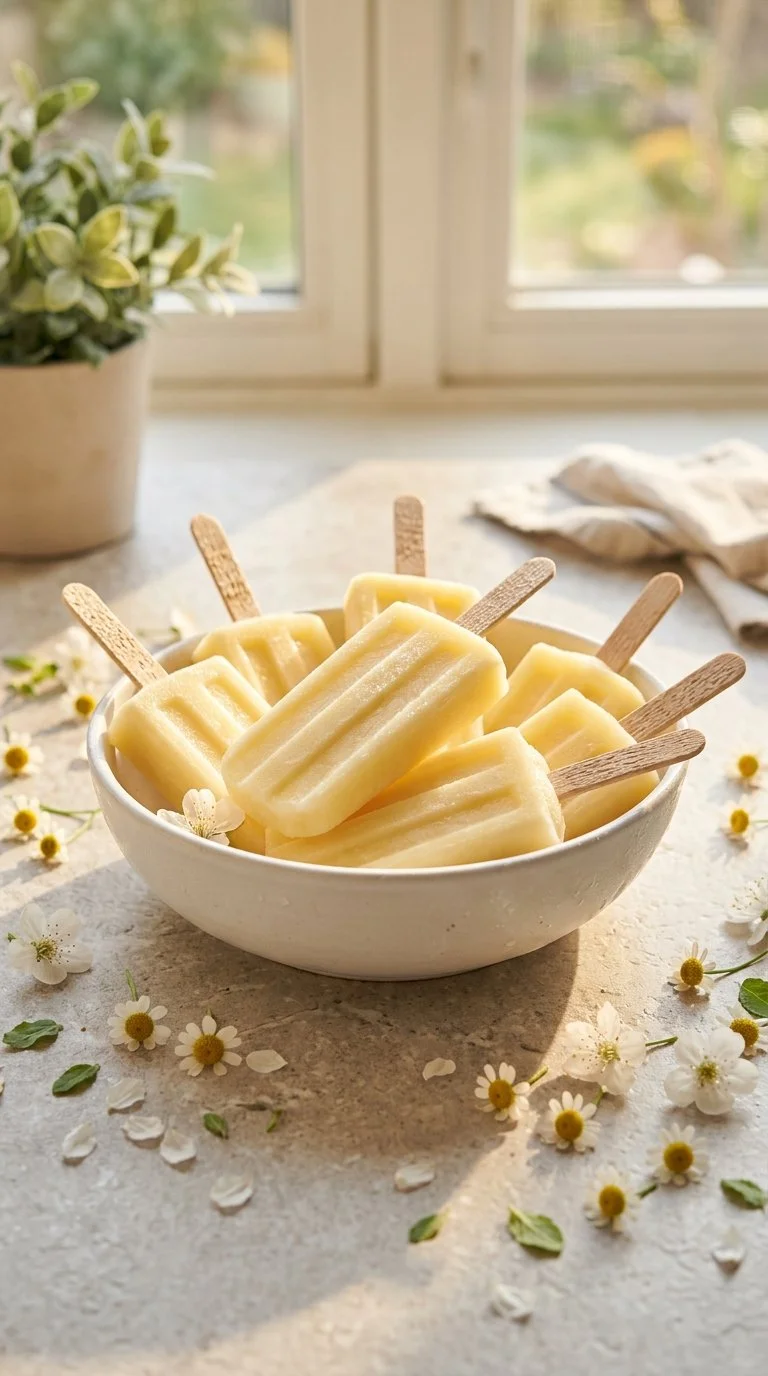
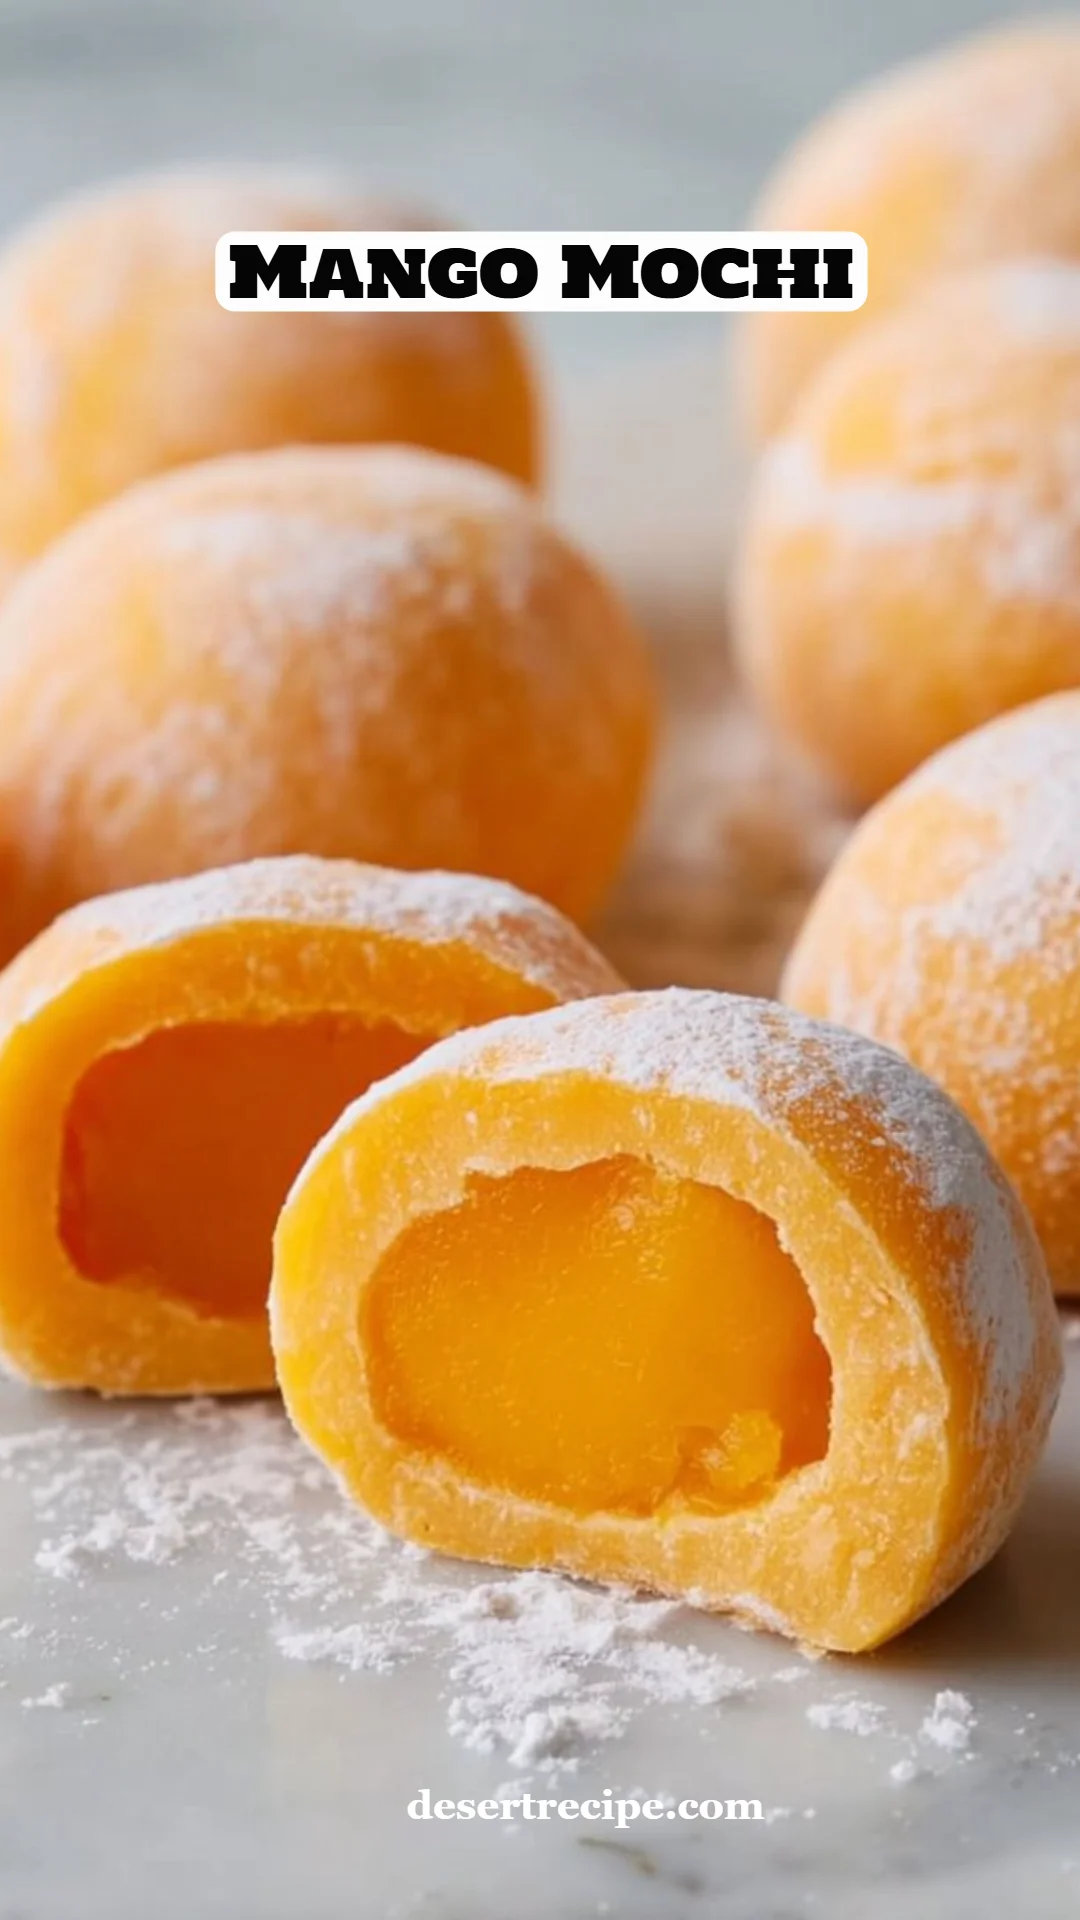
Irresistible Mango Mochi: A Delicious Twist on a Classic Treat
There’s something irresistibly comforting about desserts that hold a piece of your childhood in them. For me, Mango Mochi is that whimsical delight that transports me back to lazy summer afternoons spent at my grandma’s kitchen table. A luscious mango filling enveloped in a soft, chewy exterior—it’s like tasting sunshine in every bite! Whenever I take a bite of these little treasures, I am reminded of family gatherings, laughter, and that sweet feeling of comfort food that only desserts can bring.
But not all Mango Mochi are created equal. This recipe stands out because it combines the freshest mangoes for an explosion of flavor and just the right touch of sweetness that elevates the traditional mochi experience. Unlike store-bought options, you’ll know exactly what goes into your treat—and trust me, the taste speaks volumes! Throughout this post, I’ll not only take you through the step-by-step process to make your own Mango Mochi but will also share tips to ensure they turn out perfectly every time. Get ready to impress your family and friends with this unique, delectable dessert that is sure to leave an impression!
What Are Mango Mochi?
Mango Mochi hails from Japan and is a delightful take on the traditional mochi dessert made from glutinous rice. Originating in Japan centuries ago, mochi is a sticky rice cake that’s often enjoyed during festivals and special occasions. The addition of mango, particularly in countries with a tropical climate, adds an exciting first-class twist, turning every piece into a mini tropical getaway.
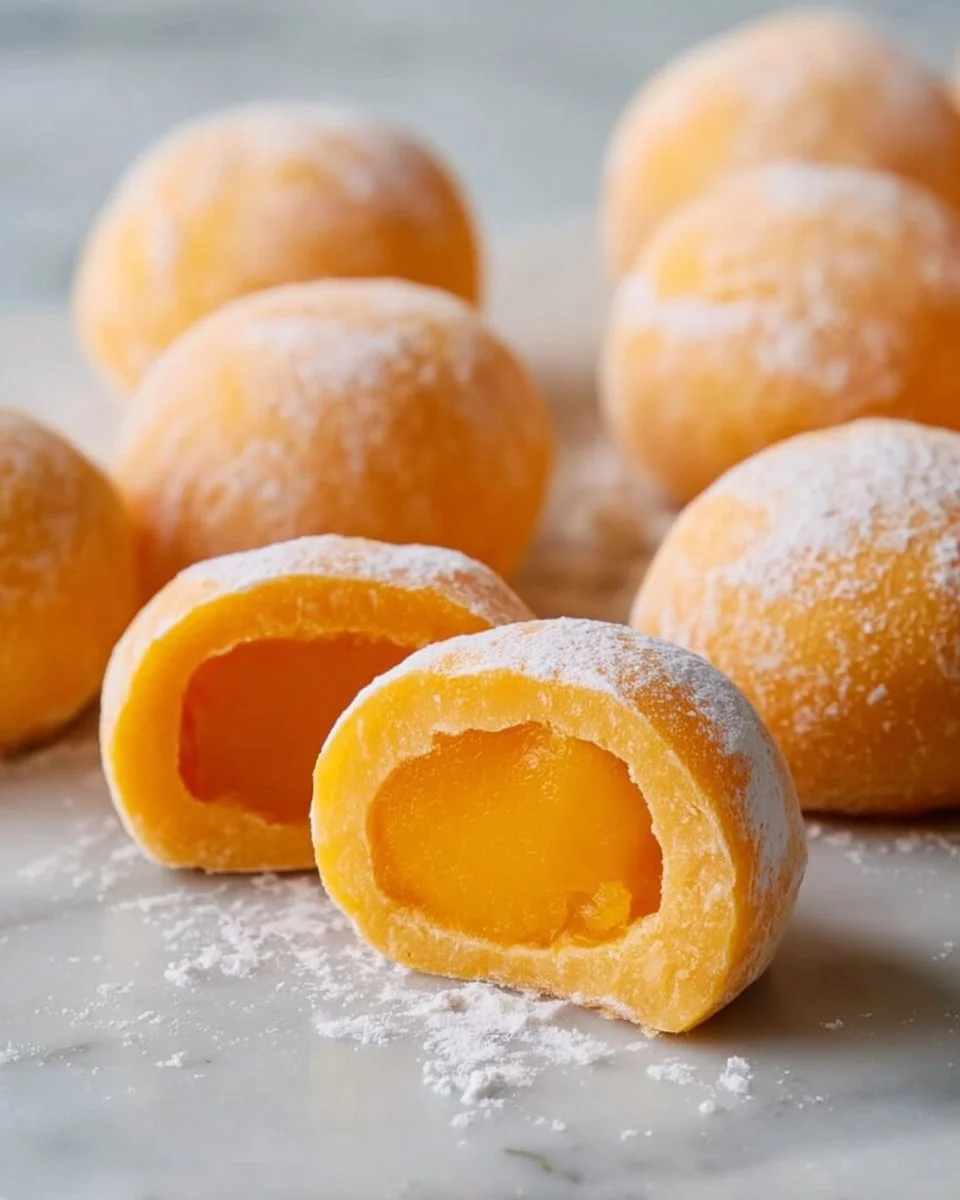
The beauty of a Mango Mochi lies in its texture—imagine biting into smooth, velvety mango puree enveloped in a soft and slightly chewy rice cake. It dances between sweet and slightly tart thanks to the natural sweetness of ripe mangoes, making each bite a celebration of flavors. These little gems are perfect for a summer gathering, as a fun treat for friends, or as a comforting indulgence during a quiet night in. Whether it’s for a festive occasion or just to satiate a sweet tooth, Mango Mochi is always a good idea.
Why You’ll Love This Recipe
You might be asking, "Why should I invest my time in making Mango Mochi when I can just grab a few from the store?" Well, let me entice you with some compelling reasons.
Homemade Freshness: Store-bought options often have preservatives and artificial flavors. Making them yourself gives you control over what goes into these tasty treats—only real, fresh ingredients!
Cost-Effective: Rather than splurging at a specialty store, this recipe offers an incredibly inexpensive way to whip up a batch of delightful Mochi that can be enjoyed by the whole family. Plus, you can customize the filling to suit your preferences!
Customization Options: Love coconut? Add some coconut milk into the dough! Want a chocolate twist? Swap in chocolate ganache for the filling. The possibilities are endless, allowing you to create flavors uniquely suited to your liking.
Easy to Make: When you break it down step-by-step, you’ll find this recipe surprisingly easy to follow. With just a little practice, you’ll be making these heavenly morsels like a pro.
Perfect for Any Occasion: Whether you’re throwing a summer soiree or looking for a cozy family dessert, these little delights fit seamlessly into any event. They’re a hit every time at potlucks or family game nights!
By the end of this post, you’ll not only know how to make your own Mango Mochi but also feel empowered to personalize them to your heart’s desire.
Ingredients Section
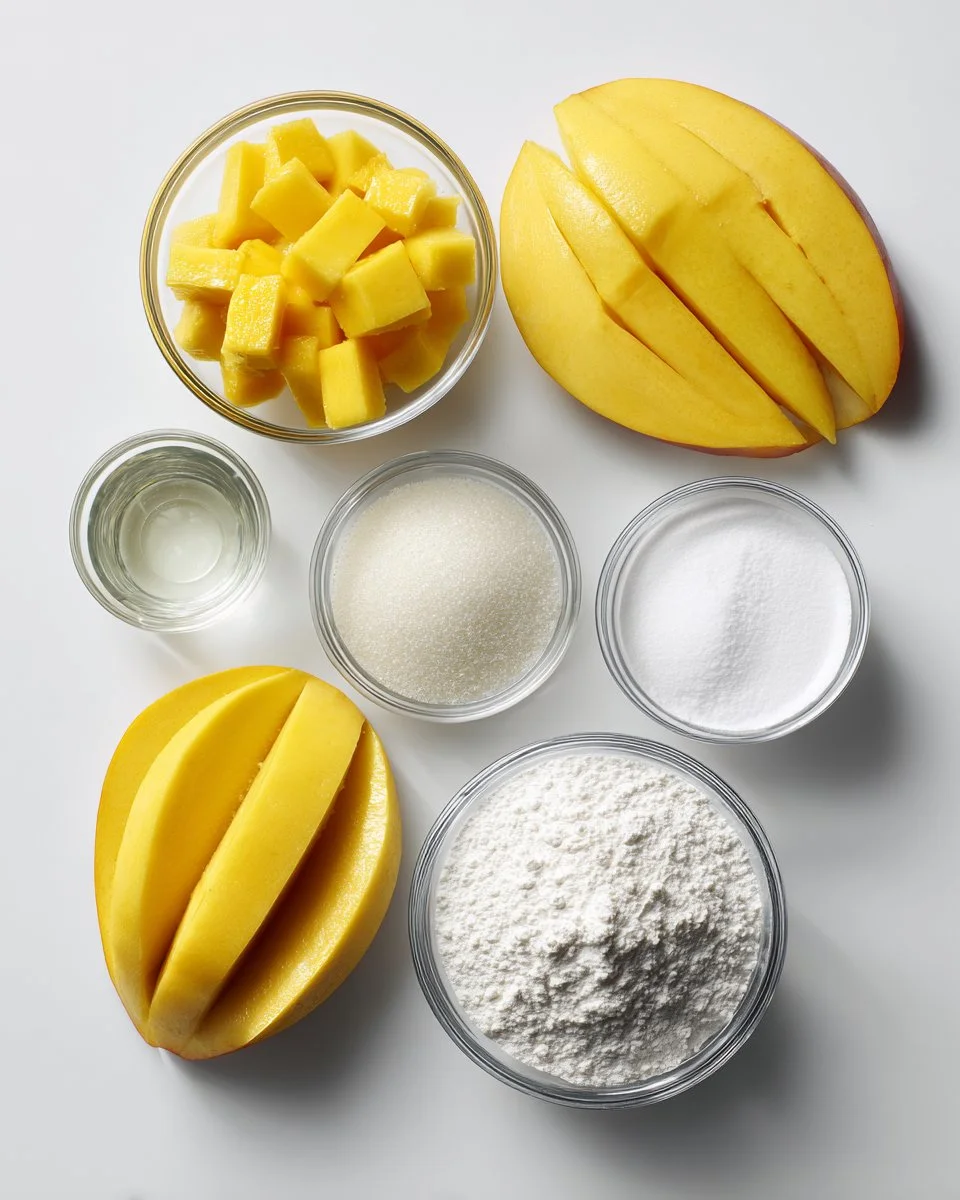
To whip up your very own Mango Mochi, gather these key ingredients:
Ingredients:
- 2 medium fresh mangoes, chopped (about 1 1/2 cups): For best results, choose ripe, juicy mangoes. I love using Honey or Ataulfo mangoes for their sweetness and softness!
- 2 tbsp sugar (adjust to taste): You may adjust this depending on the sweetness of your mangoes.
- 2 tsp cornstarch: This helps to thicken the mango puree.
- 1 tbsp lemon juice: A touch of acidity to balance the sweetness.
- 1 cup glutinous rice flour (Mochiko): This gives the delightful chewy texture.
- 3/4 cup sugar: A bit more for the mochi dough.
- 3/4 cup water: Just enough to bind it all together.
- Cornstarch or potato starch, for dusting: Prevents sticking and adds a smooth finish.
Notes:
- Ingredient Quality: Aim for the freshest mangoes possible. The flavor of your mochi relies heavily on the quality of your ingredients.
- Brand recommendations: I personally love using Koda Farms Mochiko for glutinous rice flour as it has a great texture.
- Prep Notes: Make sure ingredients like butter or liquids are at room temperature for ease of mixing.
Step-by-Step Instructions
Let’s dive into how you can create your own Mango Mochi from scratch. Don’t worry; it’s easier than it sounds!
Cook Your Mango: In a small saucepan, combine the chopped mangoes, 2 tablespoons of sugar, and lemon juice. Cook over medium heat, stirring occasionally, until the mango softens—about 5 to 7 minutes. The fragrance will make your kitchen smell delightful!
Blend It Smooth: Once softened, use a hand blender or potato masher to blend the mixture until smooth. Yup, this is where the luscious texture begins! Stir in the cornstarch and continue to cook for 2 to 3 minutes until the mixture thickens. You’ll see it transforms into a velvety puree.
Chill and Form: Transfer the mango mixture to a bowl and refrigerate until firm—roughly 1 hour. Once chilled, scoop out small portions into balls and freeze until solid. This step is essential for getting that mango center just right!
Make the Mochi Dough: In a microwave-safe bowl, mix the glutinous rice flour, 3/4 cup sugar, and 3/4 cup water until fully combined. Cover it and microwave on high for 1 minute. Stir, then microwave for another minute, and finally microwave for 30 seconds until it becomes opaque and stretchy.
Cool Down: Once cooked, let the mochi cool until it’s warm but manageable. Be careful; it will be hot!
Prepare the Workspace: Dust your work surface and hands with cornstarch to prevent sticking. Divide the dough into 8 equal portions.
Assemble Your Mochi: Flatten a piece of dough in your hand, place a frozen mango ball in the center, and seal it by pinching and rolling it into a smooth ball. Feel the delightful softness in your hands—so satisfying!
Repeat: Continue this process with the remaining dough and filling, dusting with cornstarch as needed to prevent sticking.
Storage: Store your finished Mochi in an airtight container at room temperature for up to 1 day or refrigerate for up to 3 days. But honestly, they likely won’t last that long!
Chef’s Tips:
- For the perfect seal, make sure to really pinch the dough together.
- If you run into a sticky mess, don’t panic! Just dust with a bit more cornstarch.
- It’s crucial to let the mochi cool enough before shaping—I learned that the hard way!
Expert Tips & Tricks
Storage Recommendations: Store your uncooked mango filling separately in the freezer for future batches. You can always whip up fresh mochi dough next time!
Make-Ahead Instructions: You can prepare the mango filling a day in advance, which speeds up the process on the day you plan to serve them.
Troubleshooting: If your mochi is too sticky, try dusting them with more cornstarch when shaping. On the other hand, if the filling is too soft, return it to the fridge for a little longer.
Experiment with Different Fruits: While mango is delicious, don’t hesitate to try other fruits like strawberries or red bean paste—the world’s your oyster!
Achieve the Right Texture: The key to perfect Mochi is consistent timing and not rushing through the microwave cooking steps. Patience is paramount!
Serving Suggestions
These Mango Mochi are delightful on their own, but you can add a little flair! Serve them alongside a scoop of coconut ice cream or a drizzle of chocolate sauce for an indulgent treat. For presentations, stack them in a decorative bowl and dust with extra cornstarch for an appealing look. They’re perfect for celebrations, and I often bring them to potlucks or serve them at birthday parties for a unique twist on dessert!
Variations & Substitutions
Feel free to get creative! Here are some ideas:
- Flavors: Try different fruit purees like raspberry, blueberry, or even matcha for an earthier flavor.
- Dietary Restrictions: For gluten-free options, ensure you only use gluten-free glutinous rice flour.
- Seasonal Variations: Celebrate tropical summers with a splash of pineapple or creamy coconut milk in the dough.
Nutrition & Storage Info
- Prep Time: 20 minutes
- Cook Time: 10-15 minutes
- Total Time: ~1.5 hours (including chilling time)
- Yield: 8 pieces
- Estimated Calories: 150-200 calories per serving (dependent on sugar adjustments)
- Storage Instructions: Store at room temperature for up to 1 day or refrigerate for 3 days. These mochi are best enjoyed fresh but can be frozen for future enjoyment.
FAQ Section
Can I use frozen mangoes?
- Yes, you can use frozen mangoes; just thaw and drain excess moisture before cooking.
What can I substitute for glutinous rice flour?
- Unfortunately, glutinous rice flour is unique for its chewy texture. Regular rice flour will not yield the same results.
How do I know when the mochi dough is ready?
- The dough should be opaque and stretchy. Visual cues include a soft, pliable texture.
Can I add flavoring to the mochi dough?
- Absolutely! Experimenting with vanilla or coconut flavoring enhances the overall flavor profile.
What is the best way to thaw frozen mochi?
- Leave them at room temperature for about 20 minutes, or microwave for a few seconds for a soft, gooey treat.
Are Mango Mochi gluten-free?
- Yes, as long as you use gluten-free glutinous rice flour, they are perfect for gluten-sensitive individuals.
What’s the best way to store leftover mochi?
- Keep them in an airtight container at room temperature for a day or refrigerate for 2-3 days. They can also be frozen for longer storage.
Can I change the sugar content?
- Yes, adjust the sugar according to your taste preference or switch to alternative sweeteners.
How long can I store Mango Mochi?
- They stay delicious for about 3 days in the fridge, but I doubt they’ll last that long!
What else can I fill mochi with?
- Anything from red bean paste to chocolate ganache or fruit varieties can be transformed into a delicious mochi filling.
Conclusion
This Mango Mochi recipe is not just a sweet treat; it’s a gateway to memories and creativity. Every bite is a reminder of the sunny days filled with laughter, pleasing both the taste buds and the soul. I encourage you to give this recipe a go, and when you do, I’d love to hear your thoughts! Leave a comment below to share how your Mochi turned out or any variations you tried. And if you’re hungry for more delightful recipes, check out my blog for other exciting dessert ideas.
Happy mochi-making, my friends! 🍑🥭