Decadent Paleo Ice Cream Cake: Dairy-Free & No-Bake Bliss
Introduction
There’s something magical about desserts that evoke cherished memories, and for me, that magic was encapsulated in my grandmother’s ice cream cake on hot summer days. It would be a centerpiece for birthday celebrations, family reunions, and impromptu barbecues. But as I dove deeper into the world of clean eating, I realized that I had to recreate that nostalgia without the dairy and refined sugars. Enter the Paleo Ice Cream Cake: Dairy-Free & No Bake Delight!
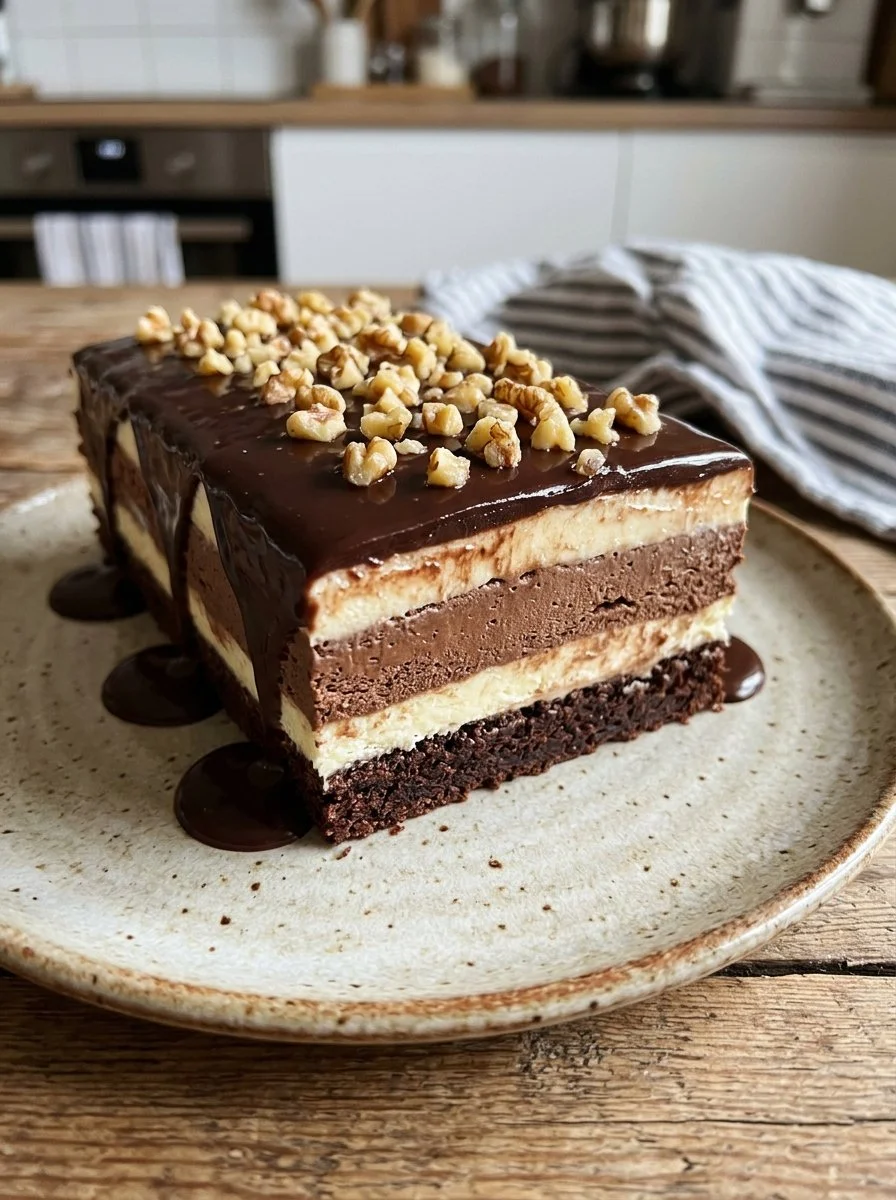
This cake combines a rich, nutty crust with creamy, dreamy dairy-free ice cream, topped with a luscious layer of chocolate goodness. What truly makes this recipe special is that it’s not just about satisfying a sweet tooth; it’s about reliving cherished moments and providing a healthier alternative without sacrificing flavor. You won’t find artificial ingredients or hidden sugars here — just pure, wholesome goodness.
As I perfected this recipe, I was delighted by how easy and versatile it is. You’ll learn not only how to create this decadent treat but also tips for customization that make it perfect for any occasion. Trust me; your family will jump for joy when they see this cholesterol-free masterpiece!
What Are Paleo Ice Cream Cakes: Dairy-Free & No Bake?
Paleo desserts often focus on whole, unprocessed ingredients, and my Paleo Ice Cream Cake is no exception! This cake draws inspiration from traditional ice cream cakes but uses entirely dairy-free components, making it suitable for those with dietary restrictions. The sweetness of natural dates and the richness of avocado or coconut-based ice cream ensure that this dessert is indulgent without the guilt.
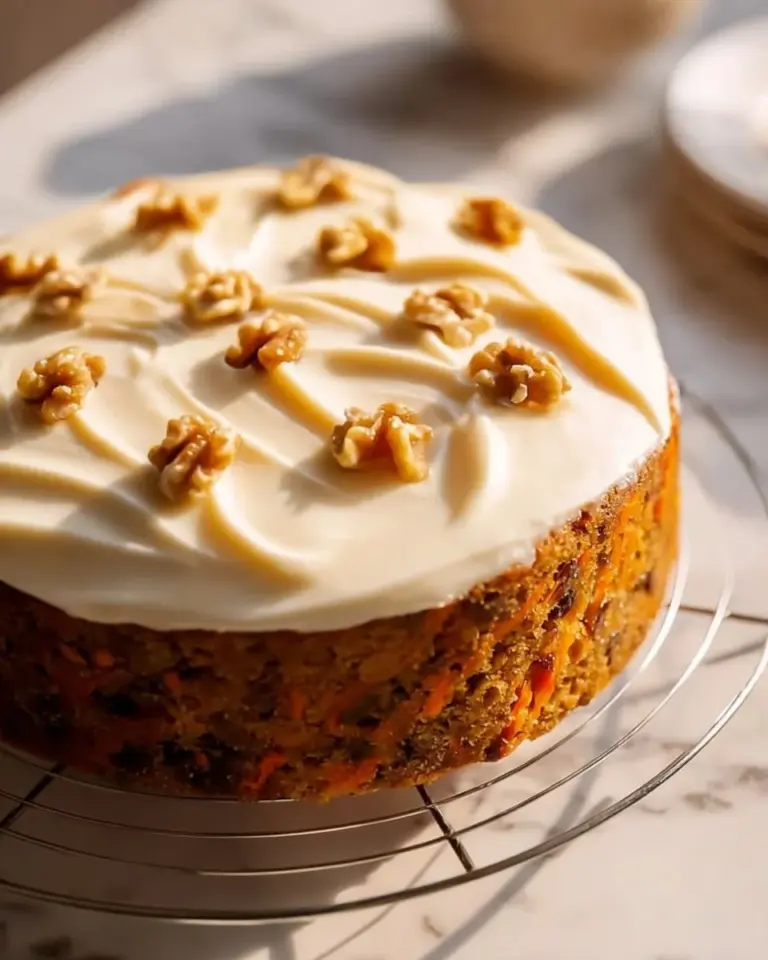
The taste and texture are everything you could wish for: a crispy, nutty base that gives way to a soft, creamy ice cream layer, topped off with a smooth layer of chocolate. It’s a heavenly experience with every bite, and the colors and textures offer a feast for the eyes as well.
Whether it’s a summertime gathering or a cozy winter night, this cake is a go-to dessert. It’s simple yet sophisticated enough to impress guests while still feeling like a comforting treat you can enjoy at home.
Why You’ll Love This Recipe
Healthier Alternative: Unlike commercial ice cream cakes loaded with refined sugars and unhealthy fats, this recipe features wholesome ingredients like raw walnuts and pitted dates, providing a delicious dessert that’s actually good for you.
Cost-Effective: Making your ice cream cake at home saves money in comparison to expensive store-bought versions; plus, you have the added benefit of knowing exactly what goes into it.
Customizable to Perfection: Whether you prefer a nut-free alternative or want to experiment with different ice cream flavors—like coconut, chocolate, or even fruit-infused varieties—this cake can adapt to your taste preferences and dietary needs.
Simple No-Bake Process: You don’t need any baking skills here! This is a no-bake recipe, saving you time and energy while still letting you whip up an impressive dessert.
Perfect for Any Occasion: Birthdays, anniversaries, or just a delightful weekend dessert—this cake fits right in! Plus, it’s a fantastic way to surprise guests who might be following special diets.
Ingredients
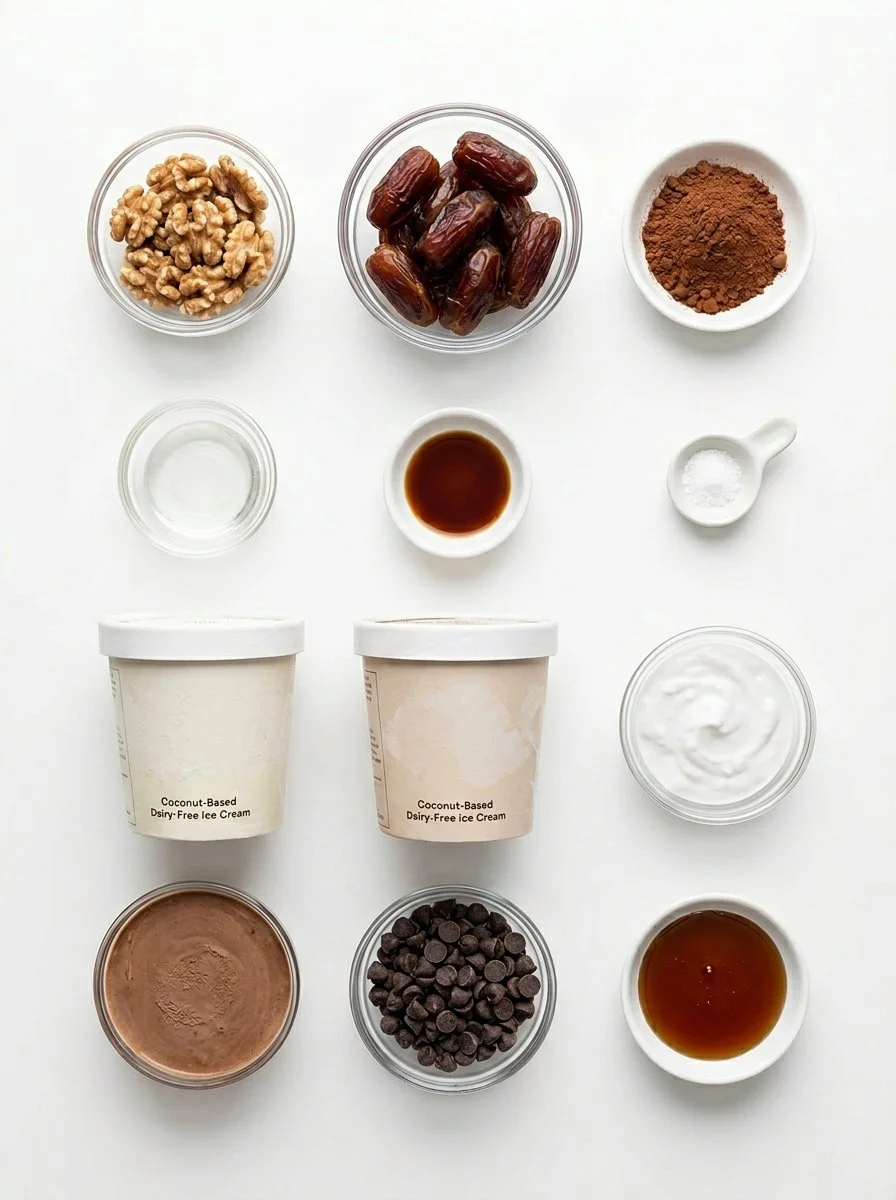
1/2 cup raw walnuts
- For a nut-free version, feel free to substitute with sunflower seeds.
1 cup pitted dates
- Make sure they’re fresh and soft; they provide natural sweetness.
2 tbsp cacao powder
- Opt for high-quality raw cacao for richer flavor.
1/2 tbsp coconut oil (melted)
- This helps bind your crust together.
1/2 tsp vanilla extract
- Pure vanilla extract is recommended for best flavor.
1/8 tsp salt
- A pinch enhances the sweetness and balances flavors.
2 pints dairy-free ice cream
- Choose your favorite brand; coconut or almond-based options are great!
1/4 cup coconut cream
- This adds extra creaminess to your topping; chill your can of coconut milk beforehand for easier separation.
1/4 cup dark chocolate chips
- Select vegan chocolate to keep it dairy-free.
2 tbsp maple syrup
- This enhances the sweetness of the topping.
Preparation Notes: Make sure your coconut oil is melted and your ice cream is slightly softened before starting the process. Room temperature ingredients blend better!
Step-By-Step Instructions
Prepare the Pan: Line a 6-inch springform pan with parchment paper, ensuring it covers the bottom and sides for easy removal later.
Make the Crust: In a food processor, blend the walnuts, dates, cacao powder, melted coconut oil, vanilla extract, and salt until the mixture is crumbly yet holds together when pressed. This usually takes about 1-2 minutes. Press the crust into the bottom of your prepared pan evenly, about 1/4 inch thick.
Chef’s Tip: Avoid over-processing the nuts; it should remain a bit crumbly for texture.
Spread the Ice Cream: Allow your dairy-free ice cream to soften for 10-15 minutes. Once softened, scoop it out and spread it evenly over the crust in the pan. Smooth the top with a spatula and freeze for 1-2 hours until firm.
Visual Cue: The ice cream should feel firm but creamy to the touch.
Prepare the Topping: In a saucepan on low heat, melt the dark chocolate chips with the maple syrup until smooth, stirring constantly to prevent burning. It should take about 5 minutes.
Common Mistake: Don’t rush the melting process; low heat is key to avoid seizing the chocolate.
Final Touch: Pour the chocolate mixture over the frozen ice cream layer, smoothing it out with a spatula. Freeze for an additional 30 minutes just to set the chocolate.
Serve: Once everything is nicely set, run a warm knife along the edges of the pan, release the springform, and slice the cake. Serve immediately, and enjoy every bite!
Chef’s Note: Warming your knife will help make clean cuts.
Expert Tips & Troubleshooting
Time Management: Prep this cake at least a few hours before you plan to serve it, ideally the night before. It allows each layer to properly set.
Storage: Store leftover cake in an airtight container in the freezer for up to 2-3 weeks, but trust me, it will disappear before then!
Make-Ahead: You can prepare the crust and the ice cream layer separately; just keep them stored in the freezer until you’re ready to assemble.
Troubleshooting: If your ice cream is too hard to spread, let it sit at room temperature for a few more minutes. If your crust is too crumbly, adding a tiny bit more melted coconut oil can help bind it better.
Serving Suggestions
This Paleo Ice Cream Cake is a delightful centerpiece that can stand alone, but if you want to dress it up even more, consider serving it with fresh berries or a drizzle of extra melted chocolate. For special occasions, dress the table with colorful plates and napkins to create an inviting atmosphere.
This cake is perfect for birthdays, summer barbecues, or as a special treat on any weeknight when you want something sweet without the guilt!
Variations & Substitutions
Flavor Combos: Try using various ice cream flavors – how about a rich chocolate with a peanut butter swirl or a refreshing mint chocolate chip?
Dietary Adaptations: Make it nut-free by replacing walnuts with sunflower seeds and using a nut-free ice cream option.
Seasonal Variations: In the fall, you can incorporate pumpkin puree into the ice cream for a festive seasonal flavor.
Nutrition & Storage Info
- Prep Time: 20 minutes
- Cook Time: 0 minutes (freezing time varies)
- Total Time: Approximately 2-3 hours (mostly freezing)
- Yield: 8 servings
- Estimated Calories: 300 calories per serving (dependent on exact brands used)
Storage Instructions: Keep leftovers covered in the freezer. Lasts up to 2-3 weeks; just let it sit out for a few minutes before slicing for easy serving.
FAQ Section
Can I use regular ice cream instead of dairy-free?
Absolutely! However, it would no longer be Paleo.How do I make it sweeter?
You can add an extra tablespoon of maple syrup or use a sweeter ice cream.Is there a substitute for cocoa powder?
You can use carob powder, but the flavor will vary.What’s the best way to slice the cake?
Use a warm knife! Just run it under warm water, dry it off, and it will glide through effortlessly.Can I make this into individual servings?
Yes! Just use silicone muffin cups for mini versions.How do I prevent my chocolate from hardening too much?
Mix in a little coconut oil while melting, which helps keep it pourable.Is there a nut-free version of this crust?
Yes! Substitute walnuts with seeds like sunflower or pumpkin seeds.Can I freeze the crust separately?
Yes, it can be made in advance and stored for about a week in the freezer.What if I want to make it vegan?
This recipe is already vegan, just ensure all your ingredients are labeled plant-based.How long can leftovers stay in the fridge?
We recommend freezing for freshness but can last a few days in the fridge.
Conclusion
The Paleo Ice Cream Cake: Dairy-Free & No Bake Delight is the perfect intersection of nostalgia and health, allowing us to indulge without the guilt. Whether you’re celebrating a birthday or just want a comforting slice after a long day, this cake delivers on flavor and satisfaction.
I encourage you to try this recipe and bring a little joy into your kitchen. I would love to hear your thoughts or any variations you tried! If you enjoyed this treat, don’t miss out on checking out other related recipes on the blog — there’s plenty more where this came from!

Paleo Ice Cream Cake
Ingredients
Method
- Line a 6-inch springform pan with parchment paper, ensuring it covers the bottom and sides for easy removal.
- In a food processor, blend the walnuts, dates, cacao powder, melted coconut oil, vanilla extract, and salt until the mixture is crumbly yet holds together when pressed (about 1-2 minutes). Press the crust into the bottom of your prepared pan evenly, about 1/4 inch thick.
- Allow your dairy-free ice cream to soften for 10-15 minutes, then scoop it out and spread evenly over the crust in the pan. Smooth the top and freeze for 1-2 hours until firm.
- In a saucepan on low heat, melt the dark chocolate chips with the maple syrup until smooth, stirring constantly (about 5 minutes).
- Pour the chocolate mixture over the frozen ice cream layer, smoothing it out with a spatula. Freeze for an additional 30 minutes to set the chocolate.
- Run a warm knife along the edges of the pan, release the springform, and slice the cake. Serve immediately, and enjoy!