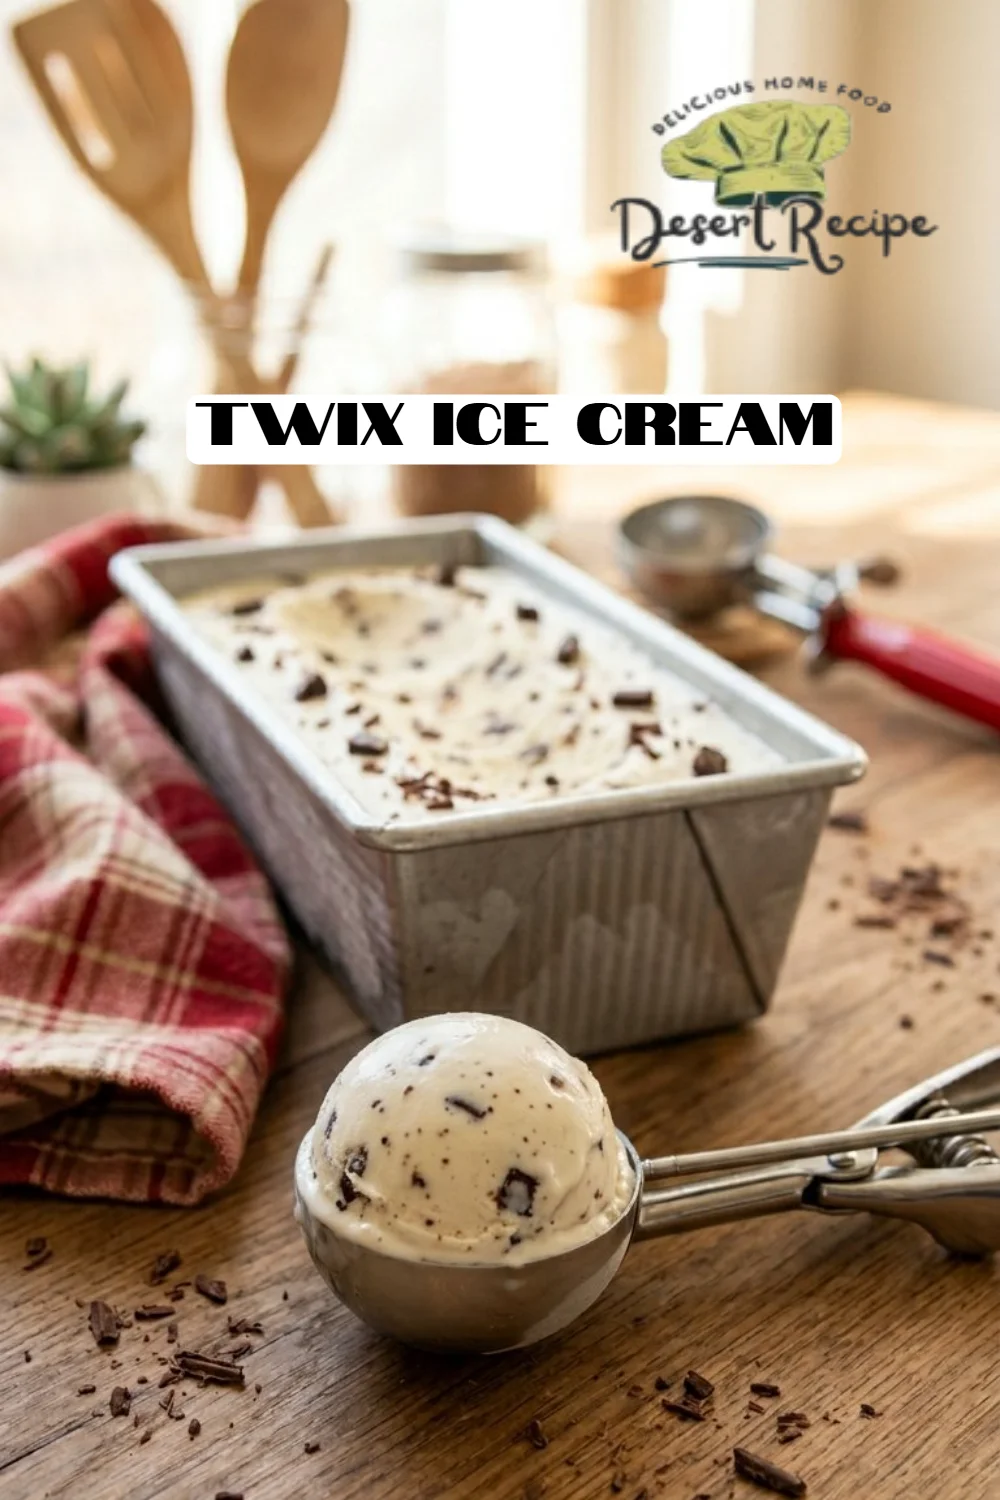
Irresistibly Creamy Twix Ice Cream Recipe: A Blissful Treat for Everyone
Picture this: a warm summer afternoon, laughter fills the air, and the sweet scent of melting chocolate wafts through the house. It was during one of those blissful days that I first decided to whip up my very own Twix Ice Cream, inspired by my childhood love for the crunchy, caramel-filled chocolate bars. Let me tell you, this isn’t just another ice cream recipe; it’s a nostalgic journey, bringing back memories of sharing Twix bars with my brothers while binge-watching our favorite movies.
What makes this Twix Ice Cream special isn’t just the irresistible blend of creamy coconut, rich almond butter, and gooey Twix pieces—it’s the fact that it’s homemade with love, healthier options, and customizable to suit your taste! While store-bought varieties can be loaded with artificial ingredients and preservatives, this recipe shines through with natural flavors and ingredients you can feel good about.
In this blog post, you’ll not only learn how to create the best Twix Ice Cream you’ve ever tasted, but also how to add your twist to it. So, embrace your inner ice cream maker, grab a spoon, and let’s dive into this delicious adventure together!
What Are Twix Ice Cream?
Ah, the origin of Twix Ice Cream—a delightful creation that merges the crunchy, chewy goodness of Twix bars with the creamy dreaminess of ice cream. The concept behind this recipe is as heartwarming as it is delicious. Twix bars, born from the unison of biscuit, caramel, and milk chocolate, paired with the soothing texture of ice cream, are a match made in dessert heaven.
When you take a bite of homemade Twix Ice Cream, you experience a satisfying combination of smooth and crunchy textures, with the coolness of ice cream enveloping chewy chunks of chocolate-covered caramel. It’s the kind of dessert that makes every occasion a celebration—perfect for summer parties, family gatherings, or simply indulging yourself after a long day.
Choosing to make Twix Ice Cream at home elevates this nostalgic treat to another level, allowing you to control the ingredients and make it as indulgent or healthy as you wish.
Why You’ll Love This Recipe
Making your own Twix Ice Cream at home is a rewarding experience for several reasons:
Gourmet Flavor Without the Price Tag: Let’s be honest—store-bought versions can be pricey and often skimp on quality. With this homemade recipe, you’ll get restaurant-level flavor without breaking the bank.
Customization Galore: One of the beauties of this recipe is the flexibility! Want to swap almond butter for peanut butter? Go for it! Prefer maple syrup over honey? You’ve got it! This recipe can easily accommodate your dietary preferences, ensuring you and your loved ones enjoy every lick.
Healthier Ingredients: Unlike mass-produced ice creams that may include artificial flavors and preservatives, this Twix Ice Cream focuses on wholesome ingredients like coconut cream and raw honey. You can indulge without the guilt!
Easier Than You Think: Despite being a creamy dessert, making this Twix Ice Cream is surprisingly simple! With just a blender and some freezing time, you’re on your way to an ice cream treat that rivals anything you’d find in stores.
Quick & Satisfying: Preparation takes little time, and you can dive into your delicious creation just a few hours later. Who can resist that instant gratification?
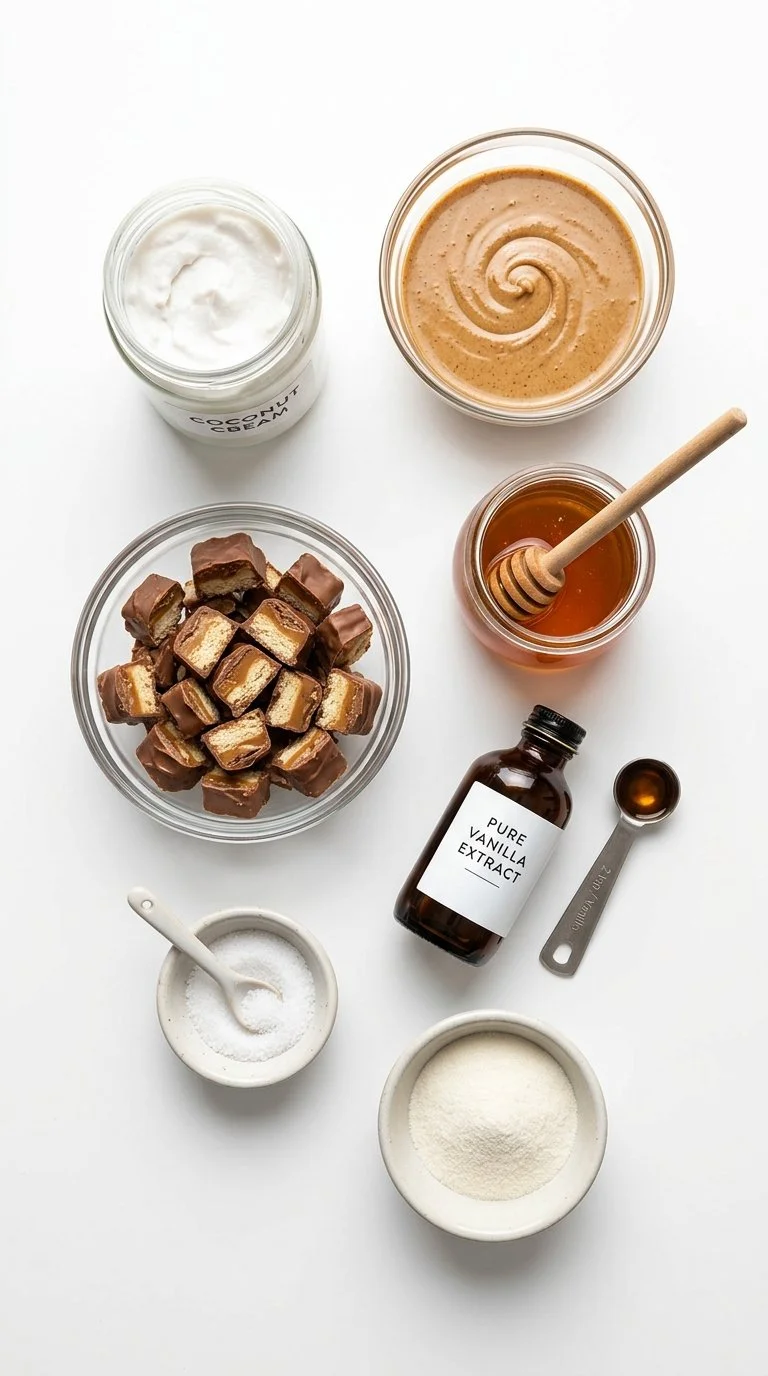
Ingredients
- 1 can coconut cream (full-fat for best consistency)
- 1/4 cup creamy almond butter (or peanut butter if preferred)
- 1/4 cup raw honey (substitute maple syrup for a vegan option)
- 2 tsp vanilla extract (use pure vanilla for best flavor)
- 1/4 cup collagen peptides (optional; omit for vegan)
- 1/8 tsp salt
- 4-6 homemade Twix bars, chopped into bite-sized pieces
Ingredient Notes:
- Coconut Cream: For a silky-smooth texture, opt for full-fat coconut cream. Refrigerate it overnight for an even firmer consistency.
- Nut Butter: I love the flavor of almond butter, but feel free to substitute it with your favorite nut or seed butter.
- Collaborate with Consistency: Room temperature almond butter integrates smoothly into the mixture—if it’s too cold, it won’t blend as nicely.
Tip: Brands like Aroy-D or Thai Kitchen work wonderfully for coconut cream, while I recommend using Justin’s Almond Butter for its rich flavors!
Step-by-Step Instructions
Prepare Your Ingredients: Ensure your coconut cream has been at room temperature for easy blending. If your almond butter is cold, warm it slightly for easy incorporation.
Combine in Blender: Add the room temperature coconut cream, almond butter, honey (or syrup), vanilla extract, collagen peptides, and salt into your blender. Blend until you achieve a smooth and creamy consistency.
Churn the Ice Cream: If you have an ice cream maker, pour the mixture into it and churn according to your machine’s instructions. No ice cream maker? No worries! Pour the mixture into a freezer-safe container and freeze it, whisking every 30 minutes until it thickens to the right texture—this should take about 2-3 hours.
Add the Twix Bars: Just when the mixture starts thickening (often after about 15-20 minutes of churning), add in your chopped Twix bars. Continue to churn for another 5-10 minutes until they’re well distributed.
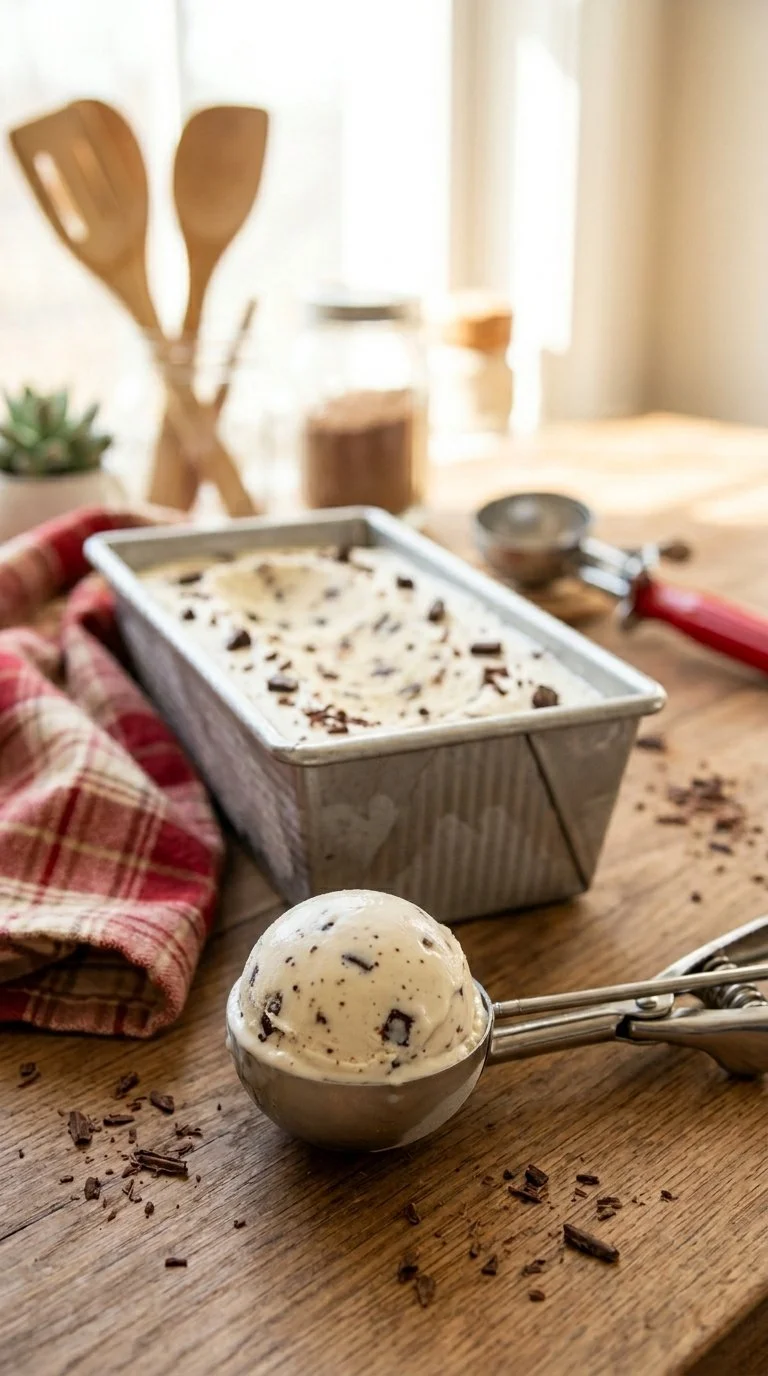
Freeze or Serve: You can scoop the ice cream immediately or transfer it to a loaf pan and freeze for another 2-3 hours for an extra firm texture. Enjoy your delicious creation!
Expert Tips & Troubleshooting
- Storage: Store leftovers in an airtight container in the freezer. It’s best consumed within 2-3 weeks for optimal flavor and texture.
- Make-Ahead Instructions: Feel free to make the base in advance and store it in the freezer. Just make sure to follow the whisking process to maintain creaminess.
- Common Problems: If your ice cream becomes too icy, try blending it briefly again right before serving. If it’s too soft, you may need to freeze it longer.
- Chef’s Tips: For an extra creamy texture, try using an ice cream maker! Additionally, consider adding a pinch of sea salt to enhance the caramel flavors when you add in the Twix pieces.
Serving Suggestions
Twix Ice Cream is a treat that speaks for itself, but why not elevate your experience with a few delicious extras? Serve it in elegant bowls topped with a drizzle of chocolate syrup and a sprinkle of sea salt. Pair it with homemade waffle cones for a playful touch or serve it alongside some fresh strawberries for a refreshing contrast.
This ice cream also makes the perfect centerpiece for summer barbecues, movie nights, or any occasion where you want to wow your guests!
Variations & Substitutions
- Flavor Combinations: Try adding in peppermint extract for a festive twist or mix in crushed Oreos for an indulgent cookie version.
- Vegan Options: Swap honey for maple syrup and collagen peptides can be omitted for a fully plant-based treat.
- Seasonal Variations: Incorporate spices like cinnamon or nutmeg during the fall, or add fresh berries in the summer for a seasonal infusion.
Nutrition & Storage Info
- Prep Time: 15 minutes
- Churn & Freeze Time: 3-5 hours
- Total Time: 3 hours 15 minutes
- Yield: About 4-6 servings
- Estimated Calories per Serving: approximately 240 calories
- Storage: Keep in an airtight container in the freezer. Best eaten within 2-3 weeks for peak freshness.
FAQ Section
Can I make this Twix Ice Cream without an ice cream maker?
Yes! Simply follow the instructions for hand-churning by whisking the mixture every 30 minutes while it freezes.What if I can’t find almond butter?
Peanut butter or sunflower seed butter are great alternatives. Each will give a different flavor profile but will still be delicious!How do I ensure my ice cream stays creamy?
Ensuring the coconut cream is at room temperature before blending and regularly whisking during freezing helps avoid icy textures.Can I use light coconut milk instead?
While it’s possible, light coconut milk may result in a less creamy and rich texture. Full-fat coconut cream is recommended for the best results.How can I make this keto-friendly?
Swap out honey for a keto-approved sweetener like erythritol or stevia, and ensure your Twix bars are sugar-free.Is there a nut-free option for this recipe?
Absolutely! Substitute the almond butter with sunflower seed butter for a nut-free alternative.What is the best way to store leftover ice cream?
Keep it in an airtight, freezer-safe container to prevent freezer burn.Can I use pre-made Twix bars instead of homemade?
While homemade Twix bars give a unique touch, pre-made ones work just fine in the recipe!How long does the ice cream last in the freezer?
For optimal flavor and texture, consume it within 2-3 weeks.Can I double the recipe?
Yes! Just make sure your blender can handle the larger quantity, or mix in batches.
Conclusion
This Twix Ice Cream recipe isn’t just about satisfying your sweet tooth; it’s a chance to create cherished memories, just like I did on that summer afternoon with my family. I encourage you to give it a try—you won’t be disappointed!
After you indulge yourself, I’d love to hear your thoughts and any tweaks you made to make it your own. And don’t forget to check out my blog for more deliciously easy recipes to brighten your day!

Twix Ice Cream
Ingredients
Method
- Ensure your coconut cream has been at room temperature for easy blending.
- If your almond butter is cold, warm it slightly for easy incorporation.
- Add the coconut cream, almond butter, honey, vanilla extract, collagen peptides, and salt into your blender.
- Blend until smooth and creamy.
- Pour the mixture into an ice cream maker and churn according to the machine's instructions.
- If no ice cream maker is available, pour into a freezer-safe container and freeze, whisking every 30 minutes for about 2-3 hours.
- When the mixture starts to thicken, add in the chopped Twix bars.
- Continue churning for another 5-10 minutes until the bars are well distributed.
- Scoop the ice cream immediately or transfer it to a loaf pan and freeze for another 2-3 hours for a firmer texture.
- Serve and enjoy your delicious creation!