Irresistibly Delicious Homemade Cherry Pie Filling: A Sweet Family Tradition
As a child, I remember wandering the local orchards with my family, the intoxicating aroma of ripe cherries wafting through the air. Those cherries weren’t just tasty; they were the foundation of our family’s traditions and celebrations. Nothing evokes nostalgia for me more than the sight of a bubbling homemade cherry pie cooling on the kitchen counter, its flaky crust showing off the vibrant red filling bursting with sweet, tart flavor.
This Homemade Cherry Pie Filling recipe captures that very essence—those warm memories and comforting flavors—bringing cherry pie to life in every bite. Unlike store-bought versions, which can often taste artificial and leave you wondering about the ingredients, my recipe emphasizes fresh cherries and simple, wholesome ingredients you can trust. You’ll learn not just to make a filling, but to create a moment—a celebration of summer and family—right in your kitchen.
So, roll up your sleeves and grab your favorite apron! In this guide, you’ll discover how to make this simple yet satisfying Homemade Cherry Pie Filling that will transform your baking game and bring the joy of those orchard adventures into your home.
What Are Homemade Cherry Pie Fillings?
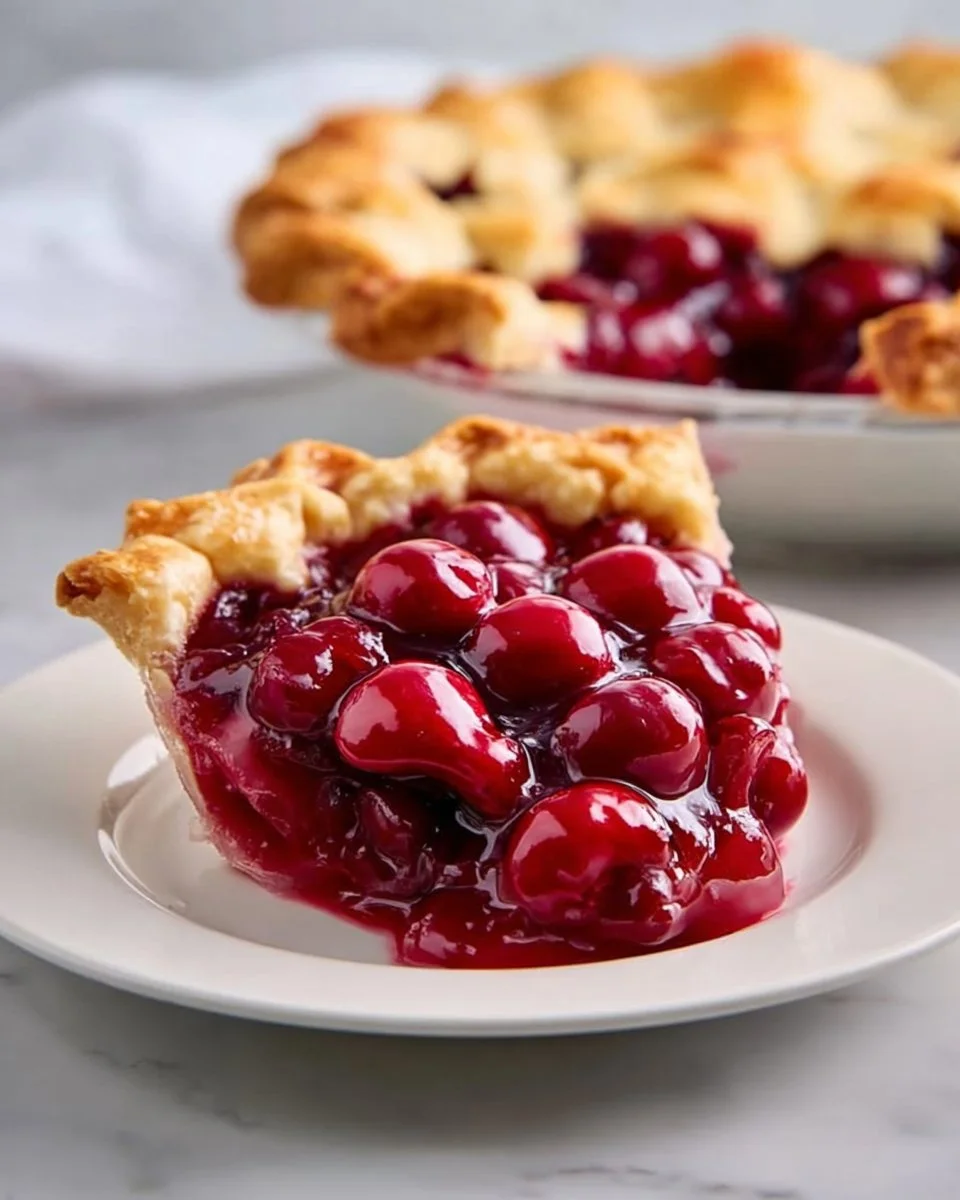
The origins of cherry pie filling trace back to American traditions, where it became a beloved dessert, particularly during summer when cherries are in abundance. Homemade Cherry Pie Filling boasts a rich, luscious texture enveloping every morsel in a sweet-yet-tart blend that dances on your palate. The deep ruby color and slightly glossy finish make it visually appealing, while the sweet and tart balance creates a flavor that’s nothing short of nostalgic.
What makes this version stand out from others is the use of fresh cherries, enhancing the taste and quality. You can savor the distinct bursts of sweetness from each cherry, unlike some canned varieties that can taste syrupy or artificial. Make this filling for special gatherings, festive occasions, or just a cozy family night at home. Any time is a good time for a slice of pie!
Why You’ll Love This Recipe
Fresh Flavors: Each bite of this Homemade Cherry Pie Filling delivers bold, fresh cherry flavor, reminiscent of sunny days spent picking fruit at the orchard.
Cost-Effective: Making your own filling is a budget-friendly alternative to pricey store-bought options. You get more filling for significantly less and with the joy of creating it yourself.
Customizable: Want to mix in some blueberries or raspberries? Go for it! You can create endless variations to suit your taste buds or dietary needs.
Easy to Master: This recipe is perfect for bakers of all skill levels—no fancy techniques needed! If you’re a beginner, you’ll find success here with just a bit of patience and passion.
Make-Ahead Convenience: You can whip up a batch and store it for future use. It lasts in the fridge for a week and, even longer in the freezer, ready for a last-minute pie or dessert craving!
Ingredients Section
Fresh Cherries: About 4 cups, pitted and halved. The fresher, the better. If cherries are out of season, frozen cherries work well too!
Sugar: ¾ cup, adjust based on the sweetness of your cherries. If using frozen cherries, you might consider adding a little more sugar.
Cornstarch: ¼ cup. This is crucial for thickening the filling. Don’t substitute with flour if you can avoid it, as it could affect the texture.
Lemon Juice: 1 tablespoon, freshly squeezed for the best flavor. This helps brighten and enhance the cherry taste.
Vanilla Extract: 1 teaspoon. It adds depth and warmth to your filling.
Salt: A pinch, to enhance the overall flavor. Don’t skip it; it makes a difference!
Prep Notes: Make sure your cherries are at room temperature for the best release of juices.
Brand Recommendations: Use pure vanilla extract (like Nielsen-Massey) for that rich, aromatic flavor.
Step-By-Step Instructions
Prep the Cherries: Wash and pit the cherries, then chop them in half if desired. Aim for about 4 cups. Use a cherry pitter if you’re looking to save time—believe me; it’s a game-changer!
Combine Ingredients: In a saucepan over medium heat, combine the fresh cherries, sugar, cornstarch, lemon juice, vanilla extract, and salt. Stir well to coat the cherries uniformly.
Cook: Stir continuously for about 5-7 minutes until the mixture thickens and starts bubbling. Watch for that glossy texture; you’ll know it’s ready when the filling coats the back of a spoon.
Cool Down: Remove from the heat and let it cool before using in your favorite pie crust or as a topping for ice cream or yogurt.
Chef’s Tips: If you want an extra layer of flavor, consider adding a pinch of cinnamon or nutmeg during cooking for a warm spice touch.
Common Mistakes to Avoid: Don’t skip the cornstarch—this is key for a well-thickened filling! If it’s too runny, it’s difficult to work with in pies.
Expert Tips & Tricks
Storage: Store any leftover filling in an airtight container in the fridge for up to a week or freeze for up to 3 months.
Make-Ahead: Plan ahead and make filling a day or two prior; it gives flavors more time to meld together.
Troubleshooting: If your filling seems too runny, return it to the heat, whisk a little extra cornstarch mixed with cold water, and cook until thickened.
Avoid Browning: If using halved cherries, toss them lightly in lemon juice immediately after cutting to prevent browning.
Use Naturally Sweet Cherries: Sweet varieties like Bing or Rainier yield a delightful filling, while tart cherries add more complexity.
Serving Suggestions
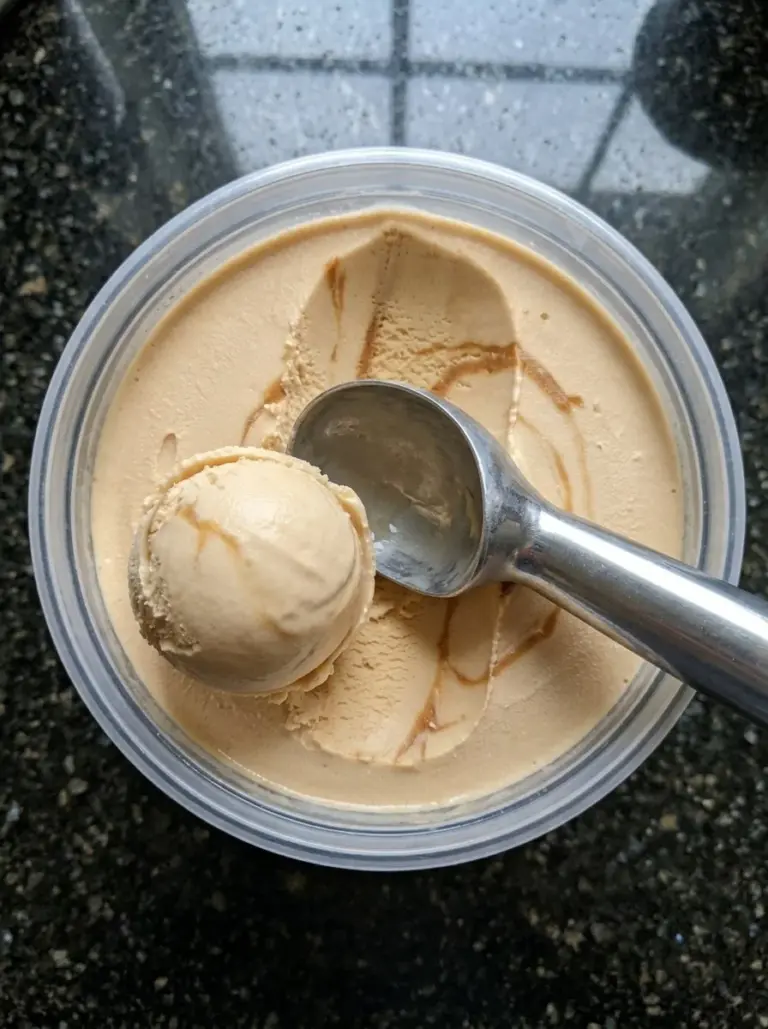
Serve this Homemade Cherry Pie Filling warm over a scoop of vanilla ice cream for an indulgent dessert! For a classic approach, spoon the filling over freshly baked pies or tarts. Presentation-wise, a lattice crust topped with glossy cherries looks stunning on any dessert table, making it perfect for summer gatherings or festive holidays.
Variations & Substitutions
Flavor Combinations: Mix in blueberries or raspberries for a mixed berry pie filling, or toss in a splash of almond extract for a delicious twist.
Dietary Adaptations: Substitute refined sugar with coconut sugar or maple syrup for a healthier alternative. If you’re looking for a gluten-free option, serve the filling over gluten-free desserts.
Seasonal Variations: As seasons change, consider adapting this filling with seasonal fruits like peaches or apples, providing versatility throughout the year!
Nutrition & Storage Info
- Prep Time: 10 minutes
- Cook Time: 10 minutes
- Total Time: 20 minutes
- Yield: Approximately 2 ½ cups of filling
- Estimated Calories: 130 calories per serving (based on a filling of 1/2 cup)
Storage Instructions: This filling can be stored in an airtight container at room temperature for a couple of days, in the fridge for up to a week, or in the freezer for several months.
FAQ Section

Can I use frozen cherries?
Yes, frozen cherries work well! Just make sure to thaw and drain excess liquid before cooking.How can I make the filling less sweet?
Simply reduce the amount of sugar. Taste as you go to find your perfect balance.Can I double the recipe?
Absolutely! Just ensure you use a larger saucepan and give extra time if cooking in batches.What if my filling is too runny?
Return to heat, add a slurry of cornstarch and water, and continue cooking until it thickens.Can I can this filling?
Yes, this recipe can be canned for longer storage. Make sure to follow proper canning techniques for safety.How do I know when the filling is done?
It should be thick and bubbly, coating the back of a spoon when ready.Can this be made with other fruits?
Yes! Feel free to experiment with strawberries, blueberries, or apples for delightful variations.What’s the best way to freeze cherry filling?
Freeze in airtight containers or freezer bags. Label with the date for easy reference.How do I prevent the pie crust from getting soggy?
Bake the crust partially before adding the filling to prevent sogginess. You can also sprinkle a thin layer of cornstarch or breadcrumbs on the crust.Can this filling be turned into a sauce?
Yes, simply blend the filling after cooking to create a smooth sauce that is great over pancakes, ice cream, or yogurt!
Conclusion
This Homemade Cherry Pie Filling isn’t just a recipe; it’s a beautiful representation of family, warmth, and delicious moments spent in the kitchen. There’s something special about creating it from scratch, and once you do, I promise you’ll never look at store-bought the same way again. I encourage you to try this recipe and share your experiences—what cherry memories did it spark for you? Don’t forget to check out related recipes on my blog for more delightful creations like cherry crumble or whipped cherry dip! Happy baking!


Homemade Cherry Pie Filling
Ingredients
Method
- Wash and pit the cherries, then chop them in half if desired. Aim for about 4 cups.
- In a saucepan over medium heat, combine the fresh cherries, sugar, cornstarch, lemon juice, vanilla extract, and salt. Stir well to coat the cherries uniformly.
- Stir continuously for about 5-7 minutes until the mixture thickens and starts bubbling.
- Remove from the heat and let it cool before using in your favorite pie crust or as a topping for ice cream or yogurt.