Table of Contents
Table of Contents
Ah, Buckeye Pie. Just the name evokes a wave of nostalgia, doesn’t it? I can still remember the first time I tasted this heavenly dessert at my aunt’s cozy kitchen during family gatherings. The aroma of melting chocolate combined with creamy peanut butter was an olfactory invitation I simply couldn’t resist. Buckeye Pie is more than just a dessert; it’s a celebration of simplicity, flavors, and the love shared around the kitchen table.
What makes this Buckeye Pie stand out from the countless variations out there? It’s all about the balance of textures and the layers of flavor that unfold with each bite. Underneath that luscious chocolate topping lies a smooth, rich peanut butter filling that’s reminiscent of your favorite peanut butter cup—but in pie form! It’s the ultimate comfort food that brings family and friends together, creating memories that linger long after the pie has been devoured.
By the end of this post, you’ll learn how to make your very own Buckeye Pie that promises to surpass any store-bought version. Your friends will be begging for the recipe, and I can assure you, each slice will be a little piece of heaven.
What Are Buckeye Pie?
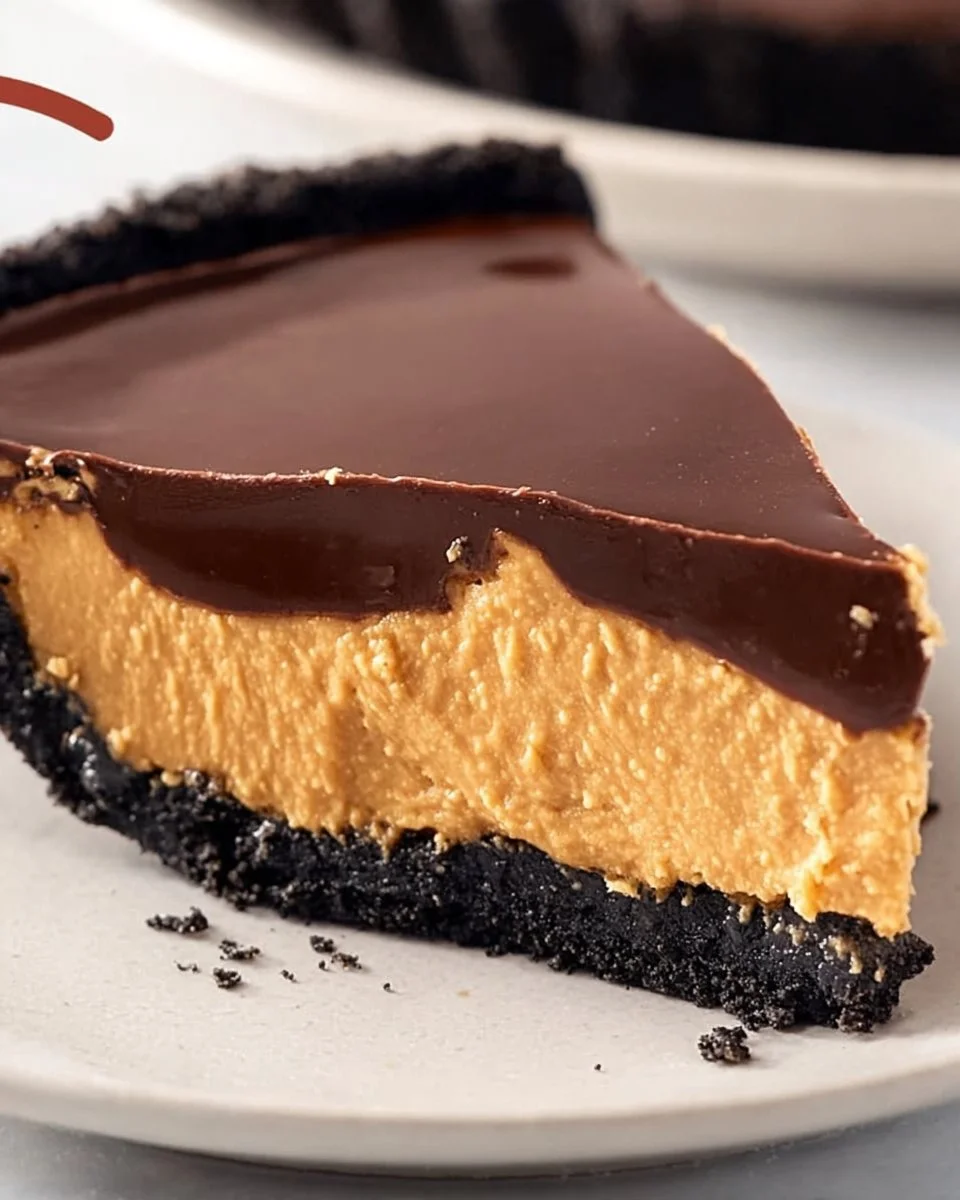
Originating from the Buckeye State of Ohio, Buckeye Pie pulls inspiration from the beloved Buckeye candy, a delightful combination of chocolate and peanut butter, named after the nut of the Buckeye tree. This well-loved dessert is designed with layers that mirror its candy counterpart.
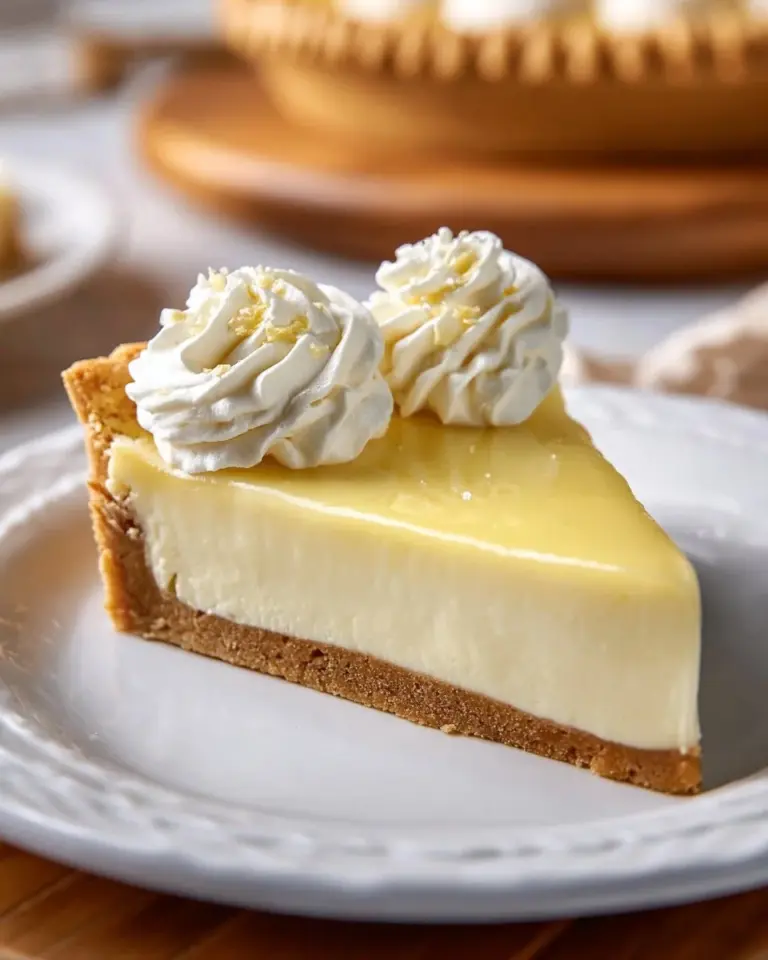
You can expect a delightful contrast of flavors and textures: the buttery, slightly crumbly crust juxtaposed with a rich, creamy peanut butter filling, all crowned with a smooth chocolaty ganache. Together, they create a sensory experience that is both satisfying and blissfully indulgent.
Whether you’re celebrating a special occasion or just looking to treat yourself after a long week, this is the pie that will undoubtedly shine at your dessert table. It’s wonderfully versatile—perfect for birthdays, holidays, and everything in between.
Why You’ll Love This Recipe
Easier Than You Think: You might be surprised to learn how simple this Buckeye Pie really is. You won’t need to be a professional baker to create this masterpiece! With straightforward steps, beginners can flourish and impress.
Cost-Effective: Instead of shelling out for overpriced desserts at trendy restaurants, you can make this delicious pie at home. All it takes are basic ingredients that you might already have in your pantry!
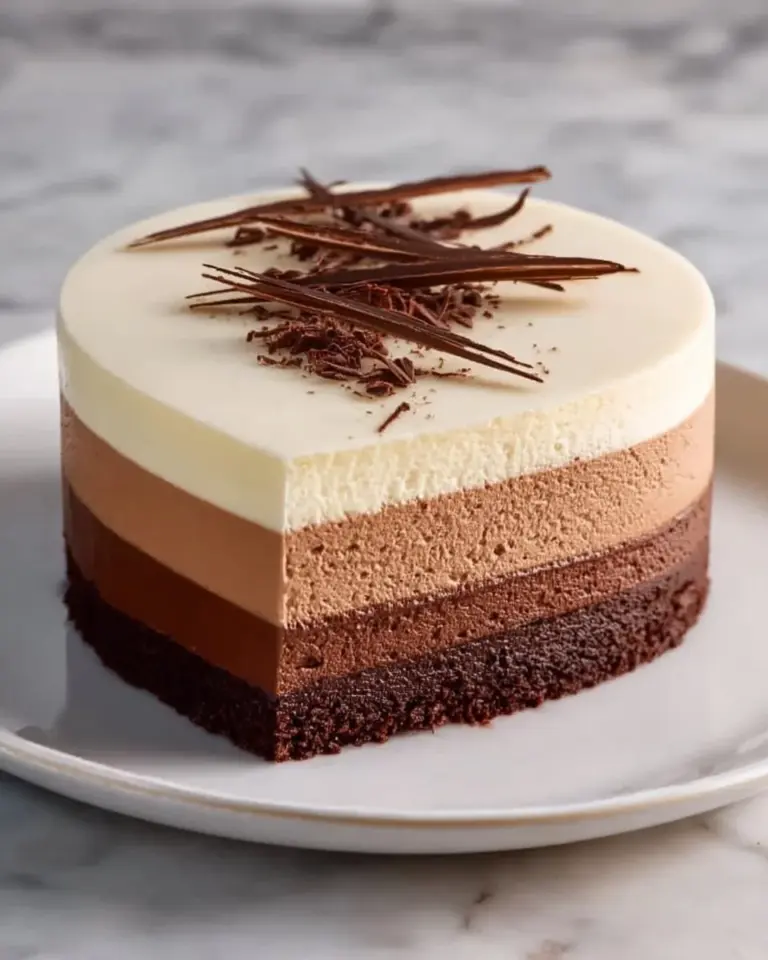
Customization Options: Want to get a little adventurous? Switch up the chocolate for white chocolate or throw in some crushed pretzels for a salty crunch along with the sweet.
Mouthwatering Flavor: This pie combines the creamy richness of peanut butter with the decadent sweetness of chocolate, leaving your taste buds doing a happy dance. It’s a delightful escape with every bite!
Perfect for Meal Prep: This pie is best served chilled after a bit of time in the fridge, making it an ideal choice for prepping ahead of time. You’ll have a fabulous dessert ready to impress guests or family weeknight dinners.
Ingredients
Here’s what you’ll need to whip up this scrumptious Buckeye Pie:
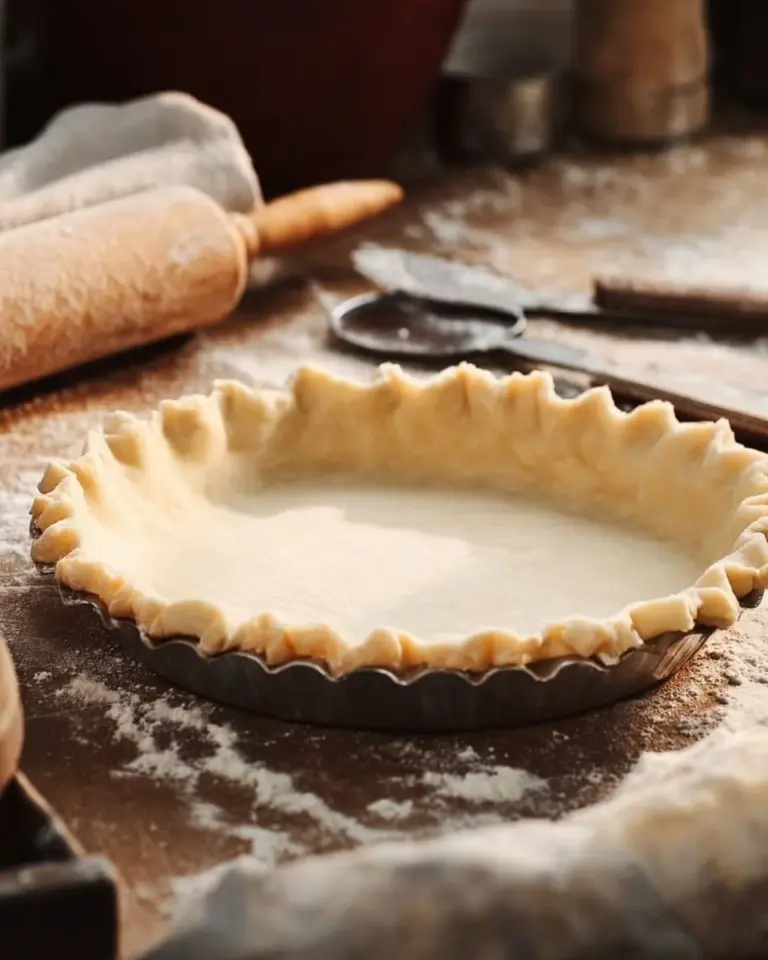
- 1 pie crust: Store-bought is fine for convenience, but homemade offers a buttery foundation. Consider using a graham cracker crust for a twist!
- 1 cup creamy peanut butter: Opt for high-quality peanut butter to elevate flavor. Brands like Skippy or Jif work wonderfully.
- 1 cup powdered sugar: This sweetener adds the perfect blend of sweetness without the grittiness.
- 1 cup heavy cream: Ensure it’s cold—this will help us whip it into fluffy perfection.
- 1 cup chocolate chips: Semi-sweet or milk chocolate work beautifully, but feel free to use dark chocolate for a more sophisticated taste.
- 1/4 cup milk: This helps to melt the chocolate smoothly.
- 1 teaspoon vanilla extract: Use pure vanilla extract for a richer aroma.
- Pinch of salt: This tiny addition balances flavors, enhancing the overall taste.
Preparation Notes:
- Make sure to allow the butter and cream to reach room temperature for easier mixing.
- If you’re making your own pie crust, let it cool completely before adding the fillings.

Step-by-Step Instructions
1. Preheat the Oven
Preheat your oven to 350°F (175°C). While the oven warms up, prepare your pie crust according to the package instructions. Bake it until it’s golden brown—this should take about 8-10 minutes—then let it cool completely.
2. Mix the Peanut Butter Filling
In a mixing bowl, combine 1 cup of creamy peanut butter, 1 cup of powdered sugar, and a pinch of salt. Stir until the mixture is smooth and creamy—this usually takes about 2-3 minutes.
3. Whip the Cream
In a separate mixing bowl, pour in 1 cup of heavy cream and whip until stiff peaks form. This can take about 3-5 minutes using a hand mixer. Gently fold half of this whipped cream into the peanut butter mixture until well combined. Spread this fluffy peanut butter filling evenly in the cooled pie crust.
4. Prepare the Chocolate Topping
In a microwave-safe bowl, combine 1 cup of chocolate chips and 1/4 cup of milk. Microwave in 30-second intervals, stirring in between until melted and smooth—this usually takes about 1-1.5 minutes total. Once melted, stir in 1 teaspoon of vanilla extract to infuse flavor.
5. Assemble the Pie
Pour the melted chocolate mixture over the peanut butter layer and smooth it out evenly using a spatula.
6. Finish with Whipped Cream
Top the pie with the remaining whipped cream and smooth it out for a beautiful finish.
7. Chill and Serve
Refrigerate for at least 4 hours (or overnight for best results) before serving. This waiting period allows the flavors to meld beautifully and makes slicing much easier.
Chef’s Tips:
- Timing: Allow the pie to set overnight for the best texture.
- Visual Cues: The chocolate topping should be glossy and firm before slicing.
Common Mistakes to Avoid:
- Don’t skip chilling! This step makes all the difference in texture.
- If you over-whip the cream, it can turn grainy—keep a close eye on it.
Expert Tips & Tricks
Make-Ahead Magic: This pie can be made two days in advance, making it perfect for busy occasions.
Perfect Storage: Keep leftovers in an airtight container in the fridge for up to 3 days. It’s still delicious refrigerated!
Troubleshooting: If your chocolate ganache doesn’t smooth out, add in a little more milk while stirring to help it along.
Rich Flavor: For a deeper flavor, try adding a tablespoon of strong coffee to your melted chocolate—it enhances the chocolate richness!
Avoid Over-Baking Crust: Keep an eye on your crust while it bakes; you want it golden but not too dark.
Serving Suggestions
Serve your Buckeye Pie chilled, garnished with a sprinkle of chopped peanuts or drizzles of extra melted chocolate. Fresh fruit like raspberries or strawberries is a delightful accompaniment—offering a refreshing contrast to the rich pie. This dessert is perfect for birthday parties, holiday gatherings, or as a delightful finish to your family dinners.
Variations & Substitutions
Different Flavors: For a festive twist, try incorporating peppermint extract or crushed peppermint candies during the holidays.
Dietary Adaptations: Gluten-free crusts can easily be swapped for allergen-friendly options.
Seasonal Spins: In autumn, consider adding pumpkin spice to the peanut butter mixture for a seasonal delight!
Nutrition & Storage Info
- Prep Time: 15 minutes
- Cook Time: 10 minutes
- Total Time: 4 hours (including chilling)
- Yield: 8 servings
- Estimated Calories: 450 calories per slice
Storage Instructions: Keep the pie covered in the refrigerator for up to 3 days. You can freeze slices for up to a month—just thaw them in the fridge overnight for a quick treat!
FAQ Section
Can I use crunchy peanut butter?
Yes! It will provide a different texture but still taste amazing.Is it necessary to refrigerate Buckeye Pie?
Yes, for the best texture and flavor, fridge time is essential.What if I don’t have heavy cream?
You can substitute it with coconut cream for a dairy-free version.Can I make this pie in advance?
Absolutely! This pie can be made a day or two ahead of time for convenience.What can I use if I don’t have chocolate chips?
Chopped chocolate bars will work just as well.How do I prevent the pie from becoming too sweet?
Use dark chocolate instead of milk chocolate for a richer, less sweet option.Can I make a mini version of this pie?
Yes! Using mini tart pans or ramekins allows for fun single servings.How do I store leftover pie?
Store in an airtight container in the refrigerator for up to 3 days.Can I use a pre-made pie crust?
Of course! Pre-made crust saves time and still delivers delicious results.What is the best way to serve Buckeye Pie?
Slice and serve chilled with a drizzle of chocolate or caramel sauce!
Conclusion
This Buckeye Pie is more than just a dessert; it’s a slice of nostalgia that brings comfort and smiles to everyone who tries it. The perfect balance of creamy, chocolatey goodness is sure to impress friends and family alike. I encourage you to roll up your sleeves and give this recipe a try—I promise it will become a staple in your dessert repertoire.
Please feel free to share your experience or any feedback in the comments below! And don’t forget to check out my other delicious recipes on the blog for more sweet inspiration.
White Chocolate Cranberry Cookies
Happy baking!

Buckeye Pie
Ingredients
Method
- Preheat your oven to 350°F (175°C). Prepare your pie crust according to package instructions and bake until golden brown (8-10 minutes). Let it cool completely.
- In a mixing bowl, combine the peanut butter, powdered sugar, and a pinch of salt until smooth (2-3 minutes).
- In another bowl, whip the heavy cream until stiff peaks form (about 3-5 minutes). Fold half of this whipped cream into the peanut butter mixture and spread evenly in the cooled crust.
- Melt chocolate chips and milk in a microwave-safe bowl for 30-second intervals, stirring in between until smooth (1-1.5 minutes). Stir in vanilla extract.
- Pour the melted chocolate mixture over the peanut butter layer and smooth it out with a spatula.
- Top with the remaining whipped cream and smooth for a beautiful finish.
- Refrigerate for at least 4 hours (or overnight) before serving.