Table of Contents
Table of Contents
Perfect Your Baking: The Ultimate Homemade All Butter Pie Crust Recipe from Scratch
I remember the first time I made a pie curst for my family—a flaky, golden crust filled with luscious berries, bursting with flavor and memories. It was a cozy Sunday afternoon, the scent of baking wafting through our home, and laughter filling the air. This Homemade All Butter Pie Crust Recipe from Scratch was my secret weapon in creating those joyful moments, and I’m thrilled to share it with you.
What sets this pie crust apart from the others? It’s the melding of simple ingredients combined with a pinch of love. You see, the warmth of a homemade pie crust isn’t just in its flaky texture or buttery flavor—it’s about nostalgia, comfort, and family traditions. Compared to store-bought versions, this recipe delivers a taste and texture that transports you straight to grandma’s kitchen. Plus, it’s incredibly easy to make, requiring only a handful of basic ingredients.
In this recipe, I’ll walk you through the steps needed to create a perfect pie crust that can hold any filling your heart desires. Get ready to impress your family and friends with a homemade masterpiece that will evoke smiles and stomachs filled with joy!
What Are Homemade All Butter Pie Crusts?
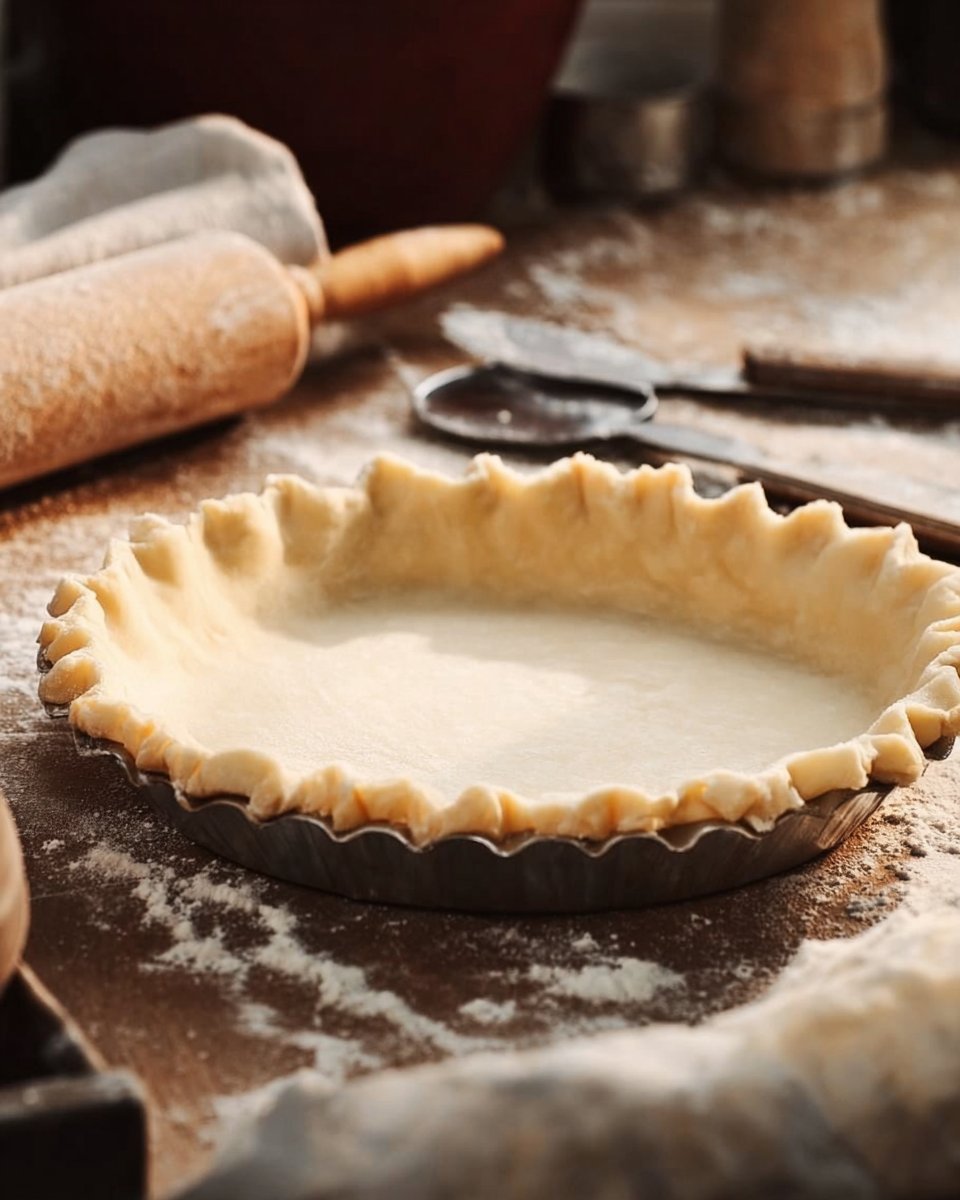
Homemade All Butter Pie Crusts are a classic staple in many kitchens, adored for their rich, buttery flavor and delightfully flaky texture. The history of pie dates back centuries, but the beauty of this all-butter recipe lies in its simplicity and the quality of its ingredients. Made using just a few pantry staples— flour, sugar, salt, butter, and water—this crust is incredibly versatile.
What makes these crusts unique is the use of all butter instead of shortening or lard, providing a richer flavor profile and a more tender texture. The result is a perfectly balanced crust that crumbles delicately at the edges and holds its shape beautifully while maintaining that luxurious buttery taste.
Whether it’s for a classic apple pie or a savory quiche, this Homemade All Butter Pie Crust is the canvas for your culinary creations. Embrace the joy of baking and make this crust for birthdays, holidays, or simply whenever you’re in need of a slice of comfort!
Why You’ll Love This Recipe
Exquisite Flavor: Nothing compares to the deep, rich taste of a crust made with real butter. You won’t find that in any store-bought option!
Customizable: This recipe is a blank canvas! Feel free to mix in a dash of spices like cinnamon for sweet pies or herbs for savory dishes. Want to get adventurous? Add grated cheese for a unique twist.
Cost-Effective: Making your own pie crust can save you money in the long run, especially if you bake frequently. Plus, you can make several crusts at once and freeze them for future use!
Easy to Master: While pie-making can seem daunting, this recipe is foolproof! With just a few simple techniques, you’ll yield a beautiful crust every time.
Hands-on Experience: Unlike store-bought options, kneading and rolling the dough gives you a tangible connection to your food, making it perfect for family get-togethers. Bond over the method and appreciate the effort that goes into each bite.
Whether you’re baking a pie to impress guests or simply to satisfy a craving, this Homemade All Butter Pie Crust Recipe is sure to become a favorite in your kitchen.
Ingredients
- 1 1/4 cups all-purpose flour: Look for a high-quality brand like King Arthur or Bob’s Red Mill for the best results.
- 1/2 teaspoon sugar: This small amount enhances the flavor—don’t skip it!
- 1/4 teaspoon salt: Use fine sea salt for even distribution of flavor.
- 1/2 cup butter, chilled and grated: Using unsalted butter allows you to control the saltiness, and chilling it beforehand helps achieve that desirable flakey texture.
- 1/4 cup ice water: Keep it super cold—ice cubes are your best buddies here!
Make sure your ingredients are fresh; they substantially affect the final outcome! For those who need gluten-free options, consider substituting with a gluten-free flour blend; just ensure it contains xanthan gum.
Step-by-Step Instructions
Chill the Butter: Start by chilling your butter until it’s very cold. Grate it using a cheese grater and then pop it back into the fridge while you prepare the dry ingredients. This step is crucial for achieving that flaky texture.
Mix the Dry Ingredients: In a large bowl, combine the flour, sugar, and salt. This step ensures even mixing.
Incorporate the Butter: Use a pastry blender or your hands to cut in the chilled, grated butter until the mixture resembles coarse crumbs. You want the butter pieces to be about the size of peas.
Add Ice Water: Gradually add the ice water, 1 tablespoon at a time, mixing gently until the dough comes together—it should just form a ball without being sticky.
Chill the Dough: Flatten the dough slightly into a disc for easier rolling later, wrap it tightly in plastic wrap, and refrigerate for at least an hour or overnight for best results.
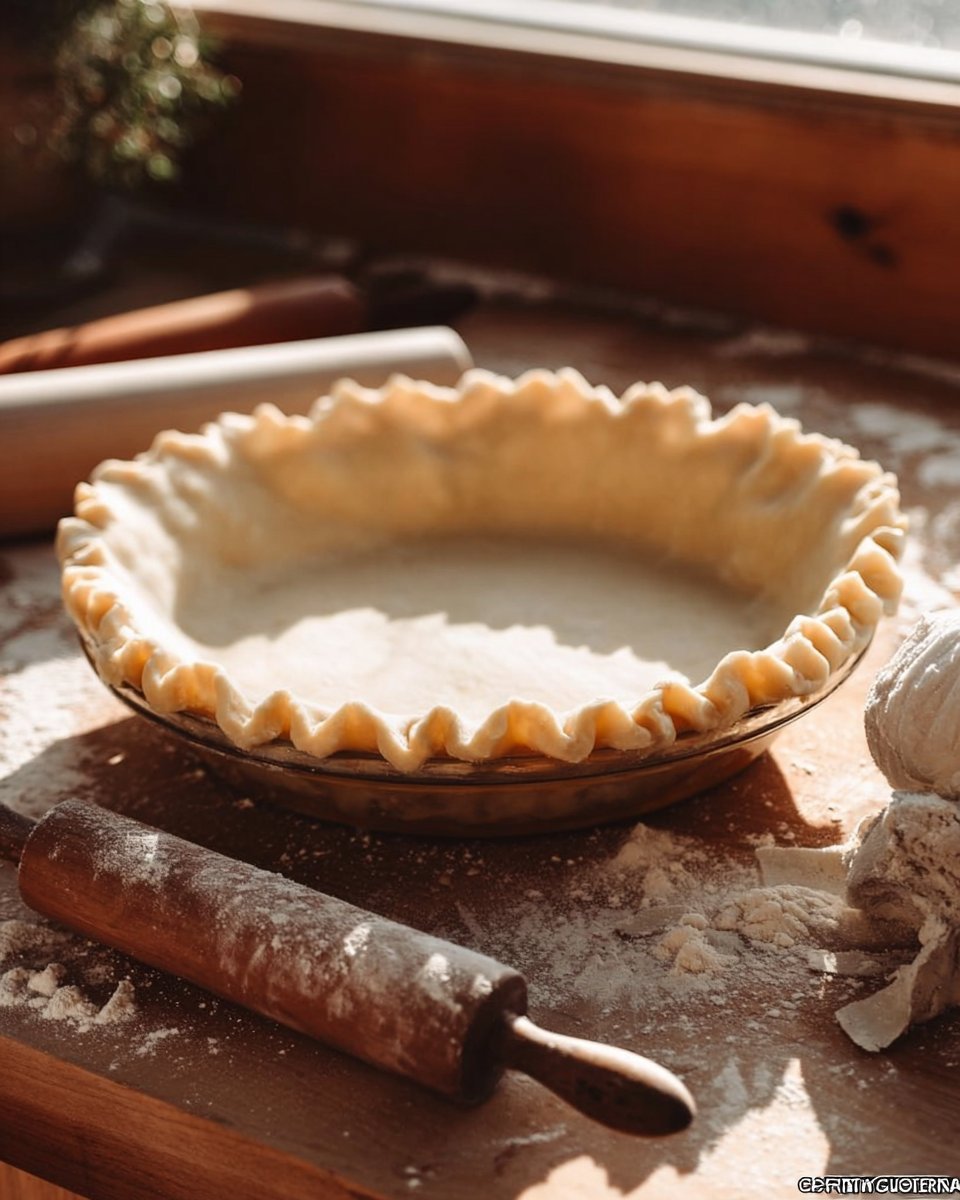
Roll Out the Dough: When you’re ready to bake, roll the chilled dough out on a very lightly floured surface using a floured rolling pin. I prefer a pastry mat, which helps prevent the crust from getting tough.
Transfer to Pie Plate: Gently transfer the rolled dough to your pie plate, trimming and fluting the edges as desired. Poke holes in the middle with a fork to prevent bubbling.
Pre-Bake if needed: If your recipe requires, bake the shell with a piece of foil or parchment paper weighted down with pie weights for 20-30 minutes in a preheated oven at 375°F, or until golden brown.
Fill and Bake: If you’re using a filled pie, add your desired fillings now, top with another crust if desired, and bake as per your pie filling instructions.
Chef’s Tips:
- Avoid overworking the dough; it should feel soft and tender.
- If your pie crust snaps or breaks while rolling, just patch it with your fingers!
Expert Tips & Tricks
Storage: If you have leftover dough, it can be stored in the fridge for up to 3 days. For longer storage, wrap tightly in plastic wrap and freeze for up to 3 months.
Make Ahead: Prepare the dough ahead of time and freeze it. When you want to bake, let it thaw in the fridge overnight before rolling it out.
Common Mistakes: Avoid using warm butter. If your dough is too dry, add a tad more ice water; if it’s too wet, a little more flour can help. Also, be careful not to stretch the dough when fitting it into the pie plate; this can cause shrinkage during baking.
Serving Suggestions
A homemade pie deserves the best accompaniments! Serve warm slices fresh from the oven with a scoop of vanilla ice cream or a dollop of freshly whipped cream. For a festive presentation, sprinkle some powdered sugar on top or garnish with fresh berries. This pie crust pairs beautifully with summer fruit pies, cozy holiday fillings, or savory quiches, making it perfect for any occasion!
Variations & Substitutions
Flavored Crusts: Consider infusing your crust with flavors such as lemon zest, vanilla extract, or finely chopped fresh herbs (think thyme or rosemary) for an elevated twist.
Dietary Restrictions: For a dairy-free option, use a non-dairy butter substitute, though the flavor may be slightly different. Gluten-free blends can easily replace all-purpose flour.
Seasonal Variations: Incorporate spices like nutmeg or allspice for fall flavors or citrus zest in the spring and summer to complement your fillings beautifully.
Nutrition & Storage Info
- Prep Time: 15 minutes (not including chilling)
- Cook Time: 20-30 minutes for pre-baking
- Total Time: Approximately 1 hour (not including chill time)
- Yield: 1 pie crust (serves approximately 8 slices)
- Estimated Calories: About 180 calories per slice (depending on filling)
Storage Instructions: Cool completely before storing pie at room temperature for up to 2 days. For longer storage, cover tightly and refrigerate for up to 4 days or freeze for up to 2 months.
FAQ Section
1. Can I use salted butter instead of unsalted butter?
Yes, but be mindful that it may alter the overall saltiness of your crust. You can reduce the added salt to accommodate.
2. How can I prevent my crust from shrinking?
Avoid stretching the dough when fitting it into the pie plate and let it rest in the fridge before baking.
3. Can I freeze the pie crust?
Absolutely! Wrap it tightly in plastic wrap and keep it in the freezer for up to 3 months. Thaw in the fridge before use.
4. What if my dough is too crumbly?
You might need a tad more ice water. Add a teaspoon more at a time until the dough holds together.
5. Why is my crust not flaky?
This could be due to overworking the dough or not having enough cold butter. Make sure to keep everything cold during preparation.
6. Can I use vegetable shortening instead of butter?
You can, but it won’t have the same rich flavor. It will yield a different texture, so keep that in mind!
7. How can I tell when my crust is done?
The crust should be golden brown and firm to the touch; look for a light golden hue.
8. Do I need pie weights?
For a pre-baked crust, it’s advisable to use pie weights or dried beans to prevent bubbling. If you’re adding filling, it’s not necessary.
9. What is the best way to cut pie slices?
Use a warm and sharp knife for cleaner slices, and clean the blade after each cut.
10. How long does a baked pie keep?
Baked pies are best enjoyed within 2-3 days at room temperature; refrigerate after that period for safe storage.
Conclusion
This Homemade All Butter Pie Crust Recipe from Scratch is more than just a recipe; it’s an ode to baking, a bridge connecting us to cherished memories and the comforting warmth of home. I can’t wait for you to experience the joy of crafting this delicate, buttery crust for your own family. Share your results with me in the comments, and feel free to check out my other pie-related recipes on the blog. Let’s bake those cherished memories together! Happy baking!
Graving more recipes?
- No Bake Easy Coconut Cream Pie Recipe
- Crustless Coconut Pie
- Nantucket Holiday Cranberry Pie
- Brownie Pie
- Maple Cream Pie
- Vanilla Cream Pie

Homemade All Butter Pie Crust
Ingredients
Method
- Chill the Butter: Start by chilling your butter until it’s very cold. Grate it using a cheese grater and then pop it back into the fridge while you prepare the dry ingredients.
- Mix the Dry Ingredients: In a large bowl, combine the flour, sugar, and salt. This step ensures even mixing.
- Incorporate the Butter: Use a pastry blender or your hands to cut in the chilled, grated butter until the mixture resembles coarse crumbs. You want the butter pieces to be about the size of peas.
- Add Ice Water: Gradually add the ice water, 1 tablespoon at a time, mixing gently until the dough comes together—it should just form a ball without being sticky.
- Chill the Dough: Flatten the dough slightly into a disc for easier rolling later, wrap it tightly in plastic wrap, and refrigerate for at least an hour or overnight for best results.
- Roll Out the Dough: When you’re ready to bake, roll the chilled dough out on a very lightly floured surface using a floured rolling pin.
- Transfer to Pie Plate: Gently transfer the rolled dough to your pie plate, trimming and fluting the edges as desired. Poke holes in the middle with a fork to prevent bubbling.
- Pre-Bake if needed: If your recipe requires, bake the shell with a piece of foil or parchment paper weighted down with pie weights for 20-30 minutes in a preheated oven at 375°F, or until golden brown.
- Fill and Bake: If you’re using a filled pie, add your desired fillings now, top with another crust if desired, and bake as per your pie filling instructions.