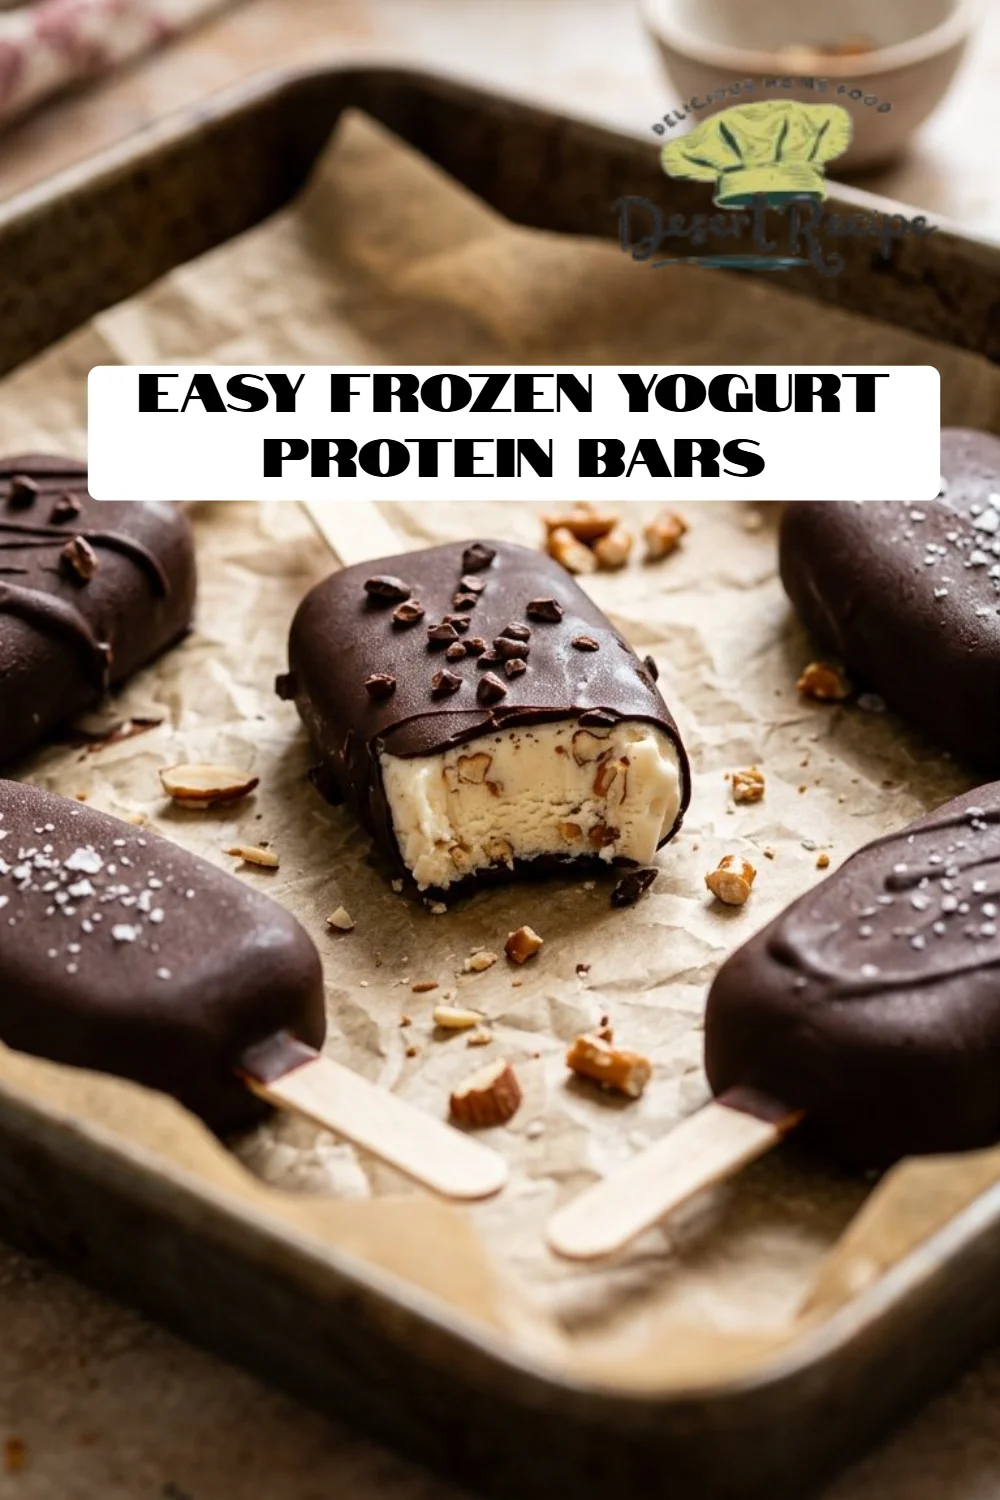
Easy Frozen Yogurt Protein Bars: Your New Favorite Healthy Treat!
If you’re like me, summer days often bring a sense of nostalgia, whispering memories of hot afternoons spent lounging in the backyard with family, licked ice cream dribbling down our fingers. As a child, sweet treats were synonymous with joy, but as an adult, I’ve had to learn the delicate balance of enjoying delicious food while being mindful of health and nutrition. Enter my beloved Easy Frozen Yogurt Protein Bars! These delightful treats don’t just bring back those cherished memories; they elevate them by infusing wholesome ingredients into a classic indulgence.
What sets these bars apart is their ease of preparation and the protein boost that makes them guilt-free. Unlike the store-bought options loaded with refined sugars and artificial flavors, my homemade version uses simple, natural ingredients that you can feel good about sharing with your loved ones. They’re not just healthy; they’re utterly delicious—rich, creamy, and lightly sweet, with a satisfying chocolatey dip. The best part? They’re super easy to make, allowing you to whip up a batch in no time. Get ready to learn how to create these tasty bars that will brighten your snack time and fill your home with the warmth of shared memories!
What Are Easy Frozen Yogurt Protein Bars?
The journey to creating the Easy Frozen Yogurt Protein Bars started in my quest for a healthy yet indulgent snack option. These bars are a joyous fusion of creamy yogurt blended with wholesome nut butter, sweetened gently with honey or maple syrup, and finished with a luscious dip in dark chocolate.
With a smooth, creamy texture and a delightful crunch from the chocolate coating, they are a perfect snack for any time of the day. They’re bang-on for a post-workout treat or a mid-afternoon snack when you need a little pick-me-up. What makes these bars truly unique is their adaptability—you can customize flavors, adjust sweetness, or toss in your favorite mix-ins!
No more wondering what to snack on—these bars will be your go-to recipe for busy days, when you need a sweet treat that will energize instead of weigh you down.
Why You’ll Love This Recipe
Nutritional Powerhouse: Unlike many store-bought snacks, these bars pack a protein punch from yogurt and protein powder, making them ideal for post-workout recovery or a filling snack.
Cost-Effective: Making these bars at home is not just healthier, it’s lighter on your wallet. For the cost of a single store-bought protein bar, you can make multiple batches of these delights.
Easy Customization: The basic recipe is incredibly versatile. Want a little tropical twist? Swap in coconut yogurt and add chunks of pineapple. Prefer a peanut butter kick? Use peanut butter instead of sunflower seed butter!
Simple Preparation: The method is as straightforward as mixing and freezing. Even if you’re a kitchen novice, you’ll feel like a pro in no time!
Family-Friendly: This recipe is not just for adults—kids will love it too! It’s a great way to sneak in some healthy ingredients while providing a delicious treat that feels like dessert.
Ingredients
- 1 cup unsweetened yogurt: Greek yogurt works wonderfully for extra protein! You can also opt for dairy-free yogurt if needed.
- 1/4 cup unsweetened sunflower seed butter: Nut allergies? Replace it with tahini or another nut butter like almond butter for a different flavor.
- 2 Tbsp raw honey or maple syrup: Choose your sweetener; both provide natural sweetness! Agave syrup is another great alternative.
- 1/3 cup vanilla protein powder: This adds protein and flavor—pick a brand you trust! I’ve had great results with Orgain or Garden of Life.
- 1 cup dark chocolate chips: Go for high-quality chocolate—Ghirardelli or Enjoy Life (for dairy-free) are fantastic choices.
- 1 tsp coconut oil (optional): This helps the chocolate melt smoothly and adds a hint of coconut flavor.
Prep Notes: Make sure your nut butter is at room temperature for easier mixing.
Step-by-Step Instructions
Prepare your popsicle molds: Place them on a baking sheet for stability, setting aside for later.
Mix the base: In a large bowl, whisk together 1 cup unsweetened yogurt, 1/4 cup sunflower seed butter, 2 Tbsp honey or maple syrup, and 1/3 cup vanilla protein powder. You’re looking for a silky, homogenous mixture — about 2-3 minutes of vigorous whisking should do the trick!
Fill the molds: Pour the mixture into the prepared popsicle molds, filling them nearly to the top. Insert sticks, ensuring they are stable.
Freeze: Pop the molds in the freezer for at least 4 hours or until the bars are set firmly. (Pro tip: If you leave them overnight, they’re even better!)
Melt the chocolate: In a microwave-safe bowl, melt 1 cup chocolate chips and 1 tsp coconut oil. Use 30-second intervals, stirring between each to achieve a smooth texture.
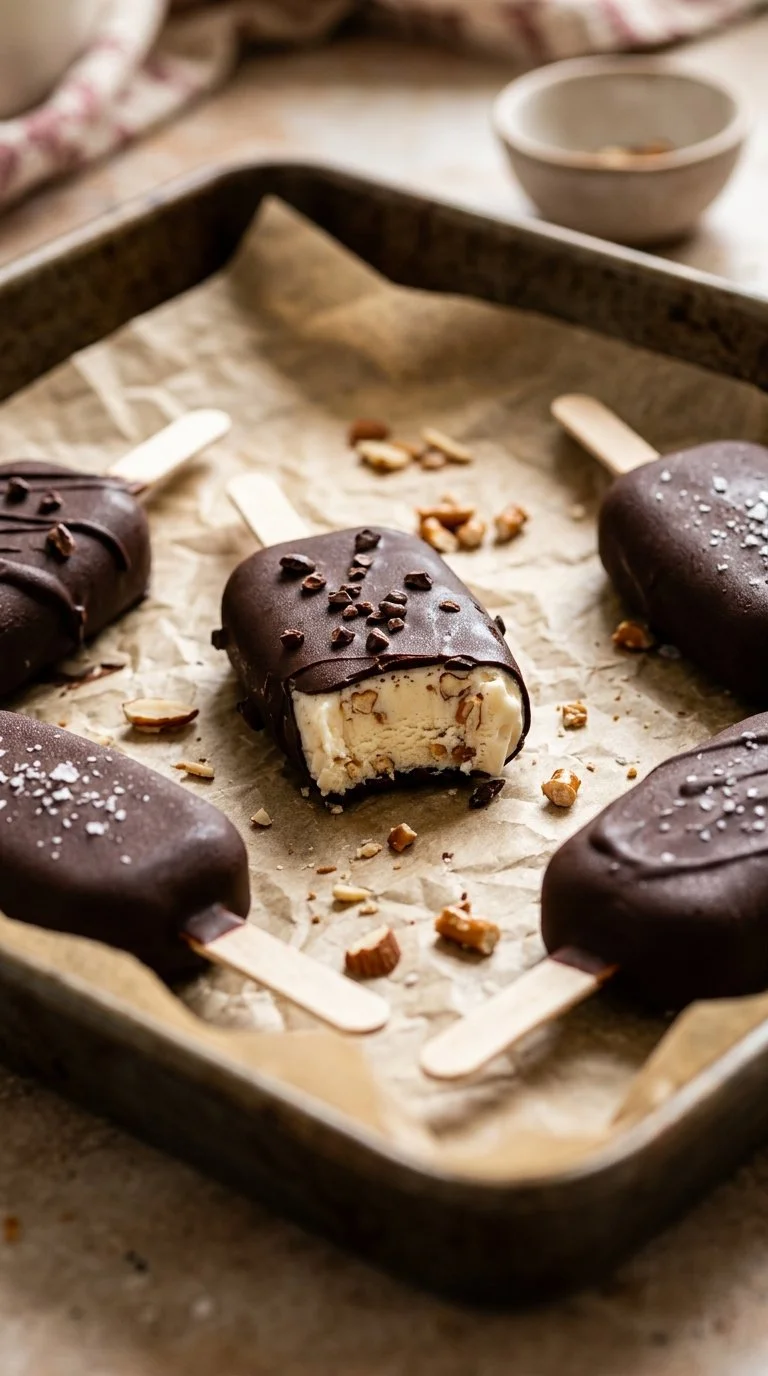
Dip the bars: Carefully remove the bars from the molds. Dip each bar into the melted chocolate, coating it evenly, and place them on a parchment-lined baking sheet to set.
Enjoy: You can enjoy them immediately, or return them to the freezer to set completely.
Chef’s Tip: For a fun touch, sprinkle some crushed nuts or sprinkles on the chocolate before it sets!
Expert Tips & Troubleshooting
Storage: Keep your bars stored in an airtight container in the freezer. They’ll last up to 2 months—but good luck keeping them around that long!
Make-Ahead: These bars are perfect for prepping on the weekend. Whip up a batch and enjoy them throughout the week.
Common Mistakes: If the bars are difficult to remove from the molds, try briefly running them under warm water for easier release.
Troubleshooting: If the chocolate coating doesn’t stick properly, your chocolate may need to be a bit warmer, or try giving it a quick chill in the fridge to firm back up!
Serving Suggestions
Serve these delicious bars alongside some fresh fruit for a refreshing snack. They also pair excellently with a warm cup of herbal tea or coffee! For celebrations, try arranging them on a cute platter at your next picnic or family gathering for an impressive homemade treat that will have everyone raving.
Variations & Substitutions
Feeling adventurous? Here are a few variations to try:
- Fruit-Filled Bars: Swirl in a handful of your favorite diced fruits like berries or bananas into the yogurt mixture for a fruity surprise.
- Chocolate Swirl: For a decadent twist, swirl some of the melted chocolate into the yogurt mixture before freezing!
- Seasonal Flavors: During the fall, add a dash of cinnamon and some pumpkin puree for a pumpkin spice version that’s perfect with a warm sweater!
Nutrition & Storage Info
- Prep time: 15 minutes
- Cook time: 0 minutes (freezing time varies)
- Total time: 4 hours (excluding freeze time)
- Yield: Makes about 6 bars
- Estimated calories: ~150 calories per bar
- Storage instructions: Keep these treats in the freezer for best flavor; they’ll stay fresh for up to two months.
FAQ SECTION
Can I use a different type of yogurt?
Absolutely! Feel free to use Greek, regular, or dairy-free yogurt based on your preference.How do I store these bars?
Store them in an airtight container in the freezer to keep them fresh.Can I make them vegan?
Yes! Substitute the honey with maple syrup and use plant-based protein powder and yogurt.How long do they last in the freezer?
They’re best enjoyed within 2 months, but can last longer if stored properly.What if I don’t have popsicle molds?
You can use ice cube trays or silicone muffin cups as a fun alternative!Can I add other mix-ins?
Absolutely! Get creative with nuts, dried fruits, or seeds mixed into the yogurt base.What can I use instead of sunflower seed butter?
Almond butter, cashew butter, or even tahini can be great substitutes!Why is my chocolate coating not sticking?
Ensure the chocolate is slightly warm and cohesive for better adherence.Can I use flavored protein powders?
Yes! Flavored protein powders like chocolate or cookies and cream can add a unique twist.Can I make these without protein powder?
Yes, just increase the yogurt amount slightly to compensate for the removal of the protein powder.
Conclusion
In summary, these Easy Frozen Yogurt Protein Bars are not just a healthy alternative to store-bought snacks; they are a trip down memory lane, bringing joyfully nostalgic flavors to your kitchen. I truly believe you’ll love making them as much as I do! I’d love to hear your thoughts after trying out the recipe, so please share your feedback or any fun twists you’ve added. Looking for more healthy snack ideas? Check out my blog for an array of mouthwatering recipes that will keep you inspired!

Easy Frozen Yogurt Protein Bars
Ingredients
Method
- Prepare your popsicle molds: Place them on a baking sheet for stability.
- In a large bowl, whisk together the yogurt, sunflower seed butter, honey or maple syrup, and vanilla protein powder until smooth and homogenous.
- Pour the mixture into the prepared popsicle molds, filling them nearly to the top, and insert sticks.
- Freeze for at least 4 hours or until the bars are set firmly.
- In a microwave-safe bowl, melt the chocolate chips and coconut oil in 30-second intervals, stirring until smooth.
- Remove the bars from molds and dip each into the melted chocolate, then place them on a parchment-lined baking sheet to set.
- Enjoy immediately or return to the freezer to firm up.