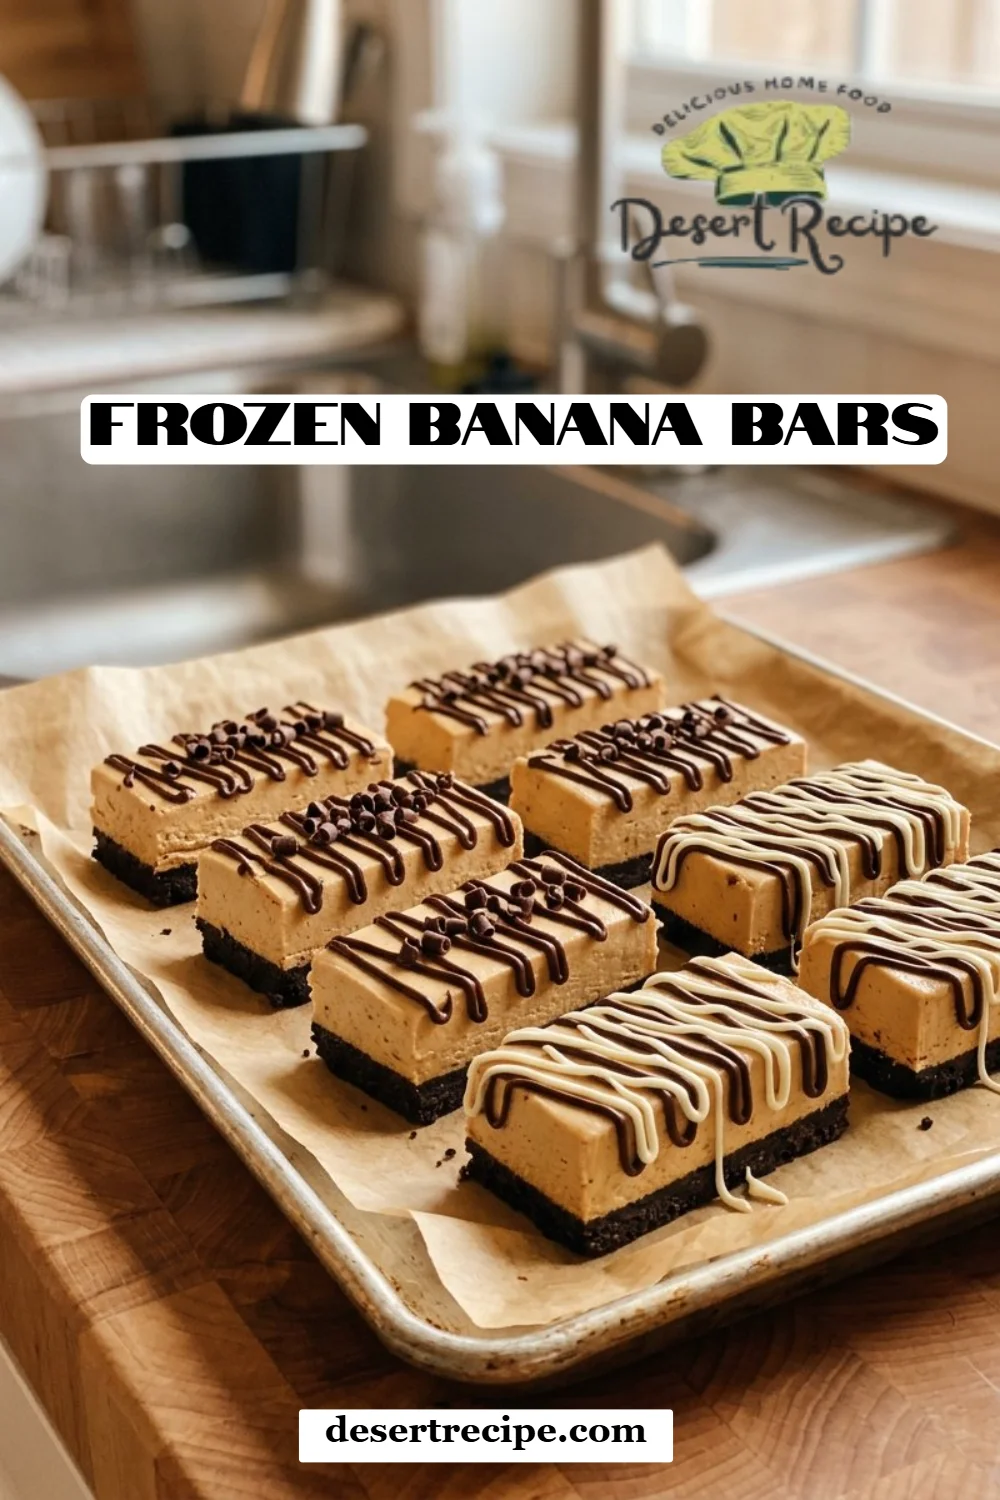
Irresistible Frozen Banana Bars: A Taste of Pure Bliss
Introduction
There’s something undeniably nostalgic about banana desserts in my family. Growing up, whenever the skies seemed a little gray or moods dipped low, my mom would whisk us away into the kitchen to create something special. That’s where my love for amazing recipes like Frozen Banana Bars was born—a sweet, creamy treat that never failed to bring warmth and joy into our home. These bars are not just a dessert; they are a gateway to the laughter, chaos, and love that filled our kitchen.
What truly sets these Frozen Banana Bars apart from the rest is their creamy coconut base combined with the natural sweetness of ripe bananas. Unlike store-bought options, these bars are free from complicated ingredients and additives, allowing you to savor pure comfort. Plus, they are entirely customizable, making them perfect for any occasion—whether it’s a summer picnic, a birthday celebration, or a cozy movie night at home.
By following this delightful recipe, you’ll discover how easy it is to whip up these irresistible Frozen Banana Bars. With just a handful of wholesome ingredients, you can create a treat your family will cherish for generations. So buckle up, and let’s embark on this delicious journey together!
What Are Frozen Banana Bars?
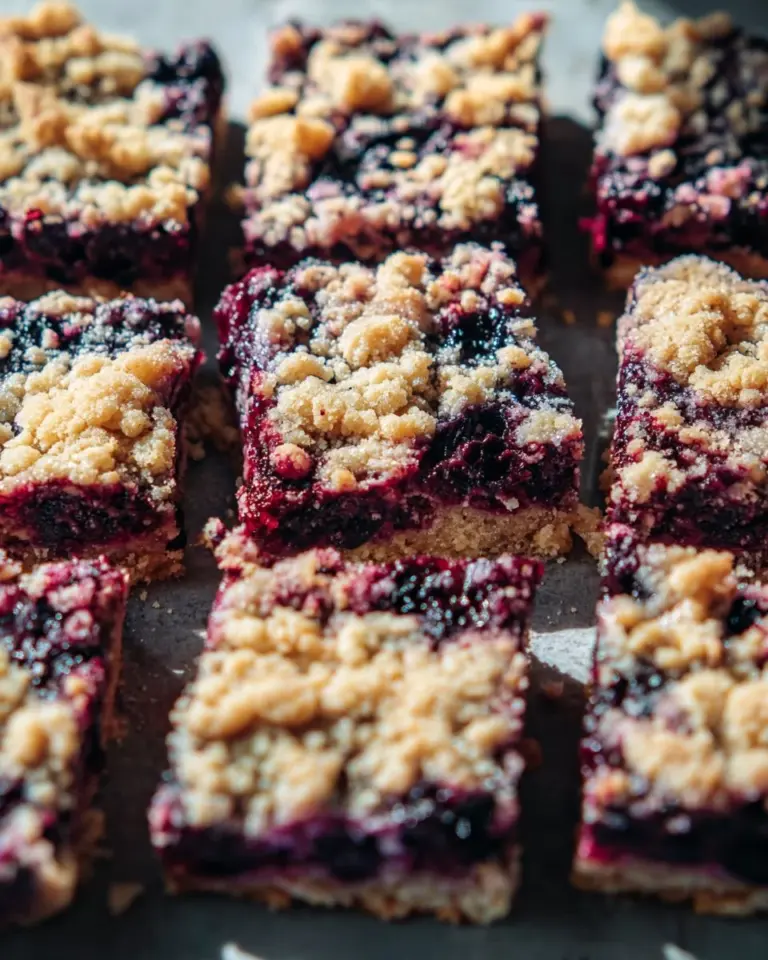
Frozen Banana Bars are a delightful frozen dessert made primarily of ripe bananas and a coconut-based filling that delivers a creamy, dreamy texture with each bite. The origins can be traced back to the genius idea of turning overripe bananas—often overlooked—into something divine. The taste is a perfect harmony of sweet and tropical, while the texture is wonderfully rich yet light, providing a little crunch from the crust.
These bars are unique not only because they are freezer-friendly but also for the wholesome goodness packed into each one. They serve as a wonderful pick-me-up on a hot day or a comforting treat in the evening. You can make them for an outdoor pool party, a picnic under the stars, or as a snack for the kids after school—there’s never a wrong time for these Frozen Banana Bars!
Why You’ll Love This Recipe
- Wholesome Ingredients: Unlike many store-bought desserts loaded with sugars and preservatives, these homemade Frozen Banana Bars use simple, real-food ingredients you can feel good about.
- Cost-Effective: With just a few staple ingredients, you save money while still offering a delightful treat for family and friends. Think about how many bananas you usually toss out—this recipe turns them into something delicious instead!
- Highly Customizable: Whether you want to swap in dates for extra sweetness, get adventurous with spices like cardamom or ginger, or even toss in some nut butter for a different flavor punch, this recipe adapts beautifully to your taste preference.
- Easy to Prepare: With minimal equipment required (hello, food processor!), you’ll have these bars in the freezer in no time. Plus, no baking means less mess—always a win in my book!
- Healthy Treat for Everyone: These bars are naturally dairy-free and can easily be made gluten-free, accommodating various dietary restrictions while still being a totally indulgent dessert for everyone.
Ingredients
- 1 cup unsweetened flaked coconut: Look for fresh or organic coconut for the best flavor and texture. If you want to play around, try sweetened coconut for a treat that’s even sweeter.
- 1/2 cup whole, raw pecans: These add a lovely crunch. Toasting them beforehand can deepen the flavor if you have a few extra minutes.
- 1/2 cup raw walnut pieces: Their earthy taste complements the sweetness beautifully. Feel free to substitute with almonds or hazelnuts if desired!
- 1/2 tsp cinnamon: This adds warmth. Add a pinch more if you want to amp up the flavors.
- 1/8 tsp salt: Balances the sweetness just right—don’t skip it!
- 3 large, extra ripe bananas: The riper the bananas, the sweeter your bars will be. Look for those lovely brown spots.
- 1 cup coconut cream: For the creamiest result, chill a can of full-fat coconut milk overnight and scoop out the thick portion.
- 1/2 tsp vanilla extract: Use high-quality, pure vanilla extract for the best flavor.
- 1/2 tsp cinnamon: Yes, again! It’s well worth the repeat for flavor.
- 1/2 tsp xanthan gum (optional): This can help with texture, especially if you’re storing the bars for a longer time.
Step-by-Step Instructions
Prepare the Crust: In your food processor, combine the flaked coconut, pecans, walnuts, cinnamon, and salt. Blend until the mixture is finely ground and holds together when pressed, about 30-45 seconds.
Chef’s Tip: Don’t over-blend, as you still want some texture in the crust. Visual cue: It should be crumbly yet hold together when you squeeze it in your hand.
Line the Pan: Line an 8" x 8" pan with parchment paper, leaving some overhang on the sides for easy removal. Press the crust mixture firmly into the bottom of the pan, creating an even layer. Set aside in the freezer while you prepare the filling.
Make the Filling: In the clean food processor, blend the ripe bananas, coconut cream, vanilla extract, and cinnamon until smooth and creamy, about 1-2 minutes.
Chef’s Tip: Ensure your bananas are thoroughly blended for a silky texture. If there are chunks, your bars might not freeze well.
Assemble the Bars: Pour the filling over the prepped crust. Spread it evenly and smooth out with a spatula. Return the pan to the freezer and freeze for at least 6 hours until solid.
Timing: If you’re excited to try them, plan this step ahead of time. Overnight is best so they’re ready when you are!
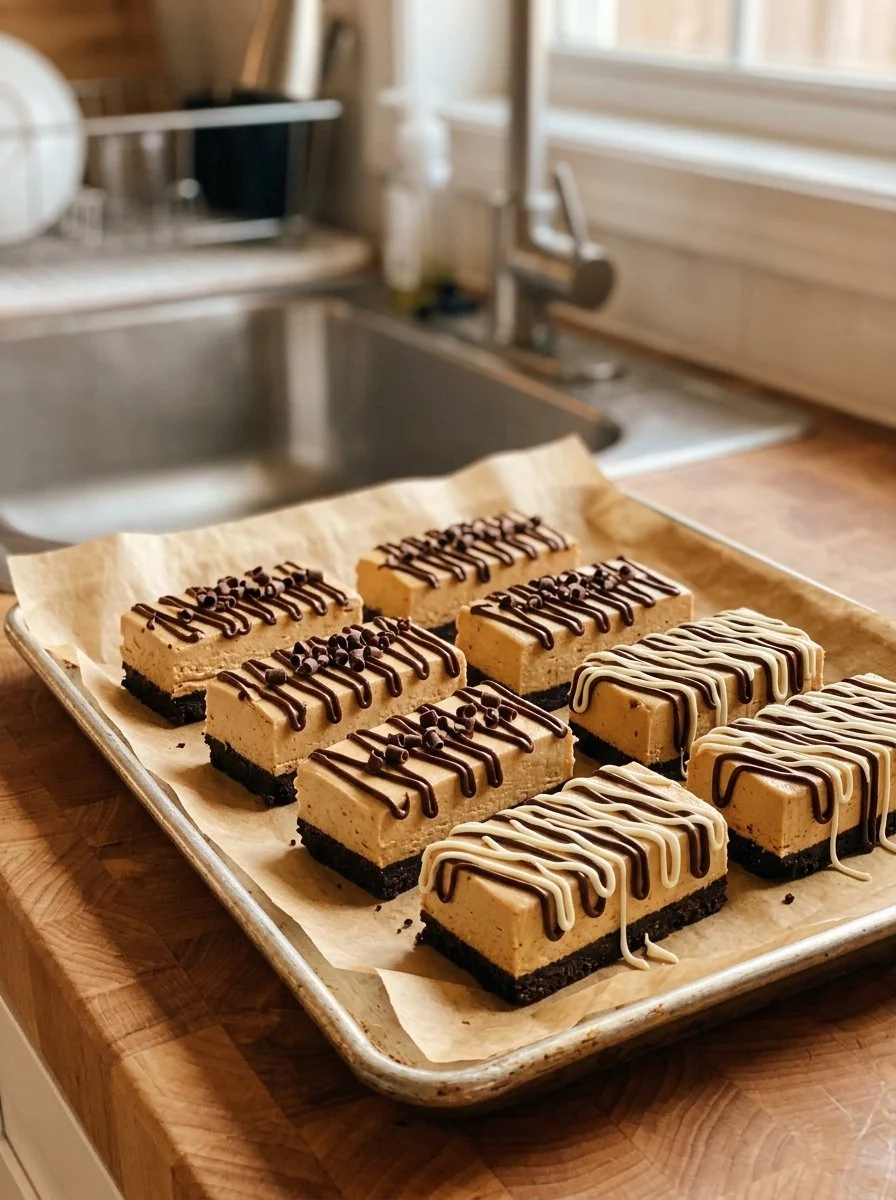
Cut and Serve: Once frozen, remove the bars from the pan using the parchment paper overhang. Cut into 16 squares. If you want to get fancy, drizzle with melted dark chocolate before serving!
Common Mistake to Avoid: Always let the bars soften slightly at room temperature for a few minutes before cutting—you’ll get cleaner edges that way!
Expert Tips & Troubleshooting
- Storage Recommendations: Keep the bars in an airtight container in the freezer for up to 2 months. However, good luck having them last that long!
- Make-Ahead Instructions: These freeze beautifully, so feel free to make them ahead for events or snack prep for the week.
- Troubleshooting: If your bars are too soft, try adding a bit more xanthan gum next time or letting them freeze longer. If they’re too hard, allow them to sit at room temperature for a bit before serving.
- Chilling the Coconut Cream: If your coconut cream separates, just give it a gentle stir before measuring for a smooth consistency.
- Customize: Mix in your favorite nuts, or layer with fresh fruit for added flavor and texture!
Serving Suggestions
These gorgeous Frozen Banana Bars are packed with flavor and look stunning on any dessert table. Serve alongside fresh berries or a dollop of coconut whipped cream for an extra touch of indulgence. For the perfect picnic or summertime treat, they can be a showstopper at birthday parties or barbecues. You might even want to serve them with a side of coffee or an iced latte—trust me; the combo is heavenly!
Variations & Substitutions
Feel free to switch up the flavors with different toppings or additions! You might consider:
- Nut Butters: Swirl in some almond or peanut butter for added richness and flavor.
- Fruits: Add pureed mango or strawberries into the banana filling for a fruity twist. Seasonal fruits in summer will be divine!
- Dietary Adjustments: To make it gluten-free, simply ensure all your ingredients, especially the nuts and coconut, are certified gluten-free.
- Spices: Replace cinnamon with nutmeg or cardamom for a unique spin on flavors.
Nutrition & Storage Info
- Prep Time: 20 minutes
- Cook Time: 6 hours (freeze time)
- Total Time: 6 hours 20 minutes
- Yield: 16 bars
- Estimated Calories: Approximately 120 calories per bar
- Storage: Store in an airtight container in the freezer for up to 2 months.
FAQ Section
Can I make these bars vegan?
Yes! This recipe is naturally vegan, thanks to the plant-based ingredients.Can I substitute the nuts?
Absolutely! Use any nut or seed butter that you prefer or have on hand.How long do these bars last in the freezer?
They can be stored for up to 2 months; but honestly, they might not last that long—they’re too good!What if I don’t have a food processor?
You can use a blender, though you might need to blend in batches. Just be sure not to over-blend!Can I add chocolate chips to the filling?
Yes! Mini chocolate chips make a delightful addition for those who want a little sweetness.How can I serve these bars?
Serve them with a fruit compote, a drizzle of chocolate sauce, or just plain—they’re delightful on their own!Can I use frozen bananas?
Yes, just be sure to thaw them and drain any excess moisture before blending.Will these bars melt quickly?
Yes, they are best served shortly after being removed from the freezer. Plan for a quick serving time if outdoors!Can I add protein powder?
Certainly! Incorporate a scoop of your favorite protein powder in the banana filling for an added boost.Can I make this without nuts?
Yes! Simply omit the nuts in the crust and perhaps replace them with more coconut or oats.
Conclusion
These Frozen Banana Bars hold a special place in my heart, reminding me of sweet moments with family and the joy of simple yet delicious food. I encourage you to try making them and customize to your delight. I can’t wait to hear what you think, so leave a comment below with your feedback! And if you’re seeking more delightful inspirations, check out my other recipes for equally indulgent treats on the blog. Happy baking!


Frozen Banana Bars
Ingredients
Method
- In your food processor, combine the flaked coconut, pecans, walnuts, cinnamon, and salt. Blend until the mixture is finely ground and holds together when pressed, about 30-45 seconds.
- Line an 8" x 8" pan with parchment paper, leaving some overhang on the sides. Press the crust mixture firmly into the bottom of the pan, creating an even layer. Set aside in the freezer.
- In the clean food processor, blend the ripe bananas, coconut cream, vanilla extract, and cinnamon until smooth and creamy, about 1-2 minutes.
- Pour the filling over the prepped crust. Spread it evenly and smooth out with a spatula. Return the pan to the freezer and freeze for at least 6 hours until solid.
- Once frozen, remove the bars from the pan using the parchment paper overhang. Cut into 16 squares.