Decadent Homemade Twix Bars: A Guilt-Free Indulgence You’ll Crave
Introduction
As a child, I adored the occasional guilty treat of Twix bars, indulging in that perfect harmony of crunchy cookie, gooey caramel, and luscious chocolate. It was pure bliss. However, as I grew older and became more aware of the ingredients and the health implications associated with commercial candy, I found myself longing for a homemade alternative that satisfied those nostalgic cravings. That’s when I stumbled upon a recipe for Homemade Twix Bars that transformed my kitchen into a playground of sweet possibilities!
These Homemade Twix Bars are nothing short of magical. Not only do they capture the essence of the classic, but they also allow you to control every ingredient, making them a much healthier and cleaner option. Packed with wholesome goodness, these bars revive fond family memories while satisfying your sweet tooth without any guilt. The best part? They’re surprisingly easy to whip up, making them perfect for both a fun afternoon project with the kids or a delightful treat for your next family gathering.
In this post, I’ll guide you through my beloved recipe for Homemade Twix Bars, sharing tips and tricks to ensure your treat turns out perfectly every time. Are you ready to create a dessert that will bring smiles all around? Let’s dive in!
What Are Homemade Twix Bars?
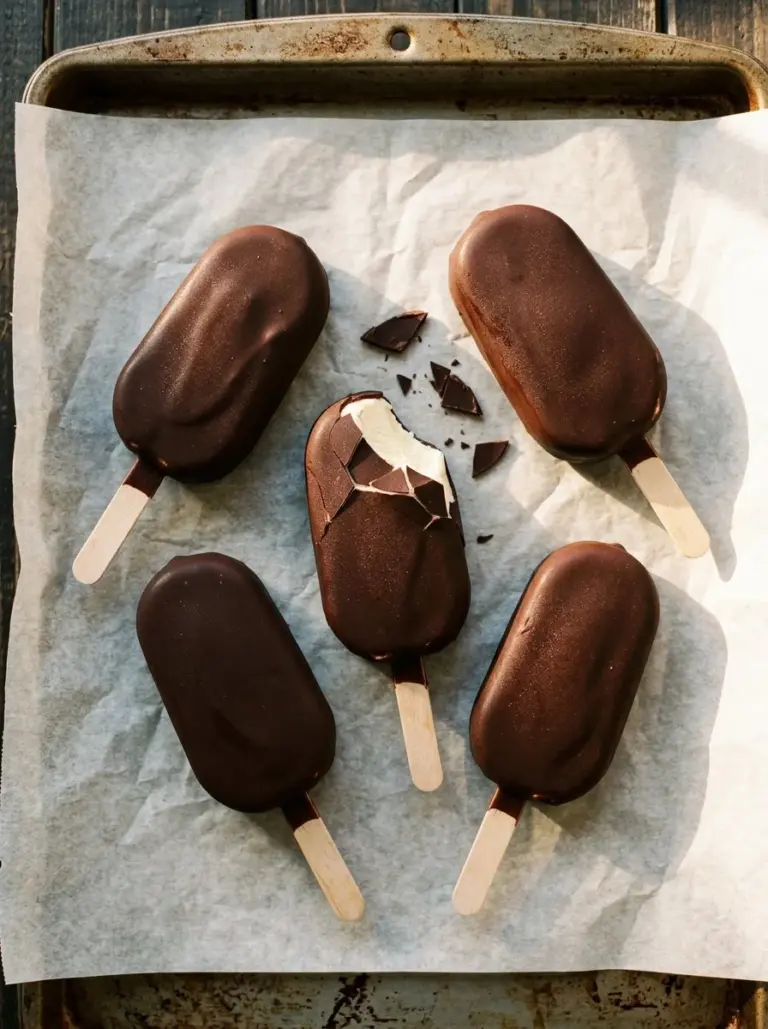
Homemade Twix Bars are a sumptuous twist on the beloved candy bar we all recognize. Originating in 1967, Twix bars featured a biscuit base, a creamy caramel layer, and a rich chocolate coating. My homemade version keeps that delightful three-layer composition but significantly improves upon it with nutritious ingredients.
You’ll experience a satisfying crunch from the cookie base, followed by a velvety smoothness from the almond butter and dates mingling together for a naturally sweet caramel-like layer. Topped off with a glossy chocolate coat, each bite is a wonderful blend of textures and flavors that evoke warmth and nostalgia.
These bars shine in their versatility, making them a fantastic choice for celebrations, holiday treats, or simply because you deserve something sweet. Whenever I’m in need of comfort food or a quick energy boost, I whip up a batch, and they truly never disappoint!
Why You’ll Love This Recipe
Better Than Store-Bought: Let’s face it, homemade always wins! These bars are not only delicious but free from artificial flavors and preservatives. When you make Homemade Twix Bars, you know exactly what’s in there, ensuring each bite is as wholesome as it is indulgent.
Cost-Effectiveness: A single bar from the store can run you over a dollar, while a batch of Homemade Twix Bars costs mere pennies per bar. With just a handful of budget-friendly and nutritious ingredients, you’ll save money while satisfying your cravings.
Customization Options: With this base recipe, the possibilities are endless! Want to switch up the protein powder flavor? Go for chocolate or even a berry blend! Prefer a nut-free version? Substitute the almond butter with sunflower seed butter, and ta-da, you have a delightful treat that fits your preferences!
Quick and Easy: This recipe is straightforward, taking under an hour from start to finish (plus freeze time!). If you’re a beginner in the kitchen, don’t worry! You’ll find that creating these bars is as simple as following along step-by-step.
Family Favorite: Whenever I make these bars, it’s like magic. Friends and family alike rave about them! Watch as everyone gathers around, eagerly waiting for their slice of deliciousness. Plus, they’re perfect for packing as snacks for kids – healthy and satisfying!
Now, let’s gather our ingredients and get started on these decadent treats!

Ingredients
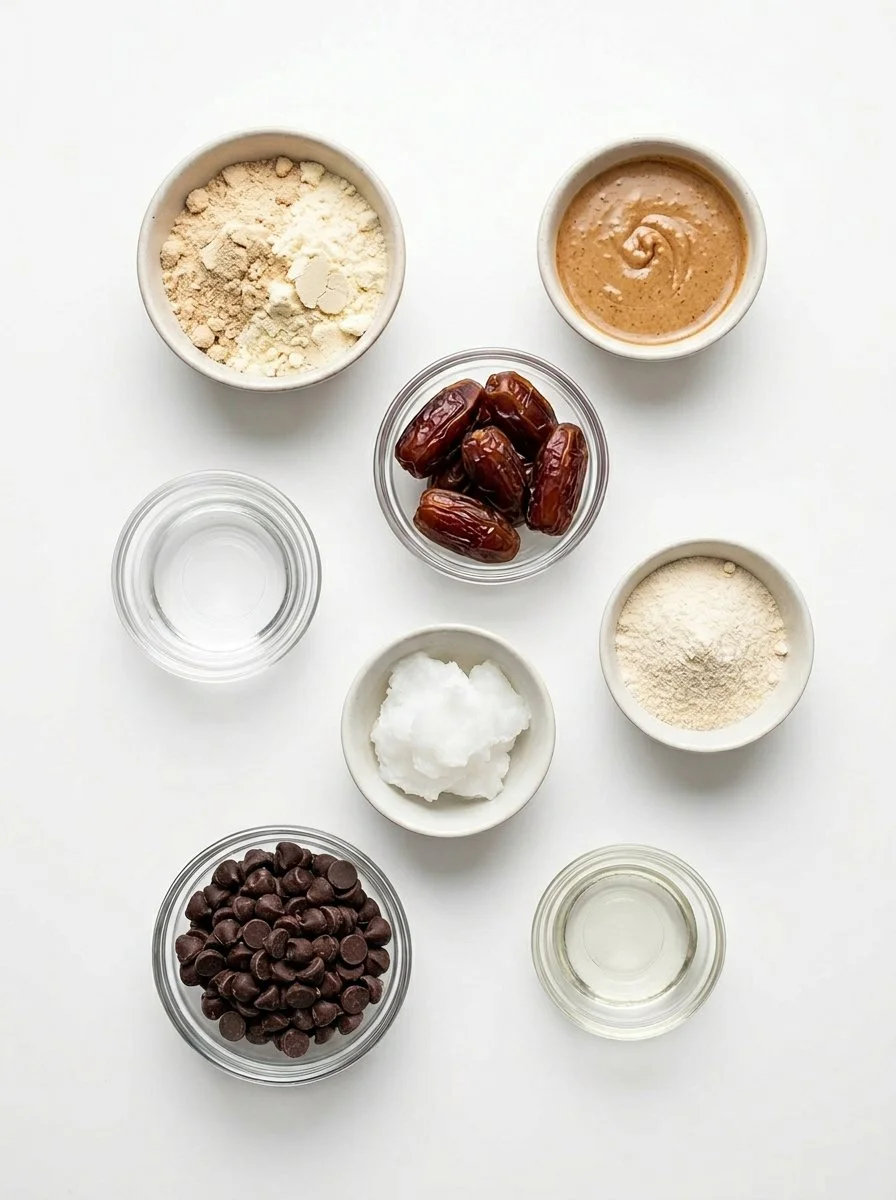
- 1/2 cup protein powder (vanilla or chocolate) – Choose a high-quality powder to boost the nutritional content. I love using Orgain Organic Protein for its clean ingredients.
- 1/3 cup almond butter – Opt for natural almond butter without added sugars or oils.
- 3-4 Tbsp water – Adjust the amount as needed to achieve the right consistency.
- 8 pitted Medjool dates – These will add natural sweetness and a caramel-like texture. Make sure they’re soft for the best blending!
- 2 Tbsp coconut oil – Solid coconut oil works best for blending with the dates.
- 2 Tbsp additional protein powder – This is added to enhance the caramel layer.
- 1 cup dark chocolate chips – Choose a brand with at least 60% cacao for a rich chocolate flavor. I recommend Enjoy Life or Ghirardelli.
- 1/2 Tbsp coconut oil (for the chocolate coating) – This helps the chocolate melt smoothly and coat the bars evenly.
Prep Notes: Make sure the almond butter is at room temperature for easy mixing. If your dates are hard, soak them in warm water for 10 minutes before blending.
Step-by-Step Instructions
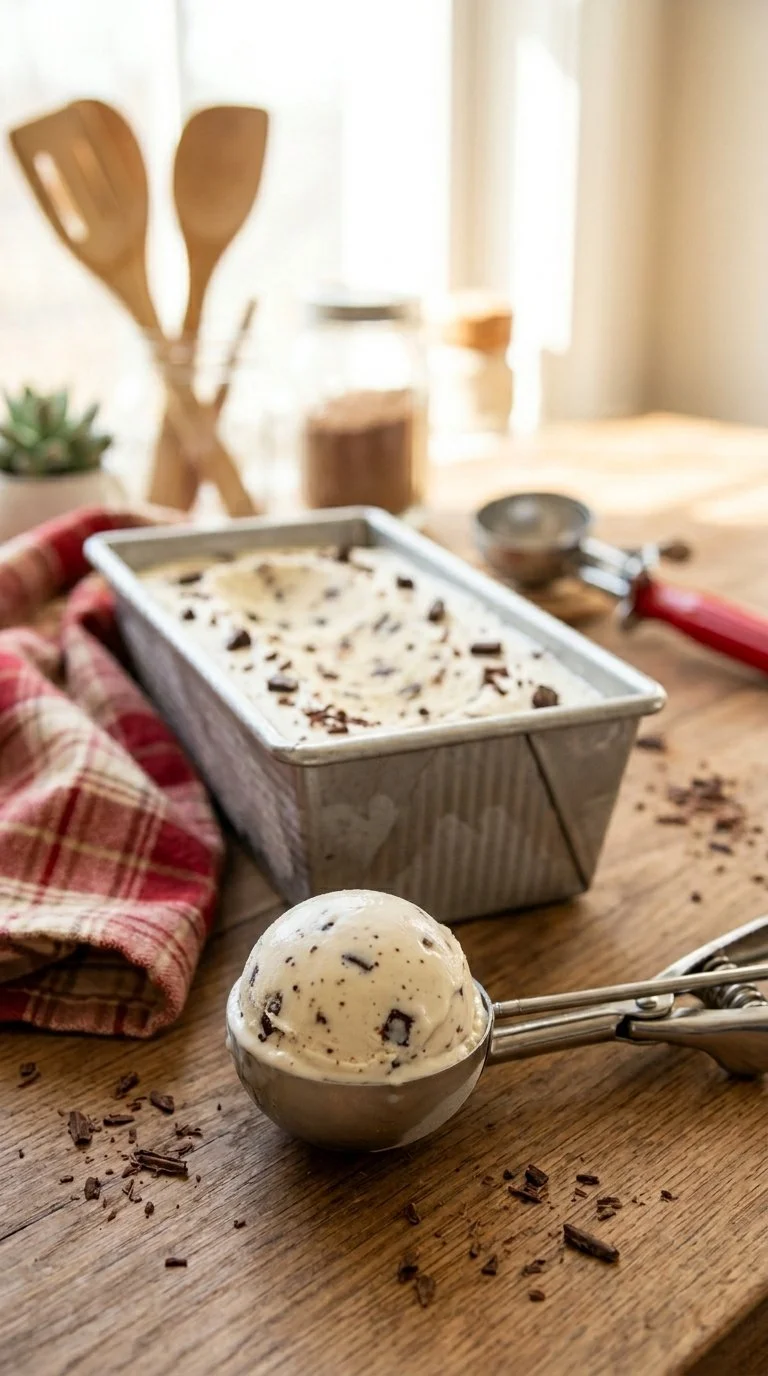
Line Your Pan: Line an 8" x 4" loaf pan with parchment paper, allowing extra paper to overhang on the sides. This makes removal a breeze!
Mix the Base: In a medium bowl, combine the protein powder, almond butter, and 3 tablespoons of water. Gradually add water until the mixture reaches a smooth, pliable consistency. You want it to be moldable but not too sticky.
Press it Down: Pour the mixture into the loaf pan and press down evenly with a spatula. Aim for a compact layer that forms the base of your bars.
Caramel Layer: Soak the pitted Medjool dates in hot water for 5 minutes. Drain them and blend with 2 tablespoons of coconut oil until smooth. If your mixture is too thick, add a splash of water.
Enhance the Filling: Stir in the additional protein powder and mix until combined. Layer this sticky mix on top of the crust using a spatula to smooth it out.
Freeze it Up: Place the pan in the freezer and let it sit for 2 hours, ensuring the layers firm up completely.
Cut the Bars: Once set, remove the contents from the pan using the parchment overhang. Cut into even bars.
Melt the Chocolate: In a microwave-safe bowl, melt the dark chocolate chips with the additional coconut oil for about 30 seconds, stir, and repeat until fully melted and smooth.
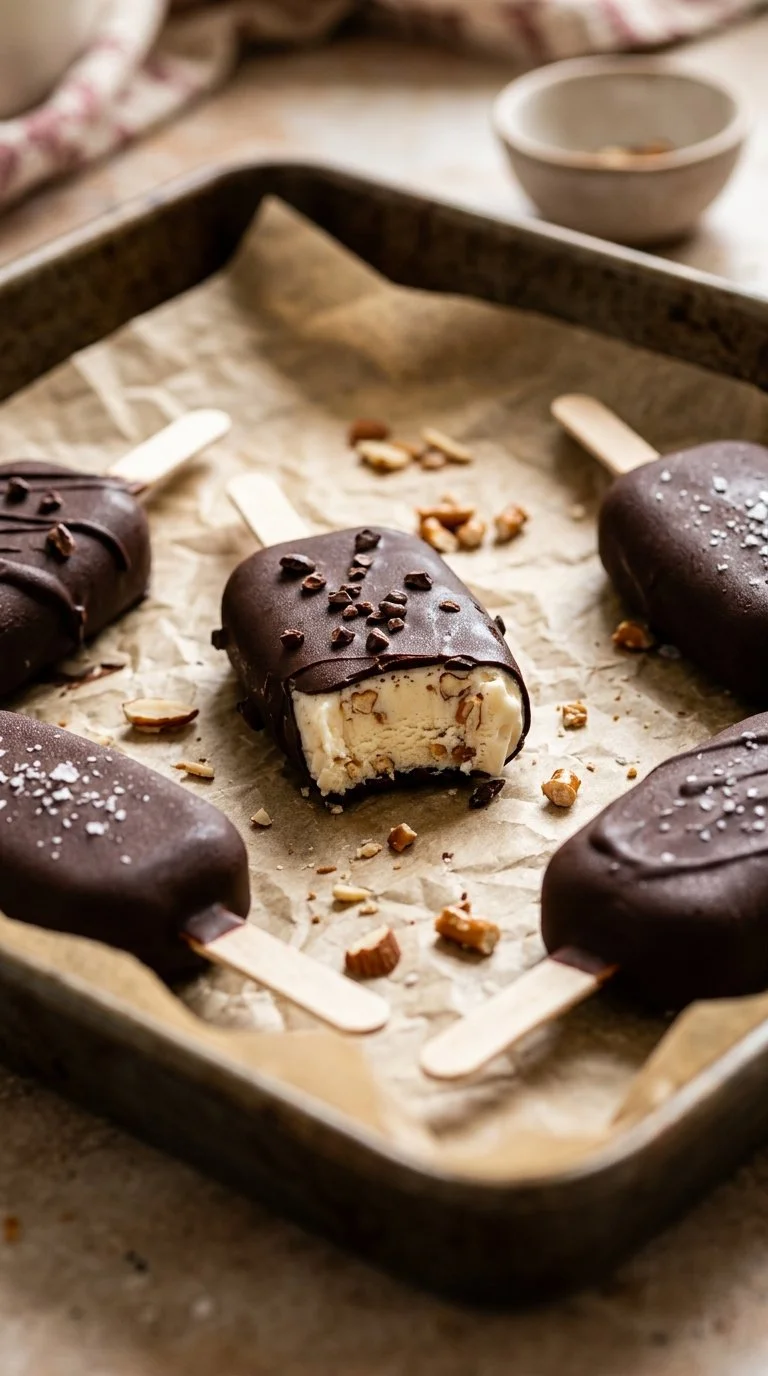
Coat the Bars: Dip each bar in the melted chocolate, shaking off the excess before placing them on a parchment-lined baking sheet.
Final Chill: Chill the coated bars in the fridge for about 30 minutes to set the chocolate.
Storage: Store your Homemade Twix Bars in an airtight container at room temperature or in the fridge for up to a week.
Chef’s Tip: If you find the chocolate too thick, adding a teaspoon of coconut oil can help thin it out for a better coating.
Common Mistakes to Avoid: Ensure all dates are well blended to avoid chunks in the caramel layer.
Expert Tips & Troubleshooting
Check Your Dates: Fresh, soft Medjool dates yield the best texture. If they are too dry, soak longer or use fresh dates.
Texture Matters: If your protein powder is too thick, adjust the water content slightly to achieve the right caramel consistency.
Storage: Keep the bars in the fridge for maximum freshness or in the freezer for longer storage. Always ensure they are in an airtight container to prevent freezer burn.
Make-Ahead: These bars can be made up to a week in advance, making them perfect for meal prep!
Avoid Chocolate Issues: If your chocolate hardens too quickly when dipping, place it back in the microwave for a few seconds to re-melt.
Do Experiment: Feel free to change up the flavors or ingredients! Use cashew butter or add sea salt on top for a delightful twist.
Serving Suggestions
Serve your Homemade Twix Bars alongside a warm cup of tea or coffee for the perfect afternoon treat. They’re also a fantastic after-school snack for the kids! If you’re feeling extra fancy, drizzle some additional melted chocolate or sprinkle sea salt on top before serving. These bars bring that delightful ‘wow’ factor to holiday gatherings or birthday celebrations!
Variations & Substitutions
- Nut-Free Variation: Swap almond butter for sunflower seed butter to make it nut-free. Perfect for school lunches!
- Flavor Additions: Incorporate a teaspoon of cinnamon or a splash of vanilla extract into the base to add a new flavor dimension.
- Seasonal Options: In fall, try adding a touch of pumpkin spice to the caramel layer for a seasonal twist. In summer, consider layering with fresh berries!
Nutrition & Storage Info
- Prep Time: 15 minutes
- Cook Time: 0
- Total Time: 2 hours 15 minutes (includes freeze time)
- Yield: Approximately 10 bars
- Estimated Calories: 150 calories per bar
- Storage: Store at room temperature for 3-4 days, in the fridge for up to a week, or in the freezer for up to three months.
FAQ Section
Can I use a different sweetener?
Absolutely! You can substitute dates with maple syrup or honey, but this will alter the texture.Is there a vegan version?
Yes! Just ensure you use a vegan protein powder and substitute almond butter with another nut butter if preferred.Can I use a different type of chocolate?
Yes! Feel free to experiment with milk chocolate or even white chocolate for a sweeter alternative.Do these bars melt?
Yes, they can soften when left in a hot environment, so keep them cool!How do I know when they’re ready to eat?
The bars will be set when they are firm to the touch and the chocolate has solidified.What can I do with leftover chocolate?
Drizzle it over other treats or fruits for a delicious addition.Can I make these without protein powder?
Yes, the bars will change in texture, but you can omit protein powder if desired.How do you serve them?
I love serving them chilled, but they can also be enjoyed at room temperature!What’s the best way to cut them?
A warm knife works wonders. Just dip it in hot water and dry it before cutting into the bars for smooth edges.Can I double this recipe?
Definitely! Just be sure to adjust the size of your pan.

Conclusion
These Homemade Twix Bars are a delightful fusion of nostalgia and nutrition, making them the perfect treat to enjoy guilt-free. Whether you’re reliving childhood memories or creating new family traditions, these bars will not disappoint. I encourage you to try them out, and don’t forget to share your experience in the comments! If you love this recipe, check out my other wholesome treats, like No-Bake Energy Bites or Chocolate Avocado Pudding, featured right here on the blog. Happy baking!

Homemade Twix Bars
Ingredients
Method
- Line an 8" x 4" loaf pan with parchment paper, allowing extra paper to overhang on the sides.
- In a medium bowl, combine the protein powder, almond butter, and 3 tablespoons of water. Gradually add more water until smooth.
- Pour the mixture into the loaf pan and press down evenly with a spatula.
- Soak the pitted Medjool dates in hot water for 5 minutes, then blend with 2 tablespoons of coconut oil until smooth.
- Stir in the additional protein powder and layer the mixture on top of the crust.
- Place the pan in the freezer for 2 hours to firm up the layers.
- Once set, remove the contents from the pan using the parchment overhang and cut into even bars.
- Melt the dark chocolate chips with the additional coconut oil in a microwave-safe bowl, stirring until smooth.
- Dip each bar in the melted chocolate, shaking off the excess before placing on a parchment-lined baking sheet.
- Chill the coated bars in the fridge for about 30 minutes to set the chocolate.