
The Ultimate No Knead Gluten Free Bread Recipe: Soft, Fluffy, and Delicious
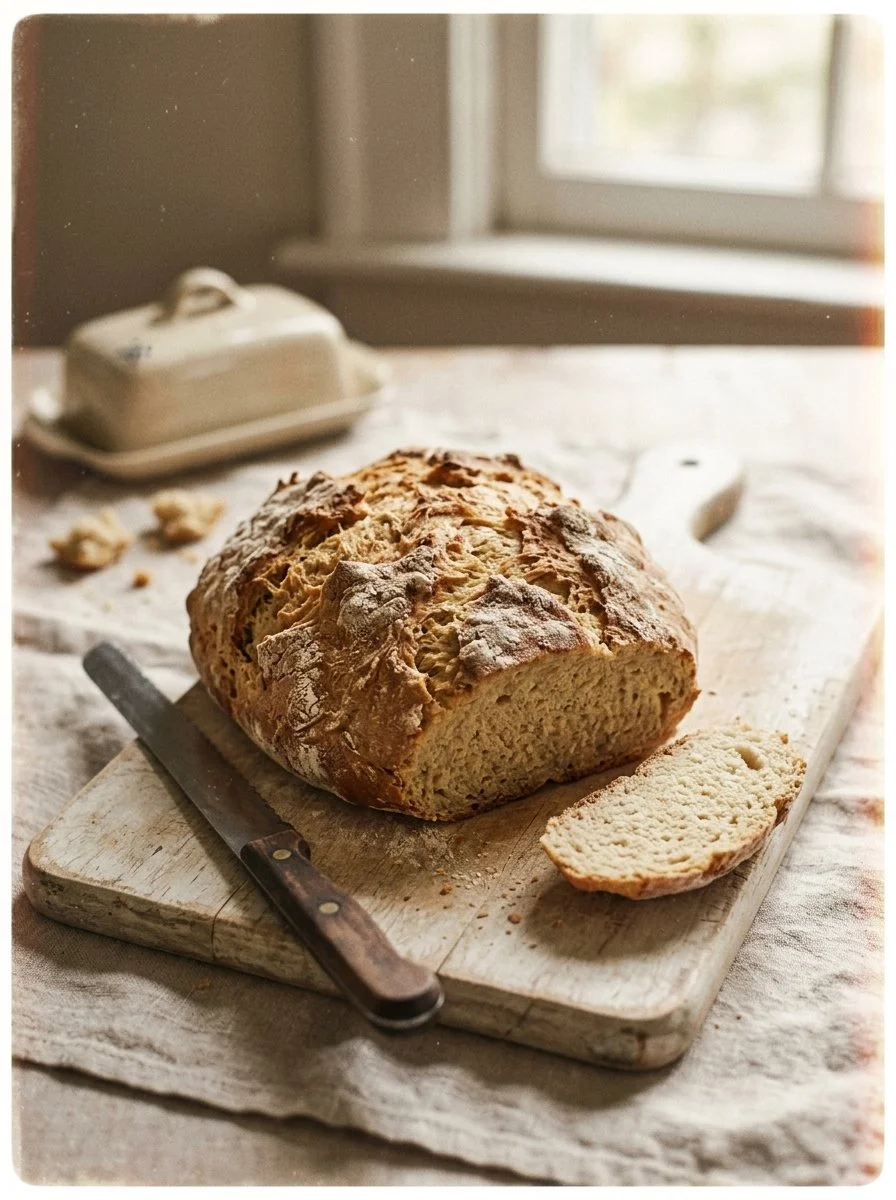
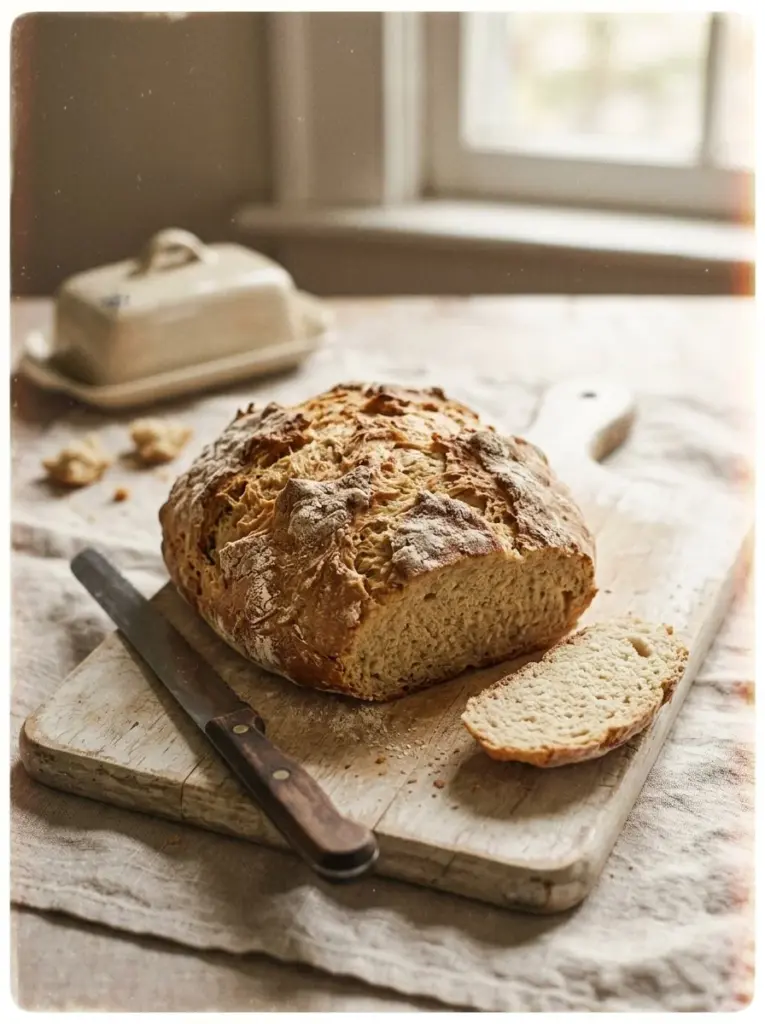
The moment you pull your freshly baked no knead gluten-free bread from the oven, the sound of the crust crackling as it cools fills the air. Its warm aroma wafts through your kitchen, enticing anyone nearby to come in for a taste. As you slice into it, the soft, airy texture promises a delightful first bite that melts in your mouth. You may also find Healthy No Knead Multi Seed Bread useful.
The Origin & Heritage
No knead bread has roots in ancient baking techniques, gaining popularity for its simplicity and remarkable results. This method often conjures memories of Grandma’s kitchen, where she would effortlessly whip up a crusty loaf while we sat around her table, filled with laughter and stories. In many cultures, bread signifies warmth and community, making it a staple in homes worldwide.
The Science of Flavor
Here’s why this combination of ingredients works beautifully:
- Gluten-Free Flour: Provides structure without the need for kneading.
- Instant Yeast: Creates gas bubbles that help the bread rise and become fluffy.
- Warm Water: Activates the yeast, making it come alive for optimal leavening.
- Olive Oil: Adds moisture and enhances the bread’s flavor.
- Salt: Balances flavor and strengthens the dough’s structure.
The Ingredients
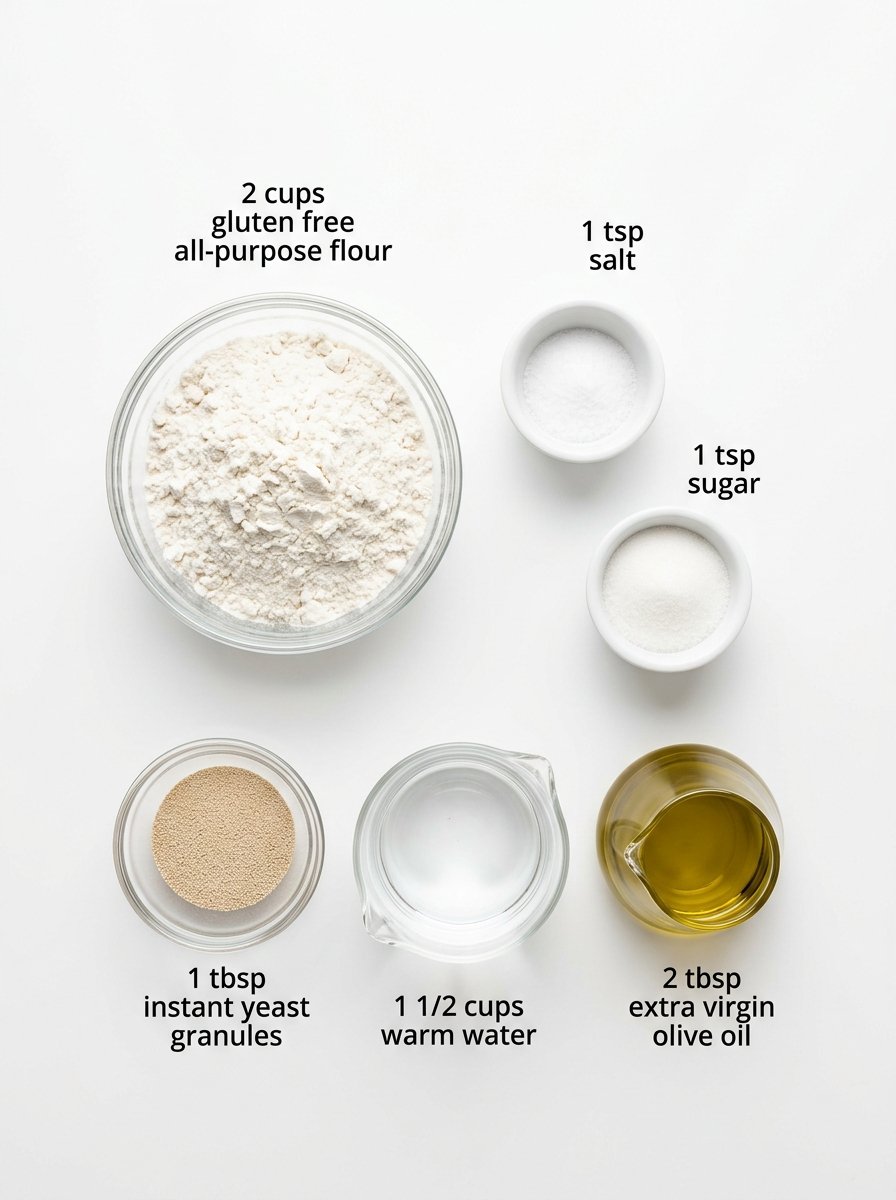
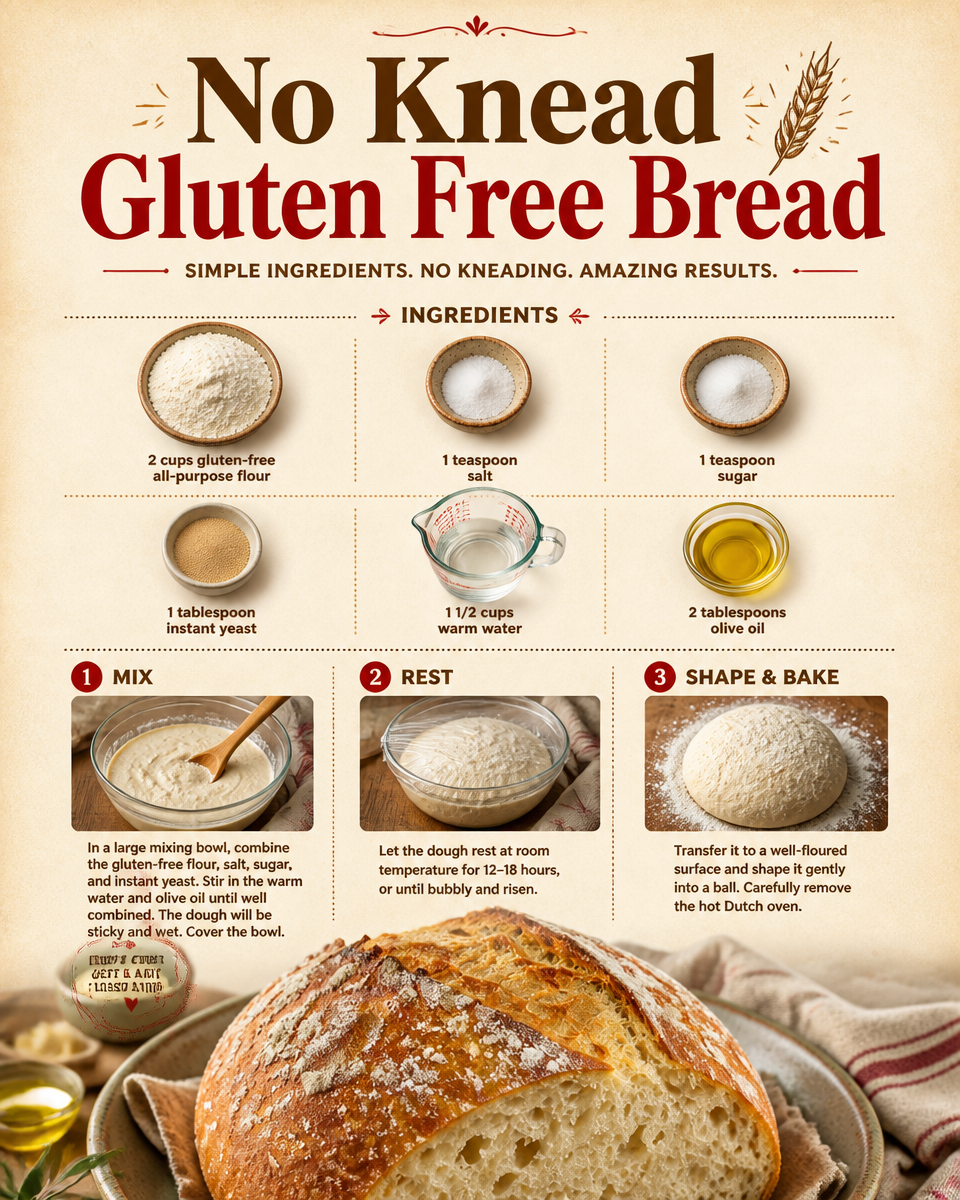
- 2 cups gluten-free all-purpose flour
- 1 teaspoon salt
- 1 teaspoon sugar
- 1 tablespoon instant yeast
- 1 1/2 cups warm water
- 2 tablespoons olive oil
Pro-Note: Quality Hack
- Gluten-Free All-Purpose Flour: Ensure you use a high-quality blend that includes xanthan gum for better texture.
- Olive Oil: Opt for extra virgin olive oil for enhanced flavor and health benefits.
The Masterclass Instructions
- In a large mixing bowl, combine the gluten-free flour, salt, sugar, and instant yeast.
- Stir in the warm water and olive oil until well combined; the dough will be sticky and wet.
- Cover the bowl with plastic wrap and let it rest at room temperature for 12-18 hours.
- Preheat your oven to 450°F (230°C) and place a Dutch oven inside to heat.
- Once the dough has risen, transfer it to a well-floured surface and shape it gently into a ball.
- Carefully remove the hot Dutch oven, place the dough inside, cover, and bake for 30 minutes.
- Remove the lid and bake for an additional 10-15 minutes until the bread is golden brown.
- Let it cool before slicing.
Health & Nutrition Corner
A Healthier Perspective
To boost the nutritional value of your bread, consider these tips:
- Add Seeds: Incorporate chia or flax seeds for extra fiber and omega-3 fatty acids.
- Swap Sugar: Use honey or maple syrup in place of refined sugar for a natural sweetness that also adds nutrients.
One key ingredient in this recipe, gluten-free all-purpose flour, can be a source of fiber and protein depending on the blend you choose.
The Troubleshooter
Here are three common "Why did it fail?" scenarios with expert solutions:
- The Bread Didn’t Rise: Make sure your yeast is fresh and that you used warm water (not hot, as it can kill the yeast).
- Dense Texture: Ensure you didn’t accidentally use too much flour; careful measuring is key for gluten-free baking.
- Burnt Crust: Check your oven’s temperature accuracy; an oven thermometer can help avoid this issue.
The Art of Serving
Serve your no knead gluten-free bread warm with a spread of herb-infused butter or a drizzle of high-quality olive oil. Pair it with a light salad or a hearty soup for a comforting meal. It’s also an excellent accompaniment to a glass of robust red wine or herbal tea.
The Dietary Lab
Vegan Option
To make this bread vegan, simply replace the honey with maple syrup and ensure any additional ingredients you use are plant-based.
Storage & Revival
- Yield: 1 loaf
- Prep Time: 15 minutes (plus rising time)
- Cook Time: 40-45 minutes
The Revival Rule
To reheat your no knead gluten-free bread, preheat your oven to 350°F (175°C) and wrap it in aluminum foil for 10-15 minutes. Avoid microwaving, as this can make the bread tough and chewy.
Frequently Asked Questions
What type of gluten-free flour should I use?
Use a high-quality gluten-free all-purpose flour blend that contains xanthan gum for the best results.
Can I skip the rising time?
No, the extended rising time is essential for flavor development and texture.
How can I tell if the bread is done?
The bread should be golden brown and sound hollow when tapped on the bottom.
How do I store this bread?
Store it in a paper bag at room temperature for up to three days, or freeze it for longer storage.
Can I add herbs to this recipe?
Absolutely! Adding herbs can elevate the flavor of your bread beautifully.
What is the shelf life of gluten-free bread?
Generally, gluten-free bread is best eaten within a few days but can be frozen for up to three months.
Is this recipe suitable for beginners?
Yes, this no knead bread is ideal for novice bakers because of its simplicity and forgiving nature.
What can I do if the dough is too dry?
Add a little warm water, a tablespoon at a time, until the desired consistency is reached.
Is there a gluten-free flour substitute for this recipe?
For best results, stick with a gluten-free all-purpose flour blend, as other flours may not yield the same texture.
How do I enhance the flavor further?
Experiment with different spices or add-ins like garlic powder or cheese for a savory twist.
The final bite of this no knead gluten-free bread is truly satisfying, leaving you craving more. I encourage you to leave a comment below if you tried this recipe! For more bread-making inspiration, check out our recipes for gluten-free banana bread, gluten-free cornbread, and no knead seeded oat bread.
Conclusion
In conclusion, mastering no knead gluten-free bread is rewarding and surprisingly easy. For additional insights on this delightful bread, visit Gluten-Free No Knead Bread – Laura Ligos Nutrition and explore the recipe shared by Cucina Nicolina for further variations. Enjoy your baking journey!
No Knead Gluten Free Bread
Ingredients
Method
- In a large mixing bowl, combine the gluten-free flour, salt, sugar, and instant yeast.
- Stir in the warm water and olive oil until well combined; the dough will be sticky and wet.
- Cover the bowl with plastic wrap and let it rest at room temperature for 12-18 hours.
- Preheat your oven to 450°F (230°C) and place a Dutch oven inside to heat.
- Once the dough has risen, transfer it to a well-floured surface and shape it gently into a ball.
- Carefully remove the hot Dutch oven, place the dough inside, cover, and bake for 30 minutes.
- Remove the lid and bake for an additional 10-15 minutes until the bread is golden brown.
- Let it cool before slicing.