Table of Contents
Table of Contents
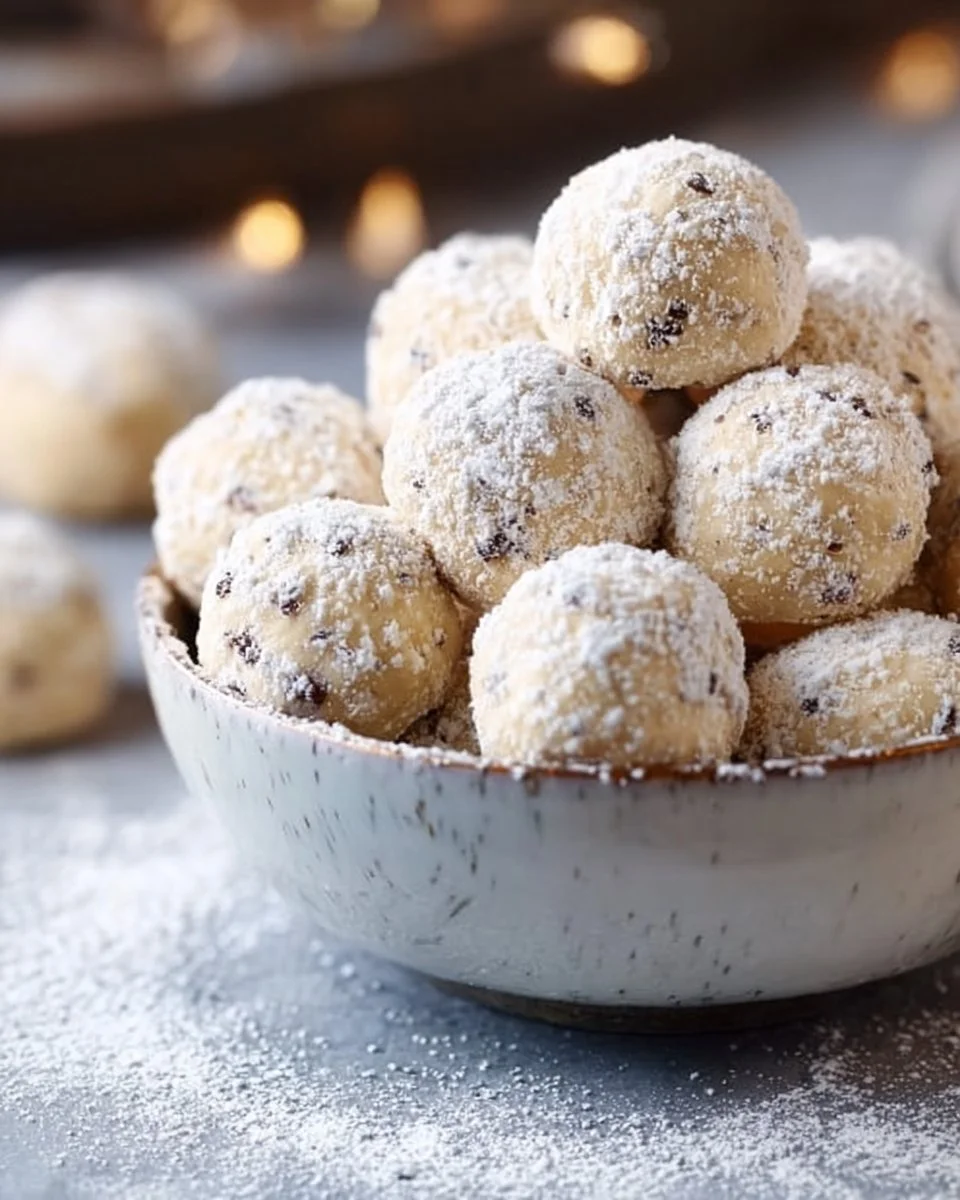
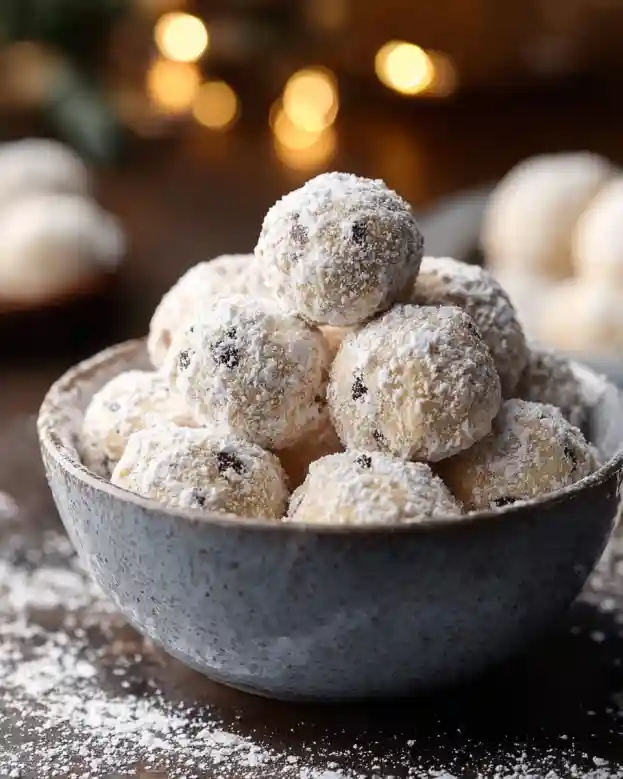
Let me take you back to my childhood, where the kitchen overflowed with the sweet aroma of baking cookies and laughter echoed, filling every corner of our cozy home. After a long day of school, my siblings and I would rush into the kitchen, expecting to find a plate of warm cookies waiting for us. Among them, the Mini Chip Snowball Cookies always stole the show. They’re simple yet elegant, with a dusting of powdered sugar that leaves a delicate sweetness melting in your mouth.
What makes these snowball cookies so special? Well, they’re incredibly tender and buttery, bursting with mini chocolate morsels that remind me of unforgettable family moments. While many recipes claim to be the best, I’ve spent years perfecting this version, elevating it with high-quality ingredients and a few insider tips.
In this post, not only will I share the recipe for these delightful cookies, but I’ll also walk you through the journey of creating them—from choosing great ingredients to achieving the perfect texture. So, put on your apron, and let’s start this delightful baking adventure together!
What Are Mini Chip Snowball Cookies?
Originating from traditional Russian tea cakes, Mini Chip Snowball Cookies combine the buttery richness of classic shortbread with morsels of chocolate happiness. Crisp on the outside, yet soft and melt-in-your-mouth tender on the inside, these cookies have a delightful texture that keeps you coming back for more. The addition of mini chocolate chips elevates them from basic to something irresistibly sweet, making them a staple at holiday gatherings and cozy family get-togethers.
Whether it’s a snowy winter afternoon or a casual summer picnic, these cookies are the perfect addition to any situation. You’ll find that they’re not just treats; they offer a connection to those warm memories of family, love, and laughter.
Why You’ll Love This Recipe
- Quick and Easy: This recipe is straightforward, making it perfect for both novice and experienced bakers. You’ll find that you can whip up a batch in just about 30 minutes!
- Budget-Friendly: Unlike store-bought options that can break the bank, these cookies use pantry staples and a few high-quality ingredients, all while costing significantly less.
- Customizable: Don’t be afraid to get creative! Substitute with your favorite mix-ins like nuts, dried fruit, or flavored chocolate chips for added variety.
- Superior Taste: There’s nothing quite like the taste of freshly baked cookies straight from your oven. The flavor, texture, and aroma far surpass any packaged option.
- Make-Ahead Appeal: You can prepare the dough ahead of time and freeze it for convenient baking sessions whenever a cookie craving hits!
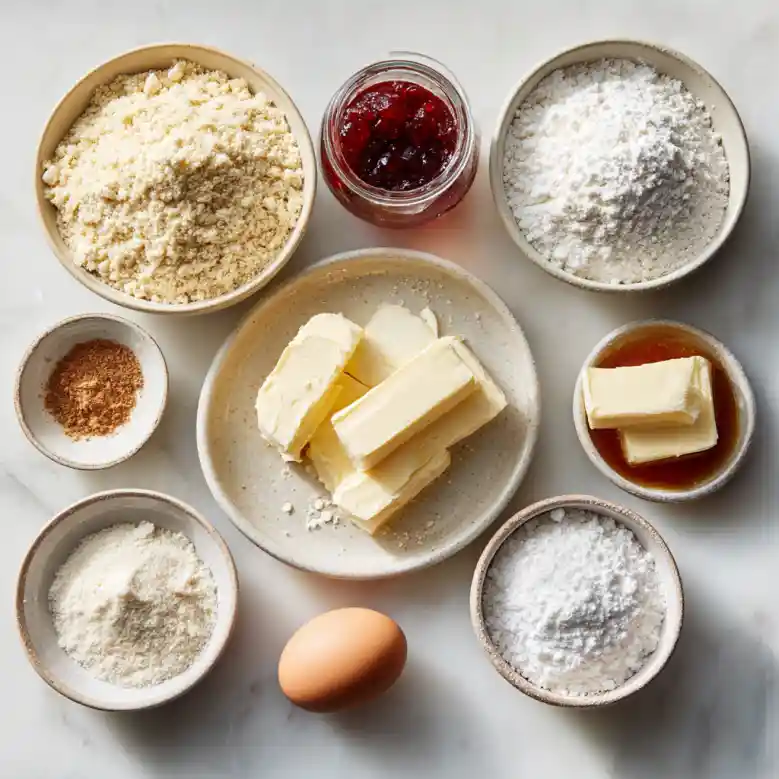
Ingredients
To make these delightful Mini Chip Snowball Cookies, gather the following:
- 1 cup unsalted butter, softened (ensure it’s at room temperature for easy creaming)
- 1/2 cup powdered sugar, plus extra for dusting (I recommend organic for the best flavor)
- 1 teaspoon vanilla extract (pure vanilla extract enhances the flavor—trust me on this!)
- 2 cups all-purpose flour (using a good quality brand will yield better results)
- 1/4 teaspoon salt (don’t skip this; it balances the sweetness)
- 1 cup Nestle Toll House Semi-Sweet Mini Morsels (the classic choice for mini chips)
Prep Notes
- Butter: Make sure your butter is softened to room temperature; this is crucial for the perfect texture.
- Powdered Sugar: Sift before measuring to avoid clumps.
- Flour: Spoon and level your flour into the measuring cup; avoid packing it down.
Step-by-Step Instructions
- Preheat your oven to 350°F (175°C). This ensures even baking.
- Cream the butter and powdered sugar: In a large bowl, beat together the softened butter and 1/2 cup of powdered sugar until light and fluffy (about 2-3 minutes). I love using a hand mixer for this, but a stand mixer works just as well!
Chef’s Tip: Make sure your butter is adequately softened to achieve that fluffy consistency.
- Add vanilla extract: Mix in the vanilla, combining thoroughly.
- Incorporate flour and salt: Gradually add in the flour and salt, mixing just until combined. You don’t want to overmix; a few little lumps are totally fine!
Common Mistake: Overmixing can make your cookies tough, so stop as soon as you see no flour streaks.
Fold in the mini morsels: Using a spatula, gently fold in the mini chocolate chips—this is where the magic happens!
Shape the dough: Scoop out the dough and roll into small balls (about 1 inch in diameter). Place them on a baking sheet lined with parchment paper, leaving some space in between each cookie.
Visual Cue: The dough should resemble little snowballs—perfectly round!
Bake: Bake for 15-20 minutes or until the bottoms are lightly golden, but don’t overbake! They’ll continue to firm up while cooling.
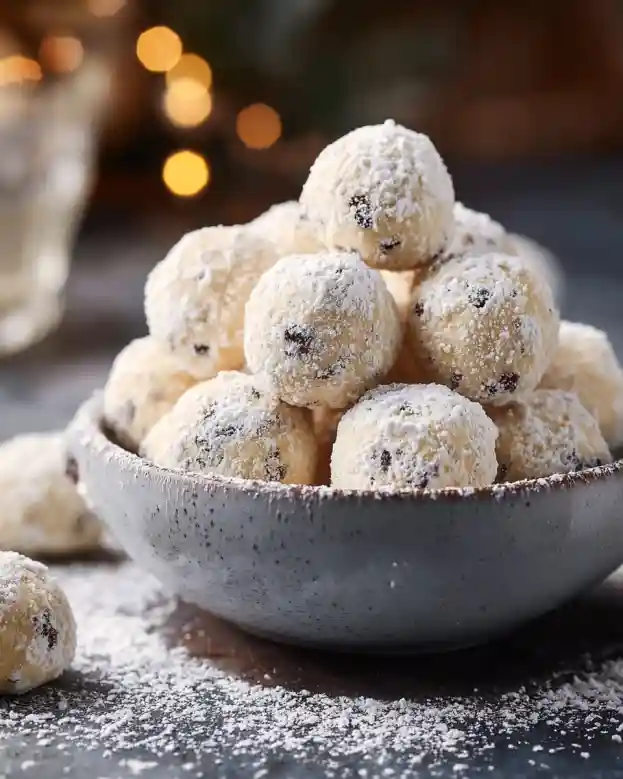
Cool and roll: Allow the cookies to cool slightly on the baking sheet for about 5 minutes, then roll them in extra powdered sugar while still warm.
Cool completely: Let them cool completely on a wire rack before serving.
Expert Tips & Tricks
- Storage: Store your cookies in an airtight container at room temperature for up to a week, or freeze for up to three months.
- Make-Ahead: You can prepare the dough ahead of time; just shape and freeze the balls for a quick cookie fix later.
- Troubleshooting: If your cookies spread too much, make sure your butter isn’t too soft and try chilling the dough for 30 minutes before baking.
- Batch Size: Feel free to double the recipe for larger gatherings; they tend to disappear quickly!
- Serving: Serve these cookies alongside a warm cup of hot cocoa or coffee for the ultimate comfort vibe.
Serving Suggestions
These Mini Chip Snowball Cookies are delightful on their own, but they shine even brighter when paired with:
- Coffee or Tea: A warm beverage enhances the sweet, buttery flavor of the cookies.
- Ice Cream: Top your Sunday with crushed snowball cookies for a delightful crunch.
Presentation? Arrange these in a beautiful tin, dusted generously with powdered sugar, and they make a perfect homemade gift for holidays or special occasions!
Variations & Substitutions
Feeling adventurous? Here are some variations to keep things exciting:
- Nutty Delight: Substitute half of the mini morsels with chopped pecans or walnuts for a crunchy twist.
- Seasonal Flavors: Experiment with peppermint extract for a festive holiday version, or add a dash of lemon zest for a refreshing summer cookie.
- Dietary Adaptations: For gluten-free, use a 1:1 gluten-free flour mix. Vegan? Swap the butter for coconut oil and use a flax egg.
Nutrition & Storage Info
- Prep Time: 10 minutes
- Cook Time: 15-20 minutes
- Total Time: ~30 minutes
- Yield: About 24 cookies (depending on size)
- Estimated Calories per Cookie: ~100 calories
Storage Instructions
- Room Temperature: 5-7 days in an airtight container.
- Fridge: Extend freshness for up to 2 weeks.
- Freezer: For up to 3 months; just thaw overnight in the refrigerator before enjoying.
FAQ Section
Can I use margarine instead of butter?
- While it can work, using real butter gives the best flavor and texture.
What if I can’t find mini chocolate chips?
- You can chop regular chocolate into smaller pieces or use chopped nuts instead.
Can I use a sugar alternative?
- Yes! Just ensure the substitute is suitable for baking.
Why are my cookies flat?
- This often happens if the butter was too warm or melted.
How long do these cookies last?
- They stay fresh for up to a week at room temperature.
Can I double the recipe?
- Absolutely! Just ensure to bake them in batches for consistent results.
What’s the best way to roll them in powdered sugar?
- Roll gently in a bowl while they are still warm to create a perfect sugary coating.
Can these cookies be made gluten-free?
- Yes, substitute the flour with a gluten-free baking blend.
What’s the best way to store them?
- Keep them in an airtight container at room temperature for freshness.
Can I freeze the dough?
- Yes! Shape the balls and freeze them; then bake straight from the freezer when you’re ready.
Conclusion
In every bite of Mini Chip Snowball Cookies, you’ll find the warmth of family memories and the joy of simple pleasures. They’re the perfect union of comfort food and indulgence, making them a must-try recipe that will surely make your heart (and taste buds) sing. I encourage you to whip up a batch and share your thoughts and experiences in the comments below.
And if you’re eager for more delightful treats, be sure to check out my other recipes—there’s always something sweet just around the corner!
Graving More Recipes?
Happy baking!

Mini Chip Snowball Cookies
Ingredients
Method
- Preheat your oven to 350°F (175°C).
- In a large bowl, beat together the softened butter and 1/2 cup of powdered sugar until light and fluffy (about 2-3 minutes).
- Mix in the vanilla until well combined.
- Gradually add in the flour and salt, mixing just until combined.
- Fold in the mini chocolate chips using a spatula.
- Scoop out the dough and roll into small balls (about 1 inch in diameter). Place them on a baking sheet lined with parchment paper, leaving some space in between each cookie.
- Bake for 15-20 minutes or until the bottoms are lightly golden.
- Allow the cookies to cool slightly on the baking sheet for about 5 minutes, then roll them in extra powdered sugar while still warm.
- Let them cool completely on a wire rack before serving.