Table of Contents
Table of Contents
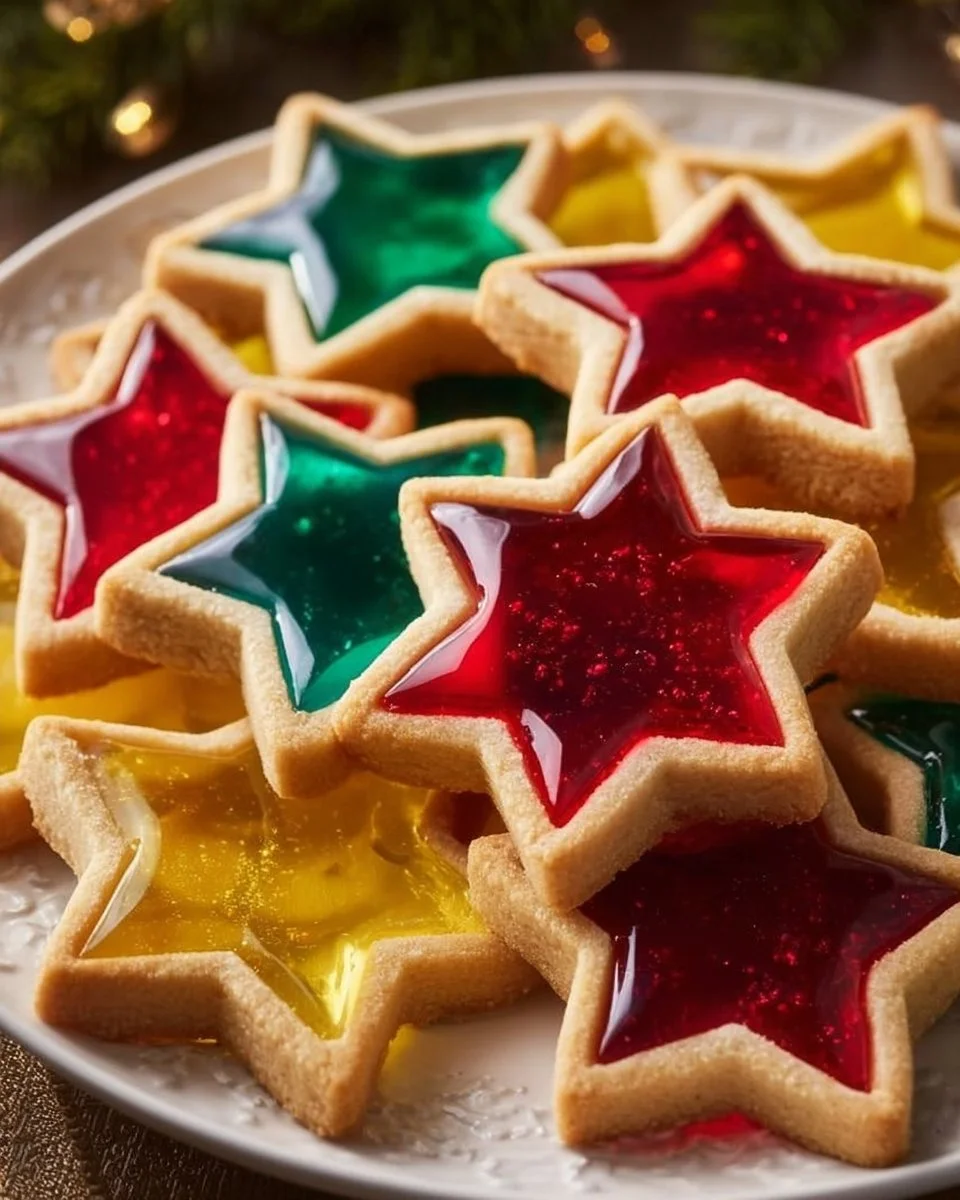
There’s something magical about the holiday season that makes me want to fill my kitchen with the sweet scents of baking. Growing up, my mom and I would gather around the countertop, rolling out dough, cutting it into holiday shapes, and waiting eagerly for our favorite part: the moment we’d add the hard candy to create the beautiful stained glass effect. Those stained glass cookies not only filled our home with warmth and joy but also became a cherished family tradition.
What makes these cookies special? Perhaps it’s the delightful crunch of the cookie paired with the chewy, sweet interior where the melted candy creates a burst of flavor. This recipe stands out because it’s not just about aesthetics. While many versions focus solely on appearance, this recipe balances taste, texture, and a bit of whimsy, showcasing how beautiful food can be without losing the essential comfort we crave.
Stay with me, and I promise you’ll learn how to create these delightful stained glass cookies that will not only taste incredible but will also be the star of your holiday platter!
What Are Stained Glass Cookies?
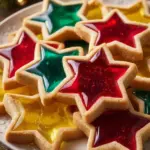
Stained glass cookies have a charming backstory. They originate from traditional European cookies, often made during the holidays when families would gather around the fireplace, full of warmth and laughter. The combination of buttery, sugary dough with pieces of brightly colored, melted hard candies mimics the intricate designs seen in stained glass windows, giving them their enchanting name.
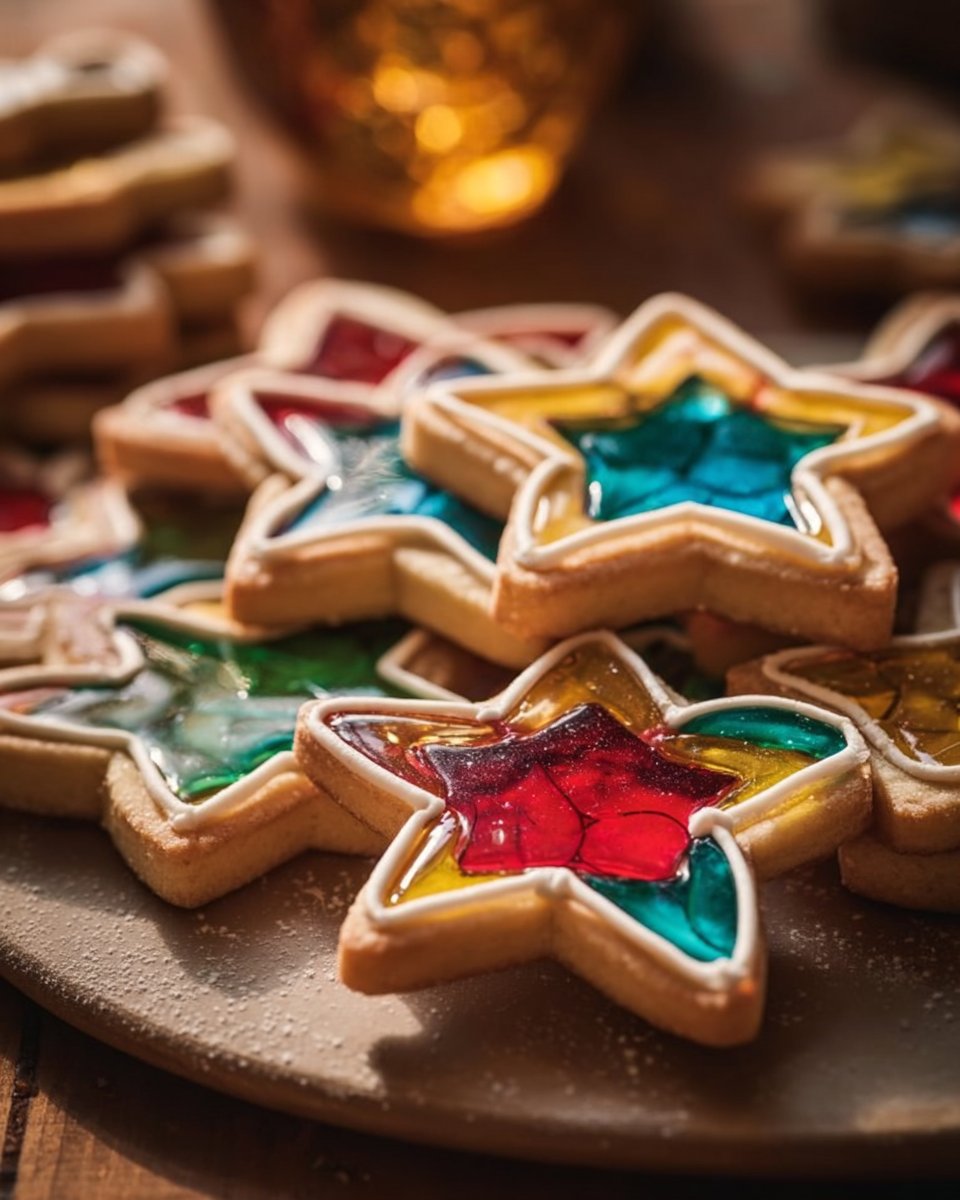
These cookies have a melt-in-your-mouth texture, crisp on the outside yet delightfully soft on the inside. The sweet bursts of flavor from the candies create an unexpected and joyful surprise, resulting in cookies that are as fun to make as they are to eat! They’re perfect for holidays, special occasions, or simply a lovely afternoon with loved ones.
Whenever I bake stained glass cookies, I think of cozy family gatherings and the conversations shared over a plate of treats. Now, let’s dive into why this recipe is a cookie lover’s dream!
Why You’ll Love This Recipe
Visual Appeal: Stained glass cookies are as much a feast for the eyes as they are for the palate. Their colorful candy centers can dazzle any gathering, making them perfect for parties or holiday celebrations.
Homemade Goodness: Unlike store-bought cookies, which can often taste bland or overly processed, this recipe allows you to recreate that warm, homemade quality. You can taste the love in every bite!
Affordable Ingredients: With simple pantry staples used here, making these stunning cookies is budget-friendly. You’ll be amazed at how inexpensive it is to create such a show-stopping treat.
Customization Galore: This recipe lets you get creative! Not only can you mix and match your favorite hard candies for different flavor profiles, but you can also play around with cookie shapes. Think heart-shaped cookies for Valentine’s Day or spooky Halloween-themed ones!
User-Friendly: Even if you’re a baking novice, this recipe is straightforward. It requires basic skills and minimal equipment but yields impressive results that will have friends and family raving about your baking skills.
With only a touch of patience and love, you’re sure to impress, so let’s get started!
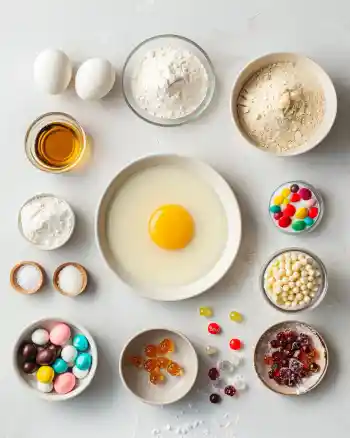
Ingredients Section
To create these delightful stained glass cookies, you’ll need:
1 cup (2 sticks) unsalted butter, softened
(Make sure it’s at room temperature for easy creaming.)1 cup granulated sugar
(Use high-quality sugar—organic if you can—for a cleaner taste.)1 large egg
(Ensure it’s at room temperature for even mixing.)1 teaspoon vanilla extract
(For a rich aroma and flavor, I recommend using pure vanilla extract over imitation.)3 cups all-purpose flour
(Sift for a lighter dough; you can substitute half with almond flour for a nutty flavor.)1 teaspoon baking powder
(Make sure it’s fresh for the best rise!)1/2 teaspoon salt
(Balances the sweetness beautifully.)Assorted hard candies (for filling)
(Think Jolly Ranchers, Life Savers, or any colorful favorites—just crush them to ensure they melt beautifully!)
Prep Notes:
- Be sure to let the butter and egg sit at room temperature for about 30 minutes before beginning. It makes the mixing process so much smoother!
Brand Recommendations:
- For butter, I love using Kerrygold for its rich flavor. For vanilla, Nielsen-Massey Madagascar Bourbon Vanilla is top-notch!
Step-by-Step Instructions
Preheat your oven to 375°F (190°C).
This ensures your cookies start baking right as they go in—no wait time!In a large bowl, cream together the softened butter and sugar until light and fluffy.
Use an electric mixer on medium speed for about 2-3 minutes.Beat in the egg and vanilla extract.
Ensure they’re well-combined; this gives your dough great flavor.In another bowl, whisk together the flour, baking powder, and salt.
Sifting these dry ingredients together will ensure an even texture.Gradually add the dry ingredients to the wet mixture, mixing until just combined.
Be careful not to overmix, as this can impact the cookies’ texture.Roll out the dough on a lightly floured surface to about 1/4-inch thickness.
This ensures the cookies can hold their shape while baking.Cut out shapes using cookie cutters.
Feel free to get creative!For the ‘stained glass’ effect, cut out a smaller shape in the center of each cookie.
This is the fun part! Experiment with different designs.Place crushed hard candies in the center of each cookie.
Fill it generously, but don’t overflow!Bake in the preheated oven for 8-10 minutes or until the edges are just golden.
Keep an eye on them to prevent overbaking!Allow cookies to cool completely on a wire rack.
This will help them set perfectly, ensuring that the candy centers harden nicely.Enjoy your beautiful stained glass cookies!
Serve them up at your next gathering and watch the smiles blossom!

Expert Tips & Tricks
Don’t Rush the Cooling: Ensure your cookies cool completely before storing; this will prevent them from getting soggy.
Make-Ahead Magic: You can prepare the dough in advance and refrigerate it for up to 3 days. Just let it sit at room temperature for a bit before rolling it out.
Troubleshooting: If your cookies spread too much in the oven, try chilling the dough for 30 minutes before baking. It helps them maintain their shape!
Storage Recommendations: Keep them in an airtight container at room temperature for up to a week. If you need to keep them longer, you can freeze them for up to 3 months.
Perfect Presentation: Try dusting them lightly with powdered sugar before serving for an extra touch of sweetness and visual appeal.
Serving Suggestions
Serve these stained glass cookies alongside a warm cup of tea or coffee for a delightful afternoon treat. They also make the perfect complement to a festive dessert table—pair them with hot chocolate or a rich holiday punch! For added flair, you could stack them in a clear jar tied with a ribbon for an enviable presentation.
Variations & Substitutions
Flavor Combinations: Try adding almond extract instead of vanilla for a nutty profile or a touch of orange zest for a citrusy twist.
Dietary Adaptations: For a gluten-free version, simply swap regular flour for a 1:1 gluten-free flour mix and ensure your hard candies are free of gluten.
Seasonal Versions: Use red and green candies for Christmas, pastel colors for Easter, or shades of orange and black for Halloween—let your creativity shine with every season!
Nutrition & Storage Info
- Prep Time: 20 minutes
- Cook Time: 10 minutes
- Total Time: 30 minutes
- Yield: About 24 cookies
- Estimated Calories per Serving: 150 calories
- Storage Instructions: Store in an airtight container at room temperature for up to 1 week or freeze for up to 3 months.
FAQ Section
Can I use different types of hard candies?
- Yes! Feel free to use any hard candy you prefer—as long as it melts well!
What if I don’t have cookie cutters?
- Get creative! You can use any clean, round object or even a glass to cut shapes.
Can I make the dough ahead of time?
- Absolutely! Refrigerate it for up to 3 days before rolling it out.
How do I store leftover cookies?
- Keep them in an airtight container at room temperature for freshness.
What if the cookies spread too much while baking?
- Chill the dough before baking for better shape retention.
Are these cookies suitable for gifting?
- Yes! They make a beautiful gift, especially packaged in a lovely box or jar.
Can I use this dough for other types of cookies?
- Indeed! This dough works wonderfully for sugar cookies too.
When is the best time to enjoy these cookies?
- Anytime! They’re perfect for holidays, parties, or just as a treat for yourself.
Do I need to let the cookies cool on the tray?
- It’s best to transfer them to a wire rack to cool completely to avoid sogginess.
How can I make these cookies healthier?
- You can reduce the sugar slightly and use darker chocolate candies for a more health-conscious option.
Conclusion
There you have it! This stained glass cookie recipe is truly a labor of love that not only creates stunning treats but also helps you forge beautiful memories with family and friends. I encourage you to give this recipe a try and watch the joy on the faces of those you share it with. If you do, I’d love to hear your thoughts in the comments! And don’t forget to check out other delightful recipes on my blog that are perfect for every occasion.
Christmas Red Velvet Cheesecake
Happy baking!
Stained Glass Cookies
Ingredients
Method
- Preheat your oven to 375°F (190°C).
- In a large bowl, cream together the softened butter and sugar until light and fluffy.
- Beat in the egg and vanilla extract until well-combined.
- In another bowl, whisk together the flour, baking powder, and salt.
- Gradually add the dry ingredients to the wet mixture, mixing until just combined.
- Roll out the dough on a lightly floured surface to about 1/4-inch thickness.
- Cut out shapes using cookie cutters.
- For the ‘stained glass’ effect, cut out a smaller shape in the center of each cookie.
- Place crushed hard candies in the center of each cookie.
- Bake in the preheated oven for 8-10 minutes or until the edges are just golden.
- Allow cookies to cool completely on a wire rack.
- Enjoy your beautiful stained glass cookies!