Table of Contents
Table of Contents
Growing up, the holidays meant more than just gifts or decorations—it was a magical time when my family gathered in the kitchen, laughter filling the air as we baked our favorite cookies. Among all the confections that emerged from our oven, Festive Pinwheel Sugar Cookies held a special place in my heart. These vibrant, swirled delights are a feast for both the eyes and the taste buds, with their buttery goodness melding perfectly with a splash of color.
What makes my version of these cookies stand out? While many recipes exist, I’ve fine-tuned my approach to ensure a soft, melt-in-your-mouth texture that rivals any store-bought alternative. It’s the kind of recipe that prompts nostalgic stories around the dinner table, rekindling fond memories of my childhood baking adventures with family—a tradition I can’t wait to pass down.
In this post, I promise you’ll discover everything you need to make your very own Festive Pinwheel Sugar Cookies, from an easy-to-follow recipe to my insider tips. Whether you’re hosting a holiday gathering or just want to indulge yourself, these cookies are bound to become a cherished part of your holiday repertoire.
What Are Festive Pinwheel Sugar Cookies?
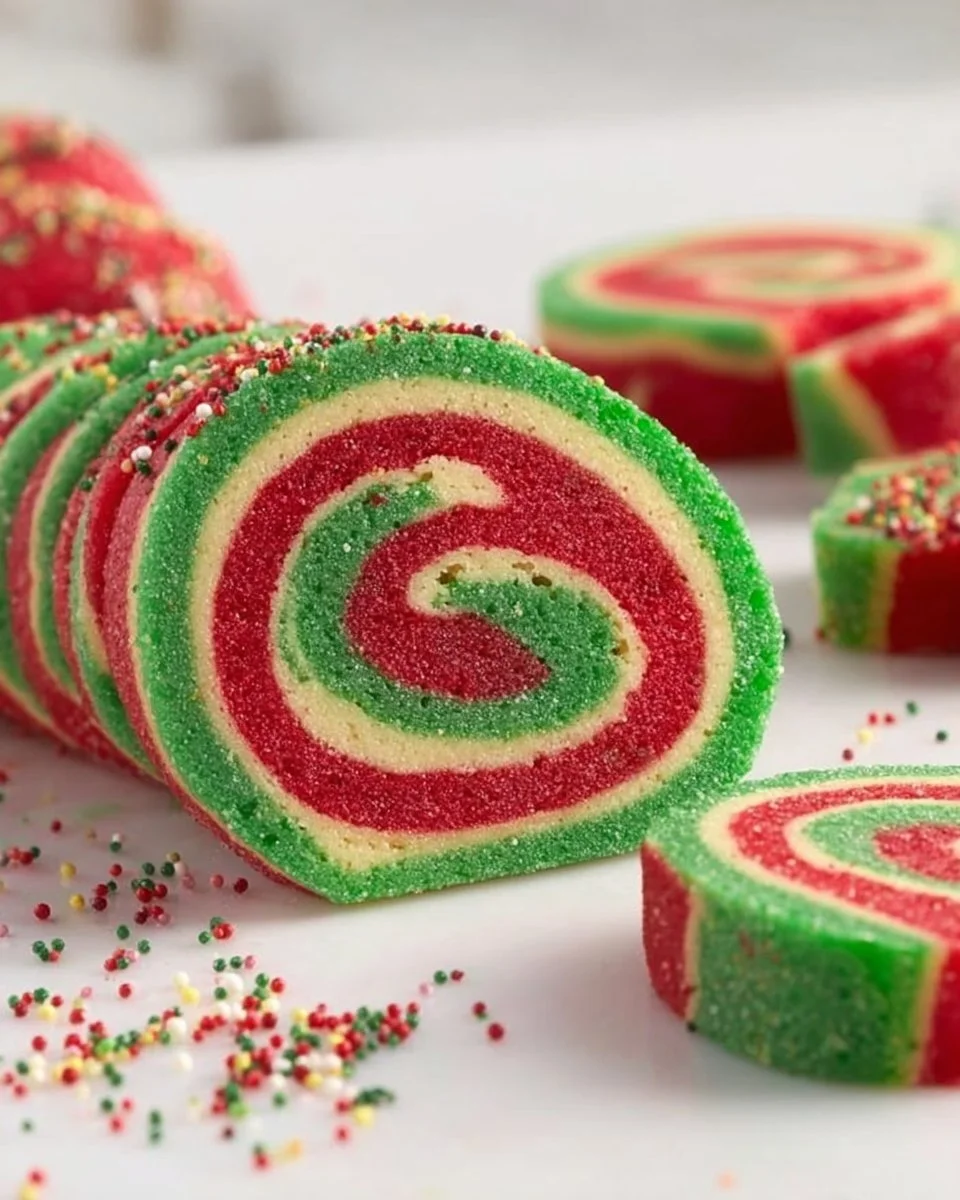
Festive Pinwheel Sugar Cookies are not just any sugar cookies—they’re a celebration of color and flavor! Originating from classic sugar cookie recipes, these cookies are beautifully swirled with vibrant red and green hues, making them perfect for holidays like Christmas and Valentine’s Day. Imagine biting into a soft, buttery cookie that showcases a delightful blend of sweetness and just a hint of vanilla. The contrast of the rich dough and the bright colors creates both a visual and gustatory feast!
These cookies shine at festive gatherings. Just picture a platter adorned with pinwheel cookies, adding a splash of cheer to your holiday table. Whether served at family parties, cookie exchanges, or as a delightful gift in a holiday tin, they bring joy and smiles wherever they go.
Why You’ll Love This Recipe
1. Budget-Friendly Delight
Making sugar cookies at home is a fraction of the cost of store-bought options. Why spend $4 on a single cookie when you can bake dozens for a fraction of the price?
2. Customization Galore
These cookies aren’t just limited to red and green! You can use any color combination to suit the occasion or your mood. Halloween? Try orange and black! Birthdays? Go for vibrant hues!
3. Easy Peasy
Even if you’re a novice baker, this recipe is straightforward with minimal steps. It’s a fun project you can do with kids or friends, turning baking into a lovely bonding experience.
4. Nostalgia in Each Bite
Creating these cookies is about more than just taste; it’s about the memories you make along the way. There’s something enchanting about cutting slices of colorful dough and watching them transform in the oven.
5. Perfect for Sharing
These cookies are visually stunning and make perfect gifts. Package them in festive tins or plates, and you’re giving a piece of your heart along with a sweet treat!
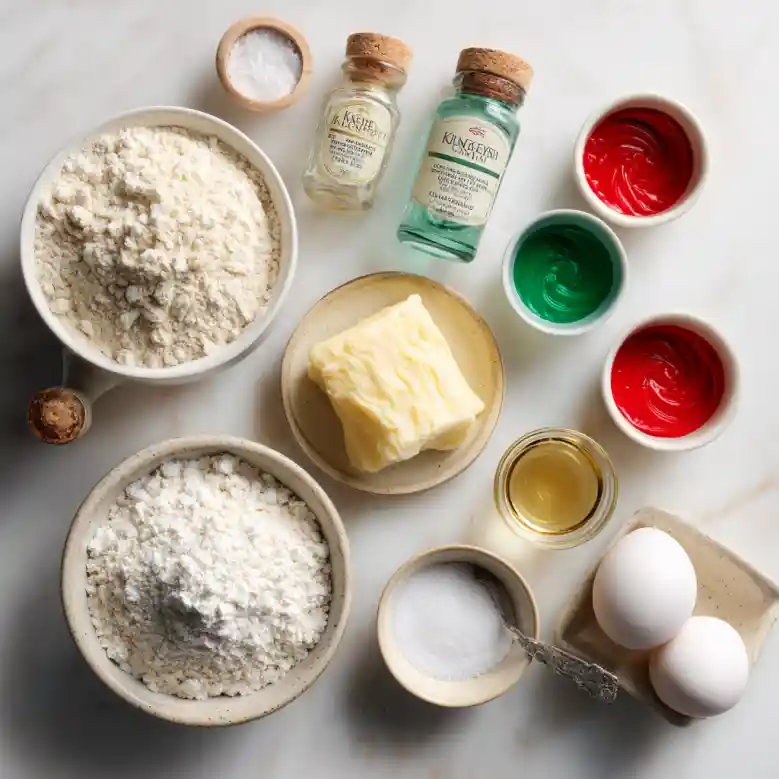
Ingredients for Festive Pinwheel Sugar Cookies
- 2 3/4 cups all-purpose flour – This is your base; I recommend using King Arthur Flour for consistent results.
- 1 teaspoon baking soda – This helps the cookies puff up just right.
- 1/2 teaspoon baking powder – A little extra lift for that perfect cookie texture.
- 1 cup unsalted butter, softened – Always go for real butter; it adds richness that margarine can’t match. I love using Kerrygold for its creamy, indulgent flavor.
- 1 1/2 cups white sugar – A bit of sweetness goes a long way!
- 1 teaspoon vanilla extract – Use pure vanilla extract for a more authentic flavor.
- 1 large egg – Room temperature eggs whip up better, so set yours out ahead of time.
- 1/4 teaspoon salt – Balances the sweetness.
- Food coloring (red and green) – For that festive swirl, gel food coloring works best as it doesn’t water down the dough.
Prep Notes: Ensure your butter is at room temperature and your eggs are brought to a warm temperature for the best mixing results!
Step-by-Step Instructions
Preheat your oven to 375°F (190°C). This ensures that your cookies bake evenly and achieve that perfect golden color.
In a separate bowl, mix together the flour, baking soda, and baking powder until evenly combined.
Cream together the softened butter, sugar, and salt in another bowl. Using an electric mixer, this should only take about 2-3 minutes until light and fluffy.
Beat in the egg and vanilla extract until smooth and fully incorporated.
Gradually blend in the dry ingredients you prepared earlier. You want to mix just until combined, avoiding overmixing which can lead to tough cookies.
Divide the dough in half. Tint one half red and the other half green with food coloring. Don’t be shy—add more if you want vibrant hues!
Roll each portion between two sheets of waxed paper into approximately 1/4 inch thick rectangles. Chef’s Tip: Make sure to maintain even thickness so they bake uniformly.
Stack the layers! Carefully lift the colored layers and stack them, then roll them tightly into a log, wrapping it in waxed paper. This step is crucial for those beautiful swirls.
Chill the rolled dough in the refrigerator for at least 1 hour. This helps to firm up the dough, making it easier to slice.
Slice into rounds about 1/4 inch thick and place them on ungreased baking sheets, ensuring some space between each cookie as they will spread slightly.
Bake for 8 to 10 minutes until the edges are lightly golden but the centers are still soft. Your kitchen will smell heavenly at this point!
Cool on wire racks for a few minutes before transferring them to a wire rack to cool completely.
Common mistake alert: Don’t skip chilling the dough! It’s essential for maintaining the cookie’s shape while baking.
Expert Tips & Tricks
Storage recommendations: Once cooled, store your cookies in an airtight container at room temperature. They’ll last about a week, but trust me, they probably won’t last that long!
Make-ahead instructions: You can prepare and chill the logs of dough a few days in advance. Just keep them in the refrigerator; when you’re ready to bake, slice and go!
Troubleshooting: If your cookies spread too much in the oven, your butter might have been too warm or you didn’t chill the dough long enough.
For extra flavor, try adding a bit of almond extract along with the vanilla—trust me, it’s amazing!
Want a crunch? Roll the cookie rounds in coarse sugar before baking for a delightful sugary crust!
Serving Suggestions
These beautiful Festive Pinwheel Sugar Cookies are perfect as a stand-alone treat but also pair fabulously with a glass of cold milk or a warm cup of hot cocoa. For a chic presentation, stack them on a decorative plate with a sprinkle of powdered sugar on top or arrange them in a festive tin for gifting. Perfect for holiday parties or cozy family gatherings, you’ll always find a reason to serve these delightful cookies!
Variations & Substitutions
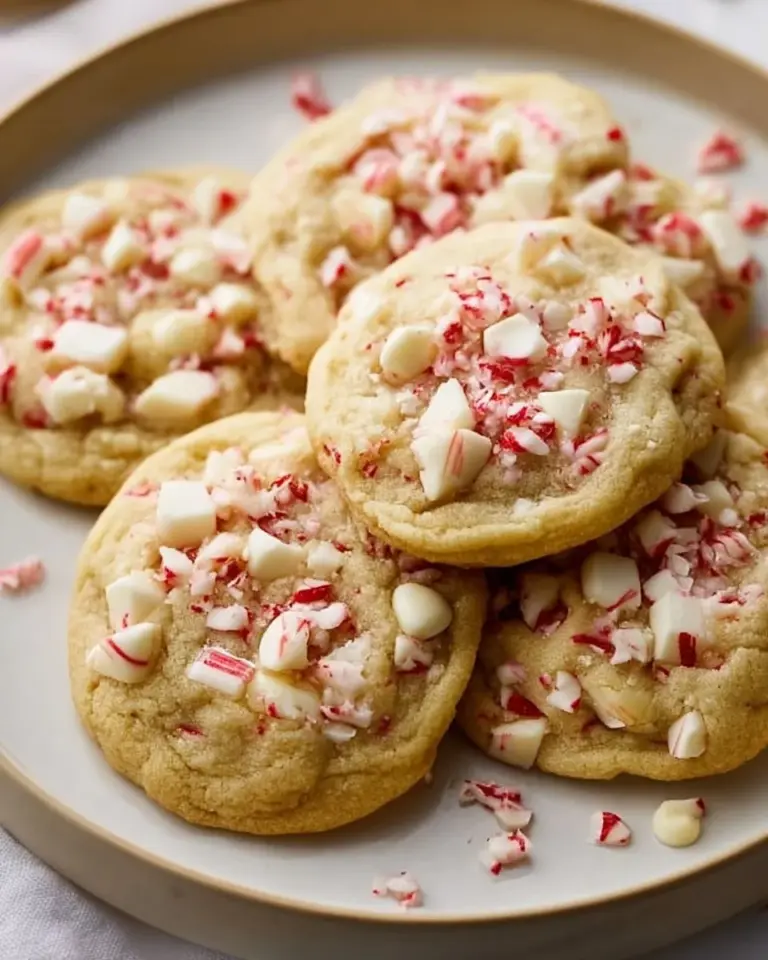
Flavor Combinations: Feel adventurous? Switch out the vanilla extract for peppermint for a refreshing twist during the holiday season!
Dietary Restrictions: Gluten-free? Substitute all-purpose flour with your favorite gluten-free blend. Vegan? Use coconut oil in place of butter and a flax egg instead of a regular egg.
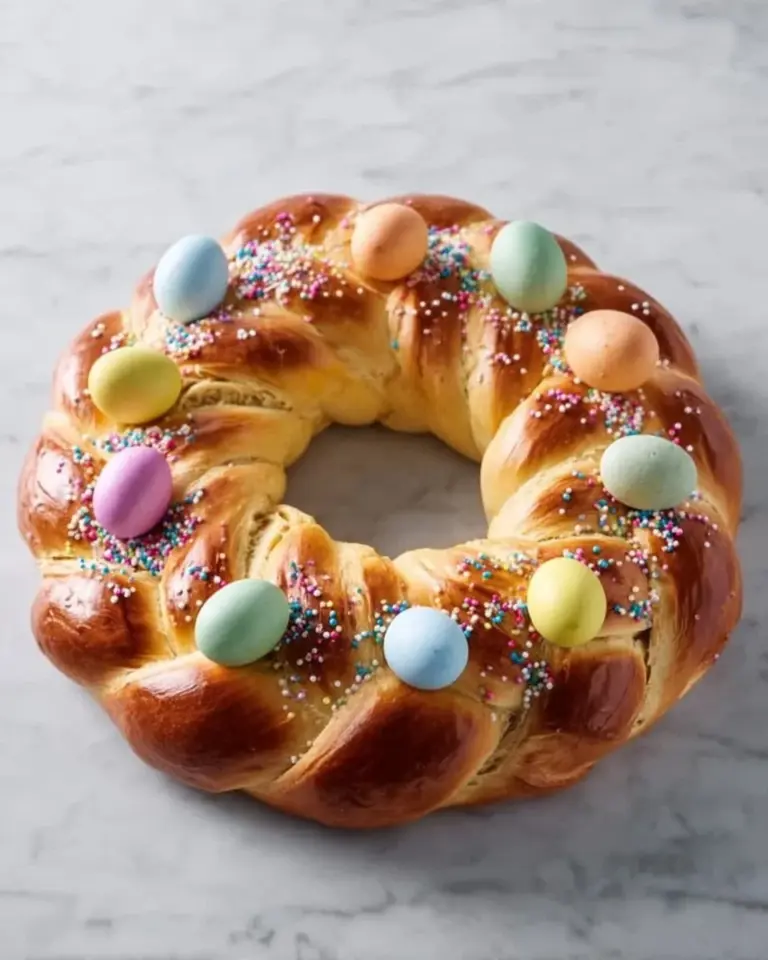
Seasonal Variations: Consider using pastel colors for Easter or light orange and black for Halloween to keep them festive year-round!
Nutrition & Storage Info
- Prep Time: 30 minutes
- Cook Time: 10 minutes
- Total Time: 1 hour 40 minutes (includes chilling time)
- Yield: About 36 cookies
- Estimated Calories: 120 calories per cookie
- Storage Instructions: Store in an airtight container at room temperature for up to a week, or freeze for 2-3 months. Thaw at room temperature before serving.
FAQ Section
1. Can I freeze the dough?
Yes! Slice and freeze the logs of dough. When you’re ready to bake, thaw and slice them.
2. Can these cookies be made ahead of time?
Absolutely! Just make the dough and chill it in the refrigerator up to a week in advance.
3. What can I use instead of food coloring?
You can use natural alternatives, like beet juice for red and spirulina for green, although the colors may not be as vibrant.
4. Do I need to grease the baking sheet?
No, these cookies are buttery enough to prevent sticking—unless you’re using a nonstick pan, then a light spritz wouldn’t hurt.
5. Can I use margarine instead of butter?
While you can, I highly recommend using real butter for the best flavor and texture.
6. How do I know when they’re done?
Look for the edges to be lightly golden while the centers are still soft. They’ll continue to firm as they cool.
7. How far in advance can I make these cookies?
You can make them up to a week in advance, keeping them in an airtight container.
8. Can I use less sugar?
That may affect the texture and sweetness, but you can experiment with reducing it by a small amount.
9. What if I don’t have wax paper?
Parchment paper works fine for rolling out the dough and helps prevent sticking.
10. How do I clean my workspace after?
Soak any dough remnants with warm water to soften before wiping, or try using a dough scraper to gather excess bits easily!
Conclusion
These Festive Pinwheel Sugar Cookies are more than just a treat; they represent cherished moments spent baking with loved ones and creating beautiful memories. Every swirl holds a story, and I genuinely hope you take the time to create your own.
I encourage you to try making these cookies, and if you do, please let me know how they turn out! I’d love to hear your feedback and any personal touches you add to the recipe. And if you’re looking for more delightful holiday treats, check out other recipes on my blog that will warm your heart and satisfy your cravings.
Happy baking!
Festive Pinwheel Sugar Cookies
Ingredients
Method
- Preheat your oven to 375°F (190°C).
- In a bowl, mix flour, baking soda, and baking powder.
- Cream butter, sugar, and salt together until light and fluffy, about 2-3 minutes.
- Beat in the egg and vanilla extract until smooth.
- Gradually blend in the dry ingredients until combined, avoiding overmixing.
- Divide the dough in half and tint one half red and the other green with food coloring.
- Roll each portion between two sheets of waxed paper into 1/4 inch thick rectangles.
- Stack the colored layers and roll tightly into a log, wrapping it in waxed paper.
- Chill the rolled dough in the refrigerator for at least 1 hour.
- Slice the chilled log into rounds about 1/4 inch thick.
- Place the rounds on ungreased baking sheets, ensuring space between cookies.
- Bake for 8 to 10 minutes until edges are lightly golden and centers are still soft.
- Cool on wire racks for a few minutes before transferring to a wire rack to cool completely.