Table of Contents
Table of Contents
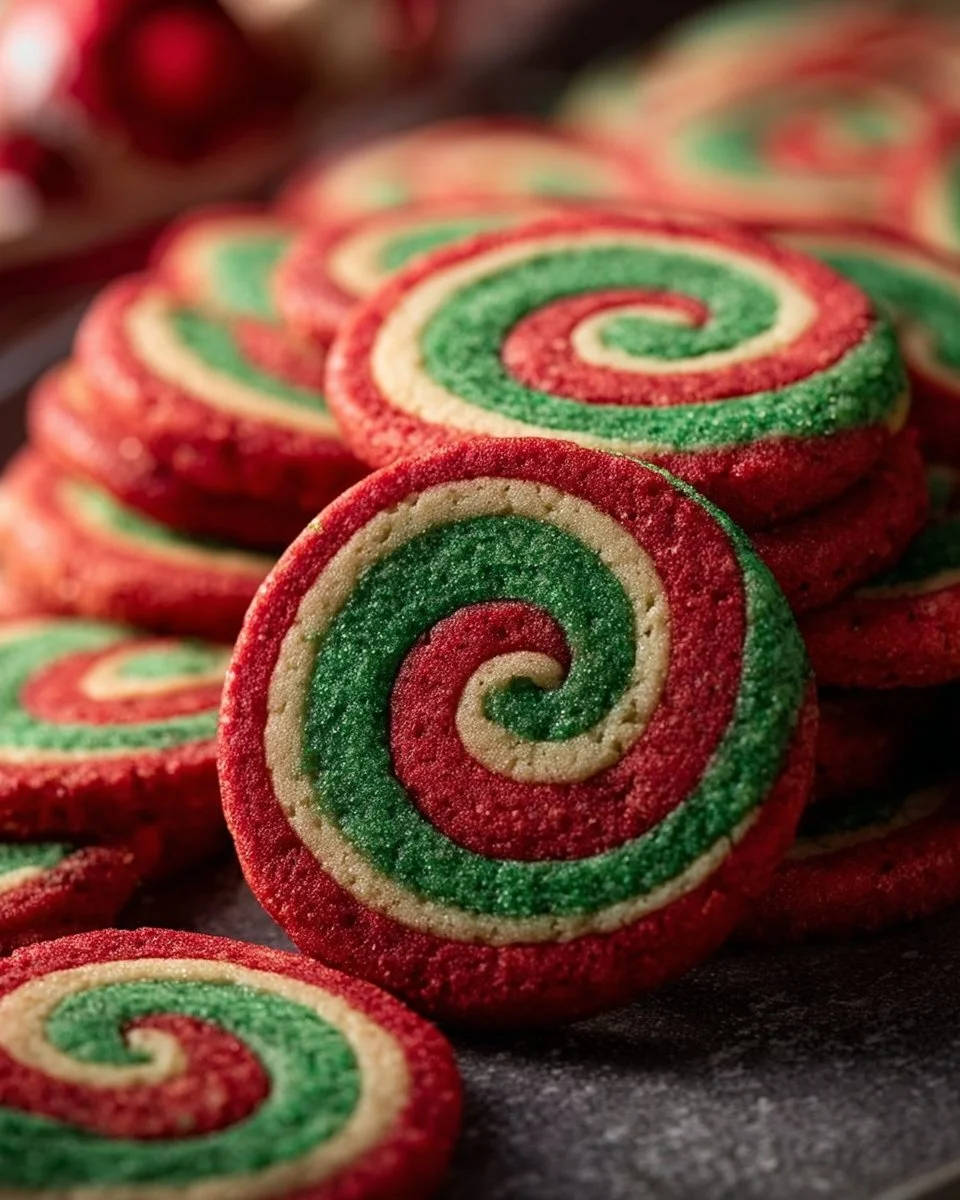
The holiday season is my absolute favorite time of the year, filled with fragrant spices, twinkling lights, and the joy of baking memories. When I think of Christmas, I picture my family gathered around the kitchen, laughter echoing off the walls as we bake a batch of Christmas Pinwheel Cookies. The vibrant swirls of color remind me of all the cheerful holiday spirit in the air. These cookies aren’t just about taste; they’re about nostalgia—the scent of butter and sugar wafting through the house, and the thrill of unrolling that perfectly chilled dough.
What sets my Christmas Pinwheel Cookies apart from others is the simplicity of the recipe combined with the explosion of flavors that each bite brings. While many recipes end up being overly complicated, this one is straightforward and allows you to flex your creative muscles with vibrant colors and designs. These cookies have become a staple not just in my kitchen but in the hearts of my family. Get ready to turn your kitchen into a holiday wonderland as we delve into the sweet world of these delightful cookies. By the end, you’ll not only learn how to whip up these festive treats, but you’ll also create lasting memories of your own.
What Are Christmas Pinwheel Cookies?
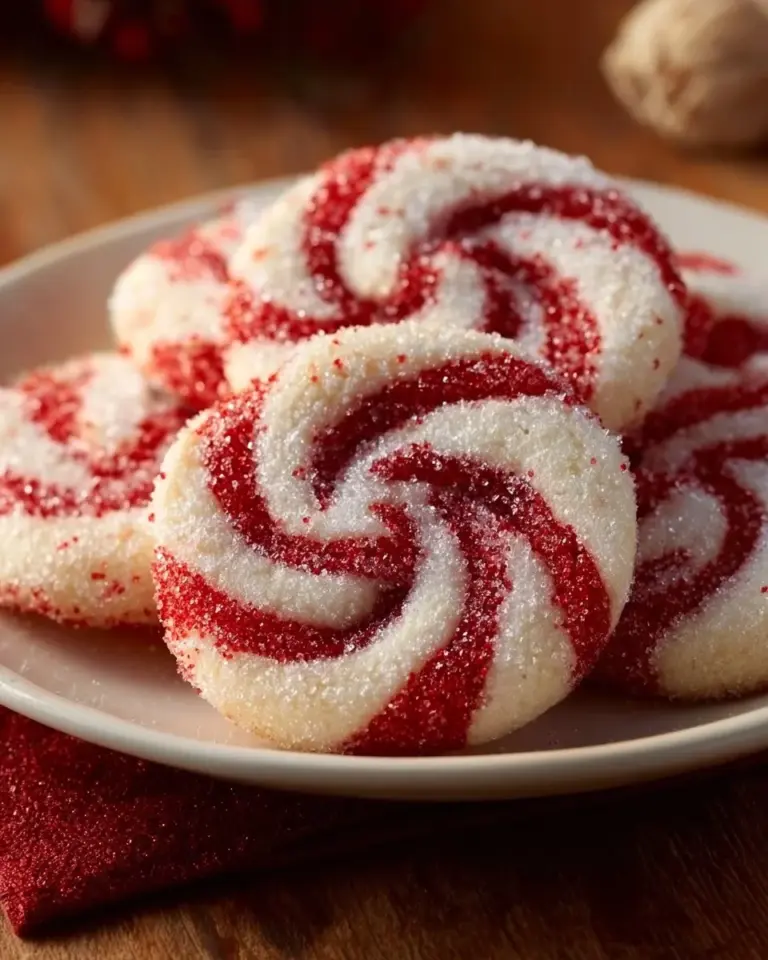
Christmas Pinwheel Cookies have a charming history rooted in festive traditions. Originating from the desire to blend the cheerful sights of a holiday into a delicious treat, these cookies are visually captivating thanks to their colorful spiral design. The unique layering technique allows each cookie to feature vibrant shades of color that burst with holiday cheer.
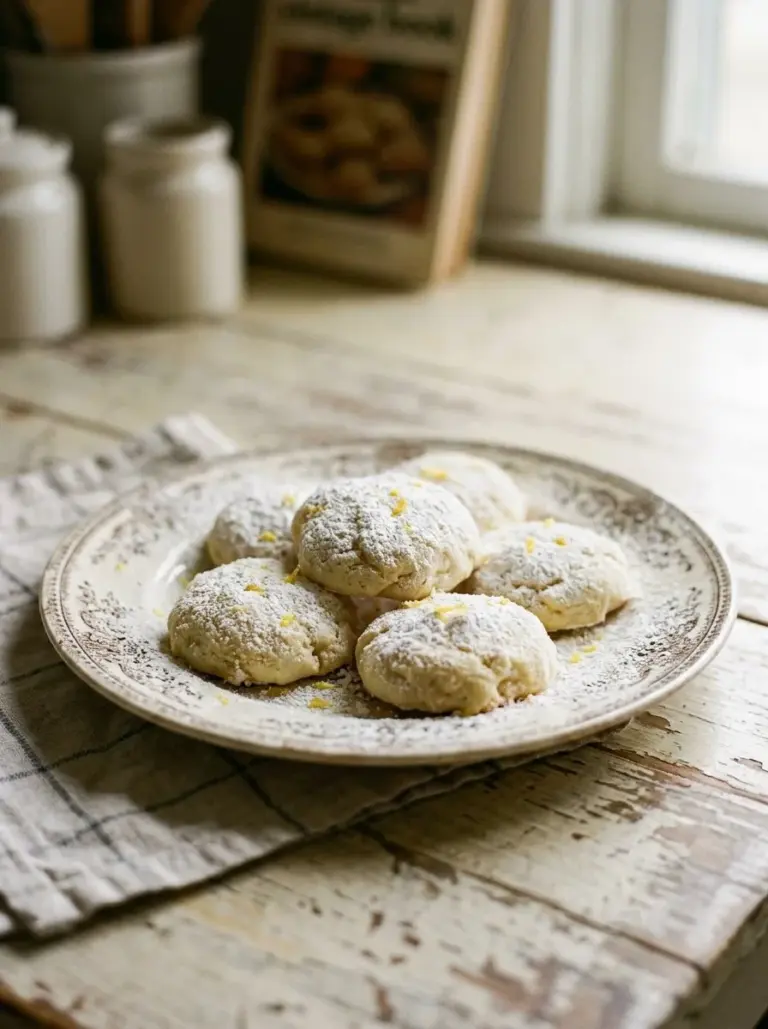
The taste? Imagine a buttery goodness with a hint of sweetness that crumbles delicately in your mouth. Each bite offers a soft, tender texture, while the cheerful colors bring an element of joy that screams Christmas. You’d want to serve them at gatherings, partake in cookie swaps, or simply revel in their charm with a warm cup of cocoa.
Whether you’re looking to impress friends at a cookie exchange or simply want a fun activity with your kids, these cookies fit perfectly into any holiday scenario.
Why You’ll Love This Recipe
Visual Spectacle: The swirls of vibrant colors create a stunning presentation. Unlike typical cookies, these beauties are sure to be the star of your dessert table, providing not only a feast for the palate but also a delight for the eyes.
Quick and Simple: Store-bought cookies don’t compare, especially when you can whip up these colorful confections at home with minimal effort. The straightforward recipe can easily be done in under two hours!
Cost-Effective Delight: Making these cookies at home saves your wallet while adding a personal touch that you can’t buy off the shelf. With basic ingredients, you can create dozens of cookies for the price of a few from the store.
Creative Freedom: The color combinations are only limited by your imagination. Use various food coloring shades, and even consider seasonal themes, like reds and greens for Christmas! You can even use natural colorants if you want a healthier twist.
Fun for Everyone: This recipe is family-friendly and adaptable for all skill levels, making it a perfect baking project for kids and adults alike. Plus, you can pre-chill the dough and enjoy baking days in advance, easing your holiday stress!
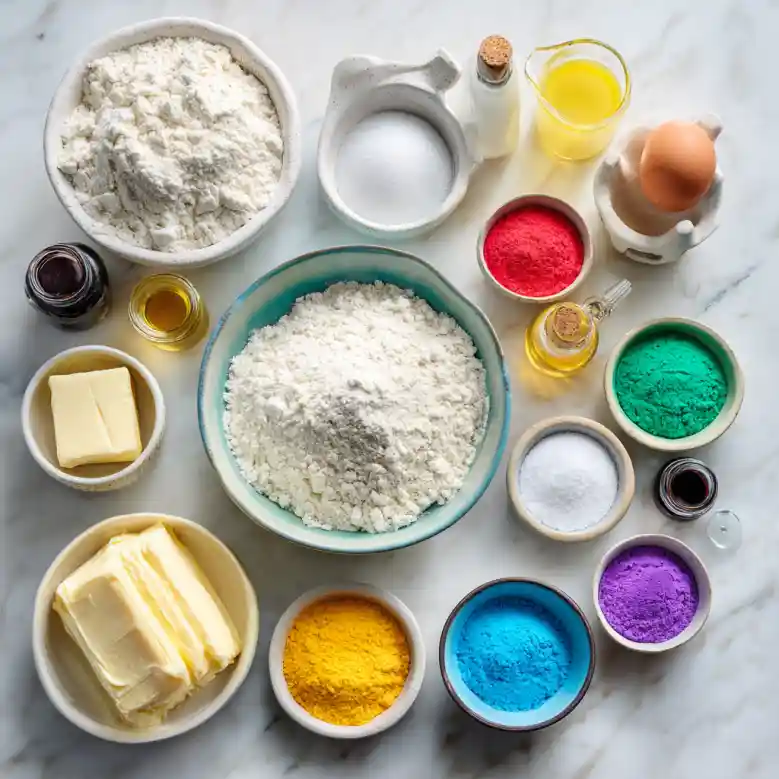
Ingredients
- 2 3/4 cups all-purpose flour: Use good quality flour to ensure the best structure for your cookies. If gluten-free, consider a 1:1 gluten-free flour blend as a substitution.
- 1 teaspoon baking powder: For just the right amount of lift.
- 1/2 teaspoon salt: Balances sweetness and enhances flavor.
- 1 cup unsalted butter, softened: Make sure to use room temperature butter for easy creaming.
- 1 1/4 cups granulated sugar: Sweetens beautifully and helps create a lovely texture.
- 1 large egg: Ensure it’s at room temperature; it’ll help with the dough’s consistency.
- 1 teaspoon vanilla extract: For an aromatic note, using pure vanilla extract is recommended.
- Food coloring (various colors): Go bold—use gel colors for more vibrancy.
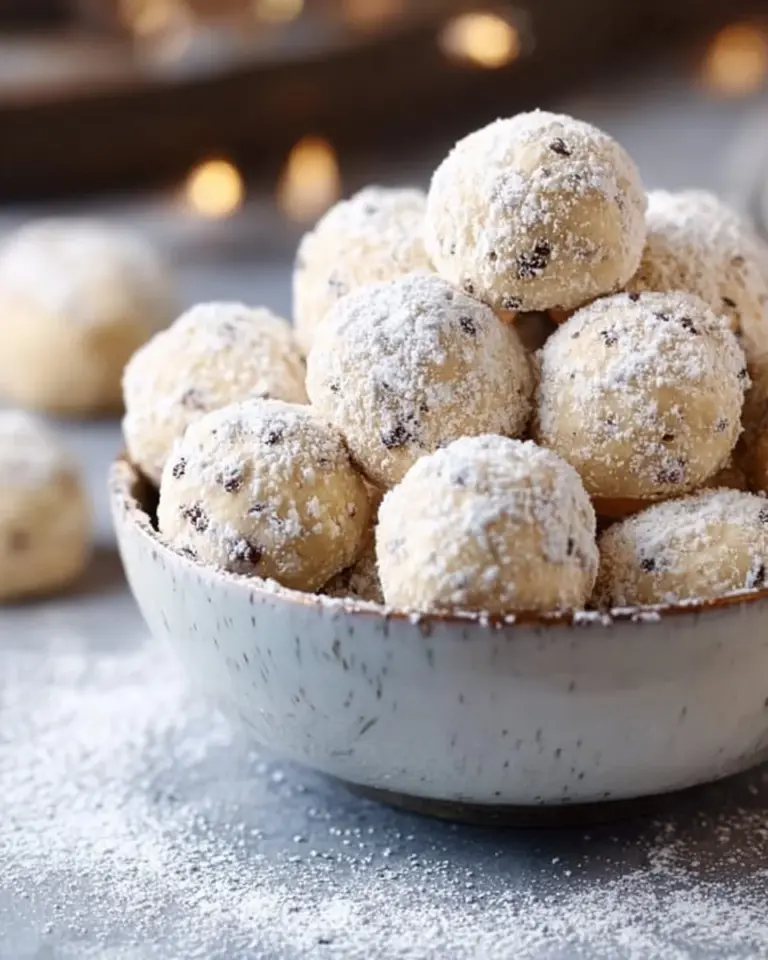
- Powdered sugar for dusting: Adds that perfect touch of holiday sweetness.
Prep Notes
- Ensure your butter is softened to room temperature for a perfectly creamy dough.
- Set out your egg in advance; it should also be at room temperature for even mixing.
Step-by-Step Instructions
1. Mix Dry Ingredients
In a medium bowl, whisk together the flour, baking powder, and salt. Set aside.
2. Cream Butter and Sugar
In a large mixing bowl, cream together the softened butter and granulated sugar until light and fluffy, about 3-5 minutes. You want it to be pale and fluffy for the best texture.
3. Add Egg and Vanilla
Beat in the egg and vanilla extract, mixing until fully incorporated.
4. Combine Mixtures
Gradually add the flour mixture to the butter mixture until combined. Be careful not to overmix; just mix until you see no dry flour!
5. Color the Dough
Divide the dough into equal sections (usually three works best) and add food coloring to each, mixing until you reach your desired shade.
6. Shape the Logs
For each colored section, roll the dough into a log about 1-2 inches in diameter. Stack them on top of each other and roll them into a cylinder, making sure the colors are as aligned as possible.
7. Chill the Dough
Wrap the dough in plastic wrap and chill in the fridge for at least an hour. This helps the colors set and makes slicing easier.
8. Preheat the Oven
Preheat your oven to 350°F (175°C) about 10 minutes before you’re ready to bake.
9. Slice the Cookies
Once chilled, take the dough out of the fridge. Slice the chilled dough into 1/4-inch thick rounds and place them on a baking sheet lined with parchment paper, spaced about an inch apart.
10. Bake the Cookies
Bake for 8-10 minutes or until the edges are lightly golden. You’ll notice a delicious buttery aroma filling your kitchen.
11. Cool and Dust
Let cool slightly on the baking sheet before transferring to a wire rack. Dust generously with powdered sugar before serving.
Expert Tips & Tricks
- Storage: These cookies can be stored in an airtight container at room temperature for up to a week, or frozen for up to three months.
- Make-Ahead: You can chill the dough and slice it, then freeze the individual slices. Bake them straight from the freezer, adding an extra minute or two to the bake time.
- Common Mistakes: Avoid overworking the dough once the flour is added, as this can lead to tough cookies.
- Consistency is Key: If your dough is too crumbly, add a teaspoon of milk to help bring it together. If too sticky, add a bit more flour.
- Troubleshooting: If the cookies spread too much while baking, chill them longer before slicing into rounds.
Serving Suggestions
These Christmas Pinwheel Cookies are delightful on their own or served with a warm cup of hot cocoa, coffee, or tea. For presentation, arrange them on a festive platter, sprinkle some peppermint pieces around, or add greenery for a touch of holiday spirit. Perfect for cookie platters, gift baskets, or just a cozy night in with loved ones!
Variations & Substitutions
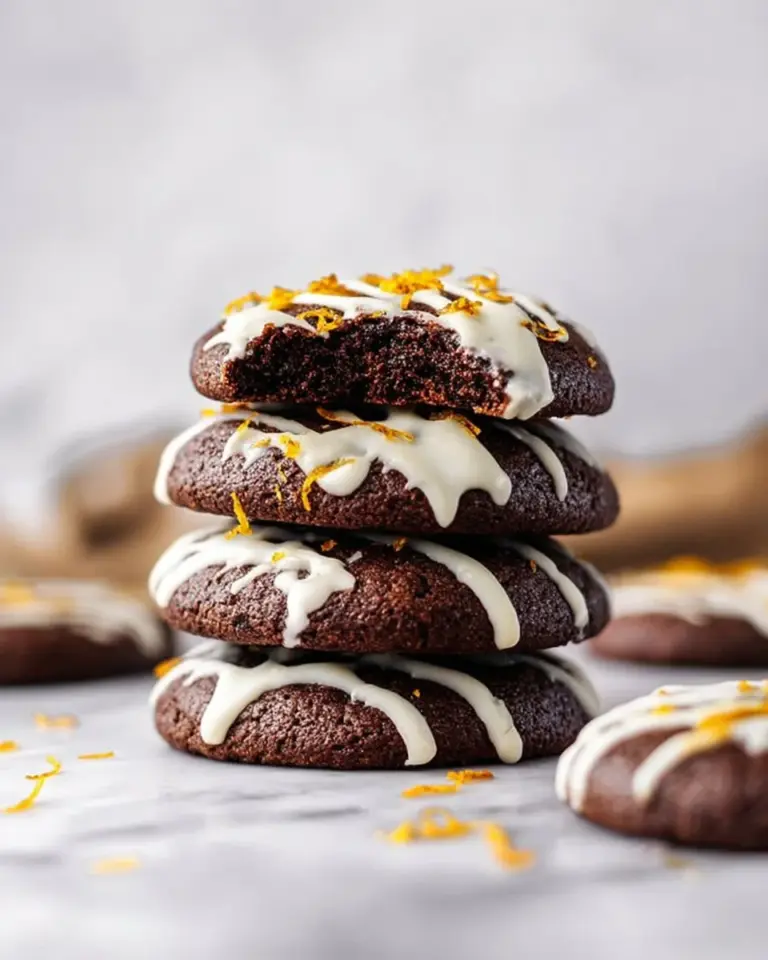
Different Flavors: Experiment with adding cocoa powder to one of the colored sections for chocolate swirls—delicious! You could also use lemon or almond extract for a twist on the classic flavor.
Dietary Adaptations: These cookies can easily be made vegan by substituting the butter with vegan butter and omitting the egg—just replace it with 1/4 cup of flaxseed meal mixed with 1/4 cup of water.
Seasonal Variations: For a Halloween twist, use orange and purple colors; for Easter, pastel colors make a great addition to any spring gathering!
Nutrition & Storage Info
- Prep Time: 20 minutes
- Cook Time: 10 minutes
- Total Time: 1 hour 30 minutes (including chill time)
- Yield: Approx. 24 cookies
- Estimated Calories: 130 calories per cookie (depending on size)
- Storage: Store at room temperature for a week, or freeze for up to three months.
FAQ Section
Can I use margarine instead of butter?
- Yes, but the flavor and texture may differ slightly. Unsalted butter is preferred for the best taste.
How do I get vibrant colors?
- Gel food coloring tends to provide richer hues than liquid food coloring. Start with these for the brightest results.
Can I freeze the dough?
- Yes, you can freeze the logs of dough. Wrap them tightly in plastic wrap and store them in a freezer bag for up to three months!
What should I do if my dough is too sticky?
- If the dough feels too sticky, refrigerate it for a bit longer before scooping and slicing.
How can I tell when the cookies are done?
- The edges should be lightly golden, and the tops will look set. They will harden more as they cool.
Do I have to use food coloring?
- Not at all! You can leave the dough plain for a more classic look and still enjoy the buttery flavor.
How can I add more flavor to the cookies?
- Consider adding spices like cinnamon or nutmeg to the dough for a warm holiday flavor.
What other shapes can I make with this dough?
- You can use cookie cutters to create holiday shapes instead of rolling logs!
Can I use whole wheat flour?
- You can use whole wheat flour, but it may change the texture slightly. Consider mixing it with all-purpose flour for the best texture.
Will these cookies last until Christmas?
- If stored properly in an airtight container, they can last a week at room temperature, or longer if frozen.
Conclusion
As the rich aroma of Christmas Pinwheel Cookies fills your home this festive season, you’ll find it’s about so much more than just baking—it’s about creating cherished moments with those you love. I encourage you to dive into this exciting recipe, and don’t forget to share your creations and experiences in the comments! And if you’re looking for more festive ideas, check out the other delightful recipes on my blog—let’s make this holiday season even sweeter together!
Festive Pinwheel Sugar Cookies

Christmas Pinwheel Cookies
Ingredients
Method
- In a medium bowl, whisk together the flour, baking powder, and salt. Set aside.
- In a large mixing bowl, cream together the softened butter and granulated sugar until light and fluffy, about 3-5 minutes.
- Beat in the egg and vanilla extract, mixing until fully incorporated.
- Gradually add the flour mixture to the butter mixture until combined. Be careful not to overmix.
- Divide the dough into equal sections (usually three works best) and add food coloring to each, mixing until you reach your desired shade.
- For each colored section, roll the dough into a log about 1-2 inches in diameter.
- Stack the logs on top of each other and roll them into a cylinder.
- Wrap the dough in plastic wrap and chill in the fridge for at least an hour.
- Preheat your oven to 350°F (175°C) about 10 minutes before you’re ready to bake.
- Once chilled, slice the dough into 1/4-inch thick rounds and place them on a baking sheet lined with parchment paper.
- Bake for 8-10 minutes or until the edges are lightly golden.
- Let cool slightly on the baking sheet before transferring to a wire rack.
- Dust generously with powdered sugar before serving.