Table of Contents
Table of Contents
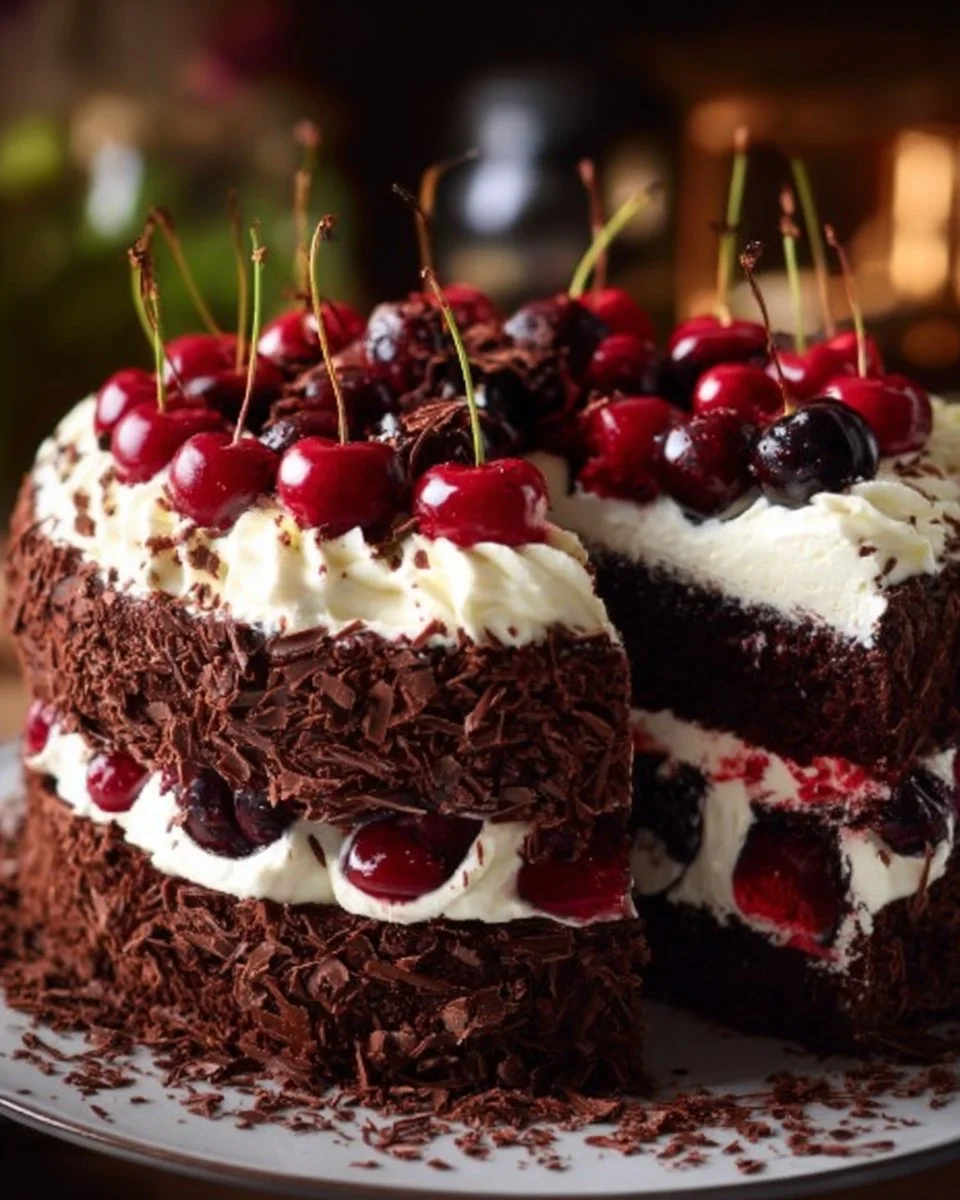
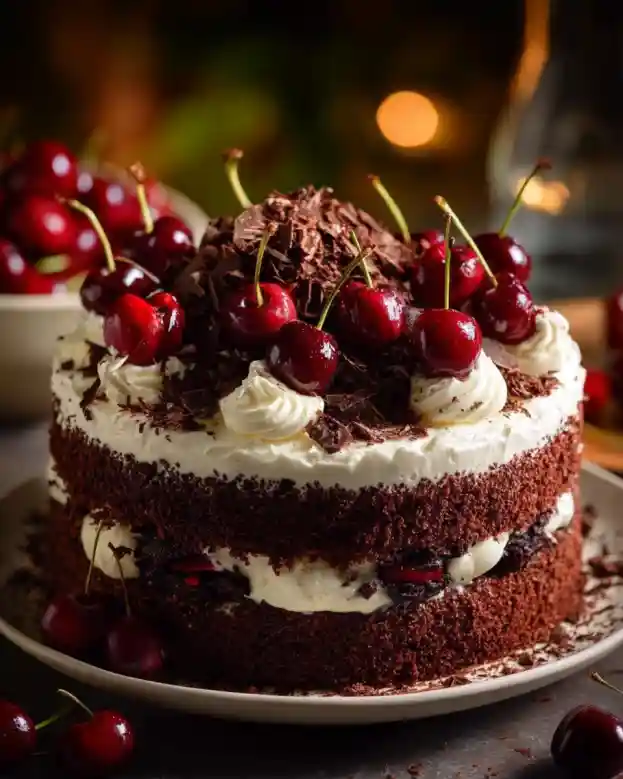
Decadent Black Forest Cake: A Slice of Happiness
Growing up in my family, desserts held a special place in our hearts — none more than the luscious Black Forest Cake. I can still picture my grandmother whipping up this classic delight in her cozy kitchen, the rich aroma of chocolate wafting through the air as I eagerly awaited the first slice. What made her version stand out was the perfect balance of moist chocolate layers, tart cherries, and fluffy whipped cream that felt like a warm hug with every bite.
Now, as I try to recreate those fond memories in my own kitchen, I’ve developed a Black Forest Cake recipe that elevates this classic to new heights. Unlike store-bought options or simplified versions, my recipe incorporates quality ingredients and a few clever techniques to ensure your cake is not just good but unforgettable. Whether you’re hosting a birthday party, celebrating an anniversary, or simply craving a sweet treat, this cake promises to bring a little joy into your life.
In this post, I’ll walk you through my cherished Black Forest Cake recipe, sharing personal tips and tricks, so you can bring the magic of this dessert into your home. Ready to get baking? Let’s dive in!
What Are Black Forest Cakes?
Black Forest Cake, or Schwarzwälder Kirschtorte, hails from Germany and carries with it a rich history and cultural significance. Traditionally, it comprises layers of moist chocolate cake laced with Kirschwasser (a cherry schnapps) and is filled with whipped cream and cherries. The resulting flavors are a tantalizing blend of sweet and tart, while the textures oscillate between the cake’s softness and the cream’s lightness—a true dessert masterpiece.
As you slice into the cake and reveal its layers, you’re greeted with a visual feast of glossy cherries and delicate cream, inviting anyone to take a bite. It’s the perfect indulgence for birthdays, weddings, or any special celebration when you want to impress. But even on a quiet evening at home, a piece of Black Forest Cake serves as a comforting reminder of simpler times, encapsulating nostalgia in every forkful.
Why You’ll Love This Recipe
Elevated Flavors: Unlike many store-bought versions that can be overly sweet or dry, this recipe focuses on using quality ingredients to create a rich, balanced flavor profile that sings. Each layer harmonizes beautifully, allowing the cherries to shine.
Cost-Effective: Baking at home can save you quite a bit of money! This homemade Black Forest Cake costs a fraction of what you’d pay at a bakery, and you get more cake for your buck—who doesn’t love that?
Customization Options: Whether you prefer darker chocolate or want to swap out cherries for strawberries, this cake is incredibly flexible. Add in your favorite nuts, spices, or even create a gluten-free version, and make it your own!
Easy to Follow: With straightforward steps and common ingredients, even novice bakers can successfully whip up this showstopper. If I can do it with my busy schedule, so can you!
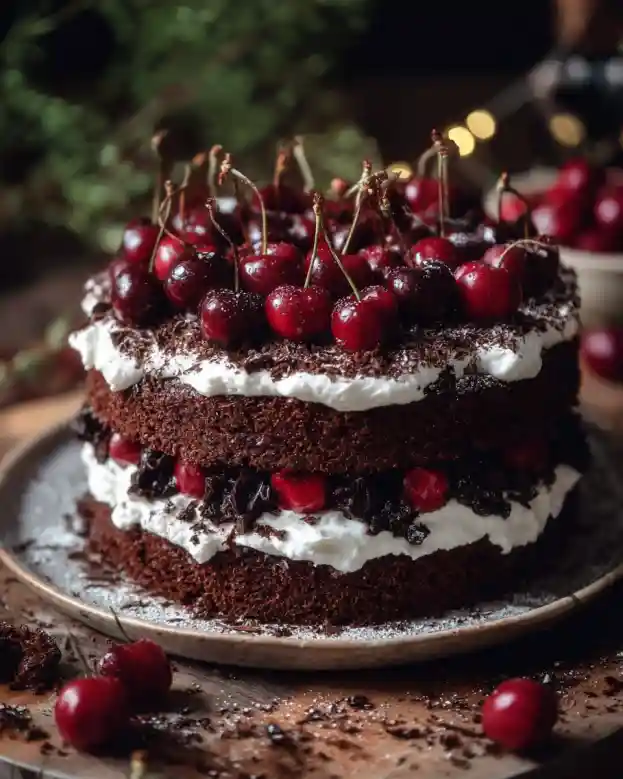
Impressive Result: The final presentation is nothing short of stunning. The layers, adorned with whipped cream and chocolate shavings, will have your friends and family swooning, making you the star of your next gathering.
Ingredients
Let’s gather our ingredients for this luscious Black Forest Cake! Using quality ingredients will enhance the flavor, so don’t skimp here:
Basic Ingredients
- 2 cups all-purpose flour (Try King Arthur Flour for consistent results)
- 2 cups sugar (Organic sugar adds a lovely flavor)
- 3/4 cup unsweetened cocoa powder (Use Dutch-processed cocoa for a deeper flavor)
- 1 1/2 teaspoons baking powder
- 1 1/2 teaspoons baking soda
- 1 teaspoon salt
- 2 large eggs (Room temperature for better incorporation)
- 1 cup whole milk (Makes the cake nice and moist)
- 1/2 cup vegetable oil (For richness; you can substitute with melted butter)
- 2 teaspoons vanilla extract (Opt for pure vanilla for the best flavor)
- 1 cup boiling water (This helps bloom the cocoa powder and creates a tender crumb)
For the Layering
- 1 jar (24 oz) Morello cherries, drained and juice reserved
- 2 cups heavy whipping cream (Cold, for perfect whipping)
- 1/4 cup powdered sugar (Sweetened to taste)
- Chocolate shavings (Dark chocolate works wonderfully for garnish)
Prep Notes
Make sure your butter and eggs are at room temperature for the best consistency and flavor. You can also use almond extract to add a unique twist!
Step-by-Step Instructions
Preheat the Oven: Preheat your oven to 350°F (175°C). Grease and flour two 9-inch round cake pans to ensure an easy release.
Mix Dry Ingredients: In a large bowl, whisk together the flour, sugar, cocoa powder, baking powder, baking soda, and salt until well combined.
Combine Wet Ingredients: Add the eggs, milk, oil, and vanilla to the dry ingredients and mix until the batter is smooth and well incorporated.
Incorporate Boiling Water: Carefully stir in the boiling water. This will make the batter thin, but that’s just what you want for a moist cake.
Divide and Bake: Divide the batter evenly between your prepared pans. Bake for 30-35 minutes or until a toothpick inserted into the center comes out clean.
Chef’s Tip: Keep an eye on your cakes in the last few minutes to prevent overbaking.
Cool the Cakes: Let the cakes cool in the pans for about 10 minutes before carefully transferring them to wire racks to cool completely.
Slice Layers: Once cool, slice each cake in half horizontally to create four layers in total.
Whip the Cream: In a large bowl, whip the heavy cream with powdered sugar until stiff peaks form. This will give you that fluffy texture you love in a cake.
Layer Up: Start with one cake layer on a serving plate. Moisten it with reserved cherry juice, spread a generous layer of whipped cream, and top with cherries. Repeat with the remaining layers.
Finish Decorating: Frost the top and sides of the cake with whipped cream and garnish with chocolate shavings for that showstopper finish.
Serve and Enjoy!: Slice yourself a piece of heaven and take in the joy of your hard work.
Expert Tips & Tricks
Storage Recommendations: Store leftover cake in the refrigerator for up to 3 days. The flavors will actually deepen over time!
Make-Ahead Instructions: You can bake the cake layers a day ahead. Wrap them tightly in plastic wrap and store them at room temperature to keep them moist.
Troubleshooting Common Problems: If your cake is sinking in the middle, it may have needed more baking time. Always check for doneness with a toothpick.
Avoid Over-Mixing: Be gentle when mixing; over-mixing can lead to dense cake layers.
Add Extra Layers: Feel free to add extra layers, like a layer of ganache between the cake if you’re feeling adventurous!
Serving Suggestions
Pair this delectable Black Forest Cake with a scoop of vanilla ice cream or serve it alongside a fresh fruit salad for a balanced dessert. For presentation, dust the top with cocoa powder before adding your whipped cream for an extra pop of class. This cake is perfect for birthdays, anniversaries, or anytime you want to spoil yourself or someone special.
Variations & Substitutions
Flavor Combinations: Try swapping out the Morello cherries for fresh strawberries, raspberries, or even a mix of berries for a lovely summer twist.
Dietary Restrictions: For a gluten-free version, substitute the all-purpose flour with a gluten-free blend, and ensure your baking powder is certified gluten-free.
Seasonal Variations: In the fall, consider adding spiced apples or pumpkin for a seasonal Black Forest spin!
Nutrition & Storage Info
- Prep Time: 25 minutes
- Cook Time: 35 minutes
- Total Time: About 1 hour
- Yield: 12 servings
- Estimated Calories: Approximately 400 calories per slice
- Storage: Keep in airtight containers at room temperature for 1 day or refrigerate for 3-5 days. Freeze for up to 2 months, wrapping each slice tightly to prevent freezer burn.
FAQ Section
1. Can I make this cake gluten-free?
Yes, you can substitute the all-purpose flour with a gluten-free blend. Just ensure your other ingredients, like baking powder, are gluten-free.
2. What type of cherries should I use?
While Morello cherries are traditional, feel free to use any tart cherries you like, even fresh ones if they’re in season!
3. Can I bake this in a single pan?
Definitely! If using a single 9×13 pan, adjust the bake time to around 40-45 minutes or until a toothpick tests clean.
4. How do I make the cream extra fluffy?
Make sure your whipping cream is cold, and don’t rush the whisking process. Add powdered sugar gradually while whipping for best results.
5. Can I use a different type of chocolate?
For added depth, consider using dark or even semi-sweet chocolate in your cake. Just be mindful of the sweetness balance.
6. What if I don’t have boiling water?
If you can’t boil water, you can warm it in the microwave—just make sure it’s hot enough to help bloom the cocoa powder.
7. How can I avoid my cake from falling?
Ensure your oven is properly calibrated and avoid opening it while baking. Also, watch your baking times carefully!
8. Can I frost the cake in advance?
Yes! Once cooled, frost the cake and keep it covered in the refrigerator. Just allow it to come to room temperature before serving.
9. Will the cake still be moist the next day?
Absolutely! This cake tends to stay moist due to its structure; just make sure it’s stored properly.
10. What’s the best way to slice the cake for serving?
Use a sharp, non-serrated knife dipped in hot water for clean, crumb-free slices.
Conclusion
This Black Forest Cake recipe is more than just a dessert; it’s a way to share love and tradition with those around you. Whether you’re celebrating a special occasion or simply indulging your sweet tooth, trust that this recipe brings comfort and joy into each bite. I encourage you to give it a try and share your experience with me in the comments! Don’t forget to check out other related recipes on my blog to continue your culinary adventures. Happy baking!
Graving Morre Recipes?
Black Forest Cake
Ingredients
Method
- Preheat your oven to 350°F (175°C). Grease and flour two 9-inch round cake pans to ensure an easy release.
- In a large bowl, whisk together the flour, sugar, cocoa powder, baking powder, baking soda, and salt until well combined.
- Add the eggs, milk, oil, and vanilla to the dry ingredients and mix until the batter is smooth and well incorporated.
- Carefully stir in the boiling water. This will make the batter thin, but that’s just what you want for a moist cake.
- Divide the batter evenly between your prepared pans. Bake for 30-35 minutes or until a toothpick inserted into the center comes out clean.
- Let the cakes cool in the pans for about 10 minutes before carefully transferring them to wire racks to cool completely.
- Once cool, slice each cake in half horizontally to create four layers in total.
- In a large bowl, whip the heavy cream with powdered sugar until stiff peaks form.
- Start with one cake layer on a serving plate. Moisten it with reserved cherry juice, spread a generous layer of whipped cream, and top with cherries. Repeat with the remaining layers.
- Frost the top and sides of the cake with whipped cream and garnish with chocolate shavings for that showstopper finish.
- Slice yourself a piece of heaven and take in the joy of your hard work.