Table of Contents
Table of Contents
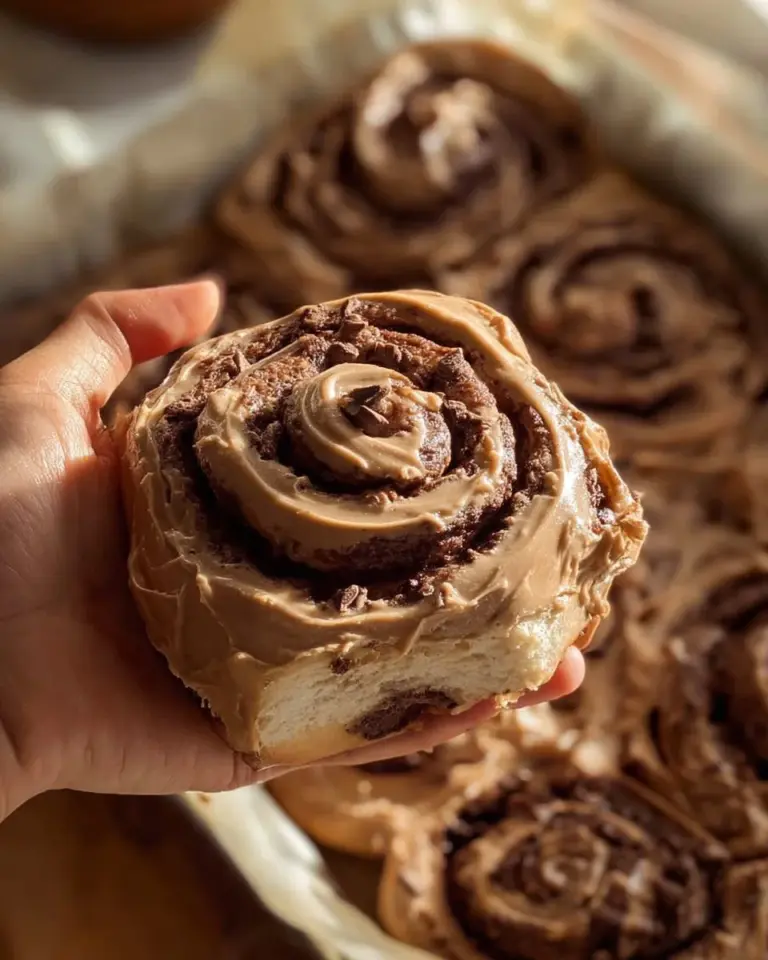
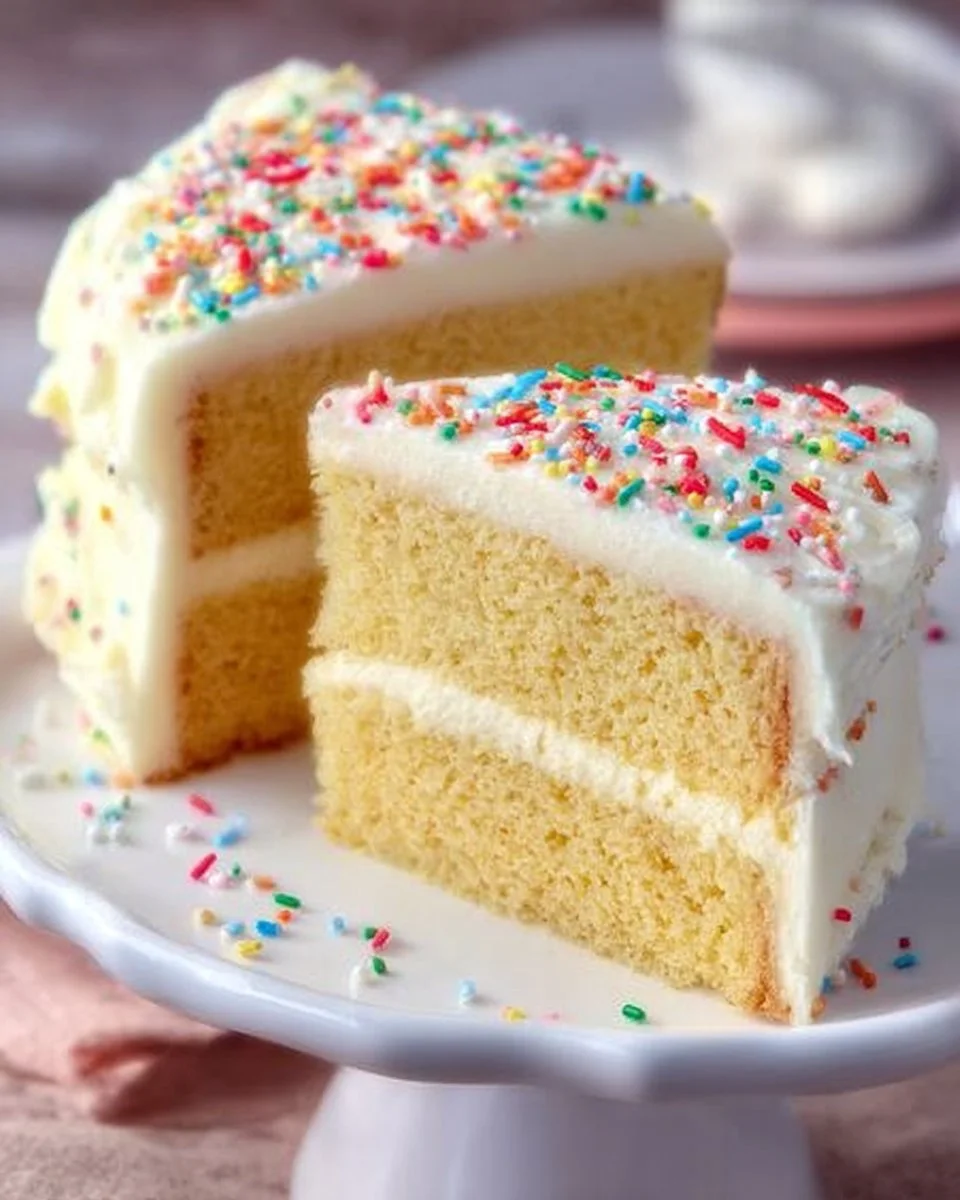
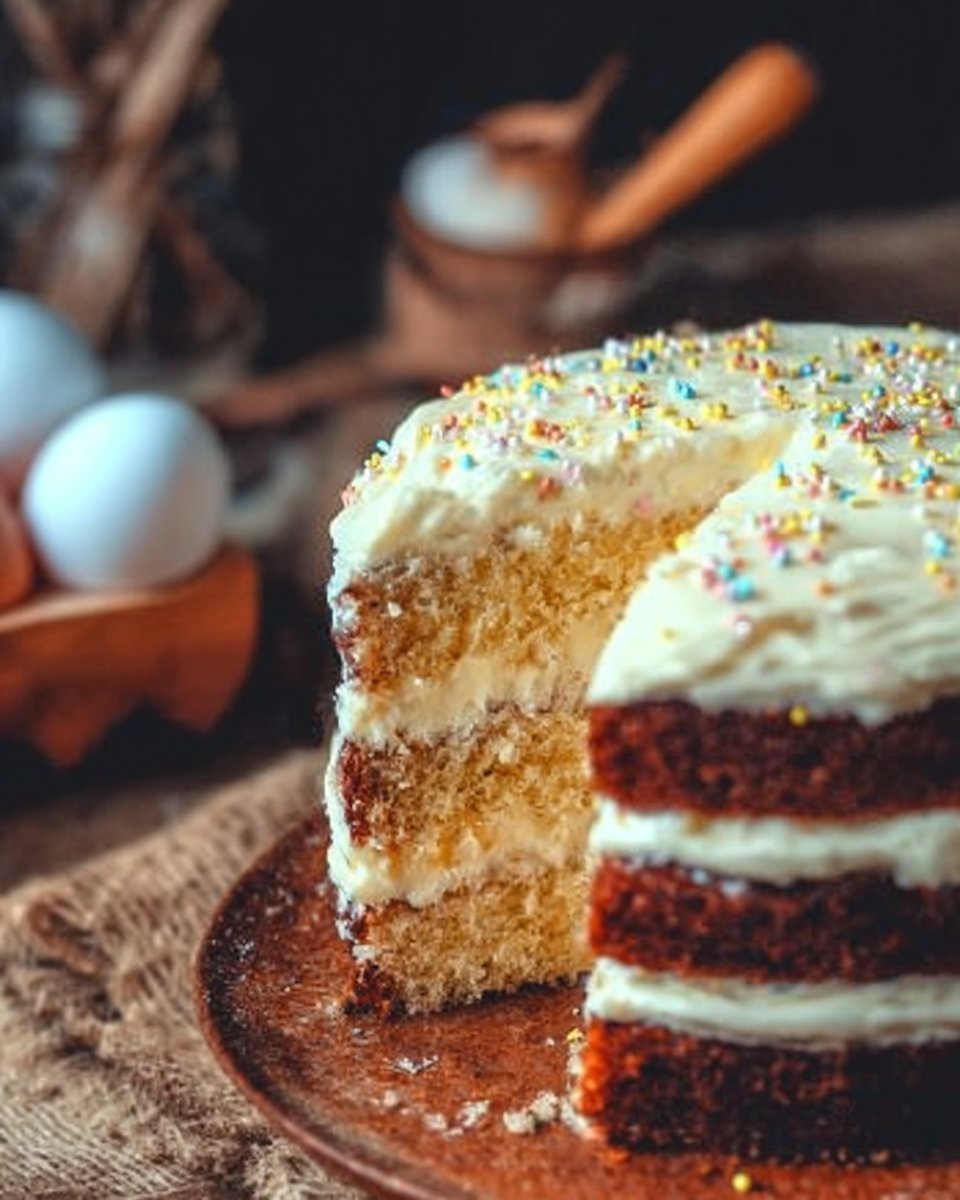
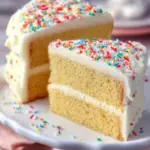
Imagine a Sunday afternoon, sunlight streaming through the kitchen window, the sweet aroma of baked goods filling the air—this is how I remember my childhood. Growing up, my family had a tradition: a homemade cake every weekend. One recipe that consistently graced our table was what I like to call the Dream Cake. This soft, velvety confection is lovingly layered and topped with a creamy frosting that melts in your mouth—a sensation I can still taste to this day.
What makes my Dream Cake so special? It’s not just the rich flavor or the fluffy texture; it carries with it the warmth of family gatherings, laughter, and cherished memories. Unlike many store-bought cakes that can leave you feeling unsatisfied, this cake is made from scratch with love, yielding a depth of flavor and moistness that no store can replicate. It’s a celebration of sweet moments and a comforting reminder that some traditions should be passed down.
In this post, I promise you’ll learn how to recreate this delightful Dream Cake, packed with tips and tricks I’ve picked up over the years. Get ready to bring a slice of happiness into your kitchen!
What Are Dream Cakes?
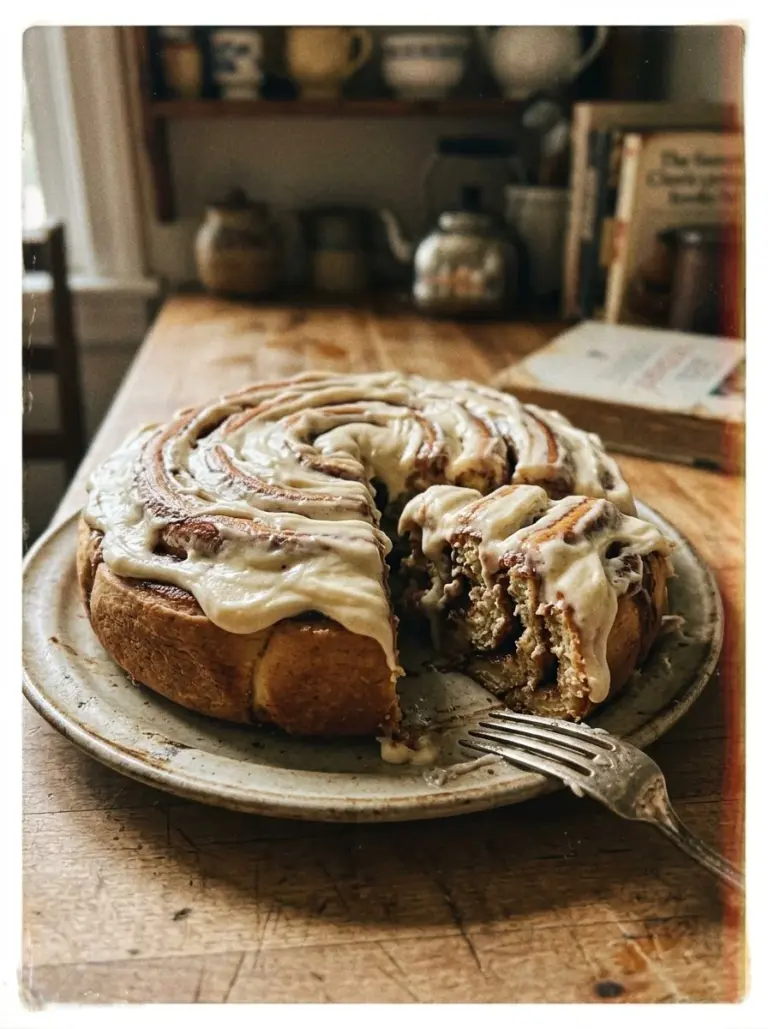
The Dream Cake has quite the enchanting origins: a delightful layer cake that will remind you of childhood birthdays and family reunions. It’s similar to a classic vanilla cake but elevated to a whole new level with its moist crumb and perfectly sweet frosting. Each slice is not just a dessert but a piece of nostalgia that takes you back to simpler times.
With its light and airy texture paired with the richness of sweet frosting, this cake is unique in its versatility. You can serve it at any occasion—from a casual afternoon tea to a grand birthday celebration. It’s a cake that whispers a sweet invitation, calling you to indulge in its layers of bliss. Whether it’s your first time baking or you’re a seasoned pro, this Dream Cake will create delicious memories as you enjoy each moment of its creation.
Why You’ll Love This Recipe
You might be wondering, why should you choose this Dream Cake recipe over others? Here are a few compelling reasons that will make you want to whip up this beautiful dessert today:
Quality Ingredients: This recipe calls for simple, staple ingredients that you might already have in your pantry. Better yet, it allows you to control the quality—no preservatives like you find in most store-bought cakes.
Cost-Effective: Making your cake is not only healthier but also easier on the wallet. For less than the price of one slice of cake from a bakery, you can create a whole, beautifully layered Dream Cake that serves multiple people—consider the savings!
Customization Options: Want a lemony twist or a chocolate ganache topping? This cake is a blank canvas for your culinary creativity. You can easily alter the flavors to suit your mood or occasion.
Quick to Make: With just over an hour of your time, including baking and frosting, this recipe is perfect for busy home bakers who want to deliver something impressive without spending all day in the kitchen.
Masterful Simplicity: Don’t worry if you’re not a pro baker—this recipe is accessible! It’s beginner-friendly yet allows room to elevate your baking skills. I’ve helped many friends and family dive into baking through this recipe, and they’ve always come away feeling accomplished and happy.
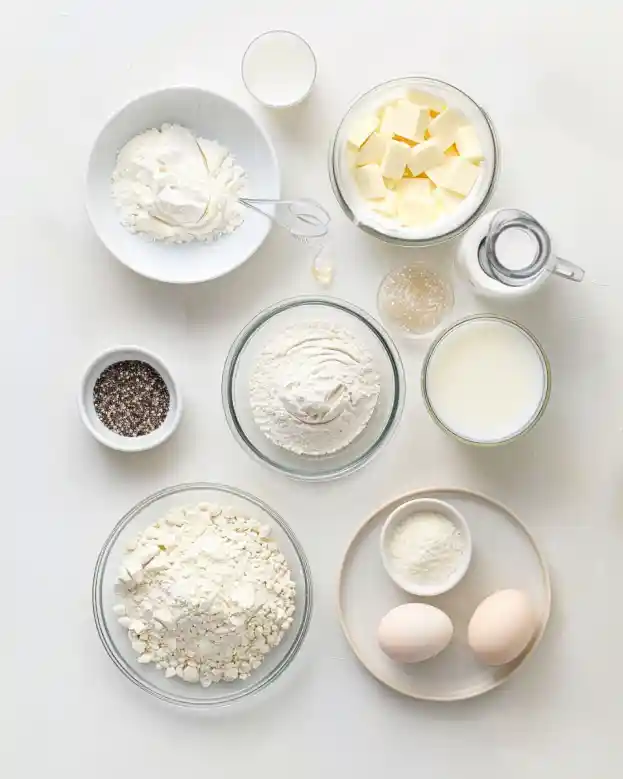
Ingredients
For this delightful Dream Cake, you will need:
- 2 cups all-purpose flour (sifted) – For the perfect cake texture, always sift your flour. This adds air and helps prevent lumps.
- 1 ½ cups granulated sugar – Sweetness is key; feel free to adjust to your taste.
- ½ cup unsalted butter, softened – Use high-quality butter for the best flavor; brands like Land O’Lakes or Kerrygold work wonders.
- 1 cup milk – Whole milk is ideal for richness, but you can substitute with almond milk or a dairy-free option if needed.
- 3 ½ teaspoons baking powder – This is your leavening agent that will help the cake rise.
- 1 teaspoon vanilla extract – A good-quality extract can elevate the flavor significantly.
- ½ teaspoon salt – Enhances sweetness and balances flavors.
- 4 large eggs – Make sure they are at room temperature for better emulsification.
For the Frosting:
- 2 cups powdered sugar (sifted) – Ensures a smooth frosting texture.
- 1 cup unsalted butter, softened – Again, quality matters. Room temperature will mix better.
- 2 teaspoons vanilla extract – A must for flavor.
- 2-4 tablespoons milk – Adjust based on your preferred frosting consistency.
- Sparkling sugar for decoration – Adds a lovely touch of elegance!
Preparation Note: For the best results, ensure your butter is softened at room temperature and your eggs are not cold. This makes a noticeable difference in texture and flavor.
Step-by-Step Instructions
Preheat oven to 350°F (175°C) and grease and flour two 9-inch round cake pans. This prevents sticking and creates a smooth release.
In a large bowl, cream together the softened butter and granulated sugar until light and fluffy. This should take about 3-5 minutes. You’ll know it’s ready when the mixture appears pale and airy.
Beat in the eggs, one at a time, mixing well after each addition. Proper incorporation of eggs adds structure to your cake’s crumb.
Stir in the vanilla extract, giving it that rich and warm aroma we all love.
In another bowl, whisk together the flour, baking powder, and salt until combined. This ensures even distribution of the leavening agent.
Gradually add the dry ingredients to the creamed mixture, alternating with milk, beginning and ending with flour. Mix until just combined; overmixing can lead to a dense cake.
Divide the batter evenly between the prepared pans and smooth the tops with a spatula.
Bake for 25-30 minutes, or until a toothpick inserted in the center comes out clean. The tops should be golden brown.
Allow the cakes to cool in the pans for 10 minutes. Then, transfer to a wire rack to cool completely. Patience is key!
For the frosting, beat together the softened butter and powdered sugar until well combined. Gradually add vanilla extract and milk until you reach your desired consistency. Aim for a semi-thick, spreadable texture.
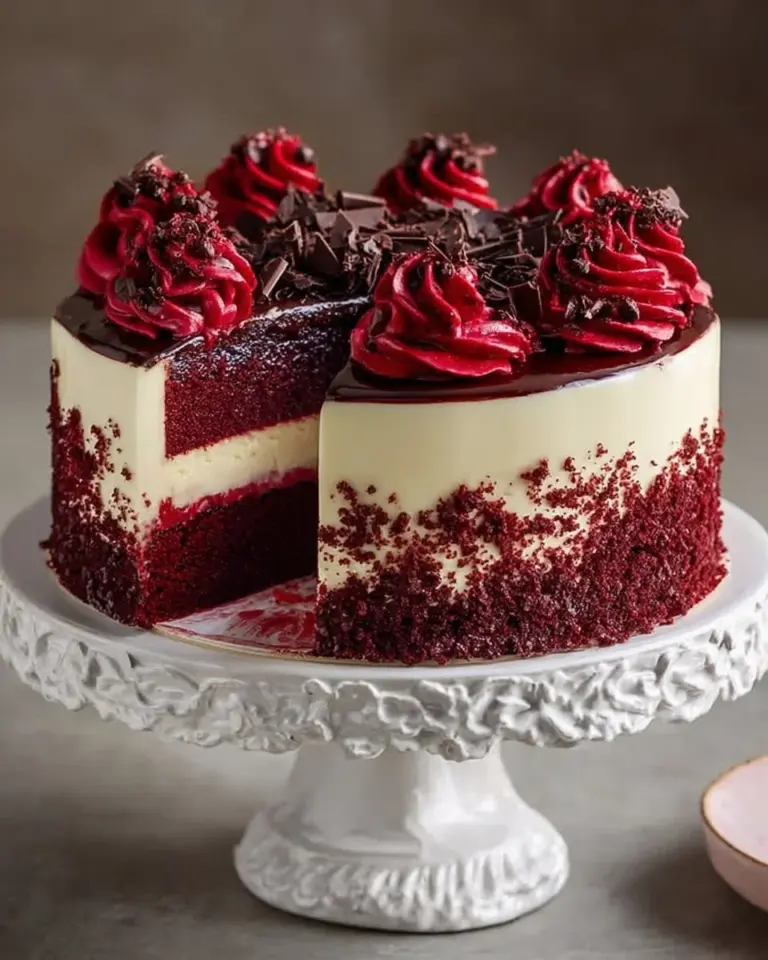
Frost the top of one cake layer, place the second layer on top, and generously frost the top and sides.
Decorate with sparkling sugar for a little flair. Enjoy your Dream Cake!
Chef’s Tips:
- Don’t rush the creaming step; proper aeration is vital for a light cake.
- Use high-quality vanilla extract; it makes a noticeable difference.
- Check for doneness early; ovens can vary in temperature.
Expert Tips & Tricks
Storage: To maintain freshness, store your Dream Cake in an airtight container at room temperature for up to 3 days. If frosted, it can last up to a week in the refrigerator.
Make-ahead Instructions: You can bake the cakes a day in advance. Wrap them tightly in plastic wrap and store in the fridge. Frosting can also be made ahead and kept at room temperature if used within a few days.
Troubleshooting Common Problems:
- If your cake is dense, check that you didn’t overmix the batter.
- For uneven baking, ensure your oven rack is centered and not too close to the heat source.
Serving Suggestions
This Dream Cake is already a showstopper on its own, but you can enhance the occasion by serving it with a scoop of vanilla ice cream or a dollop of freshly whipped cream. Presentation matters—consider placing your cake on a beautiful cake stand and garnishing with fresh seasonal fruit or edible flowers for an extra touch. This cake is perfect for birthdays, anniversaries, or simply as a weekend treat to share with friends and family.
Variations & Substitutions
Feeling adventurous? Here are some ideas to give your Dream Cake a twist:
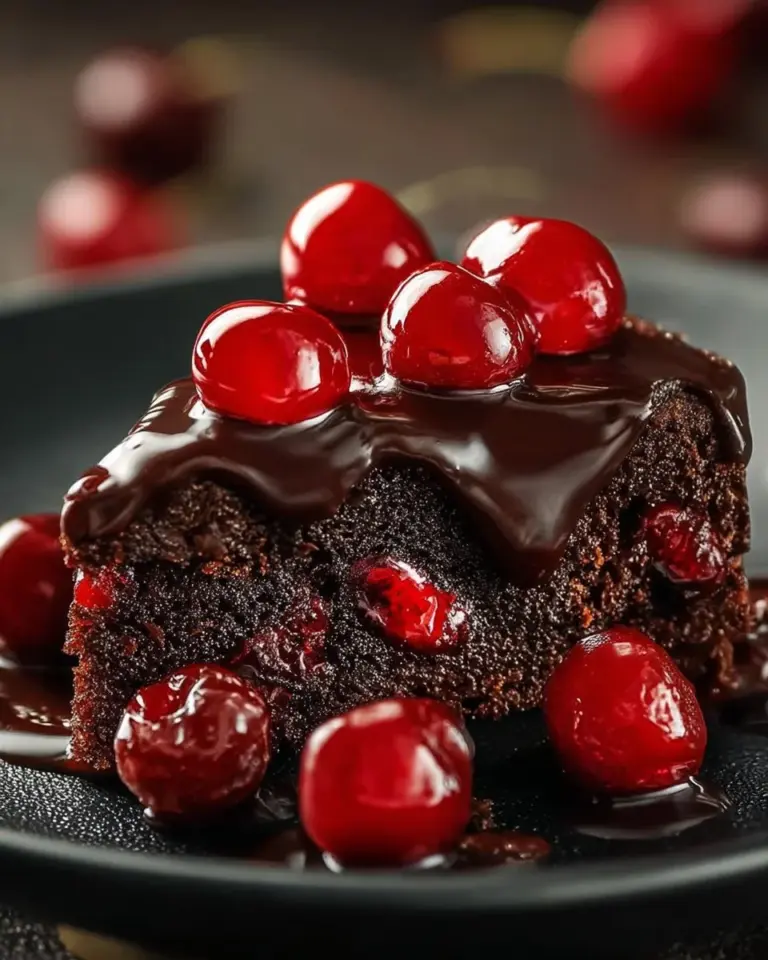
- Chocolate Dream Cake: Replace ½ cup of all-purpose flour with cocoa powder for a rich chocolate flavor.
- Lemon Dream Cake: Add the zest of one lemon to the cake batter and replace the vanilla extract with lemon juice for a fresh citrus taste.
- Gluten-free version: Substitute the all-purpose flour for a gluten-free blend and ensure your baking powder is also gluten-free.
Nutrition & Storage Info
- Prep Time: 20 minutes
- Cook Time: 30 minutes
- Total Time: 50 minutes
- Yield: 12 servings
- Estimated Calories: 350 calories per slice
- Storage Instructions: Store in an airtight container at room temperature for up to 3 days. Refrigerate for up to a week if frosted. Can be frozen for up to three months.
FAQ Section
Can I use a different size pan?
Absolutely! Just adjust the baking time accordingly—smaller pans will cook faster, and larger will take longer.What if I don’t have unsalted butter?
You can use salted butter but reduce the added salt slightly.Can I make this cake vegan?
Yes! Substitute the eggs with flaxseed meal mixed with water and use plant-based milk and butter.How do I know when the cake is done?
The cake is set when the edges pull away slightly from the pan, and a toothpick inserted in the center comes out clean.How can I enhance the frosting flavor?
Feel free to add a splash of almond extract or citrus zest for a unique twist.Can I frost the cake the next day?
Yes! Store the layers separately in the fridge and frost them when you’re ready to serve.Can I add fillings between the layers?
Absolutely! Fresh fruit preserves, whipped cream, or a rich ganache work beautifully.Why is my cake falling?
This could be due to under-baking or opening the oven door too soon. Avoid overmixing as well.How can I prevent a dry cake?
Make sure to measure your flour correctly—too much can lead to dryness. Also, avoid overbaking.Can I add chocolate chips to the batter?
Yes! Fold in a cup of semi-sweet chocolate chips for an indulgent surprise.
Conclusion
This Dream Cake recipe isn’t just about making a dessert; it’s about creating moments to share and enjoy with loved ones. Each bite is a reminder of the joy that comes from baking and the memories we create along the way. I encourage you to try this recipe and to put your own twist on it. I’d love to hear your feedback—what variations did you try? What memories did it evoke? You might also enjoy other delightful recipes featured on my blog, such as my Easy Christmas Gingerbread Cake or the seasonal pumpkin spice cake. Happy baking!
Dream Cake
Ingredients
Method
- Preheat oven to 350°F (175°C) and grease and flour two 9-inch round cake pans.
- In a large bowl, cream together the softened butter and granulated sugar until light and fluffy for about 3-5 minutes.
- Beat in the eggs, one at a time, mixing well after each addition.
- Stir in the vanilla extract.
- In another bowl, whisk together the flour, baking powder, and salt until combined.
- Gradually add the dry ingredients to the creamed mixture, alternating with milk, beginning and ending with flour. Mix until just combined.
- Divide the batter evenly between the prepared pans and smooth the tops.
- Bake for 25-30 minutes, or until a toothpick inserted in the center comes out clean.
- Allow the cakes to cool in the pans for 10 minutes, then transfer to a wire rack to cool completely.
- Beat together the softened butter and powdered sugar until well combined.
- Gradually add vanilla extract and milk until the desired consistency is reached.
- Frost the top of one cake layer, place the second layer on top, and generously frost the top and sides.
- Decorate with sparkling sugar.