Table of Contents
Table of Contents
It was a rainy Saturday morning when I decided to take a nostalgic trip down memory lane. The scent of freshly baked goods wafted through my childhood home, mingling with the sound of laughter and the soft pattering of rain outside. My grandma’s famous Chocolate Rolls were always a hit, and each bite transported me to a time filled with family gatherings and warm hugs. Today, I want to share this delightful recipe with you, not just because they are delicious, but because they hold the power to create memories in your kitchen too.
What makes these Chocolate Rolls so special is their unique blend of rich cocoa flavor and a fluffy texture that makes them the perfect comfort food. Unlike many store-bought versions that can be overly sweet or dry, this homemade recipe is bursting with a rich chocolate goodness that only comes from using quality ingredients and a little love. Plus, I’ll let you in on some tips to customize them as you like. So grab your apron and let’s embark on a chocolatey adventure together—you’ll learn how to make these heavenly rolls that will surely become a favorite in your home!
What Are Chocolate Rolls?
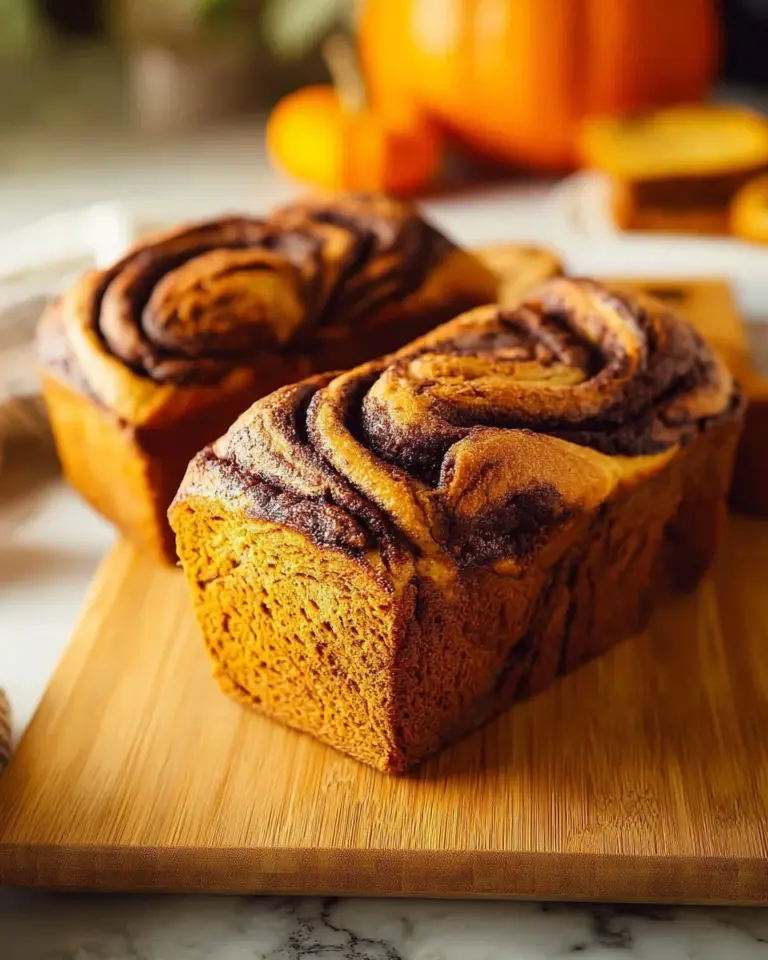
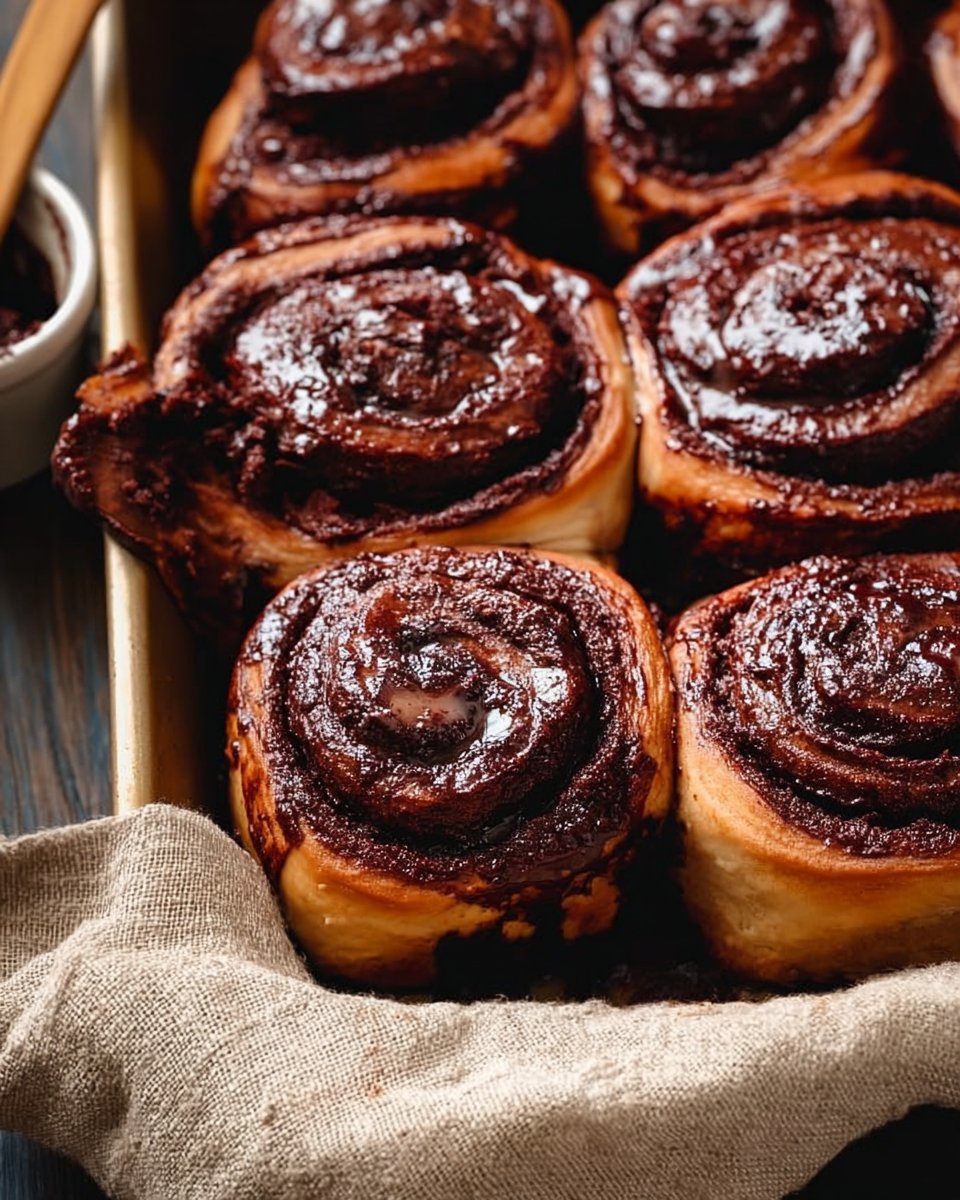
Chocolate Rolls have a rich gastronomic history, often reminiscent of traditional cinnamon rolls but with a tantalizing twist of cocoa. Originating from various cultures that embrace the art of baking sweet rolls, these fluffy delights have evolved into a chocolate lover’s dream. Each roll showcases a soft dough enveloping a warm, gooey chocolate filling, creating a taste experience that delights the palate.
The taste and texture of these Chocolate Rolls are nothing short of heavenly. Imagine biting into a soft, fluffy exterior that gives way to a rich, melty chocolate center—the burst of flavor is nothing short of euphoric. With a hint of sweetness topped off by a delightful icing, these rolls are perfect for breakfast or as a sweet treat any time of the day. So, when you need a cozy comfort food or wish to impress guests at your next gathering, Chocolate Rolls are your go-to choice.
Why You’ll Love This Recipe
Homemade Goodness: There’s something magical about homemade Chocolate Rolls; they bring a warmth to your kitchen that store-bought simply can’t achieve. You control the sweetness and can adjust the richness of the chocolate according to your tastes, making them truly your own.
Cost-Effective Indulgence: Making Chocolate Rolls at home is surprisingly economical! When you compare the cost of a single roll from a bakery to the price of the ingredients that yield a whole batch, your wallet will thank you.
Customization Galore: One of the best parts about this recipe is its versatility. Want a hint of orange zest or a sprinkle of peppermint mocha? Go for it! You can easily tweak the filling or the icing to match your craving or the season.
Easy to Make: While they may seem gourmet, this recipe is beginner-friendly. With just a handful of steps, you’ll be whipping up a batch of these Chocolate Rolls in no time—perfect for novice bakers or those short on time.
Time Investment: While the dough takes a little time to rise and develop its flavors, the active prep time is minimal. Since they bake up quickly, you can easily incorporate this into your weekend plans or even prepare them the night before for a warm breakfast treat!
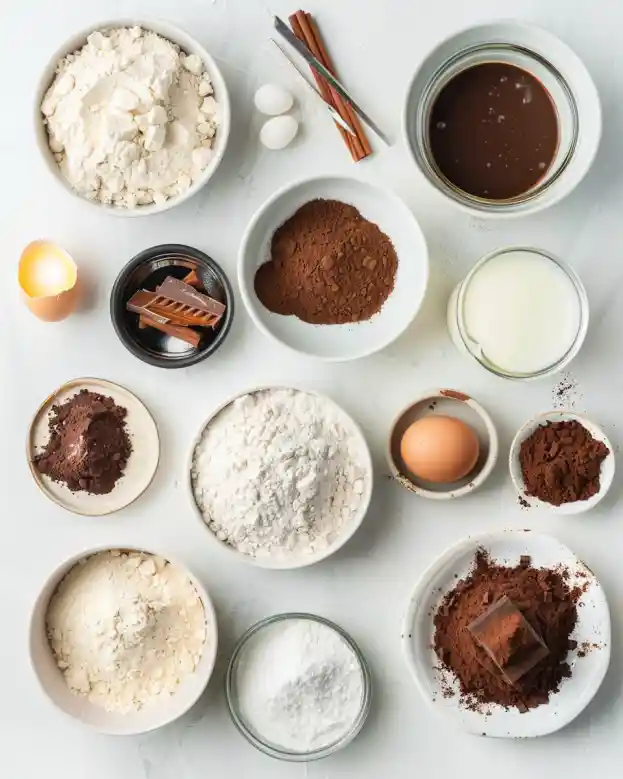
Ingredients
- 2 cups all-purpose flour: I recommend using a high-quality brand like King Arthur Flour for the best texture.
- 1/4 cup unsweetened cocoa powder: Opt for Dutch-processed cocoa for a deeper chocolate flavor.
- 1/4 cup sugar: Granulated sugar is perfect to balance the bitterness of the cocoa.
- 1/2 teaspoon salt: A little salt enhances all the flavors.
- 1 packet active dry yeast: Make sure your yeast is fresh to ensure proper rising.
- 3/4 cup milk: Use whole milk for richness; if you’re dairy-free, almond or oat milk works well.
- 1/4 cup butter, melted: Always use unsalted butter for best results—let it come to room temperature for easy mixing.
- 1 egg: Bring to room temperature for better incorporation into the dough.
- 1/2 cup chocolate chips: I love using semi-sweet chocolate chips, but feel free to mix in dark chocolate or even white chocolate for a fun twist!
- 1 cup powdered sugar: For the icing, it’s best to sift this for a smooth finish.
- 2 tablespoons milk (for icing): Adjust for your desired icing consistency.
- 1 tablespoon cocoa powder (for icing): A simple addition to incorporate that rich chocolate flavor once again!
Prep Notes:
- Always check your yeast’s expiration date.
- Let butter and egg sit out to reach room temperature.
- Feel free to substitute any ingredient based on dietary needs or preferences.
Step-by-Step Instructions
Step 1:
In a large mixing bowl, combine 2 cups all-purpose flour, 1/4 cup unsweetened cocoa powder, 1/4 cup sugar, 1/2 teaspoon salt, and 1 packet active dry yeast. Whisk well to mix.
Step 2:
In a separate bowl, mix together 3/4 cup milk, 1/4 cup melted butter, and 1 egg. Ensure the butter isn’t too hot to prevent cooking the egg.
Step 3:
Gradually add the wet ingredients to the dry ingredients. Mix until combined and then knead the dough on a floured surface for about 5 minutes until it’s smooth and elastic.
Step 4:
Place the dough in a greased bowl, cover it with a damp cloth, and let it rise in a warm place for about 1 hour or until it has doubled in size.
Step 5:
After the dough has risen, roll it out on a lightly floured surface into a rectangle. Spread 1/2 cup chocolate chips evenly over the dough.
Step 6:
Carefully roll up the rectangle tightly, pinching the seams to seal, and slice into rolls about 1 inch thick. Place them in a greased baking pan.
Step 7:
Let the rolls rise again for 30 minutes while you preheat the oven to 350°F (175°C).
Step 8:
Bake for 20-25 minutes or until the edges are golden brown and the rolls are cooked through.
For the Icing:
In a small bowl, whisk together 1 cup powdered sugar, 2 tablespoons milk, and 1 tablespoon cocoa powder until smooth and drizzle-worthy. Drizzle over warm rolls just before serving.
Chef’s Tips:
- If you’re short on rising time, you can create a warm environment by placing the bowl in the oven with the light on.
- Avoid over-kneading the dough, as this can lead to tough rolls!
Expert Tips & Tricks
Storage Recommendations: Store remaining rolls in an airtight container at room temperature for up to 3 days. For longer storage, refrigerate them for up to a week or freeze them for up to 2 months.
Make-Ahead Instructions: You can prepare the dough the night before, let it rise, and then shape and bake it in the morning for fresh rolls. Alternatively, you can freeze the unbaked rolls, thaw them overnight in the fridge, and then allow them to rise before baking.
Common Problems: If your rolls don’t rise well, check your yeast. It should bubble in warm milk before adding to the dough. Also, ensure your kitchen isn’t too cold, which can hinder rising.
Best Serving Temperature: I recommend serving them warm, fresh from the oven. They are at their peak deliciousness just after icing!
Dough Too Sticky?: Dust a bit more flour into the dough while kneading until it’s manageable, but don’t add too much to avoid dry rolls.
Serving Suggestions
Chocolate Rolls are heavenly on their own, but they shine even brighter when served with a scoop of vanilla ice cream or a side of whipped cream. For a brunch spread, pair them with fresh fruits like berries or banana slices for a delightful contrast. Presentation-wise, serve on a rustic wooden board drizzled with chocolate sauce and garnished with mint leaves for a pop of color. They’re perfect for holiday gatherings or any special occasion where you want to impress your loved ones.
Variations & Substitutions
Flavor Combinations: Try adding a teaspoon of espresso powder to the dough for a mocha flavor or mix in some chopped pecans or walnuts for a nutty crunch. For a fruity twist, consider adding dried cherries or orange zest to the chocolate filling.
Dietary Restriction Adaptations: Gluten-free friends can use a 1:1 gluten-free flour blend. For those avoiding dairy, substitutions like almond milk and vegan butter work well.
Seasonal Variations: Around the holidays, think about adding in spices like nutmeg or cinnamon to the dough to create a spiced Chocolate Roll that’s perfect for festive gatherings.
Nutrition & Storage Info
- Prep Time: 30 minutes
- Cook Time: 25 minutes
- Total Time: 1 hour 30 minutes (including rising time)
- Yield: 12 rolls
- Estimated Calories per Serving: Approximately 210 calories per roll.
- Storage Instructions: Room temperature for 3 days, fridge for up to a week, or freeze for up to 2 months.
FAQ Section
Can I use a different type of flour?
- Yes! You can experiment with whole wheat flour; it may give a denser texture, but it will still be delicious.
What if the dough doesn’t rise?
- Ensure that your yeast is fresh and that you’re keeping the dough in a warm spot.
Can I add nuts to the filling?
- Absolutely! Chopped nuts add a wonderful crunch—just mix them in with the chocolate chips.
Are Chocolate Rolls suitable for freezing?
- Yes! Bake then freeze or freeze shaped rolls before baking for an easy breakfast option on busy mornings.
How do I get a shinier icing?
- To make the icing shinier, whisk in another teaspoon of milk until it reaches your desired consistency.
Can I use milk substitutes for the icing?
- Yes! Almond milk, coconut milk, and other milk alternatives work just as well.
How long does the rising process take?
- Typical rise time is about 1 hour, but if your kitchen is cold, it may take longer.
What’s the best way to reheat leftover rolls?
- Warm them in the microwave for 10-15 seconds or pop them back in a 300°F oven for about 5-10 minutes.
Can I reduce the sugar in the recipe?
- You can reduce the sugar slightly, but keep in mind it may affect the overall flavor and texture of the rolls.
What’s the best way to serve Chocolate Rolls?
- Serve them warm, drizzled with icing, and perhaps a side of fresh fruit or a scoop of ice cream.
Conclusion
I hope this recipe for Chocolate Rolls ignites a passion for baking in your home as it did in mine. With each bite, you bring a piece of warmth, nostalgia, and joy to your kitchen—a true celebration of love and comfort. I encourage you to try these soon and experience the magic of Chocolate Rolls. After you give it a shot, I’d love to hear your thoughts—leave a comment with your feedback or any questions! And if you enjoyed this recipe, be sure to check out my other decadent desserts on the blog that are sure to please your sweet tooth!
Happy baking!

Chocolate Rolls
Ingredients
Method
- In a large mixing bowl, combine flour, cocoa powder, sugar, salt, and active dry yeast. Whisk well.
- In a separate bowl, mix together milk, melted butter, and egg, ensuring that the butter isn’t too hot.
- Gradually add the wet ingredients to the dry ingredients. Mix until combined and knead the dough on a floured surface for about 5 minutes.
- Place the dough in a greased bowl, cover it, and let it rise in a warm place for about 1 hour.
- Roll out the risen dough into a rectangle and spread chocolate chips evenly over the surface.
- Roll up the rectangle tightly, pinching the seams to seal, and slice into rolls about 1 inch thick.
- Place the rolls in a greased baking pan and let them rise again for 30 minutes.
- Preheat the oven to 350°F (175°C) and bake for 20-25 minutes until golden brown.
- In a bowl, whisk together powdered sugar, milk, and cocoa powder until smooth, then drizzle over warm rolls.