Table of Contents
Table of Contents
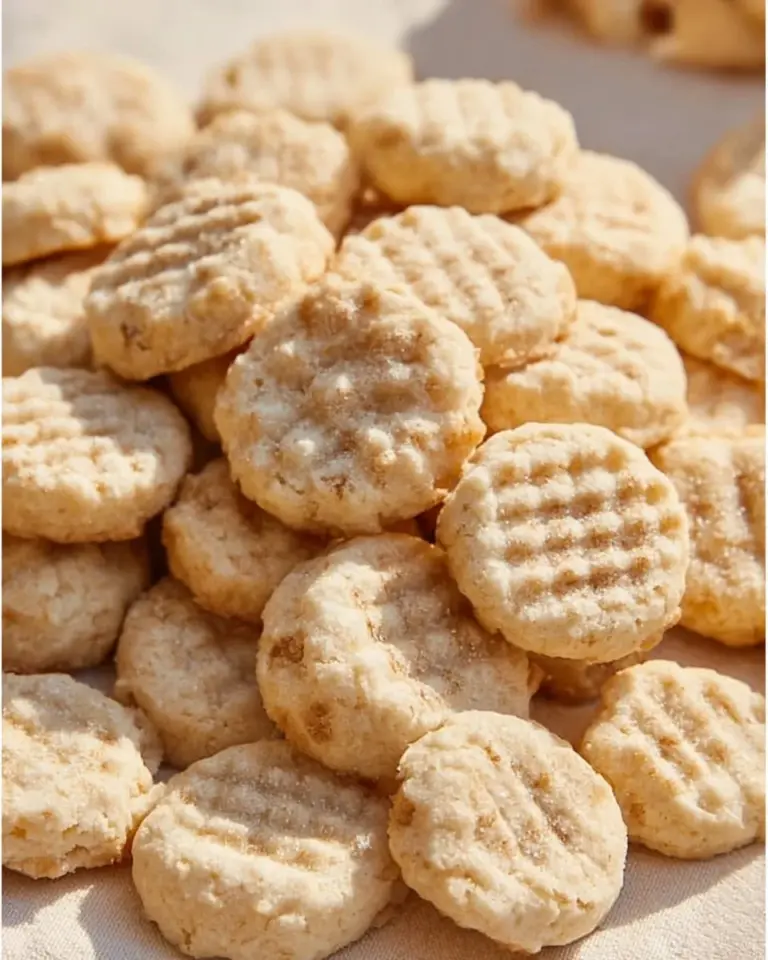
The holiday season is a time for family, laughter, and the delightful aroma of baked goods wafting through the house. When I think about my favorite holiday treats, my mind instantly goes to Christmas Kitchen Sink Cookies—these festive wonders are my family’s go-to for gatherings and cheerful celebrations. Growing up, my kitchen was always filled with the joyful chaos of baking, with everyone adding their own twist to our signature cookie recipe, turning it into a medley of flavors and textures.
What I love most about Christmas Kitchen Sink Cookies is their versatility. They combine various ingredients into a delightful package that’s chewy, gooey, and crunchy all at once. Unlike ordinary cookies, this recipe embraces a “whatever’s in the pantry” approach, meaning you can customize it to suit your taste or whatever you happen to have on hand. Whether you’re a chocolate lover, a fruit fanatic, or someone who can’t get enough of nuts, these cookies have something for everyone.
Today, I’m excited to share my tried-and-true method for baking these festive delights. Trust me, after trying this recipe, your holiday gatherings will never be the same. So, let’s roll up our sleeves and dive into what makes these cookies so special!
What Are Christmas Kitchen Sink Cookies?
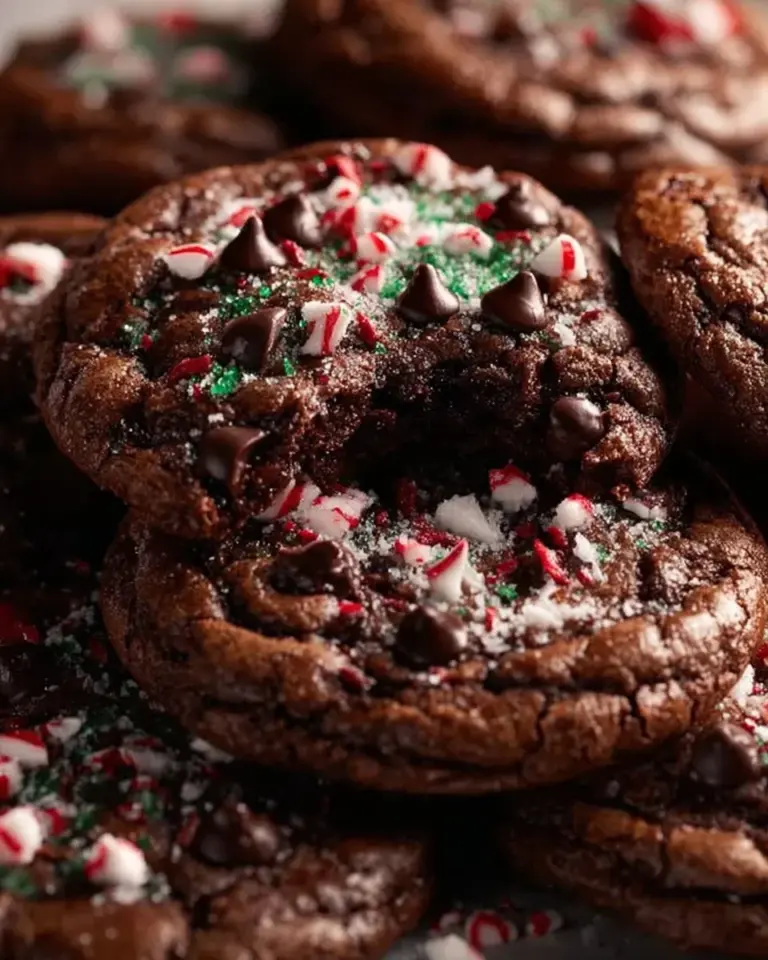
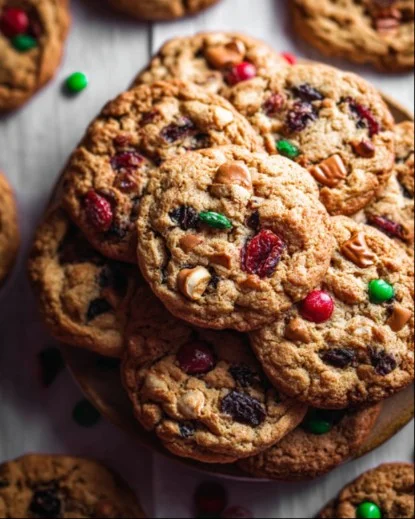
Originating from the idea of throwing everything but the kitchen sink into a recipe, Christmas Kitchen Sink Cookies are essentially a playful blend of whatever ingredients you desire—including chocolate chips, nuts, dried fruits, and even bits of leftover candy canes from your holiday stash. These cookies are a touch of nostalgia wrapped in every bite, reminding us of family holiday get-togethers where everyone brings a little something to the table.
The taste and texture of Christmas Kitchen Sink Cookies are truly something to behold! Imagine biting into a chewy cookie with melty chocolate chunks, the satisfying crunch of nuts, and bursts of sweetness from dried fruits. Each mouthful offers a new experience, making them utterly addictive. Plus, they’re perfect for holiday cookie exchanges and graciously accept any flavors you’d like to add, making them a go-to choice for celebrations throughout the season.
These cookies are great for any occasion—birthdays, festive gatherings, or just a cozy night in. Any excuse works, really!
Why You’ll Love This Recipe
Before we delve into the magic of making Christmas Kitchen Sink Cookies, let me share why this recipe is a must-try:
Endless Customization: The beauty of these cookies lies in their versatility! Whether you want to use oatmeal and butterscotch chips or cranberries and walnuts, the potential flavor combos are endless. It’s like a little cookie adventure each time you bake.
Cost-Effective Treat: Ditch those pricey store-bought cookies! This recipe is budget-friendly and allows you to utilize what you already have in your pantry. You can whip up a batch of these festive cookies without breaking the bank!
Easy to Make: Don’t worry if baking isn’t your forte! This recipe is beginner-friendly and requires basic ingredients you likely already have at home. You’ll be amazed at how simple—and fun—cookie-making can be!
Perfect for Sharing: These cookies make fabulous gifts! Package them in a festive tin or box and give your friends and family a taste of your holiday cheer. You’ll be the star of the season, trust me.
Time-Saving: With a preparation time of just 15 minutes and a baking time of about 12-15 minutes, you can whip up a batch for surprise guests in no time!
Ingredients Section
Here’s what you’ll need to create these delightful cookies, along with some tips for quality and substitutions:
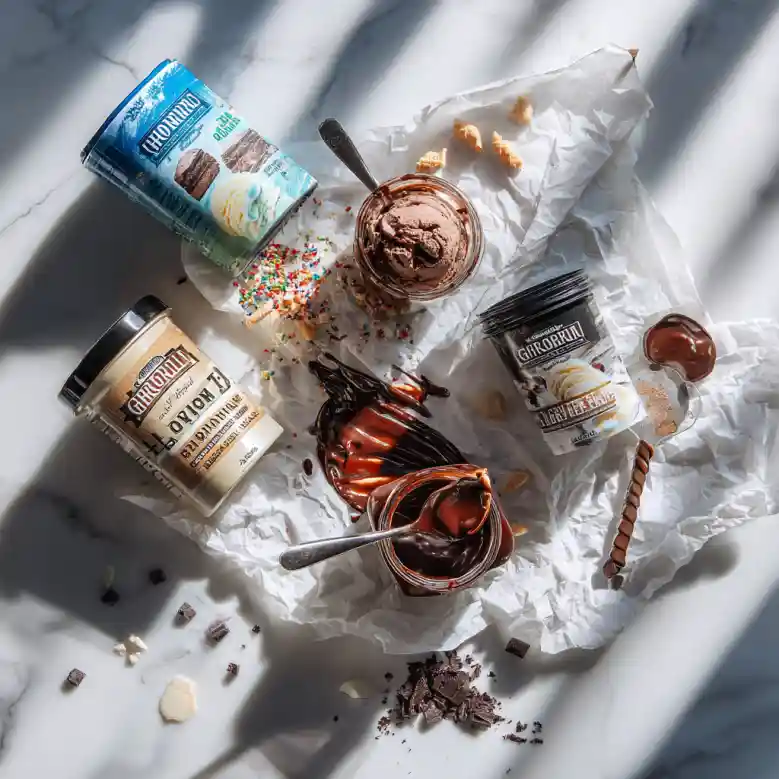
- 1 box (18.3 oz) brownie mix: Opt for a high-quality mix for the best taste; look for one that includes additional ingredients such as chocolate chunks for added richness.
- 2 pints ice cream (flavors of choice): Vanilla is a classic base, but don’t shy away from festive flavors like peppermint stick or eggnog!
- 1 cup hot fudge sauce: Homemade is best, but a jar of your favorite brand works great too. For a vegan option, try a non-dairy fudge sauce.
Prep Notes:
- Allow butter (if using instead of oil in the mix) to come to room temperature for easier blending.
- Line your baking pan with parchment paper for easy cookie removal.
Brand Recommendations:
- For brownie mix, I love Ghirardelli or Betty Crocker.
- For ice cream, Haagen-Dazs is pure luxury, and Breyers has great quality with exciting flavors.
Step-by-Step Instructions
Let’s get baking! Here’s how to make your Christmas Kitchen Sink Cookies:
- Preheat the oven: Preheat your oven to 350°F (175°C).
- Bake brownies: Prepare the brownie mix according to the package instructions. Bake in a greased 9 x 13 inch pan until a toothpick comes out clean—usually around 25-30 minutes.
- Cool and cut: Once baked, allow the brownies to cool for about 15 minutes. Using a round cookie cutter or knife, cut out two 6-inch circles.
- Layering: Place one circle of brownie into a 6-inch springform pan. Layer with one pint of your chosen ice cream, spreading it out evenly.
- Repeat: Place the second circle of brownie on top and layer with the remaining ice cream.
- Freeze: Cover the springform pan with plastic wrap and return to the freezer for at least 4 hours or until solid.
- Serve: Before serving, remove from the freezer for about 5 minutes to soften slightly. Top with hot fudge and crumble remaining brownie on top for added texture.
Chef’s Tips:
- Make sure to let the brownies cool adequately before cutting to avoid a messy situation!
- Check the ice cream’s consistency—it should be soft enough for layering but not too melted.
Common Mistakes to Avoid:
- Don’t skip the cooling step—this keeps your cookies from falling apart!
- Make sure to grease your pan well to avoid sticking.
Expert Tips & Tricks
To ensure your Christmas Kitchen Sink Cookies turn out perfectly, keep these expert tips in mind:
Ingredient Quality: Invest in high-quality chocolate and ice cream for decadent flavors that shine.
Layering Techniques: If you want a height with your cookies, consider cascading layers of different flavors of ice cream!
Storage: Store leftover cookies in an airtight container in the freezer, where they’ll last for up to two weeks.
Make-Ahead: These cookies are perfect for making the night before a gathering. Just keep them frozen until you’re ready to serve.
Troubleshooting: If your cookie layers seem too soft, try refreezing for a little while longer or adjusting the oven temperature during baking.
Serving Suggestions
Pairing is key! Serve your Christmas Kitchen Sink Cookies with a warm mug of hot cocoa topped with whipped cream for that cozy, wintery vibe. Alternatively, they’re fantastic alongside a scoop of vanilla ice cream, where the combination of textures creates an irresistible treat. These cookies are perfect to bring along to holiday parties or for family gatherings, making them a festive staple on your dessert table.
Variations & Substitutions
Feel free to get creative! Here are some flavor combinations to consider for your Christmas Kitchen Sink Cookies:
- Nutty Delight: Add crushed walnuts or almonds and use Nutella instead of hot fudge for a decadent twist.
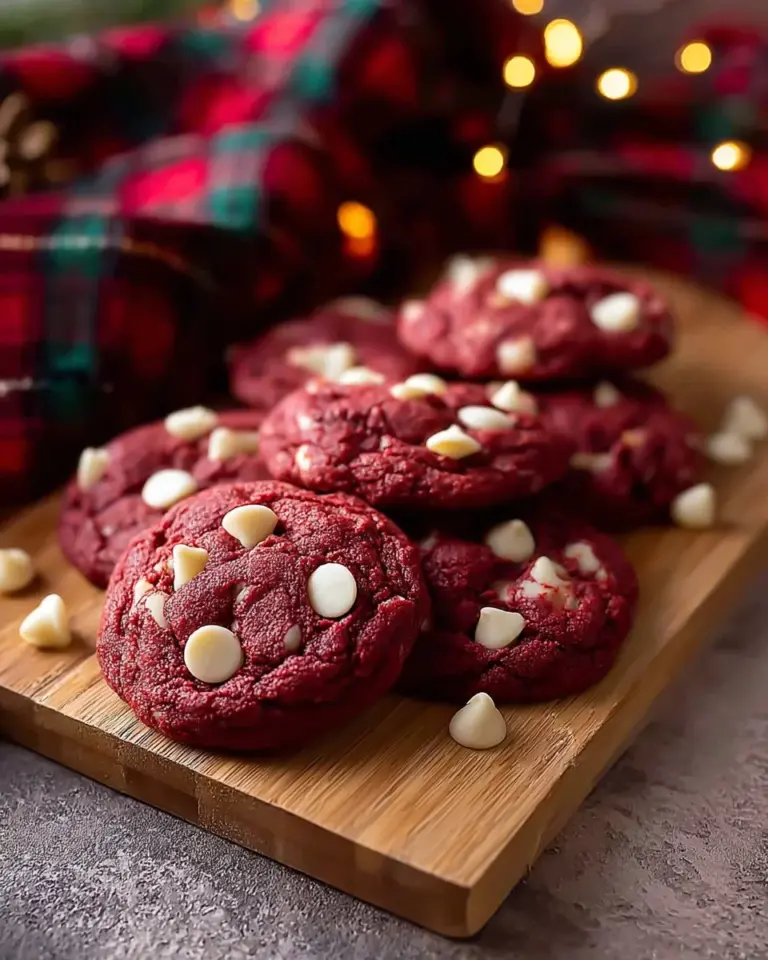
- Fruit Lovers’ Dream: Incorporate dried cranberries and white chocolate chips for a festive feel.
- Healthier Options: Opt for gluten-free brownie mix and your favorite dairy-free ice cream for a guilt-free indulgence.
Nutrition & Storage Info
- Prep Time: 15 minutes
- Cook Time: 30 minutes
- Total Time: 4 hours (including freeze time)
- Yield: About 12 servings
- Estimated Calories per Serving: 450 calories
- Storage Instructions: Store in an airtight container in the freezer for up to two weeks. You can also keep them in the fridge for 3-5 days if preferred.
FAQ Section
Can I use a different brownie mix?
Absolutely! Any brownie mix works; adjust baking time according to package instructions.What ice cream flavors do you recommend?
You can’t go wrong with classic vanilla or peppermint for a festive touch!How do I store leftovers?
Store in an airtight container in the freezer for optimal freshness.Can I use fresh fruit instead of dried?
Fresh fruit may add excess moisture; stick with dried for best results.Are these cookies gluten-free?
You can easily make them gluten-free by using a gluten-free brownie mix.How long do these keep?
In the freezer, they’ll stay good for up to two weeks, though they may not last that long!Can I make them ahead of time?
Yes! They are perfect for prepping a day in advance.What can I use instead of hot fudge?
Try caramel sauce or a chocolate ganache for delicious variations.Can I add nuts to the mix?
Definitely! Chopped nuts add great crunch and flavor.Are these suitable for children?
Yes! Just adjust the recipe to exclude any particularly strong flavors that kids may not enjoy.
Conclusion
In summary, Christmas Kitchen Sink Cookies are not just a delightful holiday treat, but also a cherished tradition that brings families and friends together. With their unbeatable flavor, customizable options, and fun preparation, these cookies are a must-try for everyone this season. I encourage you to give this recipe a whirl and create your own sweet memories that will last a lifetime.
Don’t forget to let me know how yours turned out or if you made any delicious alterations. Happy baking! If you enjoyed this recipe, check out my other holiday favorites on the blog for more festive inspiration!

Christmas Kitchen Sink Cookies
Ingredients
Method
- Preheat your oven to 350°F (175°C).
- Prepare the brownie mix according to the package instructions and bake in a greased 9×13 inch pan until a toothpick comes out clean, about 25-30 minutes.
- Allow the brownies to cool for about 15 minutes, then cut out two 6-inch circles.
- Place one brownie circle into a 6-inch springform pan and layer with one pint of ice cream, spreading it evenly.
- Place the second brownie circle on top and layer with the remaining ice cream.
- Cover the springform pan with plastic wrap and return to the freezer for at least 4 hours or until solid.
- Before serving, remove from the freezer for about 5 minutes to soften slightly and top with hot fudge, crumbling the remaining brownie on top.