Table of Contents
Table of Contents
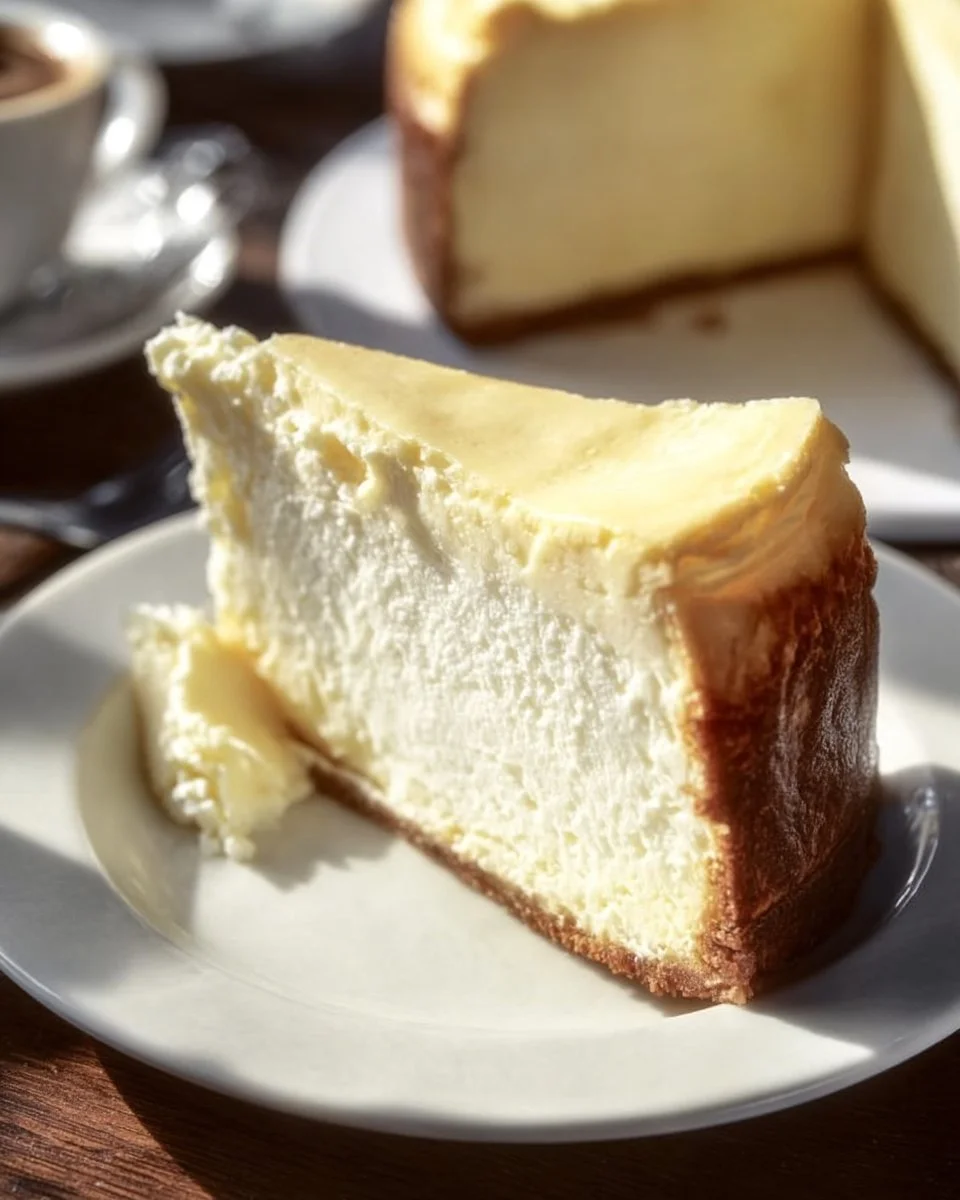
The Ultimate Classic Cheesecake: A Slice of Heaven for Every Occasion
There’s something magical about cheesecake that makes it the ultimate comfort food—it’s rich, creamy, and takes us back to family gatherings and holiday celebrations. I remember the first time I made a Classic Cheesecake; it was for my grandmother’s birthday. As her eyes twinkled with delight while taking that first bite, I knew I’d found my culinary calling. That moment of joy transformed a simple dessert into a cherished family tradition.
What makes my Classic Cheesecake recipe stand out from the rest? For starters, it’s the perfect balance of sweetness and tanginess, with a velvety texture that feels like a warm hug. Unlike the store-bought options, my cheesecake is made from scratch with quality ingredients that ensure every bite is as good as it gets. Plus, it’s surprisingly simple to make, so you can whip up this masterpiece without breaking a sweat.
In this post, I promise you’ll learn not just how to create a stunning Classic Cheesecake, but how to infuse it with love and memories, ensuring it becomes a staple in your kitchen for years to come. Ready to dive in?
What are Classic Cheesecakes?
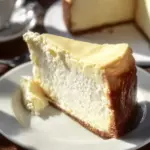
The Classic Cheesecake has a rich history, believed to have originated in ancient Greece, where large, dense cakes were made with fresh cheese and honey. Today, this dessert has evolved into the luscious delight we know and love, with a dense yet creamy filling nestled on a crumbly graham cracker crust.
The taste is a delightful blend of sweet and tart, with the creamy filling giving way to that satisfying crunch of the crust. What makes it truly special is its versatility; it can be enjoyed plain, or easily customized with fruits, chocolate, or a rich caramel drizzle.
Whether it’s a holiday feast, a birthday bash, or simply a Tuesday night in your cozy kitchen, making Classic Cheesecake is the perfect way to celebrate life’s little moments.
Why You’ll Love This Recipe
Homemade Goodness: Nothing compares to the taste of a freshly baked Classic Cheesecake. When you make it yourself, you’re in control of the ingredients, ensuring it’s made with love and quality.
Cost-Effective: Have you checked the prices of bakery cheesecakes recently? Making your own can save you a considerable amount, especially when feeding a crowd. Trust me, your wallet (and taste buds) will thank you!
Customization Galore: This recipe serves as a blank canvas. Feel free to experiment with flavors—add fruit purees, chocolate chips, or even a swirl of caramel sauce to make it your own.
Simplicity Meets Elegance: While it may sound fancy, this cheesecake is surprisingly easy to make. Even if you’re a beginner in the kitchen, I promise you can pull this off.
Make-Ahead Appeal: Cheesecake is a dessert that gets better with time. Perfect for prepping ahead of a gathering, you can bake it a day or two in advance and allow it to chill. Just imagine serving it chilled and perfectly set; your guests will swoon!
With a modest investment of time and effort, you’ll be rewarded with a stunning dessert that makes every occasion memorable.
Ingredients
Here’s what you’ll need for the ultimate Classic Cheesecake:
- 2 cups graham cracker crumbs: For that perfect crunchy crust. I recommend using brand-name graham crackers for better flavor.
- 1/2 cup unsalted butter, melted: Ensure it’s melted and combined well with the crumbs.
- 1 cup granulated sugar: Sweetens the filling beautifully.
- 4 (8 oz) packages cream cheese, softened: The star of the show! Allow your cream cheese to come to room temperature for a smooth batter.
- 1 teaspoon vanilla extract: A splash of vanilla adds depth of flavor.
- 4 large eggs: Room temperature eggs help create a creamy texture.
- 1 cup sour cream: This adds richness and tang.
- 1/4 cup all-purpose flour: Helps to stabilize the cheesecake and keep it from cracking.
Prep Notes:
- Make sure to set out your ingredients about an hour before you start to bake—especially the cream cheese and eggs, as they blend better at room temperature.
- If you’re gluten-free, look for gluten-free graham crackers, or swap in almond flour for a unique crust!
Step-by-Step Instructions
Preheat the oven to 325°F (163°C). It’s essential to have a consistently warm oven, so don’t skip this step!
In a medium bowl, combine graham cracker crumbs and melted butter. Press this mixture firmly into the bottom of a 9-inch springform pan to form a solid crust. Make sure it’s evenly distributed; this will provide a strong base.
In a large mixing bowl, beat the cream cheese and sugar together until smooth. Use an electric mixer on medium speed for about 3 minutes—it should be creamy and free of lumps.
Add in the vanilla extract and flour, and mix until well combined.
Add eggs one at a time, mixing well after each addition. This step keeps your batter smooth and creamy.
Gently fold in the sour cream until just combined. Be careful not to overmix, as incorporating too much air can lead to cracks.
Pour the cheesecake batter over the crust in the springform pan. Use a spatula to smooth the top.
Bake for about 60-70 minutes. The edges should be set and the center slightly jiggly. Check it around the 50-minute mark to avoid overbaking.
Turn off the oven and let the cheesecake cool inside with the door ajar for 1 hour. This gradual cooling helps prevent cracks on the surface—one of my favorite chef’s tips!
Refrigerate for at least 4 hours or overnight before serving. This allows the cheesecake to set fully and enhances the flavors.
Chef’s Tips
- If you’re worried about cracks, you can bake the cheesecake in a water bath. Just place the springform pan in a larger pan filled with hot water before baking.
- Keep an eye on the edges; you want them firm while the center stays a bit wobbly.
- When slicing, use a hot, wet knife for clean cuts.
Expert Tips & Tricks
Quality Ingredients: Always opt for full-fat cream cheese for the best texture and flavor. Store brands often lack the creaminess you want.
Don’t Skip the Resting Time: A well-rested cheesecake is key! The long chill in the fridge ensures a perfectly textured slice.
Storage Recommendations: If you have leftovers (unlikely!), refrigerate them in an airtight container for up to 5 days. Cheesecake freezes well too—wrap individual slices tightly in plastic and aluminum foil for up to 2 months.
Make-Ahead Strategy: You can prepare the cheesecake a couple of days in advance. The flavors deepen as it chills!
Common Troubleshooting: If your cheesecake cracks while baking, it might be an indication of overmixing or baking temperatures that were too high.
Serving Suggestions
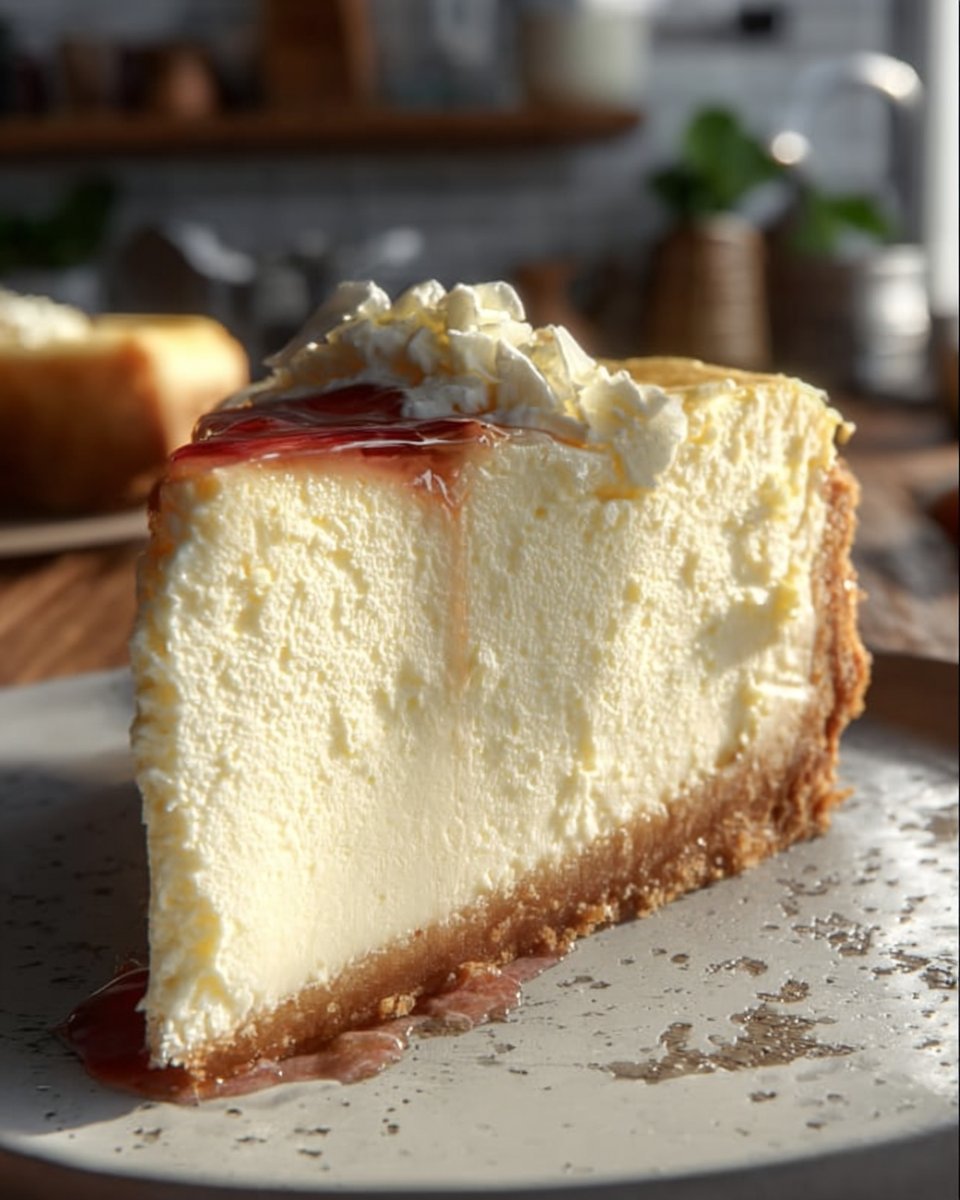
This Classic Cheesecake is divine on its own but can be dressed up with a few delightful accompaniments:
- Fresh Fruit: Sliced strawberries, raspberries, or blueberries add a refreshing tartness. Place them on top right before serving.
- Whipped Cream: A dollop of freshly whipped cream gives that extra touch of indulgence.
- Chocolate Sauce or Caramel Drizzle: For an extra decadent treat, drizzle some chocolate sauce or caramel over the top.
Perfect for birthdays, anniversaries, or a lazy Sunday afternoon, a slice of cheesecake is sure to elevate any occasion.
Variations & Substitutions
Flavor Twists: Consider flavoring your cheesecake with lemon zest or almond extract. You can also swirl in fruit purees before baking for a marbled effect.
Dietary Adaptations: For a lighter option, opt for Neufchâtel cheese instead of cream cheese. You could also substitute Greek yogurt for sour cream for a healthier twist.
Seasonal Inspiration: In fall, why not try adding pumpkin puree and spices for a pumpkin cheesecake? It’s the perfect crowd-pleaser for holidays!
Nutrition & Storage Info
- Prep Time: 20 minutes
- Cook Time: 60-70 minutes
- Total Time: 4 hours (includes cooling)
- Yield: 12 servings
- Estimated Calories per Serving: 330 calories
- Storage:
- Room Temperature: No more than 2 hours
- Refrigerator: Up to 5 days
- Freezer: Up to 2 months (wrap tightly)
FAQ Section
Can I use low-fat cream cheese?
Yes, but the texture and richness will be slightly different. Full-fat is recommended for the best results.How can I tell when my cheesecake is done?
It should be set around the edges and slightly jiggly in the center. It will continue to firm up as it cools.Why is my cheesecake cracking?
Cracks can occur from overmixing, rapid temperature changes, or baking at too high a temperature.Can I make this recipe gluten-free?
Absolutely! Use gluten-free graham crackers or an almond flour crust for a delicious alternative.How do I store leftovers?
Cover with plastic wrap or re-sealable bags and keep in the fridge for up to 5 days.Can I use a different pan?
While a springform pan is ideal, you can use a regular cake pan. Just ensure you line the bottom and sides with parchment paper for easy removal.How long should I cool the cheesecake?
Let it cool in the oven with the door ajar for 1 hour, then refrigerate for at least 4 hours before serving.Is it necessary to use sour cream?
Sour cream contributes to the creamy texture, but you can substitute with plain yogurt if necessary.Can I make this cheesecake dairy-free?
There are dairy-free cream cheese options available, and you can substitute cashew cream or coconut-based products for a dairy-free version.Can I leave out the flour?
Yes, the flour stabilizes the cheesecake. If you’re gluten-free, you can simply omit it, but expect a slightly different texture.
Conclusion
This Classic Cheesecake recipe encapsulates the essence of home baking—simple yet elegant, nostalgic yet versatile. With its creamy texture and rich flavor, it’s bound to win hearts at every gathering. So why wait? Gather your ingredients and create your very own cheesecake masterpiece today; I promise it’s easier than you think!
I’d love to hear how your cheesecake turns out, so don’t forget to share your thoughts in the comments below. And if you’re looking for more indulgent desserts to try next, check out my Extra Moist and Rich Chocolate Peanut Butter Cake or Chocolate Brownie Pudding on the blog. Happy baking!
Classic Cheesecake
Ingredients
Method
- Preheat the oven to 325°F (163°C).
- In a medium bowl, combine graham cracker crumbs and melted butter. Press this mixture firmly into the bottom of a 9-inch springform pan.
- In a large mixing bowl, beat the cream cheese and sugar together until smooth.
- Add in the vanilla extract and flour, and mix until well combined.
- Add eggs one at a time, mixing well after each addition.
- Gently fold in the sour cream until just combined.
- Pour the cheesecake batter over the crust in the springform pan.
- Bake for about 60-70 minutes until the edges are set and the center is slightly jiggly.
- Turn off the oven and let the cheesecake cool inside with the door ajar for 1 hour.
- Refrigerate for at least 4 hours or overnight before serving.