Table of Contents
Table of Contents
Every time I step into a Costco, I’m hit with that familiar scent of baking cake, a reminder of those family birthday parties we celebrated year after year. I remember the joy on my kids’ faces as they dove into a slice of that fluffy, sweet Costco Vanilla Cake—every bite filled with laughs and shared memories. That’s why I decided to recreate this classic at home, in my very own kitchen, lovingly crafting a recipe that’s even better than the original!
Why is mine superior, you ask? Well, it’s not just about the taste and texture, but also the love mixed into every bowl—this cake captures the essence of family, celebration, and everything that makes life sweeter. Plus, I guarantee it’s easier to make than you could ever imagine! In this post, I’ll share with you step-by-step instructions, expert tips, and a few little secrets I’ve gathered along the way to ensure that your Costco Vanilla Cake is the star of the show at your next gathering. Let’s get baking!
What Are Costco Vanilla Cakes?
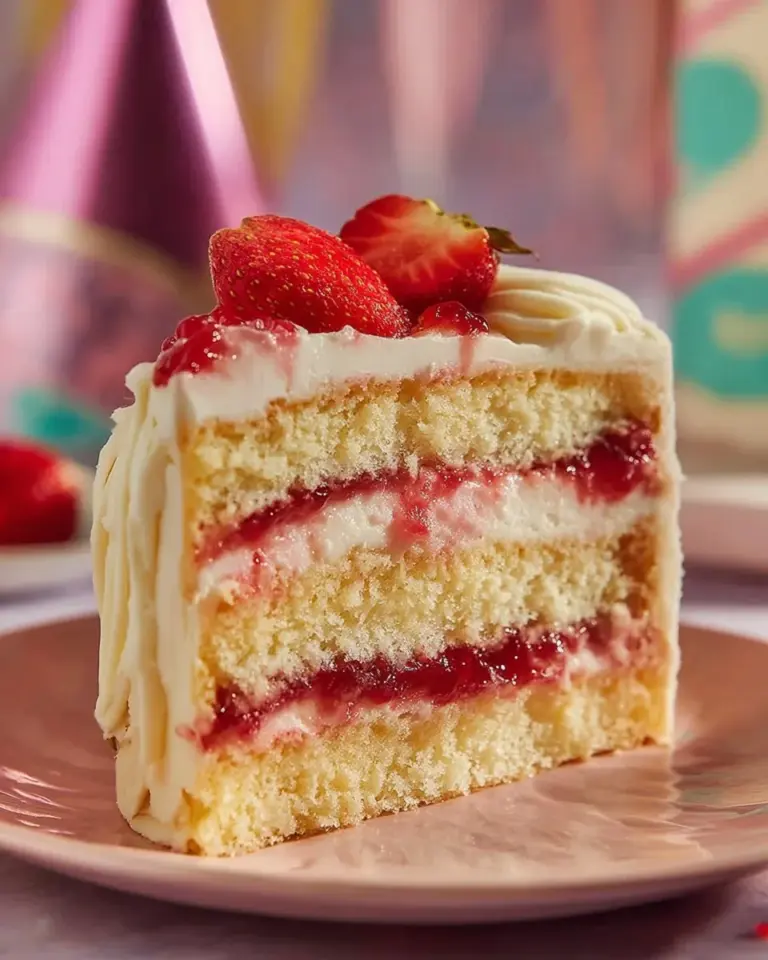
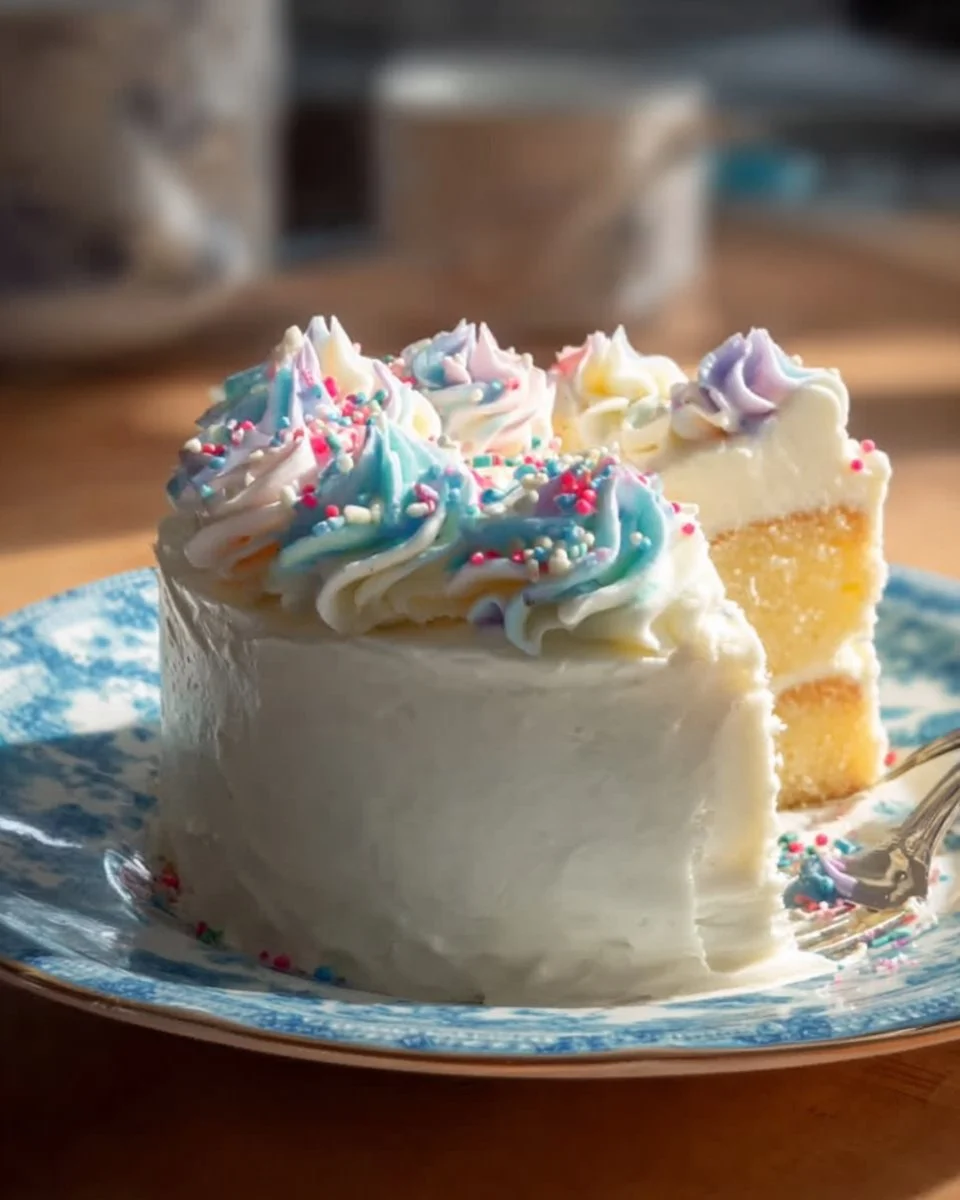
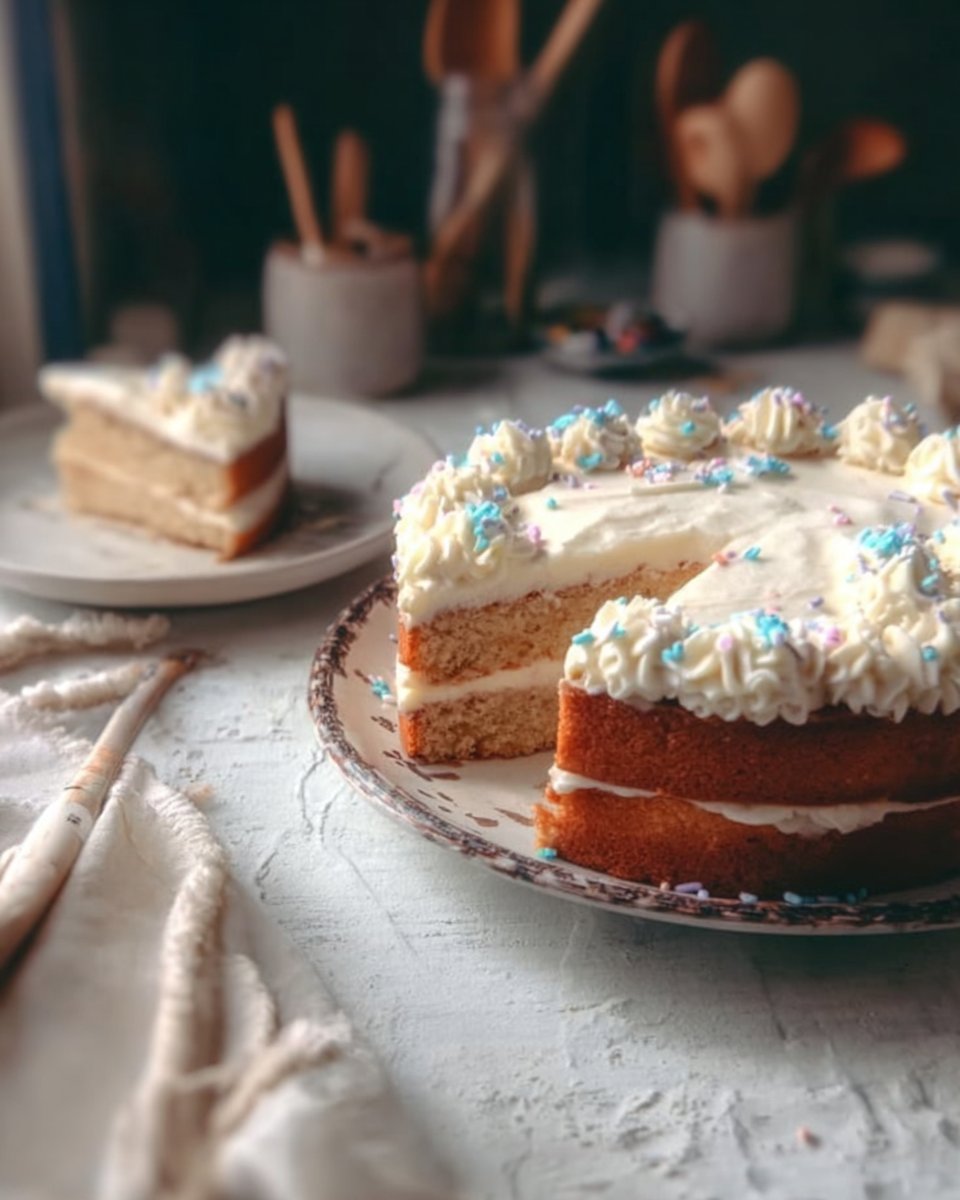
Costco Vanilla Cakes are iconic treats known for their light, airy sponge and creamy frosting, often found celebrating birthdays and special occasions around the country. The cake has a subtle vanilla flavor that doesn’t overwhelm, making it a fan favorite among both adults and kids alike.
What truly makes these cakes special is the texture—each slice is tender yet sturdy enough to hold up under a thick layer of that heavenly frosting. With every bite, you experience a delightful contrast of moist cake that melts in your mouth coupled with a sweet, creamy frosting that slips over your taste buds like a warm hug.
If you’re looking for a go-to dessert for birthdays, anniversaries, or even just a cozy family dinner, the Costco Vanilla Cake should be at the top of your list. It captures the spirit of celebration, and trust me, it’s perfect for any occasion or even just a Tuesday night craving!
Why You’ll Love This Recipe
Familiar Flavor: This recipe delivers that classic Costco vanilla cake experience. It’s light, fluffy, and laced with rich vanilla, just like the one you know and love.
Cost-Effective: Why pay a premium for store-bought when you can create it at home with just a few simple ingredients? This easy recipe will save you a bit of cash while impressing your guests!
Customization: Not a fan of vanilla? No problem! You can easily experiment with different extracts or even fold in fruits to suit your taste.
All Skill Levels Welcome: Whether you’re a baking newbie or a seasoned pro, this recipe is approachable and achievable, taking about an hour from start to finish.
Perfect for Any Occasion: Whether it’s a birthday party, family gathering, or just a quiet moment at home, having this cake on hand guarantees smiles all around.
You’ll find that creating this cake at home not only offers a fresher taste but also brings a warmth to your gathering that store-bought simply can’t replicate. So, roll up your sleeves, get those ingredients ready, and let’s dive into this recipe!
Ingredients Section
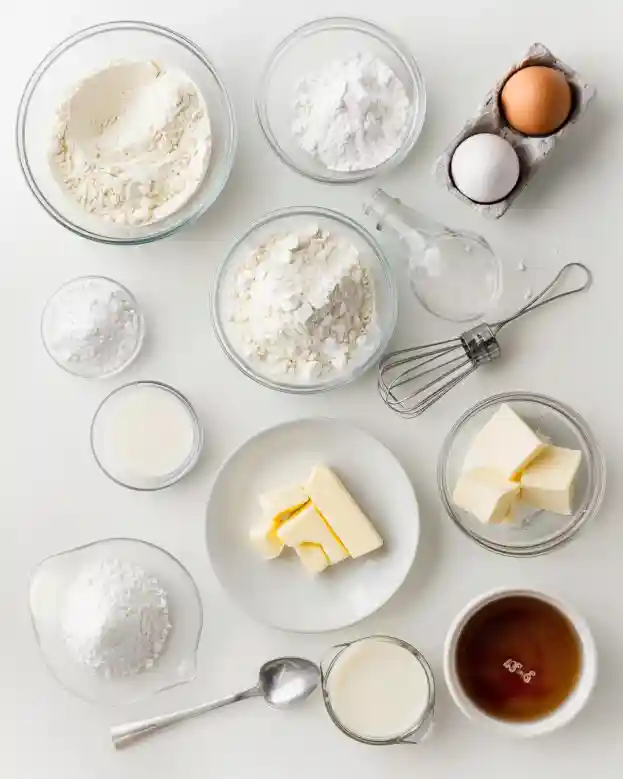
Before we get started, let’s gather our ingredients, ensuring you have everything for that perfect Costco Vanilla Cake experience!
For the Cake:
- 2 cups all-purpose flour (I love King Arthur Flour for its consistency)
- 1 ½ cups granulated sugar (try to use a fine granulated sugar for better texture)
- ½ cup unsalted butter, softened (make sure it’s at room temperature for easier creaming)
- 1 cup milk (whole milk adds richness but you could use 2% for a lighter version)
- 3 eggs (room temperature eggs incorporate better)
- 2 ½ teaspoons baking powder
- 1 teaspoon vanilla extract (a high-quality vanilla like Nielsen-Massey makes a difference)
- ½ teaspoon salt
For the Frosting:
- 3 cups powdered sugar (sift for a smoother frosting)
- 1 cup unsalted butter, softened (again, room temperature is key!)
- 2 teaspoons vanilla extract (same brand recommendation as above)
- 2-4 tablespoons milk (add based on your desired frosting consistency)
This combination will yield a cake that’s not only delicious but a true crowd-pleaser.
Step-by-Step Instructions
1. Preheat and Prepare
- Preheat your oven to 350°F (175°C). Grease two round 9-inch cake pans and dust them with a bit of flour to ensure easy release after baking.
2. Cream Butter and Sugar
- In a large mixing bowl, cream together the softened butter and granulated sugar with an electric mixer until light and fluffy, about 3-5 minutes. You’ll want to see a pale, creamy mixture.
3. Add Eggs
- Add the eggs, one at a time, mixing well after each addition. You want to ensure they’re fully incorporated.
4. Mix in Milk and Vanilla
- Stir in the milk and vanilla extract until well combined—at this point, your kitchen is going to smell amazing!
5. Combine Dry Ingredients
- In another bowl, whisk together the flour, baking powder, and salt. Gradually add the dry ingredients to the wet mixture, mixing until just combined. Be careful not to overmix; it’s okay if a few flour streaks remain.
6. Fill the Cake Pans
- Divide the batter evenly between the prepared cake pans. A kitchen scale can help ensure even layers if you really want to get precise.
7. Bake
- Bake in the preheated oven for 25-30 minutes, or until a toothpick inserted in the center comes out clean. If the top springs back when lightly touched, you’re good!
8. Cool
- Allow the cakes to cool in the pans for 10 minutes, then turn them out onto a wire rack to cool completely.
9. Make the Frosting
- For the frosting, beat together the softened butter, powdered sugar, vanilla extract, and milk until smooth and creamy. Adjust the milk as needed to achieve your desired consistency.
10. Frost and Decorate
- Frost the cooled cake layers and stack them together, and decorate the top as desired. I love adding sprinkles or fresh berries on top for that extra pop!

Expert Tips & Tricks
Ingredient Quality Matters: Always go for the best quality butter and vanilla extract you can find. It will make all the difference in flavor!
Room Temperature Ingredients: Don’t skip this step. It ensures that the butter blends perfectly with the sugar, giving you that wonderful light texture.
Proper Cooling: Allow your cakes to cool completely before frosting to prevent the frosting from melting.
Storage: Keep any leftovers stored in an airtight container at room temperature for up to 3 days, or in the fridge for up to a week.
Make-Ahead: You can bake the cakes a day in advance; just wrap them tightly in plastic wrap while they cool, then frost before serving.
Troubleshooting: If your cake domes during baking, simply level it with a serrated knife before frosting for a smoother finish.
Serving Suggestions
Pair your homemade Costco Vanilla Cake with a scoop of vanilla ice cream or serve it alongside a cup of coffee for a delightful afternoon treat. For a festive touch, I love to present it on a cake stand adorned with fresh flowers or seasonal décor for birthdays or celebrations.
Variations & Substitutions
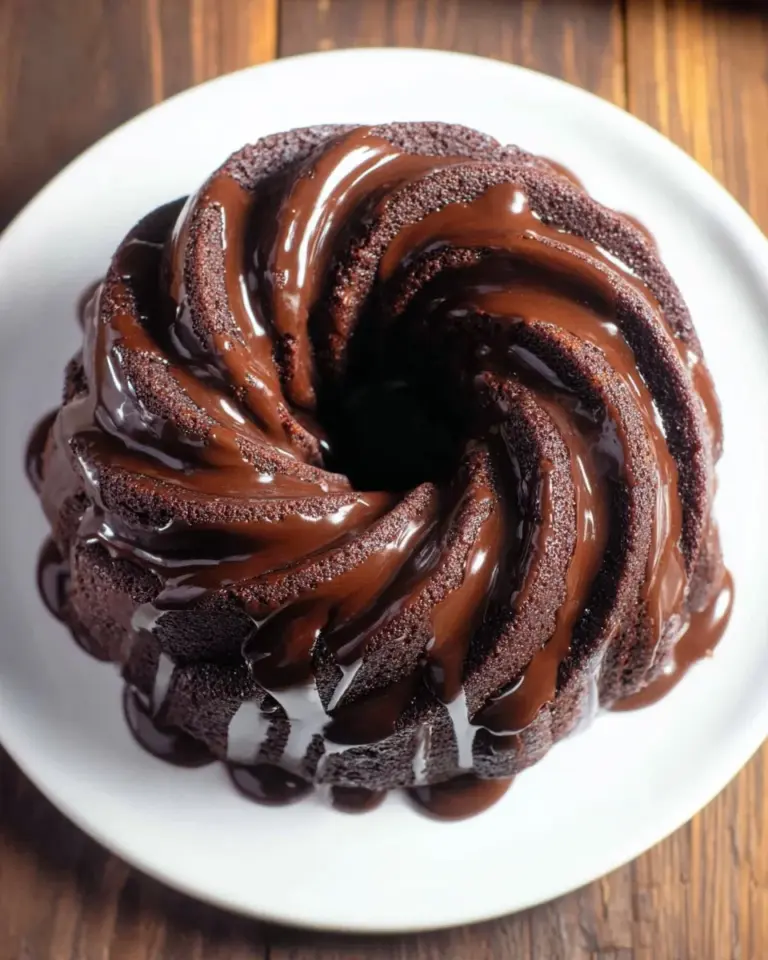
- Chocolate Twist: Replace half of the flour with cocoa powder for a chocolate version!
- Lemon Zest: Add lemon zest to the batter for a bright citrus flavor that really pops.
- Gluten-Free: Use a gluten-free flour blend to make this cake suitable for gluten-sensitive folks.
- Healthier Frosting: Try a whipped coconut cream frosting for a lighter, dairy-free option.
Nutrition & Storage Info
- Prep Time: 20 minutes
- Cook Time: 30 minutes
- Total Time: 50 minutes
- Yield: Serves 12
- Calories per Serving: Approximately 300 calories (based on a standard serving size with frosting)
- Storage: Can be kept at room temperature for 3 days or in the refrigerator for about a week. It also freezes well for up to 3 months; just wrap it tightly!
FAQ Section
Can I use a 9×13 pan instead?
Yes, just adjust the baking time to around 30-35 minutes. You can check for doneness with a toothpick.Can I make this a dairy-free cake?
Absolutely! Substitute the milk with almond milk and use non-dairy butter for frosting.Why is my cake dense?
It might be overmixed or the flour was packed too tightly. Be gentle and use a light hand when combining ingredients.What if I don’t have eggs?
You can replace each egg with 1/4 cup of unsweetened applesauce or 1/4 cup of yogurt as a substitute.How can I make the cake moist?
Ensure you measure your flour accurately using the spoon and level method. Adding a bit more milk can also help.Can I make this cake ahead of time?
Yes! Bake the cakes, cool completely, and wrap them tightly in plastic wrap for a day or two before frosting.How can I add flavor to the frosting?
You can mix in some citrus zest, espresso powder, or flavored extracts to jazz up your frosting!Can I stack more than two layers?
Yes, feel free to create a multi-layered cake! Just adjust your frosting accordingly.Is this cake suitable for freezing?
Yes, freeze the un-frosted layers for up to 3 months, then frost after thawing!Can I use a different size cake pan?
Sure! Just adjust the baking time accordingly; smaller pans will bake faster, and larger will take longer.
Conclusion
This Costco Vanilla Cake recipe isn’t just a nostalgic dessert; it’s an opportunity to create new memories. Whether it’s for a birthday, a friendly gathering, or simply to enjoy a slice with your family, this cake hits all the sweet spots. I encourage you to try baking it yourself—nothing beats the smell of a freshly baked cake filling your home. I’d love to hear how your cake turns out, so leave a comment below, and don’t forget to check out my other delightful recipes on the blog!
Happy baking!
Costco Vanilla Cake
Ingredients
Method
- Preheat your oven to 350°F (175°C). Grease two round 9-inch cake pans and dust them with flour.
- In a large mixing bowl, cream together the softened butter and granulated sugar until light and fluffy, about 3-5 minutes.
- Add the eggs one at a time, mixing well after each addition.
- Stir in the milk and vanilla extract until well combined.
- In another bowl, whisk together the flour, baking powder, and salt. Gradually add the dry ingredients to the wet mixture, mix until just combined.
- Divide the batter evenly between the prepared cake pans.
- Bake in the preheated oven for 25-30 minutes, or until a toothpick inserted in the center comes out clean.
- Allow the cakes to cool in the pans for 10 minutes, then turn them out onto a wire rack to cool completely.
- For the frosting, beat together the softened butter, powdered sugar, vanilla extract, and milk until smooth and creamy. Adjust the milk to achieve your desired consistency.
- Frost the cooled cake layers and stack them together. Decorate the top as desired.