Table of Contents
Table of Contents
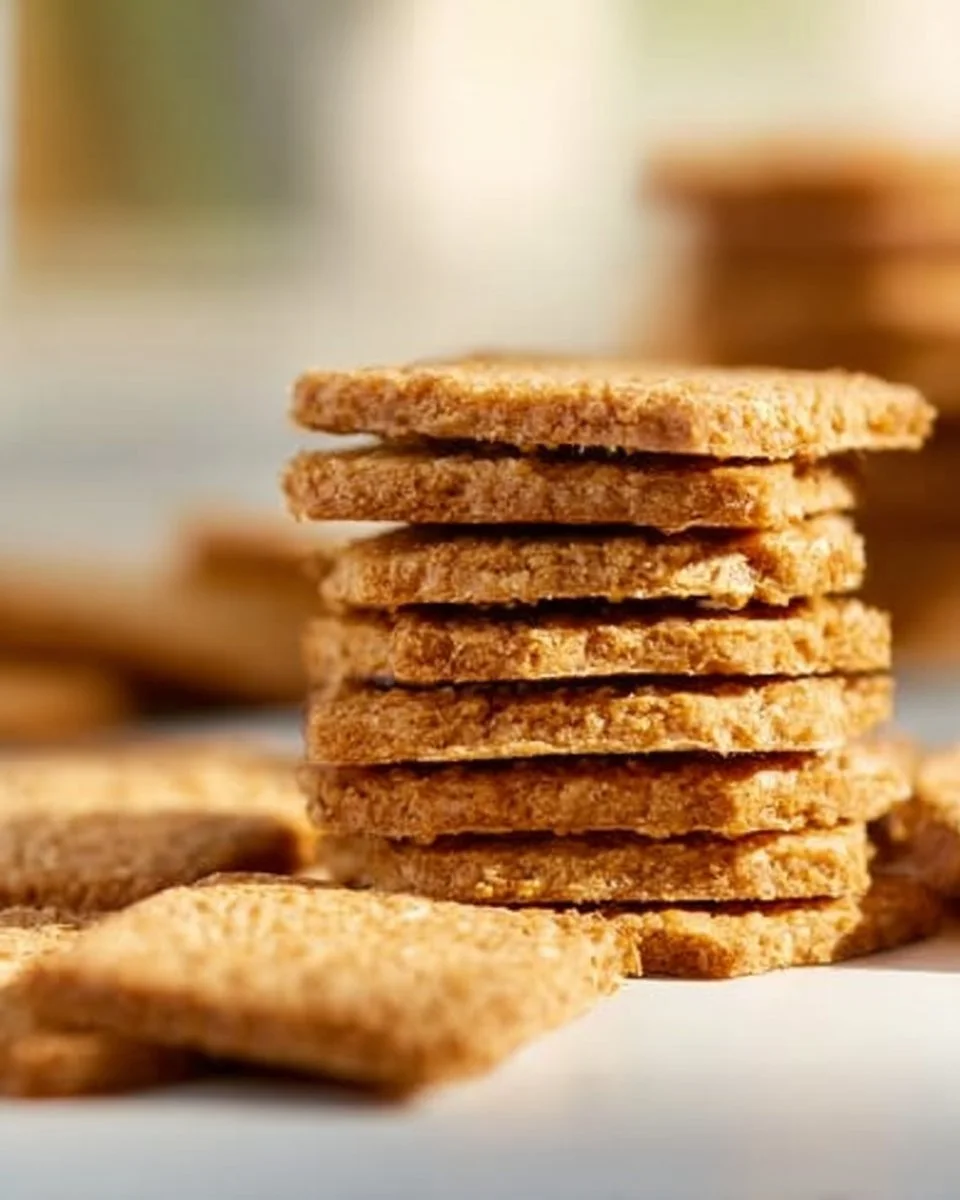
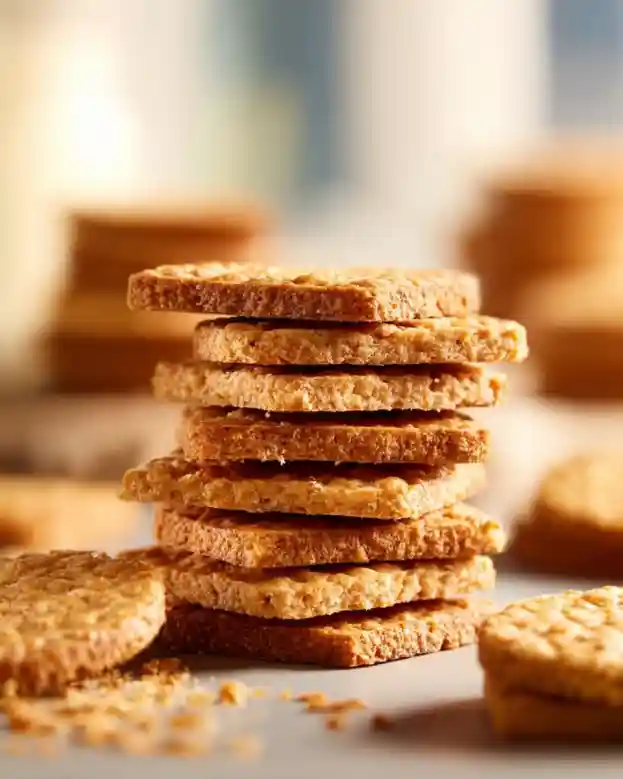
Crunchy Chickpea Crackers: The Ultimate Snack You Never Knew You Needed!
Let me take you back to a cozy Sunday afternoon at my grandmother’s kitchen. The smell of roasted garlic mingling with her laughter filled the air—a symphony of flavors and comfort that would forever remain in my heart. As she rolled out her herbed crackers, I would stand on my tiptoes, eagerly waiting for the first batch to come out of the oven. Today, I’m recreating that moment with my very own Chickpea Crackers!
What makes these little gems so special is not just their satisfying crunch and nutty flavor, but also the fact that they’re a nourishing alternative to store-bought snacks. With just a handful of ingredients, this recipe elevates simple chickpeas into delightful bites brimming with flavor and texture. You’ll love how easy it is to whip these up—much simpler than my grandma’s old-school methods! This recipe allows you to feel like a kitchen whiz while bringing those warm, family-centered vibes right into your home.
Join me as I guide you through making these Chickpea Crackers, perfect for snacking on during movie nights, gatherings with friends, or just a cozy afternoon tea. You might just find them to be your new favorite go-to snack!
What Are Chickpea Crackers?
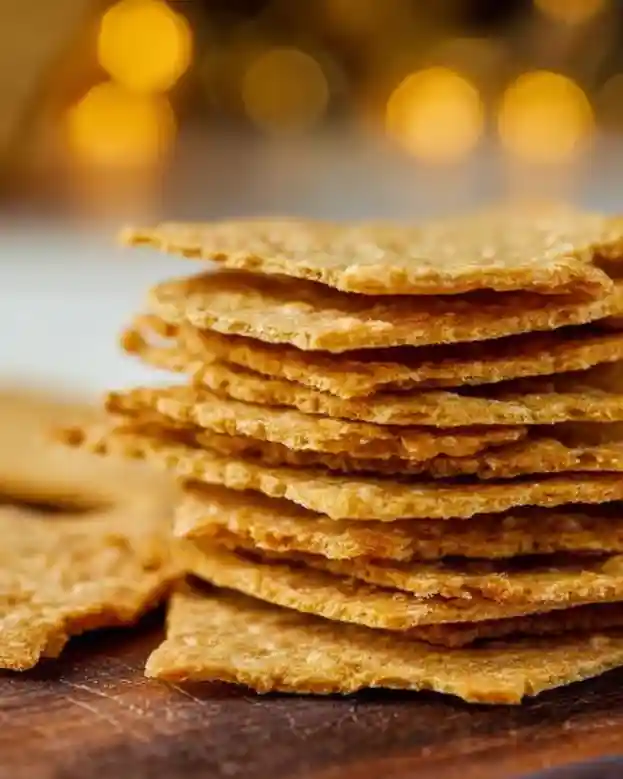
Chickpea crackers, also known as socca in southern France or farinata in Italy, have roots that trace back centuries. Made primarily from chickpea flour, they celebrate the earthiness of legumes while offering a gluten-free alternative to traditional crackers.
These delightful crunchers boast a distinct nutty flavor and an irresistible crunch, making them suitable for both casual snacking and elegant entertaining. The texture is surprisingly airy yet sturdy enough to hold your favorite dips. They are a fantastic canvas for creativity, allowing you to bring in flavors like cumin, paprika, or even fresh herbs.
Whether it’s for serving at a family gathering, enjoying a healthy afternoon munch, or curbing those late-night cravings, these Chickpea Crackers are here to impress!
Why You’ll Love This Recipe
Healthier Yet Tasty: Unlike those overly processed snacks from the store, these chickpea crackers are packed with plant-based protein and fiber. A perfect guilt-free indulgence!
Cost-Effective: Why spend money on fancy crackers when you can make a huge batch of these at home with just a few inexpensive ingredients? You’ll have plenty for sharing (or sneaking away for yourself)!
Customizable: The beauty of cooking is in the freedom to experiment. Feel free to add spices like smoked paprika, herbs like rosemary, or seeds for added crunch. The possibilities are endless!
Quick and Easy: This recipe is super easy to follow! With less than an hour of prep and bake time, you could whip these up while binge-watching your favorite series.
Perfect for Any Occasion: Whether it’s game night or a charming dinner party, these Chickpea Crackers fit right in. They pair beautifully with dips like hummus or guacamole, making them a must-have when entertaining.
Ingredients
400g can chickpeas: Make sure to rinse and drain them well to enhance the flavor and texture. Alternatively, you can use cooked chickpeas from dry beans for a fresher taste.
1 Cup rolled oats: Opt for gluten-free oats if you’re catering to that dietary restriction.
2 cloves garlic: Freshly minced garlic adds a robust flavor; feel free to roast it first for a sweeter note!
1 Tbsp lemon juice: Freshly squeezed lemon juice brightens up the flavor; the acidity lifts the earthiness of the chickpeas.
Salt: Sea salt works best; adjust to your preference.
1/4 Cup olive oil: A good-quality extra virgin olive oil enhances richness. You can substitute it with avocado oil if you’d like a different flavor.
Prep Notes: Ensure the olive oil, chickpeas, and any other refrigerated ingredients are at room temperature for optimal blending.
Step-by-Step Instructions
Rinse and Drain: Start by rinsing and draining your canned chickpeas. Get that water off to allow the flavors to really shine through!
Blend the Chickpeas: Place the chickpeas into a food processor and blend until they’re as smooth as baby food, forming a ball that holds together like playdough. This should take about 1-2 minutes of steady blending.
Add Rolled Oats: Once the chickpeas are smooth, add the rolled oats and blend again until the oats are finely chopped and blended in.
Season it Up: Toss in the minced garlic, lemon juice, and salt. Blitz until everything comes together nicely.
Incorporate Olive Oil: Gradually drizzle in the olive oil while continuing to blend. You want a smooth, cohesive dough ball.
Prepare Your Baking Tray: Line a baking tray with baking paper.
Flatten the Dough: Place the dough on the tray and press it down with your hands. Top it with another piece of baking paper and roll it out evenly until it’s about 5mm thick.
Score the Crackers: Use a pizza roller or knife to score the dough into cracker shapes—this helps them break apart easily after baking.
Bake: Preheat your oven to 180°C (360°F) and bake for 40-50 minutes until golden brown. Look for that crispiness! Set a timer and check them at the 30-minute mark to rotate your tray for even baking.
Cool: Allow them to cool completely before breaking them apart. They’ll crisp up as they cool!
Chef’s Tips:
- Watch the crackers closely toward the end of baking; ovens can vary, and you want to avoid burning.
- If you notice them puffing up while baking, simply press down with a spatula to flatten.
Common Mistakes to Avoid: Don’t skip the scoring step, or you’ll end up with a giant chickpea pizza rather than delightful, crispy crackers!
Expert Tips & Tricks
Store Properly: After they cool, store your Chickpea Crackers in an airtight container at room temperature for up to a week. For a longer shelf life, they can be refrigerated for up to 2 weeks.
Make-Ahead Instructions: You can prepare the dough in advance and refrigerate it overnight. Just allow extra time for rolling and baking.
Troubleshooting: If your crackers come out a bit too soft, consider lowering the oven temperature slightly and allowing them to bake longer until they’re drier.
Experiment with Flavors: Try adding nutritional yeast for a cheesy flavor or sprinkle in your favorite seeds (like sesame or flaxseed) to pack in extra nutrients!
Pairing & Dips: Serve these alongside your favorite dips like guacamole, tzatziki, or a spicy harissa.
Serving Suggestions
These Chickpea Crackers shine best when paired with dips! Serve them on a beautiful platter alongside a colorful array of veggies and dips for a delightful snack board. Present them at a picnic with fresh fruits or try them with a refreshing cocktail at your next gathering. They can even stand alone during late-night Netflix binges—a true snack chameleon!
Variations & Substitutions
Flavor Combinations: Feel free to add spices like cumin, chili powder, or dried herbs like thyme or basil to elevate the flavor profile.
Dietary Adaptations: If you’re looking for a nut-free option, simply adjust the seasoning and skip any additions that include nuts or seeds.
Seasonal Variations: In autumn, consider adding pumpkin spice for a cozy flavor! In summer, fresh herbs and lemon zest can brighten the crackers.
Nutrition & Storage Info
- Prep Time: 10 minutes
- Cook Time: 40-50 minutes
- Total Time: Approximately 1 hour
- Yield: About 24 crackers
- Estimated Calories: Roughly 50 calories per cracker
- Storage Instructions: Keep in an airtight container at room temperature for 1 week, or up to 2 weeks in the fridge.
FAQ Section
Can I use dried chickpeas?
Yes, just cook them until they’re soft before using them in this recipe!How can I make it spicier?
Add some cayenne pepper or red pepper flakes to the blend!What can I pair them with?
These crackers go great with hummus, cheese spreads, or even a refreshing avocado salsa.How do I know when they’re done baking?
They should be golden brown and firm to the touch.Can I freeze these crackers?
Yes! Ensure they are completely cool and store in a freezer-safe bag for up to a month.How thick should I roll the dough?
Aim for about 5mm thick for the best texture!Can I use another type of oil?
Absolutely! Avocado oil or melted coconut oil will also work beautifully.What’s the best way to serve these?
They’re fantastic on a charcuterie board or as a stand-alone snack!Do I need a food processor?
A food processor makes it easier, but you can mash the chickpeas and mix by hand for a bit of a workout!Will these keep well?
They store wonderfully! Just keep them sealed in an airtight container, and they maintain their crunch.
Conclusion
These Chickpea Crackers aren’t just a recipe; they’re a gateway to creating something incredibly relaxing and satisfying in your own kitchen. The blend of simplicity, healthiness, and creativity makes them a culinary adventure worth embarking on.
I can’t wait for you to try them! If you do, let me know your thoughts or your own twists on the recipe in the comments. And if you enjoyed this, be sure to check out some of my other snack recipes—your taste buds will thank you!
Graving More Recipes?
Happy baking!

Crunchy Chickpea Crackers
Ingredients
Method
- Start by rinsing and draining your canned chickpeas to enhance flavor and texture.
- Place the chickpeas into a food processor and blend until smooth.
- Add the rolled oats and blend again until finely chopped.
- Toss in the minced garlic, lemon juice, and salt, then blitz until combined.
- Gradually drizzle in the olive oil while blending to form a smooth dough.
- Line a baking tray with baking paper and flatten the dough to about 5mm thick.
- Score the dough into cracker shapes using a pizza roller or knife.
- Preheat your oven to 180°C (360°F) and bake for 40-50 minutes until golden brown.
- Allow to cool completely before breaking apart.