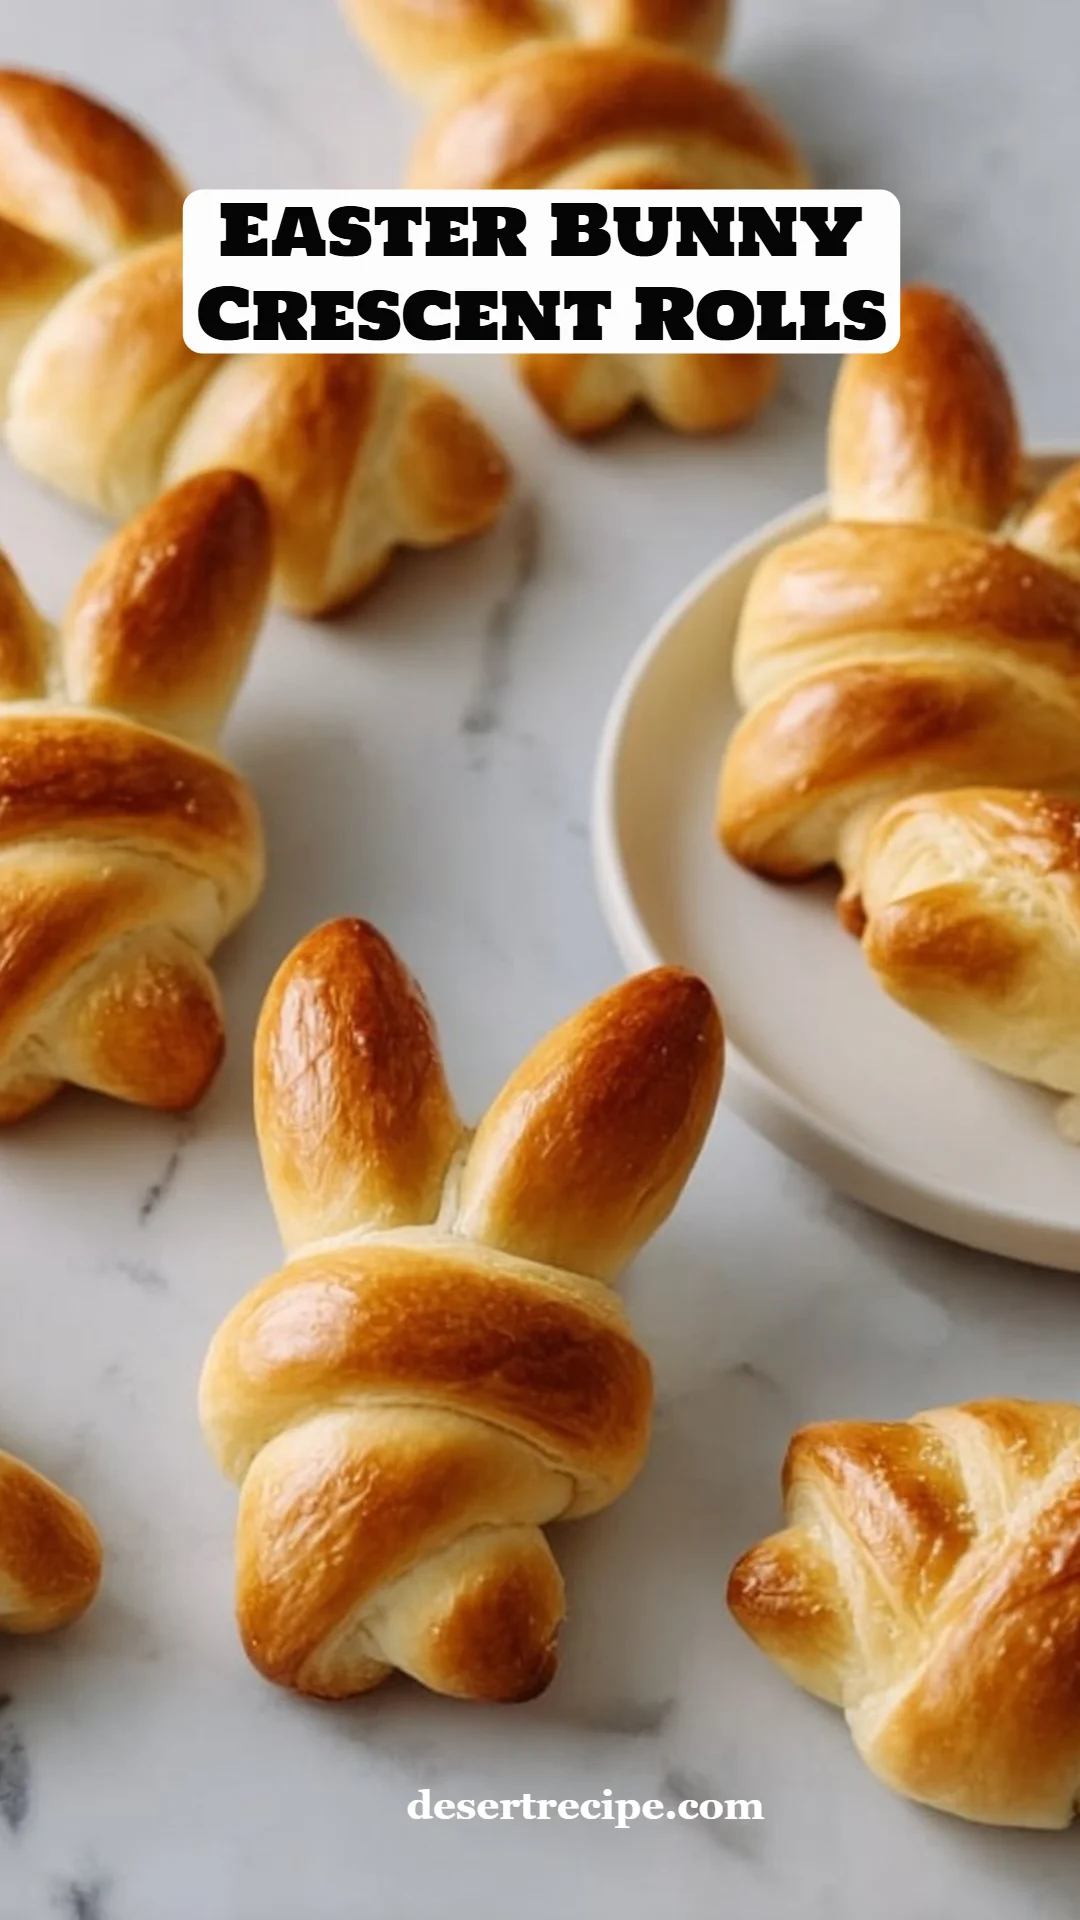
# Whimsical Easter Bunny Crescent Rolls: A Sweet Touch to Your Holiday Table
## Introduction
Ah, Easter! It’s a time filled with vibrant blooms, chocolate bunnies, and family gatherings. One of my fondest memories is gathering around the kitchen table with my little ones, crafting fun treats to celebrate this special season. As we rolled and shaped dough, we’d share stories and indulge in laughter. That's when I stumbled upon the delightfully fun concept of **Easter Bunny Crescent Rolls**. These little critters not only look adorable, but they also melt in your mouth, filling your home with that warm, buttery aroma that evokes heartwarming memories of family feasts.
What sets my Easter Bunny Crescent Rolls apart from others is their versatility. You can fill them with your favorite sweet treats—whether that's a sprinkle of cinnamon sugar, rich chocolate chips, or a dollop of luscious Nutella. Not only are they fun to make, but they also bring everyone together for a delicious communal experience. In this post, I promise to share all my secrets so that you can create your own stunning Easter Bunny Crescent Rolls that will leave your loved ones hopping with joy!
## What Are Easter Bunny Crescent Rolls?
The Easter Bunny Crescent Rolls are not just any pastry; they are an enchanting twist on traditional crescent rolls that will make any Easter celebration extra special. The origins of crescent roll dough can be traced back to European bakeries, but the whimsical bunny shape gives them a delightful flair that’s perfect for springtime festivities.
When baked, they develop a golden-brown crust, while the interior remains fluffy and tender. Their versatility allows you to customize the filling according to your taste—be it sweet or a bit savory. These rolls are perfect for breakfast, brunch, or as whimsical appetizers for your Easter feast. Plus, they’re a wonderful way to incorporate kids into the kitchen, creating warm memories that you’ll cherish for years to come.
## Why You'll Love This Recipe
1. **Adorable Presentation**: The bunny shape makes these rolls a showstopper on any Easter table, perfect for impressing guests or delighting little ones.
2. **Endless Customization**: While I love them plain, feel free to fill these rolls with your favorite goodies—chocolate chips, cinnamon sugar, or even a bit of jam. The options are virtually endless!
3. **Saves You Money**: Making these at home is considerably more budget-friendly than purchasing similar treats from a bakery or restaurant. Plus, you can make a big batch to feed a crowd!
4. **Simple to Make**: Don’t let the cute design intimidate you! This recipe is beginner-friendly and takes about 30 minutes from start to finish using refrigerated dough.
5. **Fun Family Activity**: Making Easter Bunny Crescent Rolls is an excellent way to bring the family together in the kitchen. It’s a wonderful opportunity for kids to learn about baking while crafting their own delightful bunnies.
By choosing to make these delightful rolls at home, you’ll create precious memories while also enjoying a delicious treat tailored to your family’s tastes!

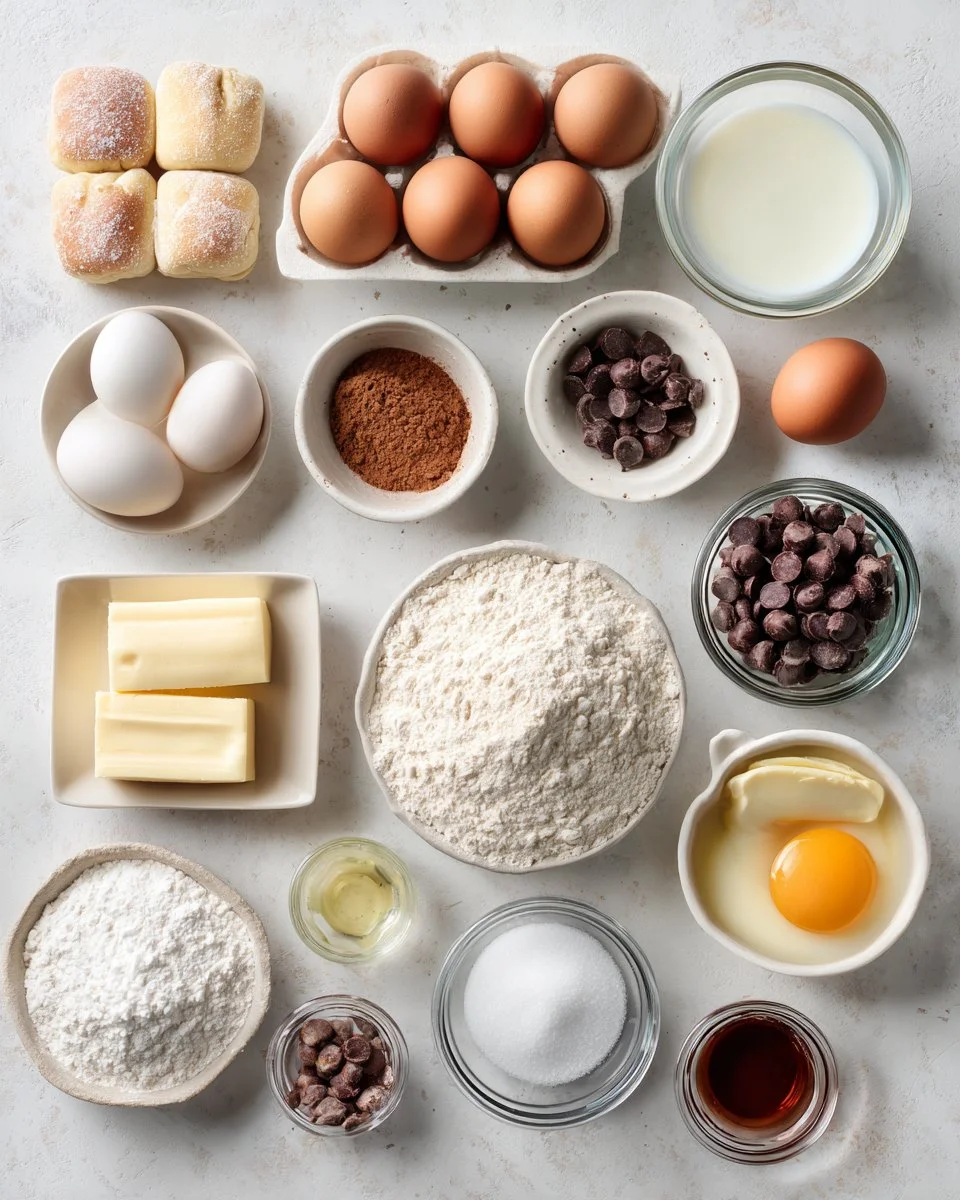
## Ingredients
To make these adorable **Easter Bunny Crescent Rolls**, you’ll need:
- **For Store-Bought Dough**:
- 1 can refrigerated crescent roll dough (8 count)
- 1 egg
- 1 tbsp water
- Optional fillings such as cinnamon sugar, chocolate chips, jam, or Nutella
- **For Homemade Dough** *(if you’re feeling adventurous)*:
- 2 1/4 tsp active dry yeast (1 packet)
- 1/4 cup warm water (about 110 degrees F)
- 1/2 cup milk, warmed
- 1/4 cup granulated sugar
- 1/3 cup unsalted butter, melted
- 1 large egg
- 1/2 tsp salt
- 3 to 3 1/2 cups all-purpose flour
- 1 egg plus 1 tbsp water for egg wash
#### Ingredient Notes:
- **Dough**: I highly recommend using high-quality crescent rolls for the best results. If using homemade dough, let all dairy ingredients come to room temperature before mixing to ensure proper yeast activation.
- **Fillings**: For a fun twist, I’ve tried these with chocolate hazelnut spread and they turned out divine! Feel free to experiment with your favorite fillings.

## Step-by-Step Instructions
1. **Preheat & Prepare**: Set your oven to 375 degrees F (190 degrees C) and line a baking sheet with parchment paper for easy cleanup.
2. **Unroll Dough**: Open the crescent dough and gently unroll it onto a lightly floured surface to avoid sticking.
3. **Cut Triangles**: Use a sharp knife or pizza cutter to cut each triangle lengthwise, creating two thinner triangles from each original piece.
4. **Shape the Rolls**: Starting from the wide end, roll each triangle toward the tip as you would with a classic crescent roll.
5. **Bunny Ears**: Pinch off a small piece of dough, shape it into two loops to resemble bunny ears, and tuck them into the top of each roll.
6. **Arrange on Baking Sheet**: Place the bunny-shaped rolls on the prepared baking sheet with the pointed tip underneath to prevent unrolling during baking.
7. **Egg Wash**: Whisk together the egg and water in a small bowl. Brush a light coating over each roll for a beautiful golden finish.
8. **Bake**: Place the rolls in the preheated oven and bake for 10 to 12 minutes, or until puffed and golden brown.
9. **For Homemade Dough**: (Optional) In a small bowl, combine yeast and warm water. Let sit for 5 minutes until foamy.
10. **Combine Wet Ingredients**: In a large bowl, mix warm milk, sugar, melted butter, egg, and salt. Stir in the foamy yeast.
11. **Add Flour**: Gradually add flour, mixing until a soft dough forms. You might not require all 3 1/2 cups.
12. **Knead**: Transfer to a floured surface and knead for 5 to 7 minutes until smooth and elastic.
13. **First Rise**: Place in a greased bowl, cover, and let it rise in a warm area for 1 to 1.5 hours, or until doubled.
14. **Cut and Shape**: Once risen, deflate and cut into small triangles similar in size to store-bought rolls, then repeat the shaping and baking steps.
15. **Add Fillings**: You can add your chosen fillings when rolling the dough, ensuring not to overfill to avoid leaks.
Chef’s Tip: Always watch the rolls as they bake, and trust your senses! They should smell heavenly and gleam golden when they’re done.
## Expert Tips & Tricks
1. **Storage**: These rolls are best opened and enjoyed fresh, but you can store them in an airtight container at room temperature for up to 2 days, or in the refrigerator for up to a week.
2. **Make Ahead**: You can prepare the dough the night before and let it rise overnight in the fridge. Just shape and bake the next morning!
3. **Troubleshooting**: If your rolls don’t puff up when baking, your yeast may not have activated properly. Always check the date on your yeast packets!
4. **Customization**: Feel free to experiment with different fillings based on dietary needs. Nut butters, cream cheese, or even savory cheeses can be delightful!
5. **Serve Warm**: These rolls are best enjoyed warm. Consider reheating leftovers in a microwave for a few seconds or in a low oven.
## Serving Suggestions
These whimsical **Easter Bunny Crescent Rolls** are perfect for any Easter brunch table. Serve them alongside a fresh fruit salad, a light quiche, or a creamy pasta dish for a delightful meal. For an extra festive touch, dust them with powdered sugar or drizzle with icing for a sweeter presentation.
## Variations & Substitutions
- **Flavors**: Try using different fillings like coconut, diced fruits, or even surprise the family with savory ingredients like ham and cheese for a unique twist.
- **Dietary Adjustments**: You can make gluten-free versions using gluten-free crescent dough or your own gluten-free dough recipe!
- **Seasonal Variations**: In the fall, consider using pumpkin puree and spices for a seasonal twist, or mix in a bit of eggnog when making the dough during the winter holidays!
## Nutrition & Storage Info
- **Prep Time**: 20 minutes
- **Cook Time**: 12-15 minutes
- **Total Time**: Approximately 35-40 minutes
- **Yield**: 8 rolls
- **Estimated Calories**: Approximately 200 calories per roll (without fillings)
- **Storage**: Keep at room temperature in an airtight container for up to 2 days, or refrigerate for up to a week. They’re best enjoyed fresh!
## FAQ Section
1. **Can I freeze Easter Bunny Crescent Rolls?**
Yes! Once baked and cooled, you can freeze them in an airtight container for up to 3 months. Just thaw and reheat before serving.
2. **What can I use instead of crescent roll dough?**
You can make your own dough with the provided homemade recipe, or use puff pastry as a substitute, although the texture will differ.
3. **Are these rolls available all year round?**
While they're especially fun for Easter, feel free to make them year-round for any occasion!
4. **What's the best way to store leftovers?**
To keep them fresh, store in an airtight container at room temperature for a couple of days or refrigerate for longer storage.
5. **What fillings work best?**
It's all about personal preference! Sweet options like Nutella or fruit preserves are a hit, as are savory fillings like cheese.
6. **Can I make these gluten-free?**
Absolutely! Use a gluten-free dough recipe or gluten-free crescent rolls for a delicious gluten-free option.
7. **How do I know when they’re done baking?**
They should be golden brown and puffy! Look for a crispy exterior and fluffy interior as signs of doneness.
8. **Can I add extra toppings?**
Sure! Sprinkling coarse sugar or adding a glaze once they cool adds an extra bit of charm.
9. **Is the dough difficult to work with?**
Not at all! The dough is beginner-friendly, just ensure your surfaces are floured to prevent sticking.
10. **Can I add vegetables to the filling?**
Yes! Roasted vegetables can make a tasty savory option.
## Conclusion
There you have it: the delightful **Easter Bunny Crescent Rolls** that are bound to become a beloved tradition in your home. With their charming shape and customizable fillings, they not only taste amazing but also bring a touch of whimsy to your holiday table. I encourage you to give them a try and share your own bunny wrangling adventures with me in the comments below. Also, don’t forget to check out other recipes on my blog for even more delicious inspiration! Happy baking!


Similar Posts
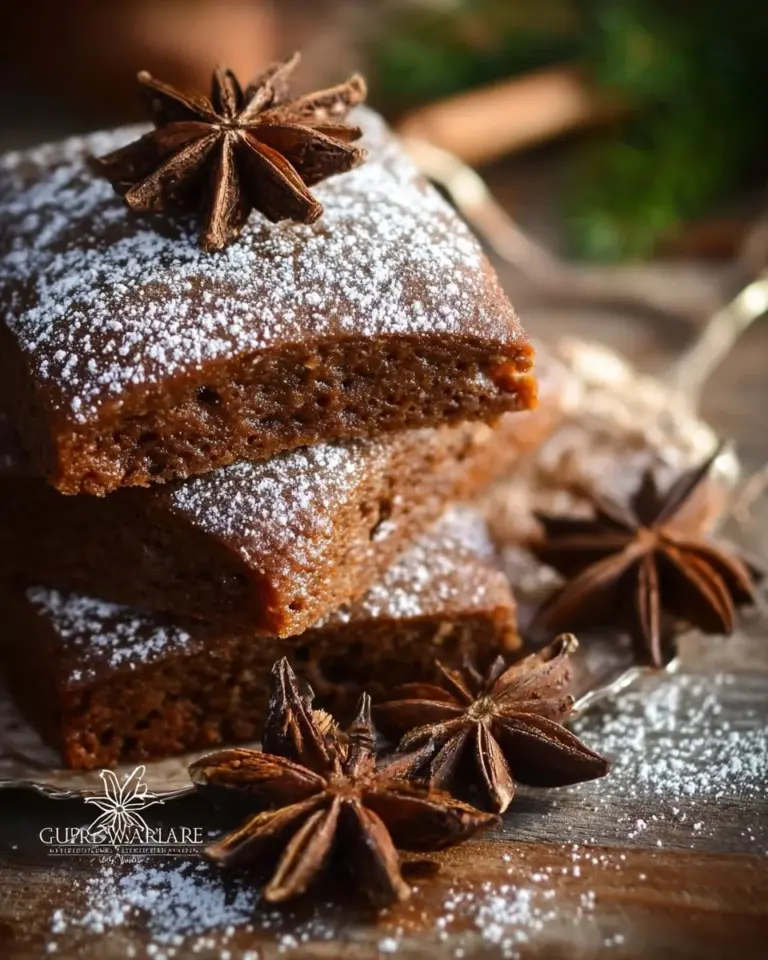
Gingerbread Loaf
Irresistibly Moist Gingerbread Loaf: A Family Favorite Recipe You’ll Adore As the leaves begin to turn crisp and the air fills with the scent of spices, there’s nothing that warms my heart quite like the comforting aroma of a freshly baked Gingerbread Loaf wafting through the kitchen. Growing up, this delightful loaf was a staple…
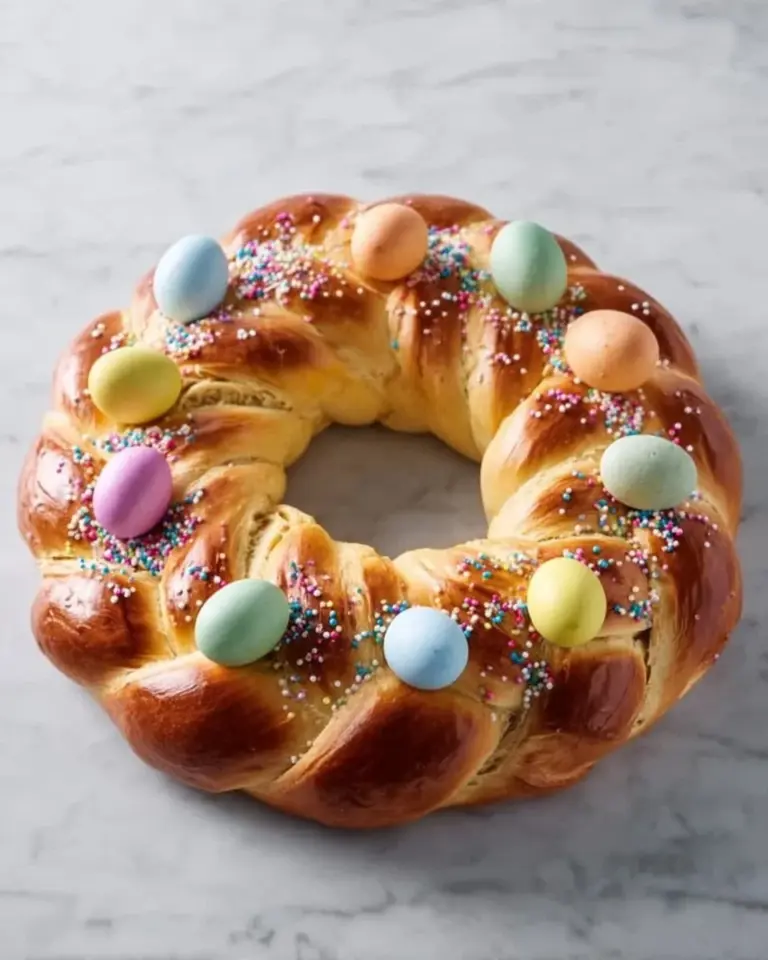
Easy Sweet Italian Easter Bread
Delightfully Easy Sweet Italian Easter Bread: Bake Memories This Season! Oh, how I cherish the memories of baking with my grandmother every Easter! The kitchen would be alive with the scent of freshly baked bread, a delightful mix of sweetness and warmth wafting through the air. The highlight? Her fabulous Easy Sweet Italian Easter Bread,…
German Gingerbread
Irresistible German Gingerbread: A Sweet Journey into Tradition I can still remember the first time I tasted German Gingerbread—the aroma wafting through my grandmother’s cozy kitchen, bringing back a flood of childhood memories. The holidays weren’t complete until that familiar scent of spices filled the air, drawing the family together. Each piece of this delectable…
Heavenly Easy Gluten-Free Christmas Cookies: A Festive Delight for Everyone!
Ah, the aroma of freshly baked cookies wafting through the house—there’s truly nothing that stirs the holiday spirit quite like it! As a passionate home baker, I’ve spent countless hours in my cozy kitchen crafting delectable treats that fill my family with joy each Christmas. One of my absolute favorites are these Easy Gluten-Free Christmas…
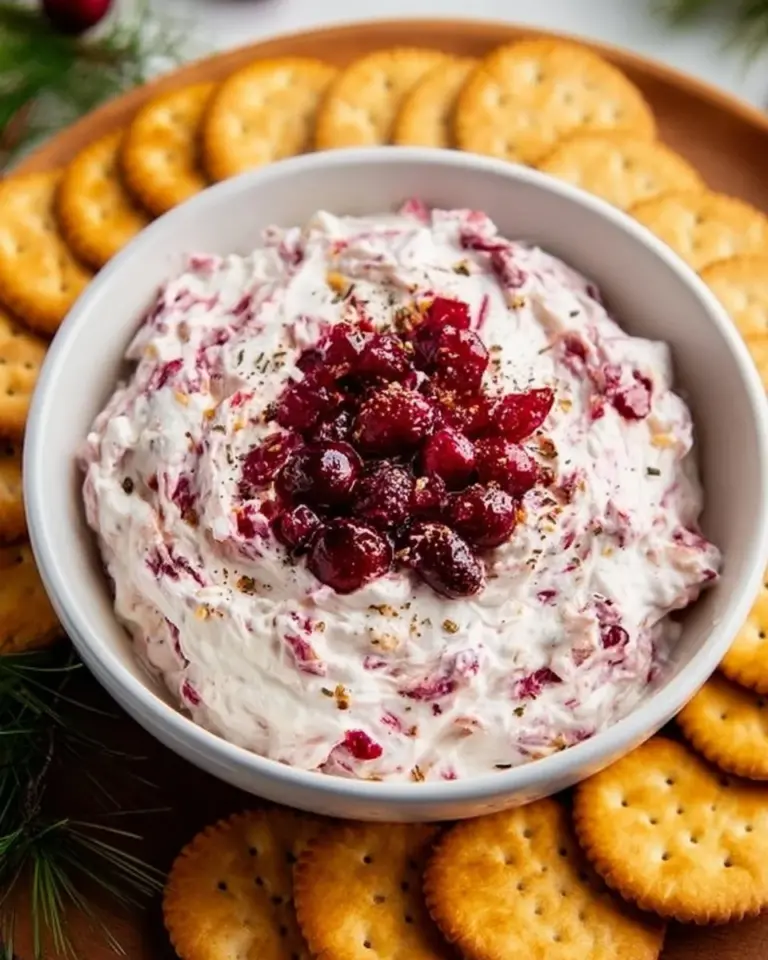
Cranberry Cream Cheese Dip
Luscious Cranberry Cream Cheese Dip: The Perfect Festive Treat As the leaves begin to turn and the aroma of pumpkin spice fills the air, I can’t help but think about the gatherings, laughter, and delicious food that the holiday season brings. One of my absolute favorite go-to recipes that never fails to impress is my…
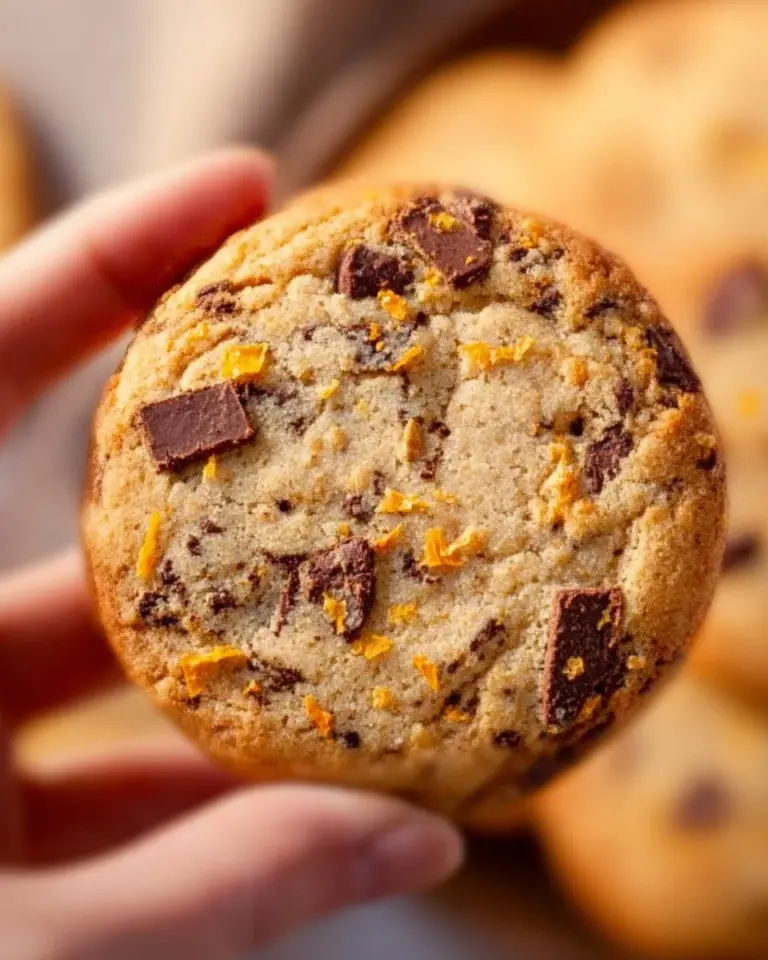
Decadent Chocolate Orange Shortbread Cookies: A Sweet Symphony of Citrus and Cocoa
Picture this: a cozy afternoon, the inviting aroma of freshly baked cookies wafting through the kitchen as I stand by the counter, zesting oranges with a sparkle in my eye. This scene takes me back to my grandma’s kitchen, where she would whip up delicious treats that felt like warm hugs on a plate. Among…