Table of Contents
Table of Contents
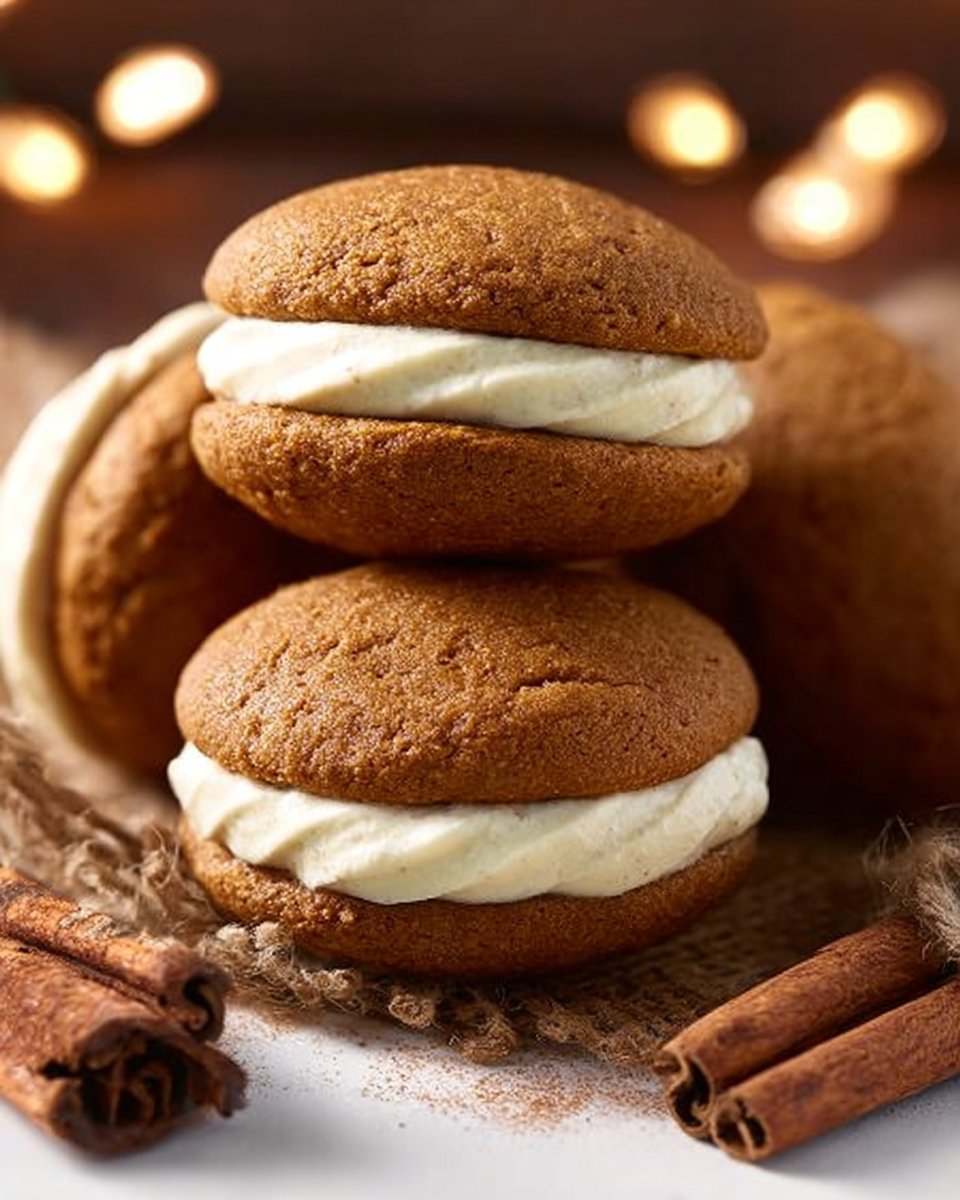
The holidays are a magical time filled with family gatherings, cozy nights by the fire, and of course, an abundance of delicious treats. One Christmas, while rummaging through my grandmother’s recipe box, I stumbled upon her handwritten recipe for Gingerbread Whoopie Pies with Eggnog Filling. I felt a rush of nostalgia as I recalled the sweet scent of gingerbread wafting through her kitchen, drawing us all in like a warm hug.
These whoopie pies are not just any holiday dessert; they’re the perfect blend of soft, spiced gingerbread cookies and creamy, dreamy eggnog filling that brings a sense of comfort and joy. What sets this recipe apart from the others is the balance of flavors: you’ll get that signature warm spiciness of Gingerbread , contrasted beautifully with the rich, sweet, and slightly nutty essence of eggnog. Each bite feels like a cozy winter evening spent with loved ones, and the memories attached to this treat make it all the more special.
In this post, you’ll learn how to create these mouthwatering Gingerbread Whoopie Pies with Eggnog Filling from scratch, with plenty of tips, tricks, and heartfelt anecdotes along the way. Are you ready to dive into this scrumptious journey? Let’s start baking!
What Are Gingerbread Whoopie Pies with Eggnog Filling?
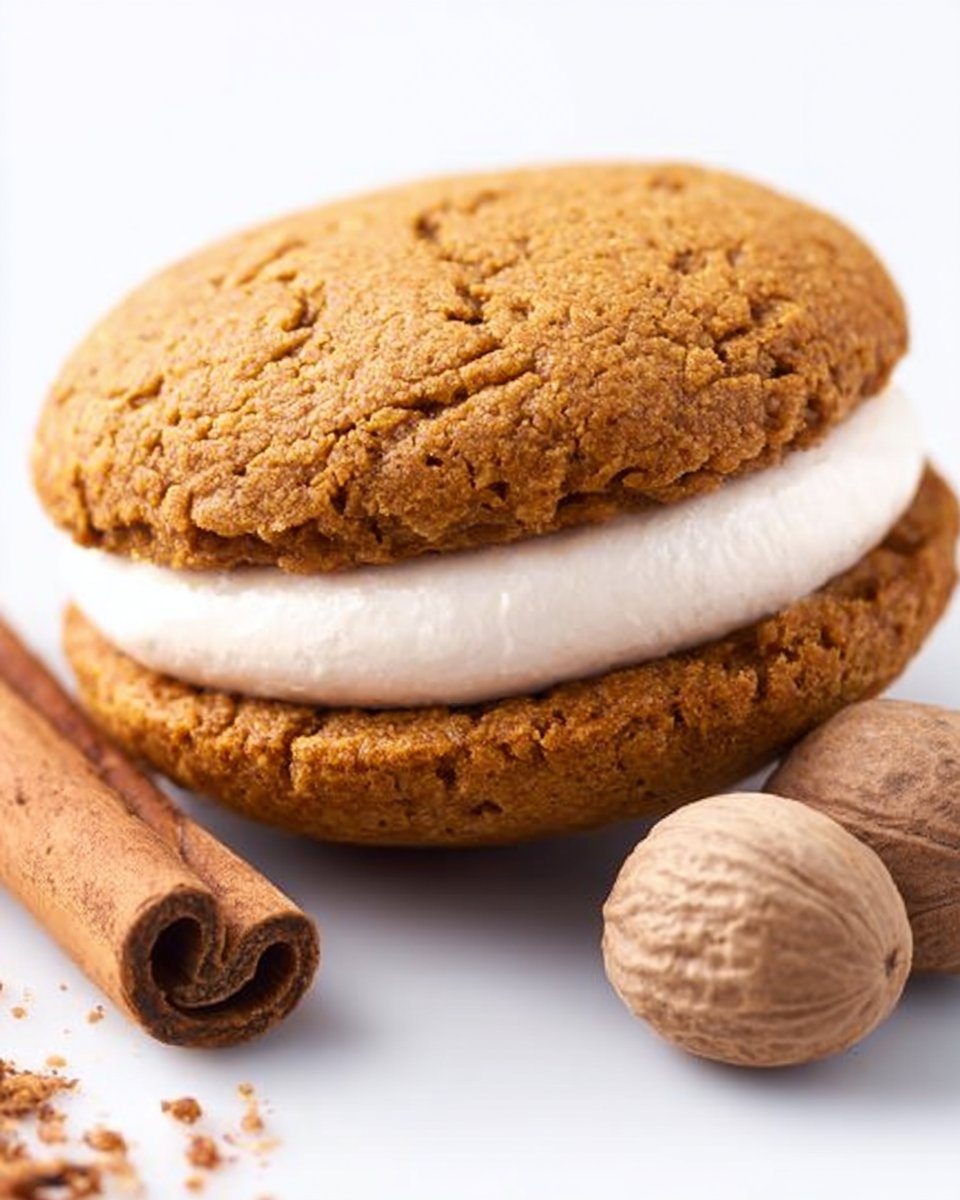
Gingerbread whoopie pies are a delightful dessert that marries the classic flavor of gingerbread with a soft, cake-like texture. Originating from the New England region, whoopie pies are traditionally made from two round cookies that are filled with a creamy filling. The version with gingerbread is particularly festive, making it an ideal choice for the holiday season.
When you take a bite, you experience a wonderful contrast: the spiced, slightly chewy gingerbread cookie gives way to the velvety eggnog filling. This combination is uniquely comforting, making them not just a treat, but a cherished part of holiday traditions. They are perfect for cookie exchanges, festive parties, or simply as a delightful indulgence during winter afternoons.
Why You’ll Love This Recipe
Here are some compelling reasons to whip up these Gingerbread Whoopie Pies with Eggnog Filling:
Homemade Goodness: Store-bought whoopie pies just can’t compare! This recipe allows you to use fresh, quality ingredients that elevate the flavor and texture. Plus, there’s something so satisfying about making your own baked goods.
Cost-Effective: With just a handful of ingredients, you can create a batch that will impress friends and family without breaking the bank. Let’s be honest; holiday baking can get pricey, but this recipe is a budget-friendly treat!
Endlessly Customizable: While the gingerbread and eggnog combo is delicious, you can switch things up by adding your favorite spices or using different fillings, like peppermint or a classic vanilla buttercream. The options are as limitless as your holiday spirit!
Perfect for All Levels: Whether you’re a seasoned baker or just starting, this recipe is manageable and straightforward. Even if you encounter a hiccup, you’ll still end up with something delicious!
Time Efficient: In about an hour, from prep to serving, you can have a delectable dessert ready for your holiday gathering. Who doesn’t love a quick recipe during this busy season?
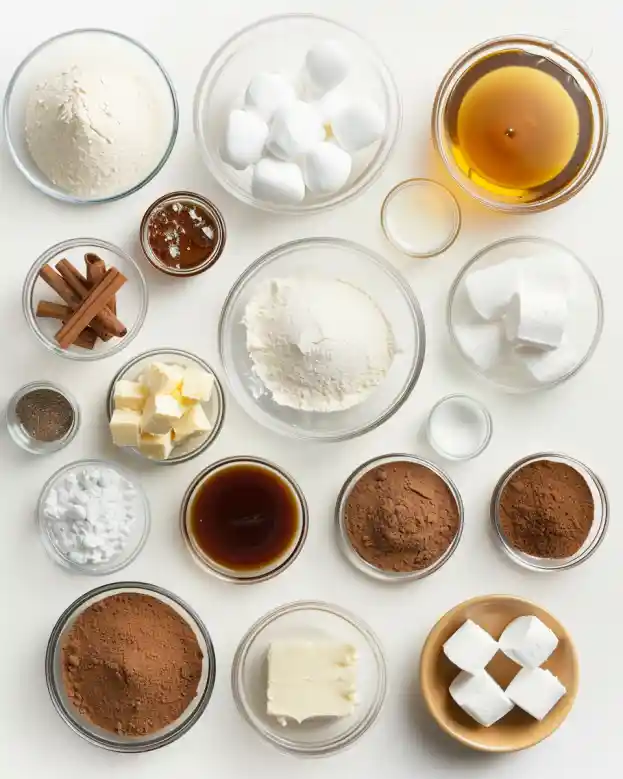
Ingredients
To whip up these delightful Gingerbread Whoopie Pies with Eggnog Filling, you’ll need the following ingredients, organized by the order of use.
For the Cookies:
- 3 cups all-purpose flour: Stick to a good quality brand for consistent results. King Arthur Flour is always a reliable choice.
- 2 teaspoons ground ginger: Freshly ground ginger adds a more robust flavor, but store-bought is perfectly fine.
- 1 teaspoon ground cinnamon: Use Ceylon cinnamon for a sweeter, more complex flavor.
- 1 teaspoon baking soda
- 1/2 teaspoon salt
- 1/2 teaspoon ground nutmeg: A touch of freshly grated nutmeg can elevate the taste.
- 1 stick (8 tablespoons) unsalted butter, room temperature: Ensure your butter is truly at room temp for easy mixing.
- 1 cup packed brown sugar: Light or dark brown sugar will work; dark offers a deeper flavor.
- 1 egg, room temperature
- 1 teaspoon vanilla extract
- 1/2 cup sour cream, room temperature
- 1/3 cup molasses: Use unsulfured molasses for the best flavor.
- 1/4 cup vegetable oil
For the Filling:
- 1 stick (8 tablespoons) unsalted butter, room temperature
- 8 tablespoons vegetable shortening
- 1 cup marshmallow crème: This adds a perfect fluffiness to the filling.
- 1 tablespoon dark rum: Optional, but it gives a lovely depth to the flavor.
- 3/4 teaspoon ground nutmeg
- 1 1/2 cups sifted powdered sugar
Prep Notes:
- Remember to take all refrigerated ingredients out ahead of time to avoid cold mixtures that can affect texture.
Step-by-Step Instructions
Preheat Your Oven: Position a rack in the center of the oven and preheat to 350°F (175°C). Line two baking sheets with parchment paper for easy cleanup.
Mix the Dry Ingredients: In a medium bowl, whisk together the flour, ginger, cinnamon, baking soda, salt, and nutmeg. Set aside.
Cream the Butter and Sugar: In the bowl of a stand mixer fitted with the paddle attachment, beat together the butter and brown sugar on low speed until just combined. Increase the speed to medium and beat until fluffy and smooth, about 3 minutes.
Add Egg and Vanilla: Mix in the egg and vanilla extract, beating until fully combined.
Combine Wet Ingredients: In a two-cup measuring cup with a pour spout, whisk together the sour cream, molasses, and oil.
Incorporate Dry and Wet Ingredients: Gradually alternately add the dry mixture and the wet mixture to the batter, starting and ending with the dry mixture, mixing on low until just incorporated.
Drop the Batter: Using a tablespoon, drop batter onto the prepared baking sheets, spacing them at least 2 inches apart.
Bake: Bake one sheet at a time for about 10 minutes or until the rounds spring back when pressed gently. Let them cool for 5 minutes before transferring them to a wire rack to cool completely.
Make the Filling: In the stand mixer, beat together butter and shortening on medium speed until fully combined. Add the marshmallow crème and beat until smooth. Next, add the rum, nutmeg, and powdered sugar, mixing until fluffy, about 3 minutes.
Assemble the Whoopie Pies: Pipe filling onto the flat side of one cooled cake, then top with another cake, flat side down. Repeat until all are filled.
Expert Tips & Tricks
- Storage: Keep whoopie pies in an airtight container at room temperature for up to 3 days or in the refrigerator for a week. They can also be frozen for up to a month.
- Make Ahead: You can prepare the cookies a day in advance and fill them the day of your gathering. This helps the flavors meld even more!
- Troubleshooting: If the cookies spread too much, make sure your butter wasn’t too warm. Chill the dough for 15-30 minutes before baking to help maintain their shape.
Serving Suggestions
These delightful Gingerbread Whoopie Pies with Eggnog Filling are amazing on their own, but why not serve them with a side of spiced apple cider or a scoop of vanilla ice cream? For that extra festive touch, add a garnish of whipped cream and a dash of nutmeg on top!
Variations & Substitutions
Feeling adventurous? Here are a few ways to customize your whoopie pies:
- Chocolate Whoopie Pies: Swap the gingerbread cookies for chocolate cake mix for a rich twist.
- Dairy-Free Filling: Use a dairy-free butter and coconut cream in place of marshmallow crème to make a vegan treat.
- Peppermint Twist: Add crushed peppermint candy to the filling for a fresh, invigorating flavor.
Nutrition & Storage Info
- Prep time: 25 minutes
- Cook time: 10 minutes
- Total time: 1 hour
- Yield: About 12 whoopie pies
- Estimated Calories: Approx. 280 calories per pie
- Storage: Keep at room temperature in an airtight container for up to 3 days; a week in the fridge; or freeze for up to a month.
FAQ Section
Can I use whole wheat flour?
Yes, but the texture will be denser. Mix it with half all-purpose flour for the best results.What can I use instead of molasses?
Honey or maple syrup can be substituted, though the flavor will change slightly.How can I make these gluten-free?
You can try a gluten-free flour blend, ensuring it contains xanthan gum for structure.What should I do if the filling is too runny?
Add additional powdered sugar, a little at a time, until you achieve your desired consistency.Can I skip the rum?
Absolutely! The filling will still be delicious without it.How do I know when the cookies are done baking?
They should spring back when pressed gently, and the edges will be set.What if I don’t have shortening?
You can use all butter for the filling, although it will be a little softer.Are these good for freezing?
Yes! Just wrap them well and make sure to let them thaw at room temperature before serving.What if the cookies are too sticky?
If your dough is overly sticky, chill it for 30 minutes in the fridge before dropping onto baking sheets.Can I add nuts to the filling?
Sure! Finely chopped nuts can add another layer of texture.
Conclusion
This recipe for Gingerbread Whoopie Pies with Eggnog Filling is a holiday treasure, filled with flavors and memories that bring joy to any gathering. The combination of soft gingerbread cookies with a luscious eggnog filling will make these treats a family favorite for years to come.
I encourage you to give this recipe a try, and I can’t wait to hear your thoughts and feedback! Don’t forget to check out my other festive recipes on the blog for more holiday baking inspiration. Happy baking!

Gingerbread Whoopie Pies with Eggnog Filling
Ingredients
Method
- Preheat Your Oven: Position a rack in the center of the oven and preheat to 350°F (175°C). Line two baking sheets with parchment paper for easy cleanup.
- Mix the Dry Ingredients: In a medium bowl, whisk together the flour, ginger, cinnamon, baking soda, salt, and nutmeg. Set aside.
- Cream the Butter and Sugar: In a stand mixer, beat together the butter and brown sugar on low speed until just combined. Increase speed to medium and beat until fluffy and smooth, about 3 minutes.
- Add Egg and Vanilla: Mix in the egg and vanilla extract, beating until fully combined.
- Combine Wet Ingredients: In a two-cup measuring cup, whisk together the sour cream, molasses, and oil.
- Incorporate Dry and Wet Ingredients: Gradually alternately add the dry mixture and the wet mixture to the batter, starting and ending with the dry mixture, mixing on low until just incorporated.
- Drop the Batter: Using a tablespoon, drop batter onto the prepared baking sheets, spacing them at least 2 inches apart.
- Bake: Bake one sheet at a time for about 10 minutes or until the rounds spring back when pressed gently. Let them cool for 5 minutes before transferring them to a wire rack to cool completely.
- Make the Filling: In the stand mixer, beat together butter and shortening on medium speed until fully combined. Add marshmallow crème and beat until smooth. Next, add rum, nutmeg, and powdered sugar, mixing until fluffy, about 3 minutes.
- Assemble the Whoopie Pies: Pipe filling onto the flat side of one cooled cookie, then top with another cookie, flat side down. Repeat until all are filled.