Irresistible Red Velvet Brownies: A Decadent Delight
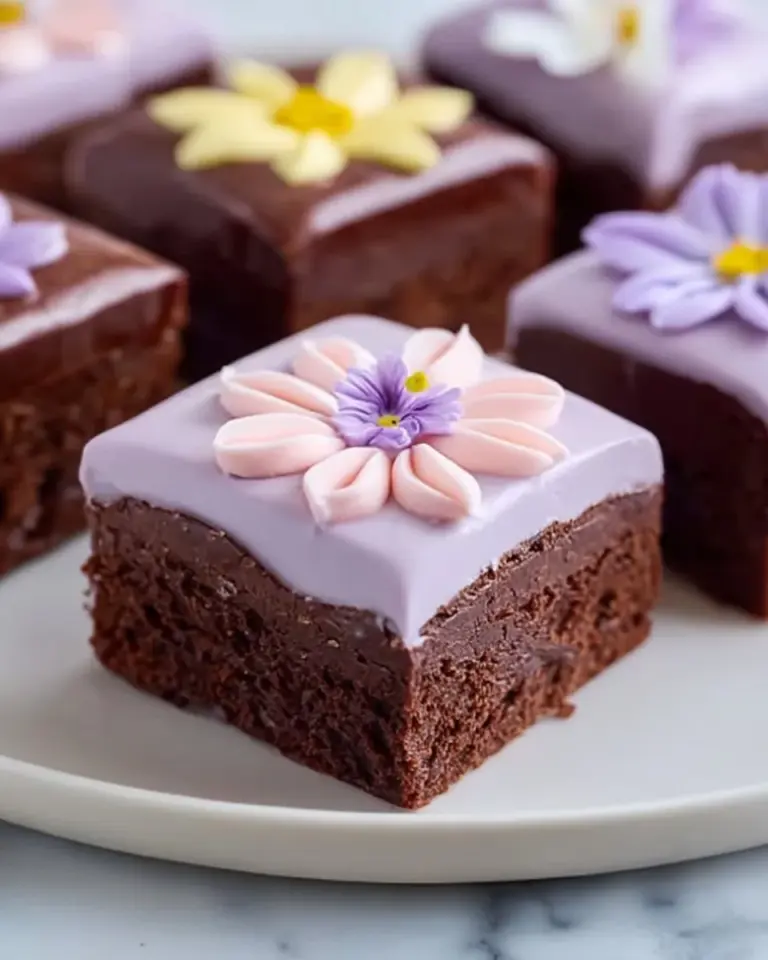
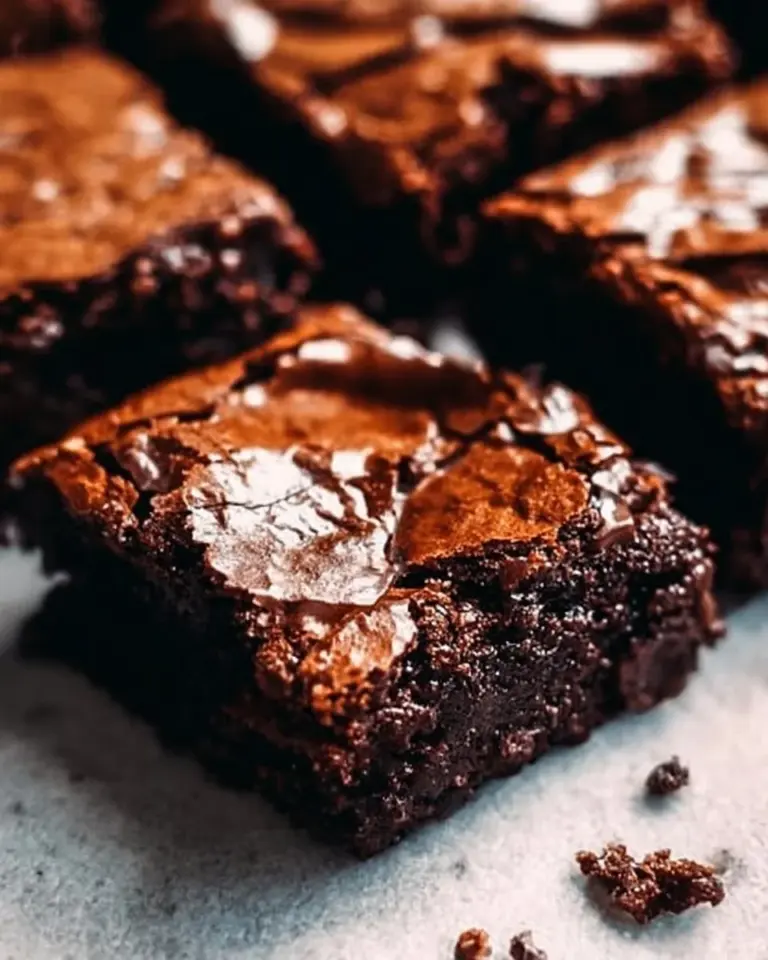
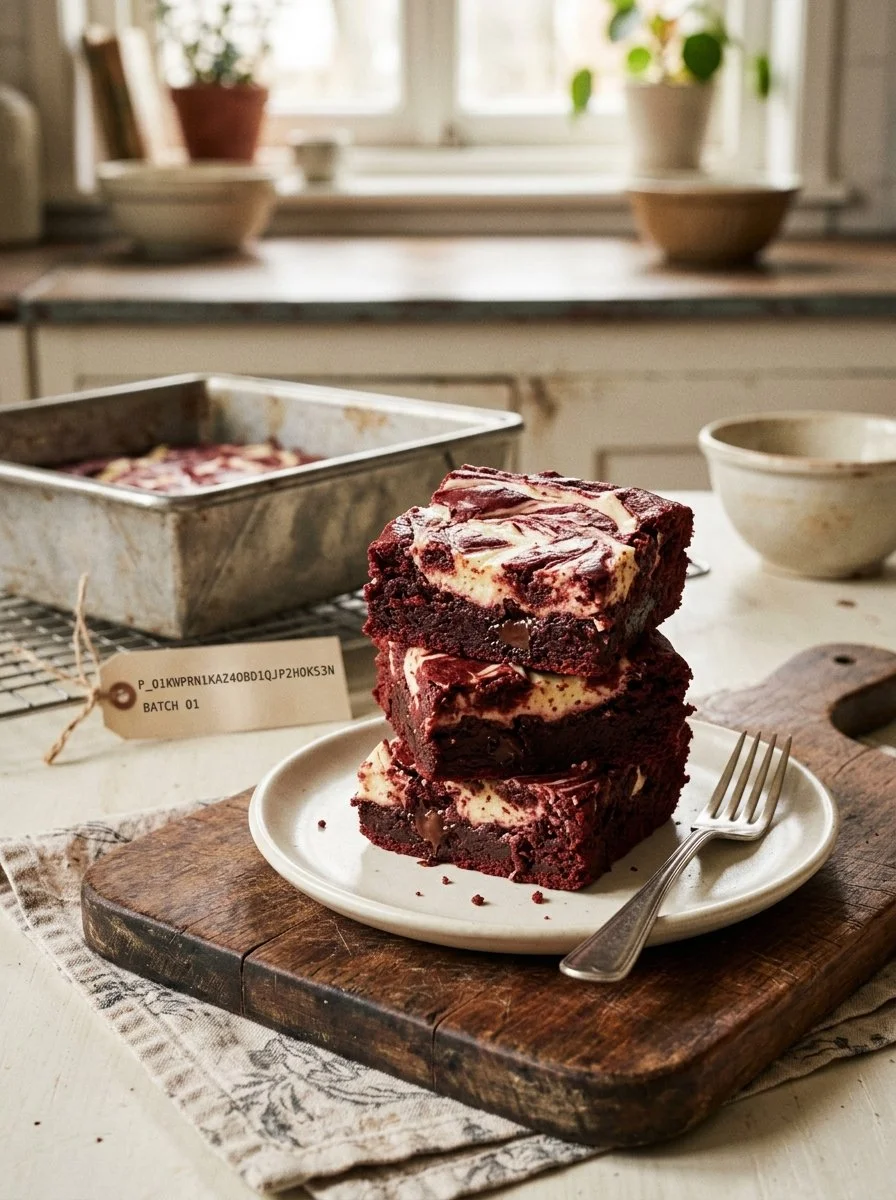
The moment you take a bite of these Irresistible Red Velvet Brownies, you’ll be enveloped in a symphony of rich chocolate and velvety texture. As the sweet, buttery aroma wafts through your kitchen, a gentle crunch on the outside gives way to an incredibly soft, moist center that melts in your mouth. With a deep red hue, these brownies not only taste divine but also boast an eye-catching appearance that’s perfect for any occasion.
The Origin & Heritage
Red velvet treats have a storied history that dates back to the 1920s, originating from the southern United States, where the combination of cocoa and buttermilk resulted in a distinctively tender cake. It is said that "Grandma’s kitchen" was filled with laughter and the warm, inviting scent of baked goods as family members gathered to enjoy special occasions. This recipe for Red Velvet Brownies captures that nostalgic warmth while also adding a contemporary twist, making them a beloved dessert that transcends generations. If you enjoy the smooth texture and flavor of red velvet, you might also want to explore making a Christmas Red Velvet Cheesecake.
The Science of Flavor
Understanding the ingredients in this recipe unlocks why these brownies are so irresistible:
- Cocoa Powder: Adds depth and a chocolatey richness, balancing the sweetness.
- Vinegar: Activates baking soda, creating a tender crumb through a chemical reaction.
- Red Food Coloring: Enhances visual appeal, making these treats pop on your dessert table.
- Oil vs. Butter: Oil contributes to moisture and a dense texture, while butter provides flavor.
- Eggs: They act as binders and leaveners, contributing to the overall structure and fluffiness.
The Ingredients
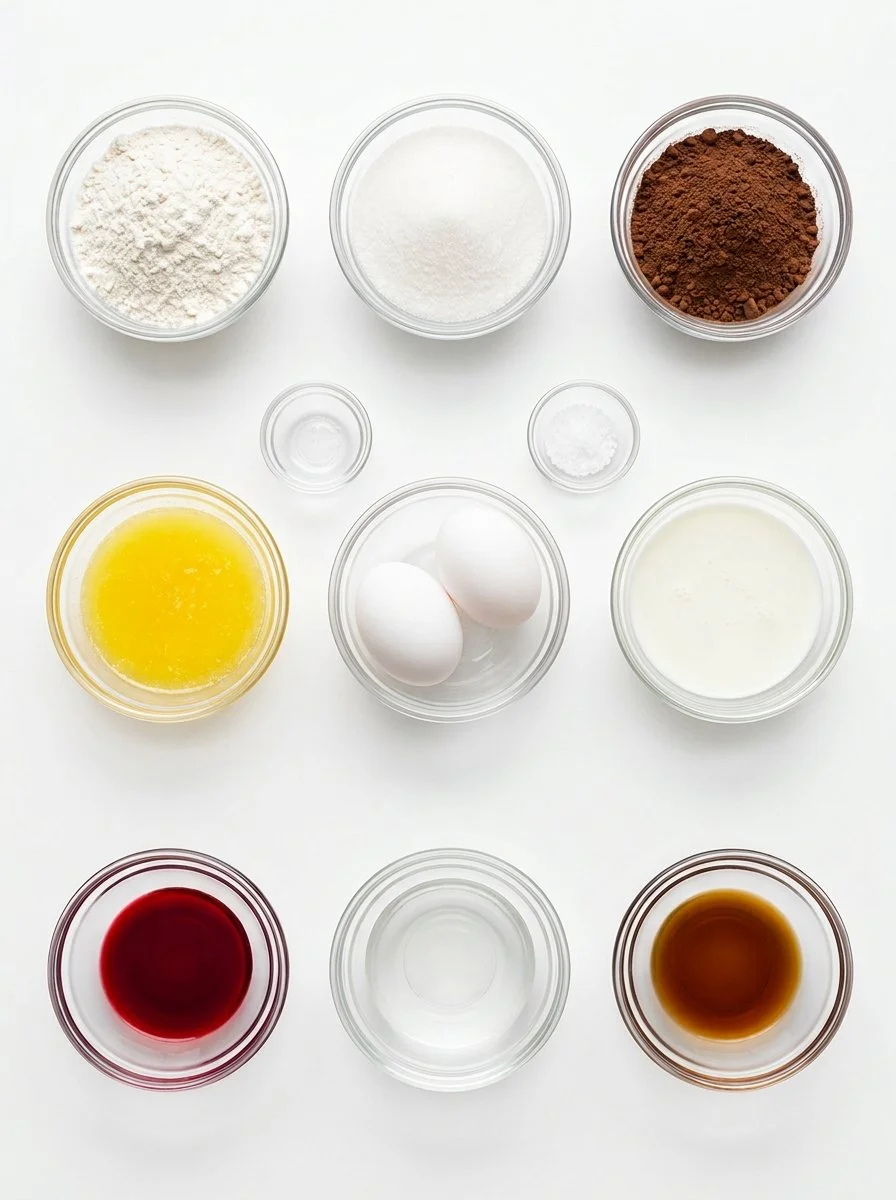
Ingredients:
- 1 cup all-purpose flour
- 1 cup granulated sugar
- 1/3 cup cocoa powder
- 1/2 cup vegetable oil
- 2 large eggs
- 1 tsp vanilla extract
- 1 tsp baking soda
- 1 tsp vinegar
- 1/2 tsp salt
- Red food coloring (about 1 tablespoon)
Pro-Note: Quality Hack
- Cocoa Powder: Opt for Dutch-processed cocoa for a smoother, more robust flavor.
- Vegetable Oil: Use high-quality virgin oil for enhanced taste and texture.
The Masterclass Instructions
Place 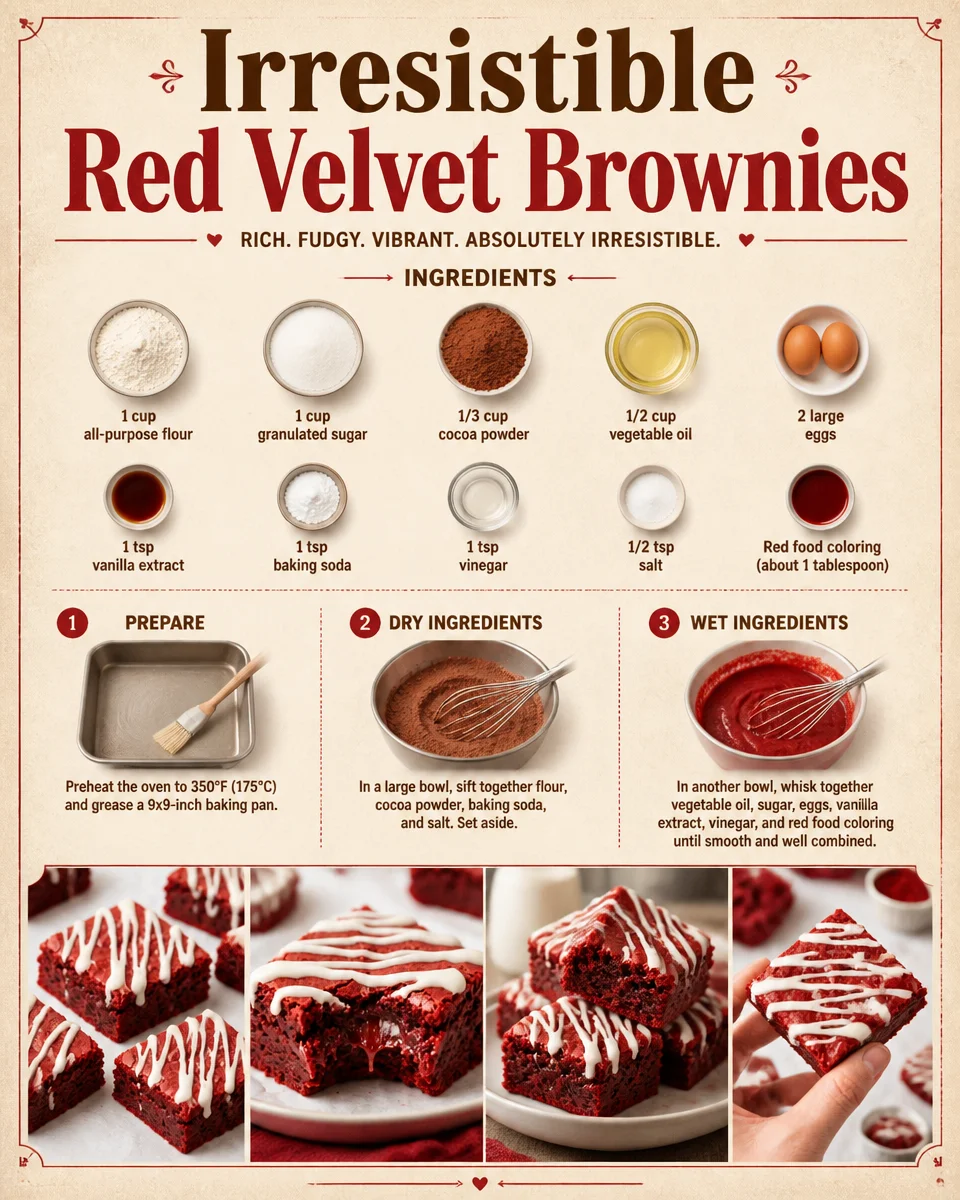
tag before this section.
- Preheat your oven to 350°F (175°C) and grease a 9×9-inch baking pan.
- In a large bowl, sift together the flour, cocoa powder, baking soda, and salt; set aside.
- In another bowl, whisk together the vegetable oil, sugar, and eggs until the mixture is smooth and creamy.
- Add the vanilla extract, vinegar, and a generous splash of red food coloring, stirring until well combined.
- Gradually incorporate the dry ingredients into the wet mix, combining gently to avoid overmixing, ensuring a tender brownie.
- Pour the luscious batter into the prepared baking pan, spreading it evenly with a spatula.
- Bake for 25-30 minutes, or until a toothpick inserted into the center comes out with a few moist crumbs.
- Allow the brownies to cool in the pan for about 10 minutes before transferring them to a wire rack.
Health & Nutrition Corner
A Healthier Perspective
While these brownies are undoubtedly a treat, you can enhance their nutritional content with a few simple tweaks:
- Swap Refined Sugar: Consider using monk fruit sweetener or coconut sugar.
- Add Seeds: Incorporate chia or flax seeds for extra fiber and nutrients.
Health Benefits of Cocoa: Cocoa is a fantastic source of antioxidants, which can help reduce inflammation and improve heart health. By indulging in these brownies occasionally, you’re also treating yourself to health benefits!
The Troubleshooter
Why Did It Fail? Solutions:
- Too Dense: You might have overmixed the batter. To keep them light, mix gently until just combined.
- Dry Brownies: This can happen if they are overbaked. Aim for the lower end of the baking time for a moist texture.
- Lack of Flavor: Consider adding a pinch of espresso powder to enhance the chocolate flavor profile.
The Art of Serving
To elevate your presentation, dust the brownies with powdered sugar or top them with a dollop of whipped cream. Pair these delightful treats with a glass of cold milk or a warm cup of coffee for the ultimate experience. Ideal for gatherings, they’re sure to impress your guests.
The Dietary Lab
Making It Vegan, Gluten-Free, or Keto
- Vegan: Substitute eggs with flaxseed meal (1 tbsp mixed with 3 tbsp water per egg) and use plant-based oil.
- Gluten-Free: Replace all-purpose flour with a gluten-free blend that substitutes cup-for-cup.
- Keto: Use almond flour and a keto-friendly sweetener, adjusting for texture as needed.
Storage & Revival
- Yield: 12 brownies
- Prep Time: 15 minutes
- Cook Time: 25-30 minutes
The Revival Rule:
To keep your brownies fresh, store them in an airtight container at room temperature for up to 3 days. If you have leftovers, reheat them in a preheated oven for a few minutes to restore their delightful texture. Avoid microwaving, as it will make them dry.
FAQ
Why are my brownies dry?
Overbaking is a common issue. Aim for the lower baking time, ensuring a moist texture.
Can I use unsweetened cocoa powder?
Yes! Just adjust the sugar slightly if desired.
How do I store brownies?
Keep them in an airtight container at room temperature for freshness.
Can I add nuts or chocolate chips?
Absolutely! Fold them into the batter for added texture.
What’s the best way to serve them?
Warmed slightly, with a scoop of vanilla ice cream for an indulgent treat.
Can I freeze the brownies?
Yes, wrap them tightly and store in the freezer for up to three months.
What kind of oil should I use?
Vegetable oil is standard, but you can use melted coconut oil for a different flavor.
How do I know when they are done baking?
Check your brownies with a toothpick; a few moist crumbs indicate they are perfect.
Do these brownies have caffeine?
Yes, due to the cocoa content, but in moderate amounts suitable for most.
Are they gluten-free?
They can be made gluten-free with the right flour substitute.
The Final Bite
These Irresistible Red Velvet Brownies are not only a pleasure to eat but also a delightful experience to make. Leave a comment below if you tried the Red Velvet Brownies! For those exploring more festive flavors, consider checking out Christmas Red Velvet Poke Cake or indulging in the ultimate decadent treat. Each recipe is sure to impress!
Conclusion
Incorporating these divine brownies into your dessert repertoire will surely delight friends and family. To take inspiration for your next baking adventure, you may want to check out options like the Swirled Red Velvet Brownies or the classic Red Velvet Brownies. Happy baking!
Red Velvet Brownies
Ingredients
Method
- Preheat your oven to 350°F (175°C) and grease a 9×9-inch baking pan.
- In a large bowl, sift together the flour, cocoa powder, baking soda, and salt; set aside.
- In another bowl, whisk together the vegetable oil, sugar, and eggs until the mixture is smooth and creamy.
- Add the vanilla extract, vinegar, and red food coloring, stirring until well combined.
- Gradually incorporate the dry ingredients into the wet mix, combining gently to avoid overmixing.
- Pour the batter into the prepared baking pan, spreading it evenly with a spatula.
- Bake for 25-30 minutes, or until a toothpick inserted into the center comes out with a few moist crumbs.
- Allow the brownies to cool in the pan for about 10 minutes before transferring them to a wire rack.