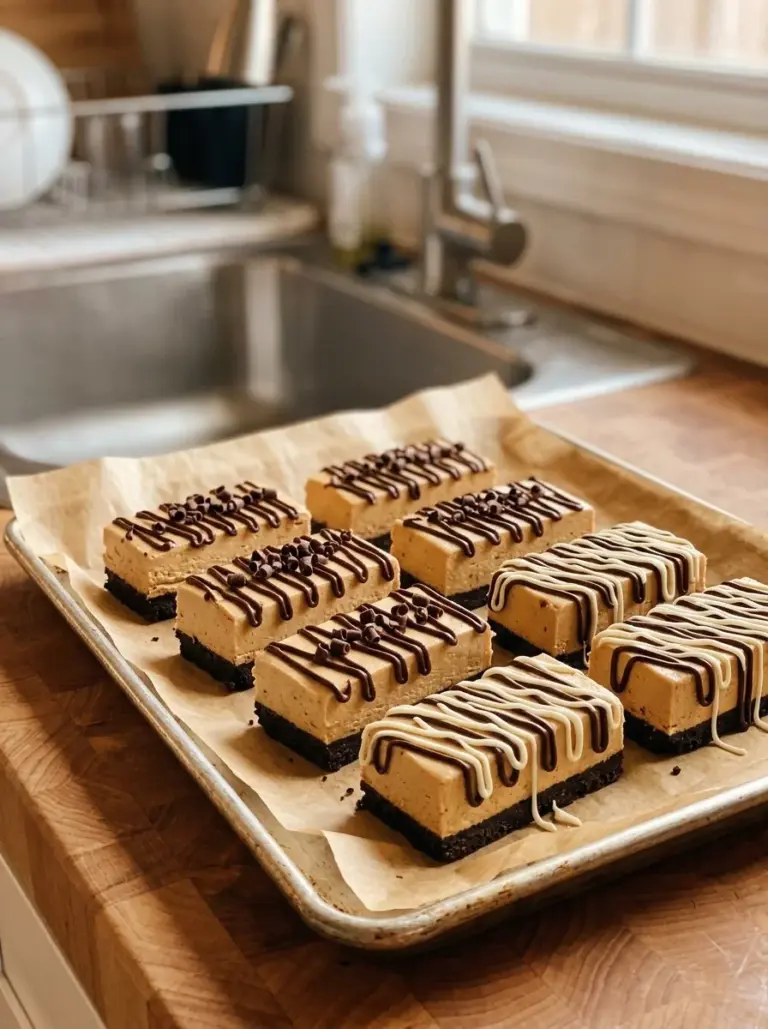
Irresistible No Bake Granola Bars: The Perfect Snack for Any Occasion
Growing up, my kitchen was a sanctuary filled with the sweet aromas of baked goodies and the laughter of family. But as much as we adored warm cookies and cakes, there was something special about the quick and easy treats we whipped up on busy afternoons—especially the No Bake Granola Bars. I remember those weekends when we’d toss whatever we had into a bowl, mix it all together, and press it into a pan. These bars became an instant family favorite and often served as a quick breakfast on our hectic mornings or a fuel-up before Saturday soccer games.
What makes my No Bake Granola Bars stand out? With a perfect blend of chewy oats, creamy peanut butter, and a touch of sweetness from honey, they are not only delicious but customizable to suit everyone’s taste. Unlike store-bought versions, which often come packed with artificial ingredients, my homemade bars are made with simple, wholesome ingredients that you can feel good about. Plus, they’re a breeze to throw together, making them a go-to in my kitchen.
In this post, you’ll learn how to create your own No Bake Granola Bars from scratch, packed with your favorite mix-ins, designed to fuel your days, and evoke fond memories with every bite. Let’s dive into the world of granola bars, where delicious snacking awaits!
What Are No Bake Granola Bars?
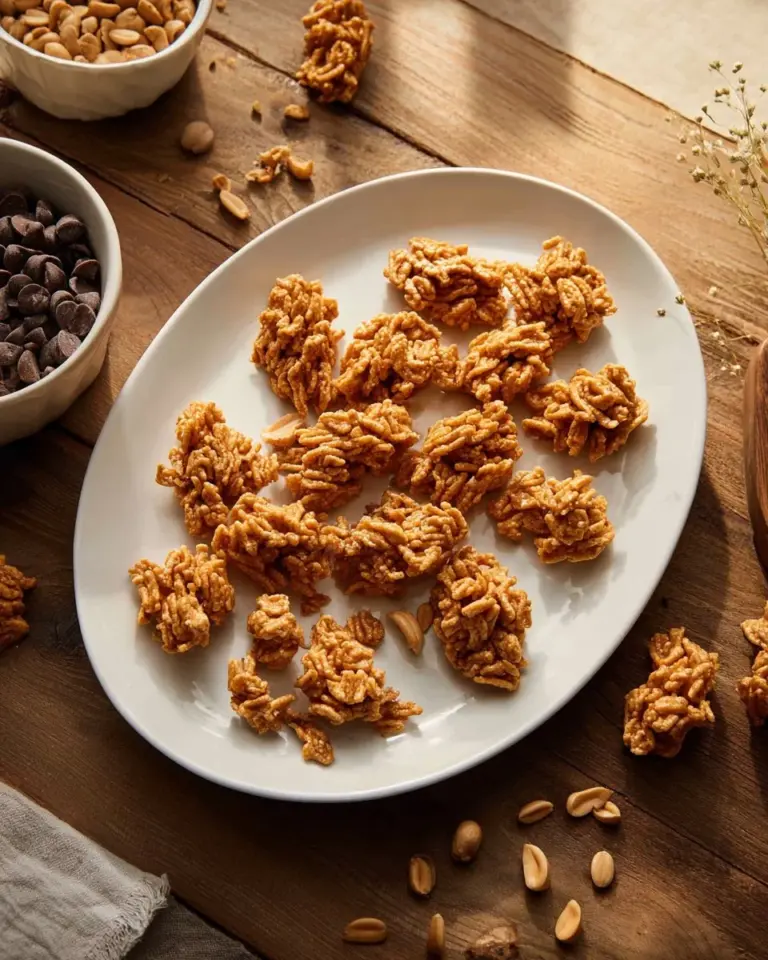
No Bake Granola Bars, as the name suggests, are a no-fuss, no-bake treat that combines oats, nut butters, sweeteners, and various mix-ins like nuts and dried fruits. These bars emerged from the era of health-conscious snacking, where people sought a simple yet nutritious alternative to traditional sweets. The delightful blend of chewy and crunchy textures makes these bars a favorite for kids and adults alike. The oats provide a hearty base, while the peanut butter lends a creamy richness, and the honey ties it all together with just the right amount of sweetness.
They’re unique because you can whip them up in no time—just mix, press, and chill! No oven required. Plus, they are so versatile that you can make them for breakfast, a midday snack, or even as pre- or post-workout fuel. Whether you’re aiming for a quick and nutritious option for your kids or a satisfying grab-and-go snack for yourself, these No Bake Granola Bars are an excellent choice for any occasion.
Why You’ll Love This Recipe
Here are a few reasons why my No Bake Granola Bars will become your new best friend in the kitchen:
Super Simple & Quick: This recipe takes about 15 minutes of active prep time. You can easily throw the ingredients together, press them into a pan, and let them chill in the fridge. No baking means less hassle!
Cost-Effective: When comparing the cost of homemade No Bake Granola Bars to store-bought ones—especially those fancy organic brands—you’ll find that making your own is both budget-friendly and also far tastier.
Endless Customization: This recipe serves as your base, inviting experimentation! Swap in your favorite nuts, seeds, or dried fruits, or try adding a sprinkle of dark chocolate or a handful of coconut flakes. You make the rules here!
Healthy Indulgence: You’re in control of the ingredients. Instead of the mystery ingredients found in many store-bought bars—preservatives, high-fructose corn syrup—these homemade bars are made with wholesome components, perfect for hitting the sweet spot without the guilt.
Family Approved: I can’t tell you how many times my kids have requested these as their after-school snack, sharing them with friends who come over. When your family begs for your homemade version over anything store-bought, you know you’ve nailed it!
With a little effort and creativity, you’re on your way to creating your own perfect No Bake Granola Bars that fit your lifestyle and tastes!
Ingredients
Here’s what you’ll need to create your No Bake Granola Bars, along with some tips to elevate each component:
- 2 cups oats: Look for rolled oats for a chewy texture. You can also swap for gluten-free oats if needed.
- 1.5 tsp cinnamon: Fresh ground cinnamon adds warmth and depth. Feel free to adjust to your taste.
- 0.75 tsp sea salt: Enhances the sweetness. Use flaky sea salt for a treat!
- 2 cups mix-ins (like nuts or seeds, chopped into 1/4 inch pieces): Think almonds, walnuts, or pumpkin seeds. Get innovative!
- 1.25 cups peanut butter: Use natural peanut butter without added sugars or oils for the best flavor.
- 0.75 cup honey: This is the binding agent. You can substitute with maple syrup for a vegan version.
- 1.5 tsp vanilla extract: Always add pure vanilla for the best flavor bonus.
Prep Notes: Ensure your peanut butter is at room temperature to make mixing easier. If it’s too solid, pop it in the microwave for a few seconds.
Step-by-Step Instructions
Prepare Your Baking Dish: Line a 9×13 inch baking dish with parchment paper, leaving some overhang for easy removal later.
Mix the Dry Ingredients: In a large mixing bowl, combine the oats, cinnamon, and sea salt. Make sure to mix them thoroughly so every oat is evenly spiced.
Add the Mix-Ins: Toss in your chopped mix-ins to the oat mixture, stirring gently until evenly distributed.
Combine the Wet Ingredients: In a separate bowl, whisk together the peanut butter, honey, and vanilla until smooth and creamy. This should take about 1-2 minutes.
Combine Dry and Wet Mixtures: Pour the wet mixture into the dry mixture and stir until everything is evenly coated. You want each oat to be kissed by the peanut butter and honey!
Transfer & Press: Pour the mixture into your lined baking pan and press down firmly with a spatula or your clean hands. Make sure it’s packed in tightly so they hold together well.
Chill: Refrigerate your bars for at least 1 hour, or preferably overnight, to let them firm up.
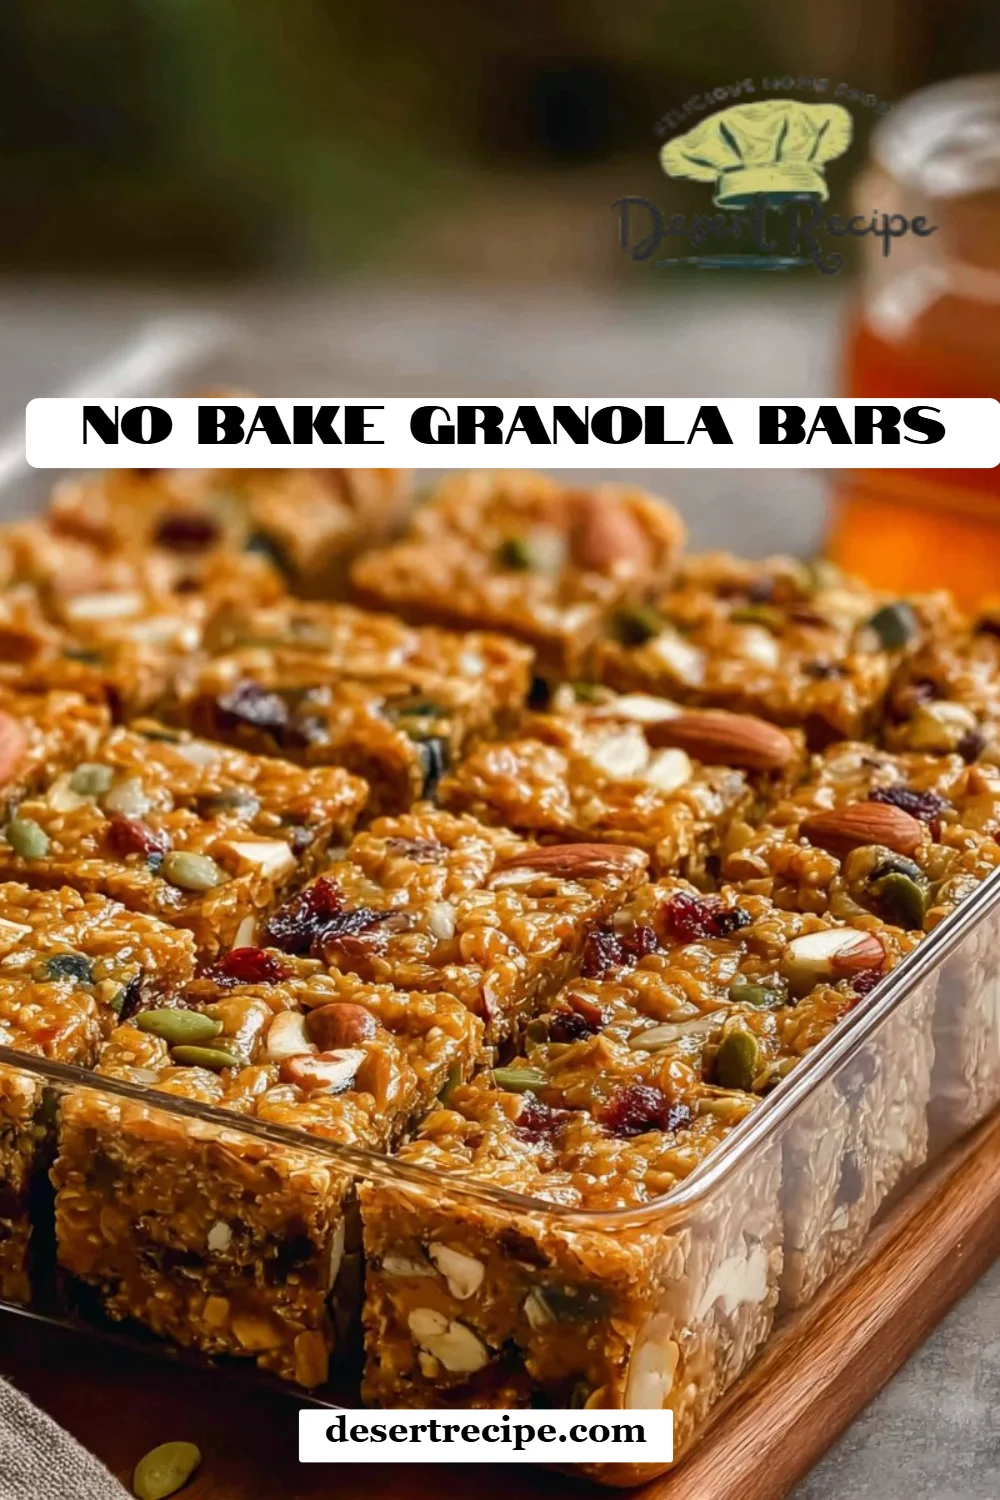
Slice and Enjoy: When ready, lift the bars out of the pan using the edges of the parchment paper. Use a sharp knife to cut into 16 bars or your desired size.
Chef’s Tips:
- If the mixture seems a bit dry, add more honey or peanut butter. It should stick together but not be overly wet.
- To prevent sticking to your knife, run it under hot water and wipe it dry before slicing!
Expert Tips & Tricks
Storage Recommendations: These No Bake Granola Bars can be stored in an airtight container at room temperature for up to 1 week. However, if you’re in a humid climate, I recommend keeping them refrigerated.
Make-Ahead Instructions: Prepping a batch ahead of time is always a good idea. They freeze beautifully, so consider making a double batch and freezing half for later!
Troubleshooting Common Problems: If your bars crumble when cut, they may need a bit more binding. Simply remix with a touch more honey or peanut butter and refrigerate again.
Check for Freshness: Always use fresh ingredients, especially nuts and seeds! Rancid nuts can ruin your delicious bars.
Experiment with Different Flavors: Try swapping out peanut butter for almond or cashew butter, or use agave syrup instead of honey for a vegan twist.
Serving Suggestions
These No Bake Granola Bars can be enjoyed in so many ways! Pair them with a side of fresh fruit or yogurt for a nutritious breakfast. Presentation-wise, you can cut them into fun shapes for a kid’s snack or serve them alongside a steaming cup of coffee for your morning boost. Perfect for picnics, lunch boxes, or as a post-workout pick-me-up, these bars are versatile for any occasion.
Variations & Substitutions
- Flavor Combinations: Consider adding chocolate chips, coconut flakes, or dried fruit such as cranberries or apricots to the mix.
- Dietary Restriction Adaptations: Easily adapt for gluten-free (using certified oats), nut-free (with sunbutter), or vegan diets by using plant-based sweeteners and butters.
- Seasonal Variations: For fall, add pumpkin spice and chopped pecans; during summer, try incorporating fresh berries and a drizzle of white chocolate.
Nutrition & Storage Info
- Prep time: 15 minutes
- Cook time: 0 minutes
- Total time: 1 hour 15 minutes (mostly chilling time)
- Yield: 16 bars
- Estimated calories per serving: Approximately 180 calories
- Storage instructions: Store in an airtight container at room temperature for up to 7 days, or in the fridge for up to 2 weeks. They can be frozen for up to 3 months.
FAQ Section
Can I use different nut butters?
Absolutely! Almond butter, sunflower seed butter, or cashew butter can be great substitutes.What can I use instead of honey?
Maple syrup is an excellent vegan substitute that will still hold the bars together.How do I know if they’re set?
They should feel firm to the touch and hold together when you cut them. If they crumble, try refrigerating them longer.Can I add protein powder?
Yes! Just reduce the quantity of oats slightly to accommodate.How do I make them gluten-free?
Simply use certified gluten-free oats.Can I include dried fruits?
Yes! Make sure they are chopped small enough to integrate nicely into the bars.What’s the best way to store them?
Store them in an airtight container at room temperature or in the fridge to maintain freshness.Can they be frozen?
Yes! They freeze well. Just make sure to wrap them individually in plastic wrap to prevent freezer burn.How long do they last?
They should last about a week at room temperature or up to two weeks in the fridge. Freezing extends their shelf life significantly.What if I find them too sweet?
You can reduce the amount of honey or mix in some unsweetened cocoa powder to balance the sweetness.

Conclusion
These No Bake Granola Bars are not just a snack; they’re a piece of my childhood and a testament to the joys of easy, homemade food. They’re simple to make, customizable, and incredibly satisfying, making them perfect for busy days. I encourage you to give this recipe a try and customize it to your heart’s content. I’m always excited to hear how they turn out for you! Feel free to leave a comment with your variations or offer feedback. And if you’re looking for more delicious snack ideas, check out my other easy recipes on the blog. Happy snacking!

No Bake Granola Bars
Ingredients
Method
- Line a 9x13 inch baking dish with parchment paper, leaving some overhang for easy removal.
- In a large mixing bowl, combine the oats, cinnamon, and sea salt, mixing thoroughly.
- Add in the chopped mix-ins and stir gently until evenly distributed.
- In a separate bowl, whisk together the peanut butter, honey, and vanilla until smooth and creamy.
- Pour the wet mixture into the dry mixture and stir until everything is evenly coated.
- Transfer the mixture into the lined baking pan and press down firmly with a spatula.
- Refrigerate for at least 1 hour, or preferably overnight, to let them firm up.
- Lift the bars out of the pan using the edges of the parchment paper and slice into 16 bars.