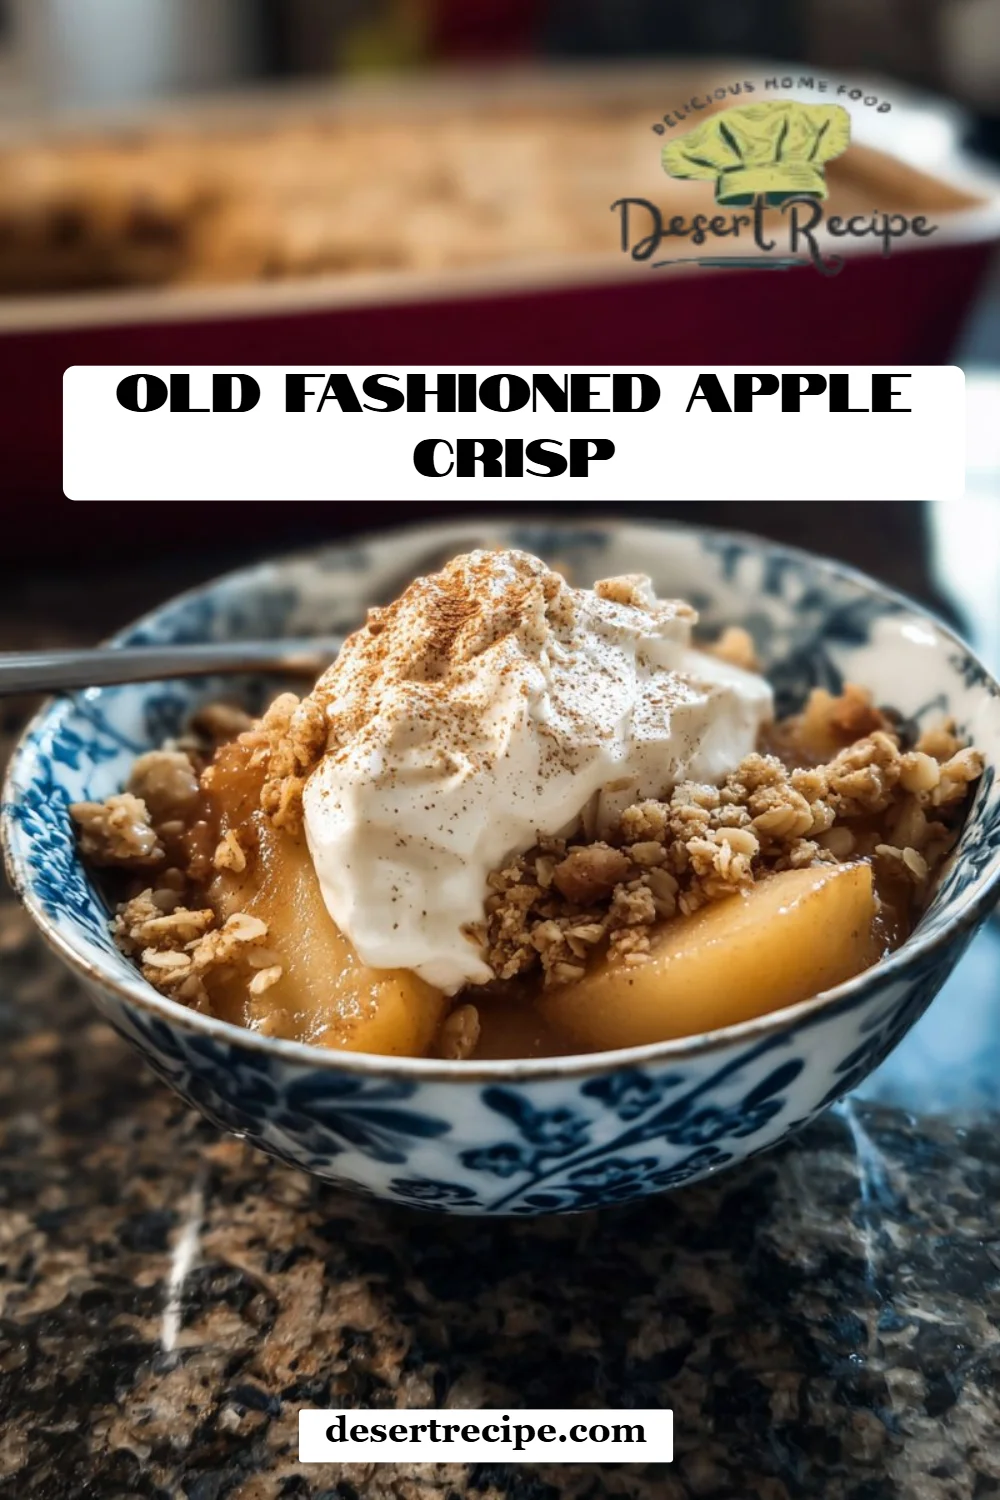
Irresistibly Delicious Old-Fashioned Apple Crisp Recipe: A Taste of Nostalgia
As the leaves start to turn golden and the air becomes crisp, my mind drifts back to family gatherings that spirit me away to the heart of autumn. I can almost hear the laughter echoing from the kitchen, mingling with the heavenly aroma of my grandmother’s Old-Fashioned Apple Crisp wafting through the house. Every scoop was a delightful blend of soft, spiced apples covered with a crunchy oat topping that was nothing short of magical. There’s just something about that comforting combination that warms your soul, isn’t there?
This recipe embodies those cherished memories, and trust me, it surpasses any store-bought option you might consider. What sets my Old-Fashioned Apple Crisp apart from the rest? It’s the perfect balance of sweetness and spice, wrapped in that golden brown topping that shatters into perfect pieces with the touch of your spoon.
By diving into this blog post, you’ll not only learn how to recreate that beloved dish but also connect with the essence of home and family that it brings. So, grab your apron, and let’s get started on making your own nostalgia-filled batch of Old-Fashioned Apple Crisp!
What Are Old-Fashioned Apple Crisp?
Old-Fashioned Apple Crisp is a quintessential dessert that hails from the late 19th century, primarily celebrated in the United States as a way to showcase the delightful harvest of apples. Unlike pies, this luscious treat features a simple mixture of peeled, sliced apples topped with a crumbly blend of oats, brown sugar, and butter, resulting in a dish that’s as comforting as it is delightful.
With its heavenly aroma and bubbly, golden topping, this dessert offers a unique experience. The warm, tender apples create a delicious juxtaposition against the crunchy topping, providing that satisfying blend of textures which is so rewarding. What’s truly special about Old-Fashioned Apple Crisp is its versatility; it’s the kind of dessert you can whip up for a cozy family dinner or to impress friends at a potluck.
Whenever that sweet tooth kicks in or when you’re craving a slice of home, this is the dessert to reach for.
Why You’ll Love This Recipe
Easy to Make: This Old-Fashioned Apple Crisp recipe is incredibly simple to whip up, requiring just a handful of basic ingredients. Even if you’re a beginner in baking, you’ll navigate this recipe like a pro.
Cost-Effective: With the majority of ingredients being everyday staples from your pantry and some seasonal apples, you’ll keep your grocery budget in check while treating your loved ones to something special.
Customization Galore: Whether you prefer tart Granny Smith apples or sweet Honeycrisps, you can tailor this dish to suit your taste. Add a sprinkle of nuts, or swap in some ripe pears or berries for a delightful twist!
A Slice of Nostalgia: There’s something incredibly soothing about digging into a dessert that reminds you of family gatherings. Each bite evokes love, laughter, and the spirit of togetherness.
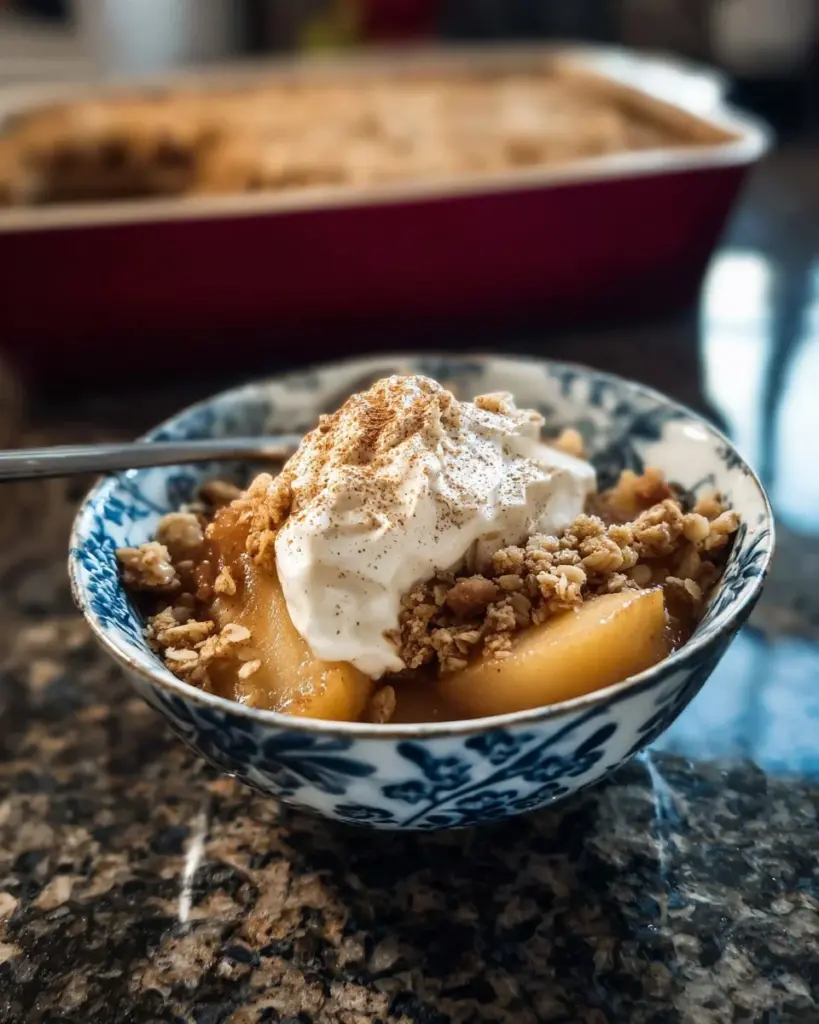
Versatile Serving Options: Whether topped with vanilla ice cream, a dollop of whipped cream, or enjoyed straight from the pan, this crisp is perfect for any occasion—be it Thanksgiving or just a cozy night in.
Ingredients
For this Old-Fashioned Apple Crisp, you’ll need:
- Apples (Golden Delicious, Peeled and Chopped): I love Golden Delicious for their sweetness and slight crispness. Feel free to mix in other types for depth.
- Granulated Sugar: A touch for sweetening the apples.
- Ground Cinnamon: This aromatic spice is a must for that quintessential comforting flavor.
- Lemon Juice: A splash to brighten up the apples and balance the sweetness.
- Brown Sugar: Offers a rich, caramel-like flavor that elevates the crispiness of the topping.
- Old-Fashioned Oats: The key to that perfect topping—keep them old-fashioned for the best texture.
- All-Purpose Flour: To bind everything together.
- Butter (cold, cut into small cubes): The colder the butter, the flakier your topping will be—it makes a world of difference!
- Kosher Salt: Just a pinch enhances the flavors.
Ingredient Quality and Substitutions:
Opt for organic apples whenever possible; they offer the best flavor. If you’re looking for a dairy-free option, substitute coconut oil or dairy-free butter for the real thing.
Prep Notes: Make sure your butter is cold to achieve the perfect crumbly texture!
Step-by-Step Instructions
Preheat Your Oven: Set it to 350°F (175°C) and butter an 8×8 baking dish. The aroma of baking will soon fill your kitchen!
Prepare the Apples: In a large bowl, toss your chopped apples with granulated sugar, 3/4 teaspoon of cinnamon, and lemon juice. The sugar will draw out the juices and start creating a delicious syrup. Transfer this apple mixture to your greased baking dish.
Make the Topping: In another bowl, combine the brown sugar, oats, flour, 1 teaspoon of cinnamon, and a pinch of salt. Cut in the cold butter using a pastry cutter or fork until the mixture resembles coarse crumbs—aim for a crumbly, yet cohesive texture. This part is incredibly satisfying!
Assemble and Bake: Evenly spread the crumbly topping over the apple mixture. Bake for 40-50 minutes, or until the top is golden brown and bubbly. You’ll want to keep an eye on it towards the end—look for those golden edges!
Serve It Warm: Let the crisp cool slightly, then serve it warm with a scoop of vanilla ice cream or a drizzle of cream. You might just find it hard to stop at one serving!
Chef’s Tips:
- If your crisp browns too quickly, cover it loosely with aluminum foil until the apples are tender.
- Use a mix of sweet and tart apples for a more complex flavor profile.
Expert Tips & Tricks
Storage: Leftover apple crisp can last in the fridge for up to 3 days. You can reheat it in the oven for the best texture.
Make-Ahead: Feel free to prepare everything up to the baking step a day in advance. Just cover with plastic wrap and refrigerate until you’re ready to bake.
Fix Common Issues: If your topping doesn’t resemble crumbs, ensure your butter is cold and cut in correctly. Not mixing it enough can lead to a disappointing texture.
Try a Crumble-Topping Ratio: If you love the topping more (who doesn’t?), increase the oat/flour ratio for extra crunch.
Experiment with Spices: Want to play around? Add nutmeg, ginger, or even a splash of vanilla extract for a personalized twist.
Serving Suggestions
Apple Crisp pairs beautifully with a scoop of vanilla ice cream or a dollop of whipped cream for that indulgent touch. Consider presenting it in individual ramekins for a charming dessert if you’re entertaining guests. This classic dessert shines at holidays, cozy family dinners, or even as a treat on a rainy day.
Variations & Substitutions
Feel free to shake things up! Try mixing in fresh berries for a delightful berry and apple crisp or fold in some chopped nuts for added crunch. If you’re catering to dietary restrictions, consider using gluten-free oats or substituting the butter with coconut oil for a vegan alternative. Seasonal adjustments work wonders too; think about adding pears in the winter or cherries during summer!
Nutrition & Storage Info
- Prep Time: 15 minutes
- Cook Time: 40-50 minutes
- Total Time: 55-65 minutes
- Yield: Serves 6-8
- Estimated Calories: About 250 calories per serving (without toppings)
Storage Instructions: Store cooled apple crisp in an airtight container at room temperature for up to 2 days. You can refrigerate it for up to a week or freeze it for up to 3 months. Just be sure to let it come to room temperature before enjoying!
FAQ Section
Can I use frozen apples instead of fresh?
- Yes! Just be aware that frozen apples can give off more moisture, so you may need to adjust the sugar accordingly.
What types of apples are best for baking?
- Great choices include Granny Smith, Honeycrisp, or Braeburn for their balance of sweet and tart flavors.
Can I make Apple Crisp ahead of time?
- Absolutely, prepare the apple filling and crumb topping separately and refrigerate. Assemble before baking.
Is it better to serve warm or cold?
- Warm, preferably, but it’s enjoyable both ways.
What can I substitute for sugar?
- You can use maple syrup, honey, or a sugar substitute like stevia, but adjust the amounts according to taste.
Do I need to peel the apples?
- While peeling is traditional, you can leave the skin on for added fiber and texture, especially if using organic apples.
How do I know when it’s done baking?
- Look for a golden, bubbly top and tender apples when inserting a fork.
Can I double the recipe?
- Yes! Simply use a larger baking dish and extend the cooking time as needed.
What’s the best way to reheat leftovers?
- Reheat in a 350°F oven until warm throughout for that freshly-baked sensibility.
Can I add nuts to the topping?
- Definitely! Chopped pecans or walnuts add fantastic crunch and flavor.

Conclusion
This Old-Fashioned Apple Crisp is more than just a dessert; it’s a warm embrace on a chilly evening, a sweet slice of nostalgia that bridges family traditions and delicious flavors. I’m confident that once you try this recipe, it will become a beloved favorite in your household, just as it is in mine.
I’d love to hear how your crisp turns out—share your thoughts and any family memories this recipe brings to mind in the comments below! And don’t forget to check out the other wholesome recipes on my blog that celebrate the art of home-cooked comfort.
Happy baking! 🍏✨
Old-Fashioned Apple Crisp
Ingredients
Method
- Preheat your oven to 350°F (175°C) and butter an 8x8 baking dish.
- In a large bowl, toss your chopped apples with granulated sugar, 3/4 teaspoon of cinnamon, and lemon juice.
- Transfer the apple mixture to your greased baking dish.
- In another bowl, combine brown sugar, oats, flour, 1 teaspoon of cinnamon, and a pinch of salt.
- Cut in the cold butter using a pastry cutter or fork until the mixture resembles coarse crumbs.
- Evenly spread the crumbly topping over the apple mixture.
- Bake for 40-50 minutes, or until the top is golden brown and bubbly.
- Let the crisp cool slightly, then serve warm with a scoop of vanilla ice cream or a drizzle of cream.